
Likes
Comments
Share


@CruellaDeVil
Follow
Die Buds werden immer größer, sieht einfach super aus. Gibt nicht viel zu erzählen die Pflanzen tun was sie sollen.


Likes
10
Share


Likes
3
Share


@Lazuli
Follow
I like how the plant got a perfect leaf/bud ratio good airflow not too much defoliation needed and flowers pretty quick 10/10

Likes
38
Share

@GERGrowDesigns
Follow
Welcome to my Dutch Passion Diaries Competition 2025 entry!
For this competition, I’ve chosen the Indoor Feminized strain: Ice Cream Haze
Media from Week 13 or Flower week 2-3 After Moving into the New Tent for the flower weeks. Stage.
Here’s what I’m working with for the Final Tent after Moving for the Flower time :
• 🌱 Tent: 220x150x150
• 🧑🌾 Breeder Company: Dutch Passion
• 💧 Humidity Range: 50
• ⏳ Flowering Time: 8W-10W
• Strain Info: 20-25%THC, Sativa
• 🌡️ Temperature: 26
• 🍵 Pot Size: 0.5l
• Nutrient Brand: Narcos
• ⚡ Lights : 720W x 2
Dimmed to 400w Each at the Moment. Because of Heatwave ⭐
A huge thank you to Dutch Passion for allowing me to be a part of this amazing competition and for supporting the grower community worldwide! Your genetics and passion speak for themselves!
Curious to try these strains for yourself?
You can check them out and support me at the same time through my personal link:
https://dutch-passion.com/?a_aid=GGD
I would truly appreciate every bit of feedback, help, questions, or discussions – and of course, your likes and interactions mean the world to me as I try to stand out in this exciting competition!
Let’s grow together – and don’t forget to stop by again to see the latest updates!
Happy growing!
Stay lifted and stay curious!
Peace & Buds!


Likes
5
Share

@edenminded
Follow
Week 12 Update: Solo Tent, Heatwaves, & GG Curing!
Hey everyone! I almost completely missed the Week 12 with all the excitement going on, and I also forgot to snap photos this week, so I'm dropping a video instead to show you the current state of the tent.
Here is what's happening:
The Gorilla Glue is officially out of the tent! The chop was a success, and after navigating some tricky humidity levels during the dry, she is now safely in jars. The curing process is going perfectly with Integra Boost packs holding a steady 60% RH. I will be making a separate, detailed Harvest Post for the GG very soon with all the final weights and macro shots, so stay tuned for that!
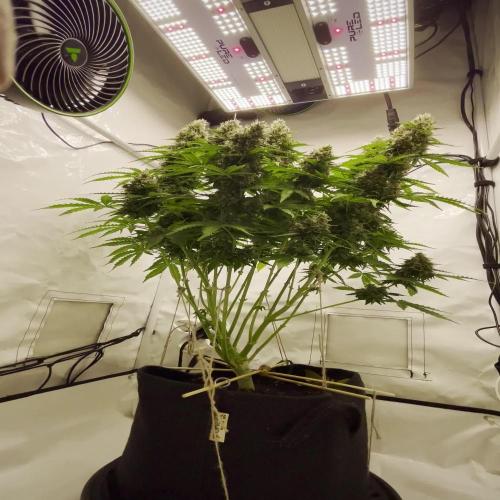
With GG gone, Crystal Candy now has the entire tent, all the airflow, and the 150W light entirely to herself. As you can see in the video, she is taking full advantage of it. She is flowering beautifully, the buds are swelling up nicely, and she is marching steadily toward her own harvest window.
The biggest struggle right now is the weather. Summer is arriving early here, and the ambient temperatures are pushing my tent up to 32°C (89.6°F) during the day. I am trying my best to counteract it and cool things down, but without much success so far.
Despite the heat, CC seems to be taking it like a champ. I'm keeping the fans on max to ensure massive airflow and prevent any mold issues like the minor scare I had with GG.
Fingers crossed the heat doesn't cause any foxtailing. She is getting closer every day! ✌️

Likes
4
Share

@Xabii
Follow
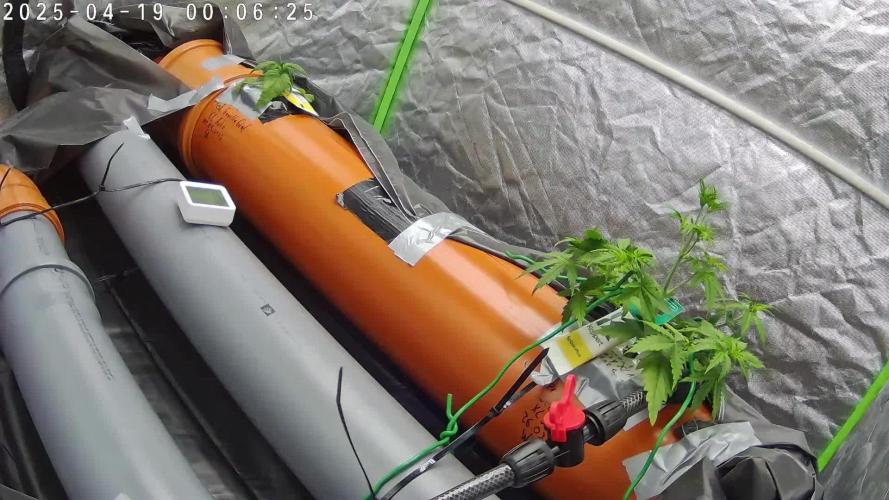
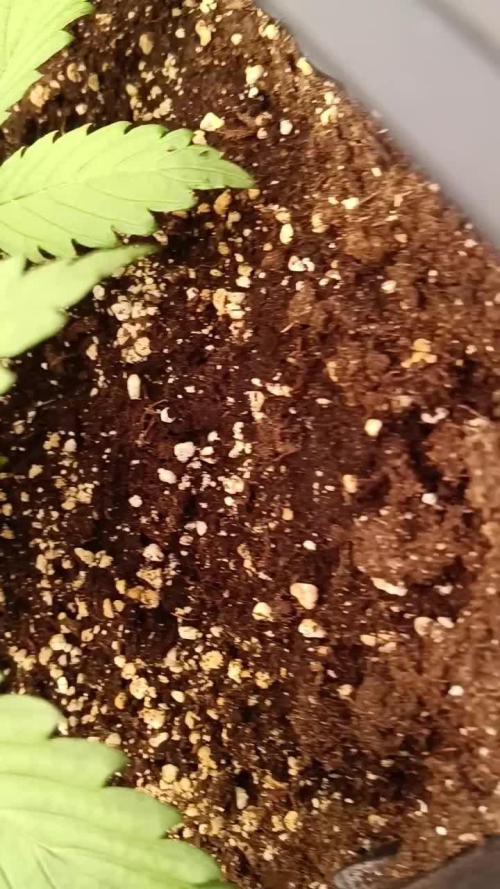
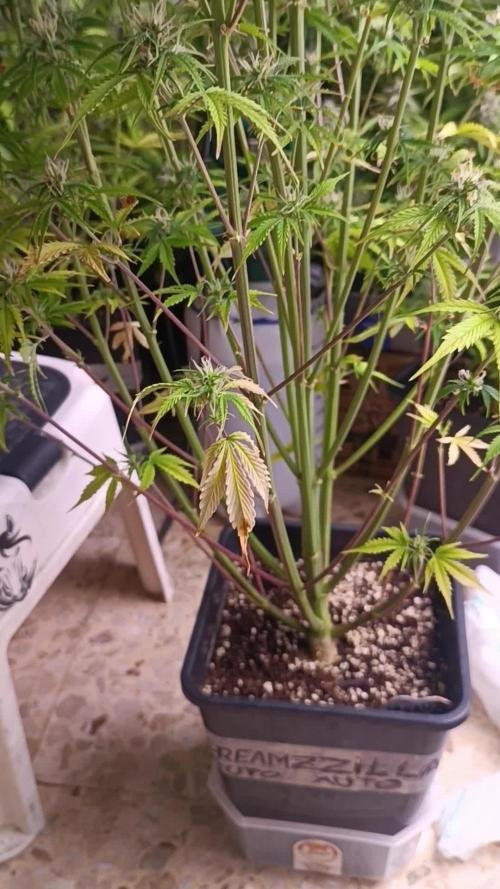
The other plant in the setup had root rot and also infected this one, did a root wash and hope for the best.
Values are average of the day.
DATE - EC(us/cm)
20250419 1638
20250420 1874
20250421 1891
20250422 1868
20250423 1845
20250424 1749
20250425 1774
DATE - PH
20250419 5.81
20250420 6.34
20250421 6.21
20250422 6.11
20250423 6.11
20250424 6.12
20250425 6.09
DATE - ORP (mV)
20250419 93
20250420 -1
20250421 64
20250422 199
20250423 156
20250424 143
20250425 250
DATE - °C - RH% (Tent Temp/RH)
20250419 23.9 48
20250420 25.1 53
20250421 24.0 53
20250422 22.9 58
20250423 22.4 57
20250424 21.6 59
20250425 22.7 55
DATE - °C (Reservoir)
20250419 19.1
20250420 20.1
20250421 20.3
20250422 20.5
20250423 20.1
20250424 19.5
20250425 19.3
DATE - CF
20250419 16.38
20250420 18.74
20250421 18.91
20250422 18.68
20250423 18.45
20250424 17.49
20250425 17.74


Likes
9
Share


@TiRobotProds
Follow
4ème semaine de floraison. Cette dame ce porte a merveille ☠️☠️💀 irrigation tous les 3 jours environ 6L, 12L/Semaine.
Likes
Comments
Share

@pHilosophy420
Follow
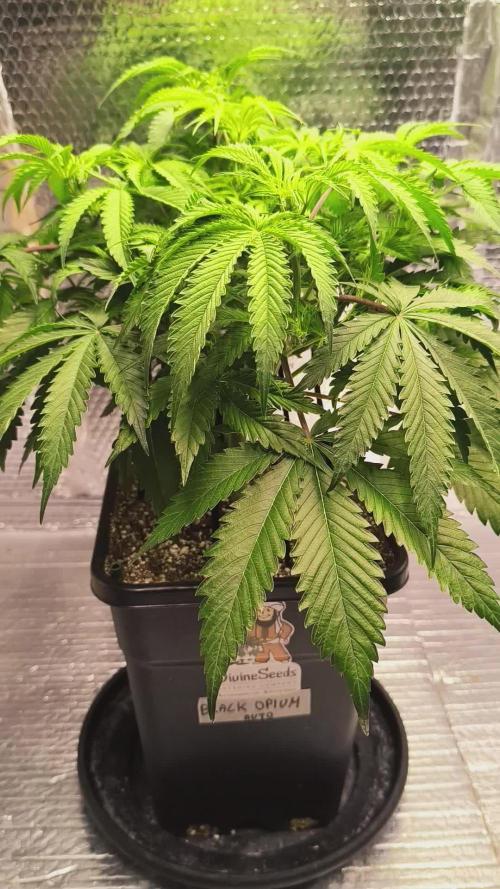
Day 42 - The plant is spread nicely and no more LST so the plant can start stretch phase. So far all looking very promising

Likes
Comments
Share

@AlbStoned
Follow
Die Pflanzen wachsen sehr schnell, und sehr groß. Die Durban Poison haut hierbei Riesen Blätter raus, und wächst wie ein Urwald. Die Mango Cream x Cinderella Pflanze wächst sehr gut, ist dennoch luftiger und zierlicher als die andere Pflanze. Bei dieser Pflanze bilden sich prächtige Seitentriebe mit Blättern aus. Die Stengel sind rot ,und richtig schön anzusehen.
Likes
23
Share


@WSA_Matt
Follow
Harvested 2 of 8 plants today. 90% or more trichomes were white with a few amber here or there. All pistils brown on the 2. 2 more plants should be ready within 2 days. The others are still a week out.


Likes
6
Share


@Mr_nugs_lover_David
Follow
I love this strain to pieces man! Another high quality genetic by original sensible seeds, very very hard dense nuggets like rocks, sticky, stinky as hell, high quality, as always by original sensible seeds. 100% organic grown


Likes
45
Share


@Kitties_and_Colas
Follow
~_~_~_~_~_~_~_~_~_~_~_~_~_~_~_~_~_~_~_~_~_~_~_~_~_~_~_~_~_~_~_~_~_~_~_~_~_~_~_~_~_~_~_~_~_~_~_~_~_~_~_~_~_~_~_~_~_~_~_~_~_~_~_~_~_~_~_~_~_~_~_~_~_~_~_~_~_~_~_~_~_~_
❤️💡🌱😽💨
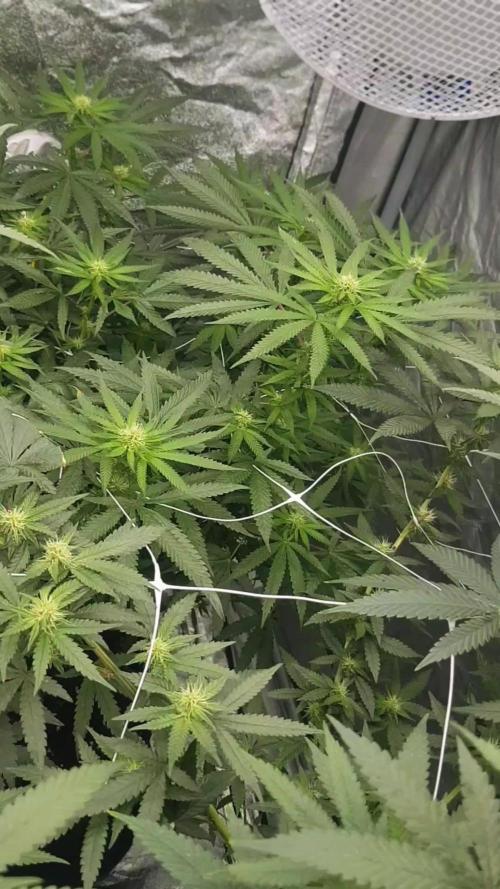
What a great week!! These plants are looking soooo much better, their color is starting to improve.. These Kritial-K are my absolute favorite in the tent, once this grow is over we may buy sevral packs of this.. they're easy, forgiving and look to be massive producers with a little training.. Verdict is still out on smoke quality but if its anything like our last Kannabia strains, its prob a winner..
The Solux is at 75$/14" and im starting to wonder if we'll even need to turn it to 100%.. they're getting more than enough light like this but we may increase power for the last 3-4 weeks of flower (a light meter would be a great one day lol).. not too much else to report, I think we're in for smooth sailing until harvest at this point.. thanks as always for checking us out and happy harvests everyone!!!
⚡Hortibloom/Solux 350⚡
Specifications ⚙️:
Diodes: Samsung LM281 Pro / Osram DR (1,440 total)💡
Driver: Inventronics 350 watt🔌
PPF: 1015 μmol/s ☢️
PPE: 2.9 µmol/j 〰️〰️
Lifespan: 50k+ hrs ⌛
Weight: 14.3lbs lbs (6.5kg)
Veg Coverage: 5 x 5 ft 🌱
Flowering Coverage: 4 x 4 ft 🌼
-Uses an aluminum heatsink (no fan), quiet while operating 👂⬇️
-IP65 waterproof ratings, tolerant to high humidity grow environments 💦
-May be daisy-chained via RJ14 and managed from a single controller 💡~💡~💡~💡~💡
🌎 https://hortibloom.com/products/solux-350-led-grow-light
~_~_~_~_~_~_~_~_~_~_~_~_~_~_~_~_~_~_~_~_~_~_~_~_~_~_~_~_~_~_~_~_~_~_~_~_~_~_~_~_~_~_~_~_~_~_~_~_~_~_~_~_~_~_~_~_~_~_~_~_~_~_~_~_~_~_~_~_~_~_~_~_~_~_~_~_~_~_~_~_~_~_

Likes
10
Share


@Chubbs
Follow
420Fastbuds-FBA2502
I'm excited as it's tester time. Germination week is complete. I planted 3 seeds and had all 3 sprout within 48hrs of being in the soil. I do soak them for 48hrs in a glass of water before planting. I can't wait to see what the weeks to come will have in store. Happy Growing


Likes
18
Share


@VI_Cannabis
Follow
July 5 - The girls are still doing awesome. temps are between 21-26. Humidity is 40-50. Still feeding every 24-36 hours with 3L per plant.
July 6 - They are doing good. Showing lots of flower sites now. Unfortunately I did not get any pictures today.
July 7 - Tons of progress since last week. I don't see any signs of any problems, and still no pests! The smell is getting A lot stronger as it starts to flower more
July 8 - Still doing there thing, no problems, temps and humidity is fine. Have been feeding every 24 hours now as they seem to be really thirsty
July 9 - Super happy with how they are doing. No issues yet. Smell is heavier, and tons of bud sites showing up. Only issue is they are growing pretty uneven.
July 10 - Time to get a even canopy! First time doing some HST. I also did some defoliation. One of the stems split open a bit but it seems to be doing just fine. I did he HST and defoliation in the morning, i then took pictures of 12 hours later and everything seems just fine!
July 11 - Everything seems to be a lot more even and the broken stem doesn't seem to affect the growth.