


Likes
Comments
Share


@DisTentAint4Campin
Follow
Growing great 👍 gna take some cuts from her definitely i got this one bean given to me for some hard work I did so definitely gna make her potential last awhile why I know she is gna be a fire cultivar

Likes
50
Share

@Growingdaddyo
Follow
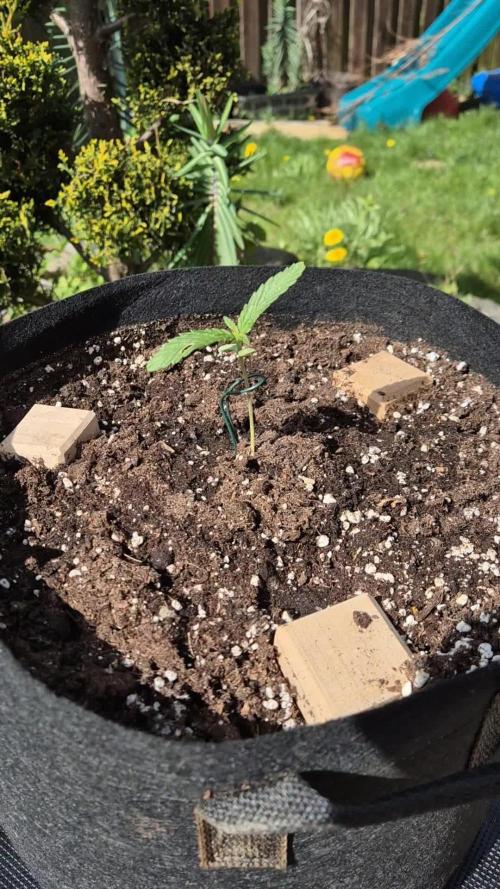
Jaa, sie lebt noch und macht minimale Fortschritte. Aktuell auch schönes mildes Wetter. Für nachts gibt's den Deckel drüber. Hab n Rollwägelchen geholt. Noch kann man locker tragen, aber spätestens nach dem finalen Umtopfen wird es rollenderweise definitiv viel angenehmer.😅
Habe ihr mal etwas Dünger und Stickstoff gegönnt.
Likes
18
Share

@HowtoBubatz
Follow
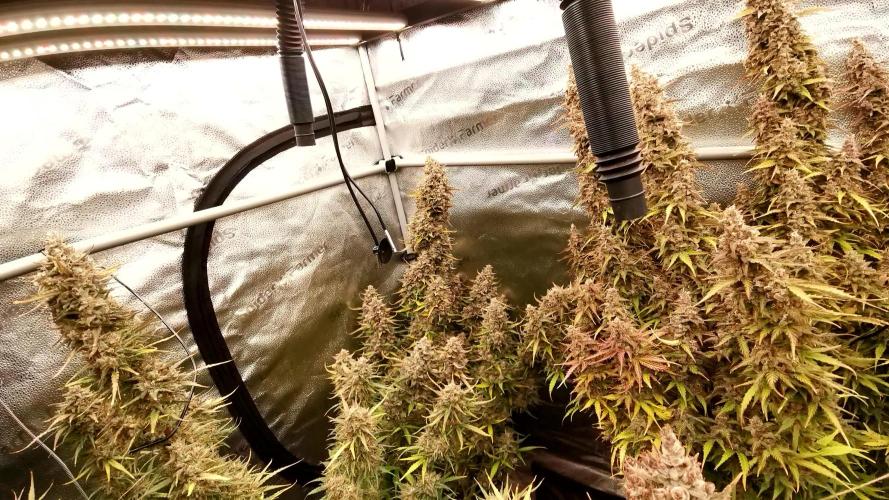
Week 12 pushed the Bruce Banner plants even closer to harvest 🌸❄️
The buds gained more density and weight, and all plants looked very mature at this point.
Trichome development showed that #2 and #3 were clearly entering their harvest window.
Most trichomes were milky, with some amber already visible, especially on the main colas.
Because of this, I decided to give them a little more time to fully ripen.
#1 was still slightly behind in maturity and will remain in the tent longer, while #2 and #3 are planned for harvest soon.
Due to the heavy buds, the plants needed continued support to stay upright.
Despite the weight, all flowers stayed compact and healthy with no signs of rot or stress.
Watering this week was kept simple with RO water + CalMag only, no additional feeding.
Environment:
Temp ~24°C
RH ~50–55%
Overall a very controlled and smooth late-flower week.
The plants are clearly finishing strong, and harvest is right around the corner ✂️❄️

Likes
9
Share


@Miguels_Fuego
Follow
Both started to flower faster than I wanted. I would have preferred another week of veg. Blooming nutes were transitioned during this week. Mimosa is smaller then her counterpart, but is smelling stronger.

Likes
6
Share


@Franco123
Follow
The plant continues to grow and the buds seem to be getting bigger but still without pistils and it seems to have micro seeds and the smell is very strong and reminiscent of oranges

Likes
8
Share


@AnnGeneLabs
Follow
Hey GrowDiaries! What a week it’s been! My plant’s growth has been off the charts, reaching an impressive height of 96 centimeters. 🌿📏
Here’s the scoop:
Burst of Growth: This plant's not just growing; it's soaring! Reached a towering 96cm in height. Feels like it's reaching for the stars!
Bloom Phase Nutrition: Still on track with the bloom-specific nutrition. It’s all about giving the plant exactly what it needs during this crucial phase.
Telegram Bot Tweaks: I’ve upgraded my trusty Telegram bot. Squashed some bugs and made it even smarter. Now, it shows the status of the automated watering system along with the usual temperature, humidity, and other vital stats.
Alert Threshold Adjustments: I’ve customized the alert thresholds to match the plant’s current phase. If, for instance, the temperature spikes, I get a notification. Staying one step ahead!
A Problem-Free Week: Overall, the week went super smooth, and the plant looks absolutely fabulous. It's thriving, and I couldn’t be happier.
And a short update on my plans for next week.
I'm gearing up for some tech tweaks in my green haven. 🌿🔧
Here's what's on the agenda:
Calibrating the Soil Moisture Sensor: Next week, I'm planning to calibrate my soil moisture sensor. It’s a nifty piece of tech that uses capacitive technology.
So, how does it work? These sensors measure the water content in the soil based on the electrical capacitance.
Basically, the more water in the soil, the higher the capacitance. It’s like a mini superpower for understanding soil moisture!
Dealing with Environmental Factors: The catch is, the sensor's readings can be influenced by temperature and air humidity.
I plan to make some smart corrections to minimize these effects.
The goal? To get super accurate moisture readings, unaffected by external conditions. It’s all about precision!
With these tweaks, I'm aiming for a perfect balance in my plant's environment. Fingers crossed for a week of tech triumphs and happy plants!
That’s all for now, GD. Can't wait to see what the next week has in store for us! 🚀🌺
Likes
19
Share


@adam_pawloski87
Follow
What a fun run this was ! These Ogreberrys finished up from 81 days to 102 days with nice hints of gassy , sour purple , sweetness and glistening with frost! These ladies will cure up for a month an will be ready to test out ! So much fun , I highly recommend this strain if your looking for some oooy gooohy resiny grape smelling nugs !

Likes
10
Share


@KcKush
Follow
*Increased ppm from 1050 to 1100.
*seems like this might be a 9 week strain or maybe 10.
*not a lot of resin production, but flower stacking is long on this one.

Likes
55
Share


@Theia
Follow
All buds are cut and washed in a bath of lemon juice and baking soda/water. I have adopted this as a new standard for every harvest. We washed out quite a bit of dirt and shit. Lots of black floaties in the bath after and a few bugs we did not even realise were in there...
The buds were hung and left with a fan over them for an hour before being removed to my drying room. Sitting hanging in there at RH 65% and temp is 20c. Will bring Rh down to 55 in next few days.
I will update with a report once they have dried..
Thanks for all the help on this grow people who helped.. you know who you are..
Back in a wekk to 10 with a taste report..
Update.. buds dried after 6 days. Trimmed and jarred with a final dry weight of 112g once I took all branch off. Not tried her yet. I will give her a week at least in the hats before we try and will report back then.

Likes
253
Share

@Hologram
Follow
Yes!
harvest time!
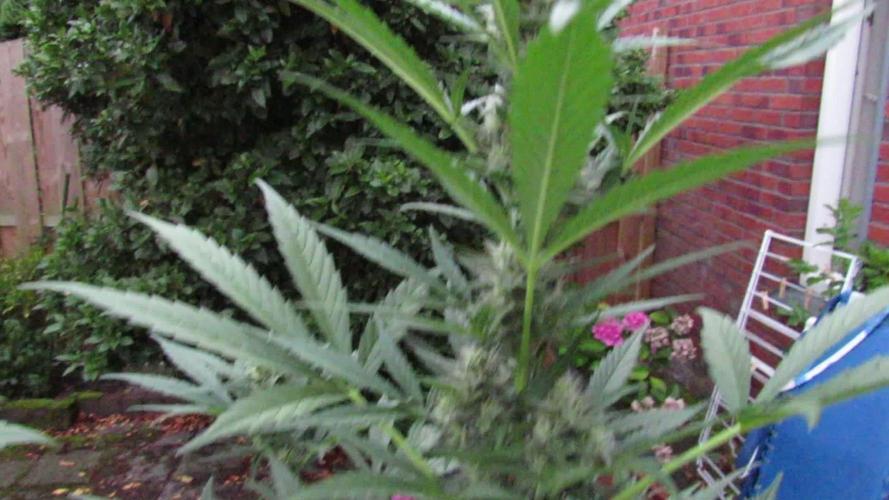
Buds r very solid, smelling very sweet and have lovely colours of pink in it.. but dang! so sticky!!
She was in a 5L pot but she grew hard, like the beast she is 😎👍
Sticky was on tour a lot
She started out on my window sill with only 13H of daylight and NO sunshine! But the winter was long, and i just could not wait any longer! 👊
..then she went in my little greenhouse in my garden//and when she got bigger, she got an upgrade to the big safehouse (also in garden)
and now and then she could stay on my gardentable to catch few rays..
She has battled a lot of bad (storms!) and cold weather and with that came a lot of bugs and pests..(big safe house is open at the sides.. its more a cover to protect them from rain and wind)
But she still kept on growing like she did not care..
Only the last week of her grow she got some nice weather
and i think she was very happy i let her enjoy that before chop!👏
yes i can write a lot about this grow, but i can also just say:
WOW!
my whole garden smelled very sweet thanks to her
but im sure my neighbours are happy she is gone..😆
And don't forget:
FOR ALL MY GROWBROS IS A DISCOUNTCODE: ZAMMIGD2023
YOU GET 20% OFF @ZAMNESIA!
😎
happy growing for all✊

Likes
3
Share


@Spankstheedanks
Follow
sorry I missed a week😪 been very busy plus its been very hot this past two weeks but she seems to love the sun and the heat regardless that fact. she really hasn't growth up much but with the fimming lots of new growth training with a tomato cage n its really helping out as y I u guys and gals can see thank you for stopping by 🙏 stay tuned let's see how bushy she gets by next week feeding day is tomorrow she always loves that happy growing everyone 🌱🙏
Likes
Comments
Share


@Sn3ak92
Follow
Jan 7: Beginning of the week
Light @ 150w (raised it from 24 to 32 inch)
Jan 8: began a brew of compost tea and will feed tomorrow.
Jan 10: Topped the two C&C
Jan 13: Began training the plants (LST) and cut all the big leaves for better light exposure
Slight discoloration on some leaves I removed... Not sure what it is...
Compost tea recipe:
2 gal dechlorinated tap water
1 tbsp Wholesome Molasses
2 tbsp GaiaGreen Kelp meal
2 tbsp GaiaGreen Alfalfa meal
1 tbsp GaiaGreen 444
2 tbsp Bat guano 842

Likes
2
Share


@Lucifers_Nursery
Follow
Looked at calendar wrong. Realized plants are 35 days from sprout. Very pleased with the potential these plants are showing this early into flowering.. Hopefully my LST technique will earn me another Mephisto bouquet of cannabis flowers.
October 23 2021.
Day 37 from sprout.
Added some Rock resonator to their diet today. Will continue to run this product as long as no detrimental effects should happen. In middle of flower will be using bloombastic on only half the crop for trial purposes.

Likes
10
Share

@SuparWawfflez
Follow
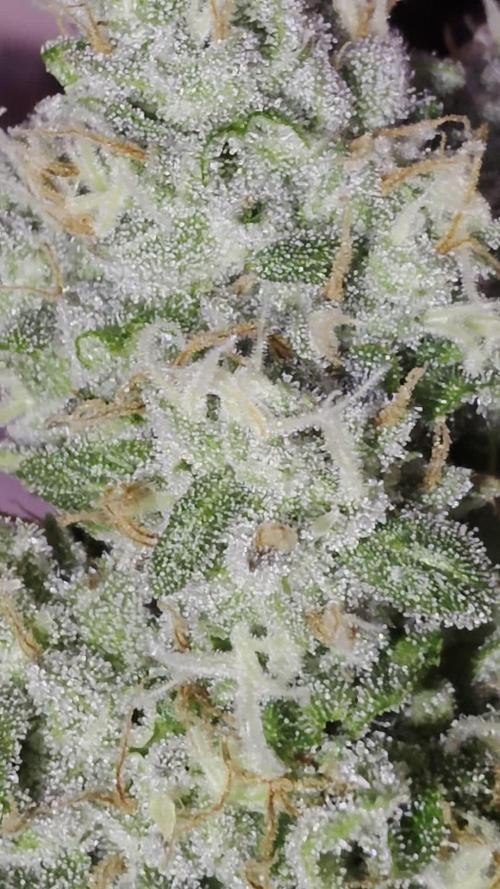
She's a big stretcha with chunky buds
Absolute yielder what a unit.


Likes
6
Share


@Beanz2Budz
Follow
Well time for the chop, I'm not waiting any longer! 10 weeks on a "fast" "ruderelis" cross my a@$! None the less she smells amazing, thick strawberry old school hash at the moment. The back couple of phenos could have done another week easy!! Trimmers at the ready boys and girls, results coming soon!!!


Likes
15
Share


@SamDo
Follow
Hello,,, semaine 11, floraison 7.
Nous sommes à la fin, ja vais les laisser aujourd’hui dans le noir pendant 24/48h. Et ensuite procéder à la récolte et au séchage lent pendant environ 15 jours.
Je suis assez satisfait de ce cycle de culture même si il y a encore pas mal de choses que je peux améliorer pour la suite. Comme l’utilisation du toppping, du scrog et du LST pour essayer d’améliorer le rendement et la qualité.
Je suis aussi très très satisfait de ma lampe, la slim 600H de chez OpticLED. La lampe semble vraiment donner de très bon résultats. J’ai hâte de refaire une cycle avec.
Voilà, je referais un update avec de nouvelles photos et vidéos cette semaine dans 48h avant la mise au séchage.
Happy grow...😎

Processing
Likes
30
Share


Likes
18
Share


@PEAKYPLANTERS
Follow
Brothers of the good and old Weed, welcome back to the diaries and gardens of your beloved Peaky!
Today we collected these wonders from the garden and we are starting to dry out !!!!
colors, smells and glue we already like them a lot !!!!
Stay up to date for the Trimm
Processing
Likes
13
Share


@MG2009
Follow
Definitely 2 phenotype, I believe?. #1 Sharp serrated leaves, #2 more rounded leaves and drooping. No sex yet but reppoting soon to final pots.
Week 11 day 4, looking for sign of sex #1 I fear is male #2 not sure?. We will see soon