


Likes
Comments
Share


@Nino03
Follow
Looks like everything's going well. Hoping they will put on a lot more weight. But it looks like I'll be stuck in trim hell for a long time.

Likes
2
Share


@BigGGrows
Follow
she is pushing through the initial HST fimming very well. Nothing seems to slow her down. I am starting 1/4 strength nutes now to help her push through the stress. I also initiated some LST and tied her up, pulling down the branching. The fim job has produced a tripple top crown cola, top new side tops, and 2 new internodal branches, that will be tops down the line. Things are getting interesting folks! Stay tuned!

Likes
25
Share


@JonnyKush
Follow
Hello friends! day 60! following your advice I applied the cropping in order to bring the tops back into the light and I wanted to try adding ADV nutes to integrate a little! apart from this extreme elongation everything seems to be going the right way! thank you very much for stopping by, leave a like and some advice! happy day and great growth 🌱💚

Likes
4
Share


@LittleBigTrees
Follow
After a weeks growth in four litre pots I defoliated them ready to go into flower.
Started feeding them full strength with coir feed even though they are in soil.
Looking happy so far, I'm tight on space so will keep them in check if I can as they flower.

Likes
6
Share


@Michijardinero
Follow
Muy buenas familia vengo a comentarles hoy hace 2 días le hice el último trasplante a una maceta de 13L
Están creciendo muy bien aun que es pronto pa decirlo 😁😁 la humedad la tengo entre 70 -75%
La temperatura ronda los 22°c el primer riego en la maceta de 13 L ha sido 1.5L por maceta cualquier comentario cualquier tip bienvenido es un abrazo familia que tengan buena semana nos vemos en 7 días un saludo paz

Likes
9
Share


@DoctorCannas
Follow
Miei cari amici,
L'estate incalza e finalmente il tempoi permette di trasformare ad hoc. Secondo i gusti il giardino, la terrazza e i due balconi.
Un lavoro duro e intenso con i 25/30 gradi che il NW in questa settima sta proponendo e che spero vivamente durino tanto.
Travaso storico e professionale.
Vediamo ciò che l'armadio dice.
Questo travaso probabilmente ritardera di due o tre settimane il raccolto, ma andava fatto e ne varrà sicuramente la pena.
28/06
My dearest friends, comrades and farm partners.
Doc. Cannas is extremely happy to introduce you to the 5 wonders of Expert Seeds.
Still my most heartfelt congratulations for their genetics,
between photos and videos you have seen what a wonder these little girls are growing.
Today they have been introduced to LST, an art halfway between Astana yoga and BSDM.
Being their first time there was a need for love and passion.
So it was.
At the next update farmers

Processing
Likes
14
Share


@Okie4
Follow
Girls have really taken off this week with explosive growth. All of these photos and videos are on day 21 of the grow. Plan on doing some low stress training shortly.
Increased the nutrients by a bit this week! Lowered lights to 22ish inches.
Cal mag 2ml
Micro 2.5ml
Gro 2.5
Bloom 1ml
And slowly increasing the water amount each feed. They are reacting nicely to this approach so I will continue to do so.

Processing
Likes
13
Share


@Rambazamba
Follow
Die Woche ist die gute Weihnachtszucker-Glasur mehr und mehr geworden. Meine Damen fangen an Ihren Zucker mehr und mehr zu zeigen. Die ersten Haare färben sich auch langsam braun.
Ich musste die Woche wenig machen und habe mich beschränkt auf das gießen ohne Hesi um ihnen die Woche so angenehm wie möglich zu machen.
Die Temperatur ist super und ich muss sagen die LED überrascht mich immer noch sehr sehr stark.
Ich werde später noch Tagesaufnahme von den Pflanzen reinsetzen.
Ich kann manchmal gar nicht meine Augen von der natürlichen Schönheit der Pflanzen nehmen.
Ich wünsche alle einen schönen 1.Advent.
Likes
2
Share

@Grower_Boris
Follow
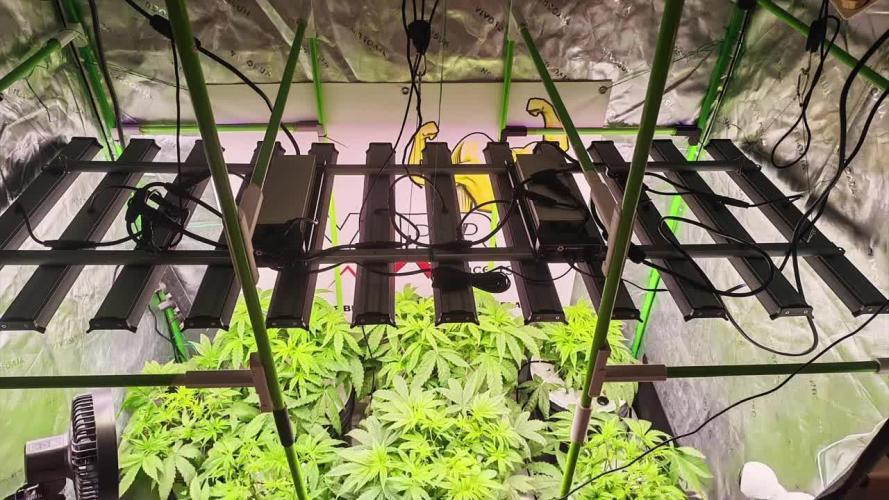
Wir sind heute in der 5ten Wochen, 2 Pflanzen wollen irgendwie nicht, ansonsten läuft es recht gut denke ich mal, da es mein erster DWC Grow ist( HYDRO ). Werde die Tage die Heads Bud´s Schneiden und Stecklinge davon machen.
Likes
6
Share

@Pompeyblue
Follow
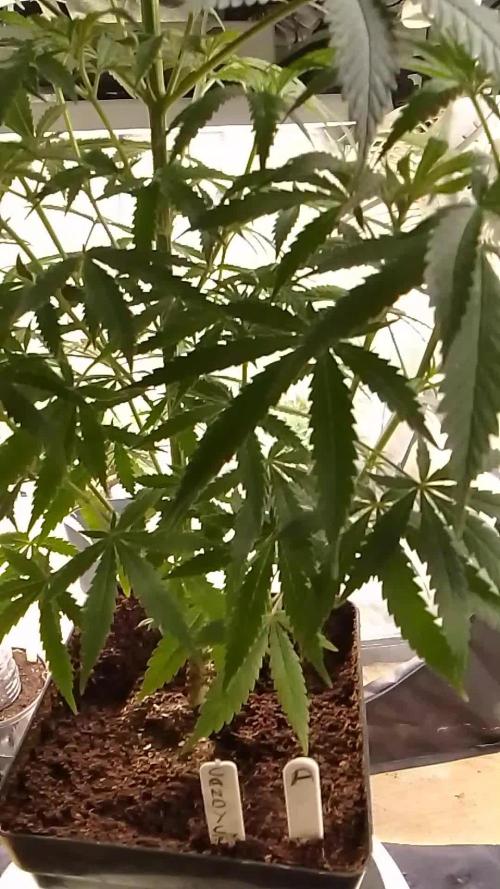
All coming along good their light cycle was flipped to 12/12 on Monday 6th
Not much happening at the moment apart from a little bit of scratching to them

Likes
4
Share

@TrixTrix
Follow
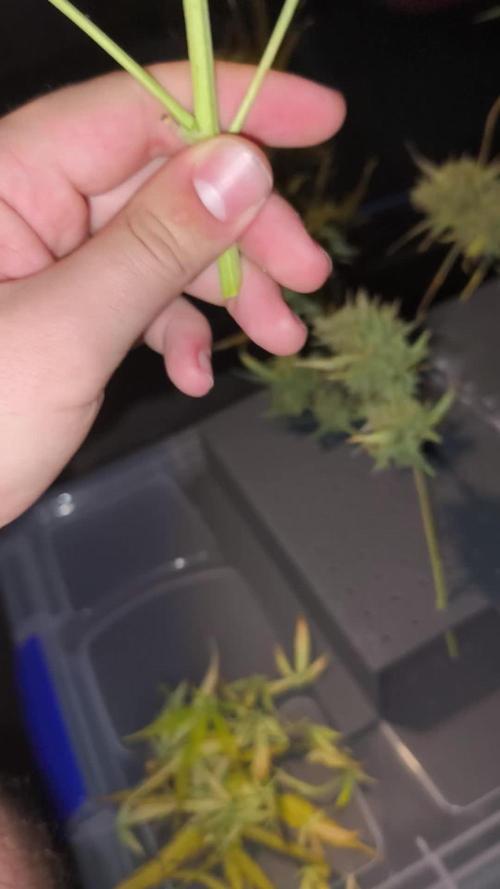
really impressed by the smell and resin of this plant, full, an enveloping flavor and proud of my work😂


Likes
56
Share


@GreenHouseLab
Follow
Well the plant has been growing tremendously very easy to control the stretch with the scrog method. The plant should only experience it’s final stretch this week although very hard to say considering the FFT strains have yet to be disclosed.
Overall very happy with this grow, great genetics to work with. Looking forward now to see the rewards!!! ✌️

Processing
Likes
23
Share


@GreenISR
Follow
Day 37 - At last it happened we in flowering stage .
*Added 1L water each one.
*Changing to light to 150W UPLUX
E27
17,200Lm
32,000h
*Light schedule 12/12 -
6AM-6PM DARK
6PM-6AM light
Dy
*Added filtlizer's to the set .
Day 38 - added water with filtlizer 0.5L .
Day 39 - added water 0.5 L
Day 40 - added water with filtlizer 0.5L .
Day 41 - added water 0.5 L
Well It just pass by me to lolipop so I did it :)
Hope it will turn good . .
Day 42 - added 2 L water with filtlizer's ,I have cut some thin brenches .

Likes
4
Share


@Nastyfish
Follow
I used ghe flora kleen for a few days then plant phed water for a few and chopped yesterday. Next to come is the harvest, can't wait to see the weight off this baby.

Likes
6
Share


@ForbiddenBotanist
Follow
I topped yesterday, watered today without fert. sprayed a mixture of oils on the topsoil for pests.
Any advice or comments always appreciated
-
Likes
27
Share

@TrickzCutz
Follow
Servus Moin!
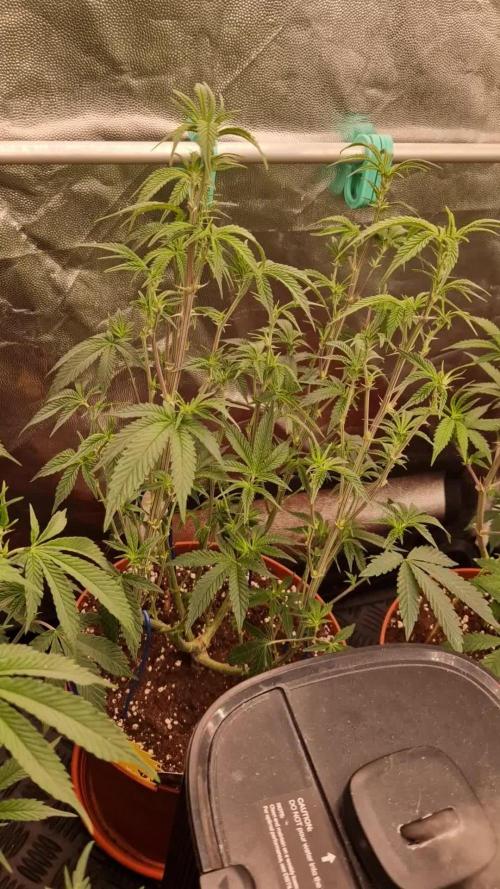
Die Black Orchard hat nochmal ein richtigen Wuchs hingelegt. Bin gespannt wie viel sie noch stretchen wird. Ein paar Fächerblätter wurden noch entfernt.

Likes
25
Share


@OZDAOgrow
Follow
This week I've only been doing LST and minimal defoliation. Next week I'll be doing Bruce Banner topping, since it's a backlog, I'll be doing some experiments on it. I also used on one bush the training method - super cropping (video).
Likes
6
Share


@JohnnyBarrel
Follow
Week 1
Crucial week: plantlet are vulnerable. Vertical stretching; I add some soil on the base of the plants.
No ventilation just air humidifier and heat mat. Light ts 1000 - 25% - 15h
No really watering, just water spraying


