


Likes
Comments
Share


@Guerillafarm
Follow
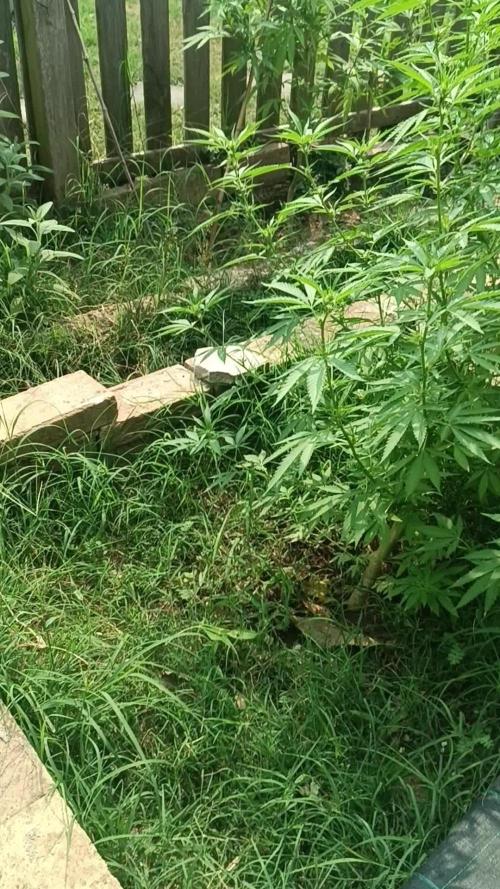
D27 den Haupt trieb habe ich gestresst zum zweiten Mal.
D 28 Die PurplePunch hat etwas Dünger bekommen aber nicht die QuickOne
D 29 ich habe den Haupt trieb mit Kabel Binder zusammen gezogen (weniger Licht).
D 30 + Café Satz 35g (feucht), Bat guano 40g, wurm Humus 40g, Mehl wurm Humus 20g, Hühner guano 25g, Gestein Mehl 15g, Bacteria 0,5g



Likes
8
Share


@HighOhioAn
Follow
She is a little hungry going to try to give her some Cal mag buds are forming nicely stacking is on point nice dense snugs🔥
Likes
13
Share


@FlavoursUk
Follow
So, eventful week.
Prior to putting my seeds into my system, my light and rdwc system was left on as I was dialling in the growing environment before placing the seeds as a final home. My only issue was I had a light leak BEFORE putting the foil top covers on the clay pebbles. Long story short, I got algae which ended up turning to root rot.
I spotted it very swiftly and did a res change adding beneficial bacteria to the system along with the base products of remo nutrients. A few days later new growth and recovery is taking place.
Day 16- Fully back on track, new roots shooting out into the water and the growth rate has picked up as it should.
Foliar feeding twice a day for a little boost until the root system establishes a bit more. Huge changes in just a day. Can't wait to see what a week's growth looks like.
Really loving the sunset/sunrise feature on the trolmaster, something I got to experience watching recently!
Watching by closely to make sure everything stays in track.
Stay tuned for the next one 😉

Likes
23
Share


@AntiGestrecktesGras
Follow
Zum Anfang dieser Woche war ich 3 Tage nicht zuhause. Ich habe die Pflanze vorher nochmal gegossen und anschließend die Lampe vorbereitend etwas höher gehangen.
Als ich nach den drei Tagen wieder gekommen bin, hat die Pflanze einen Riesen Sprung gemacht. Leider sind einige Triebe zu nah ans Licht gewachsen und haben ein paar Hitze/Licht Schäden davongetragen. Alles in allem ist der Schaden meiner Meinung nach aber nur optischer Natur.
Ansonsten wächst die Pflanze unglaublich schnell, ich versuche stetig die Seitentriebe rauszuholen, damit ein ebenmäßiges Pflanzendach entsteht.
Bisher habe ich nur mit Wasser gegossen. Ich denke, wenn die ersten richtigen Blütezeichen einsetzen, werde ich düngen.
Die Lampe ist weiterhin auf 60% gedimmt. Ich frage mich, wann ich anfangen sollte ein paar Blätter zu entfernen.
Likes
28
Share


@Tetiana_Riz
Follow
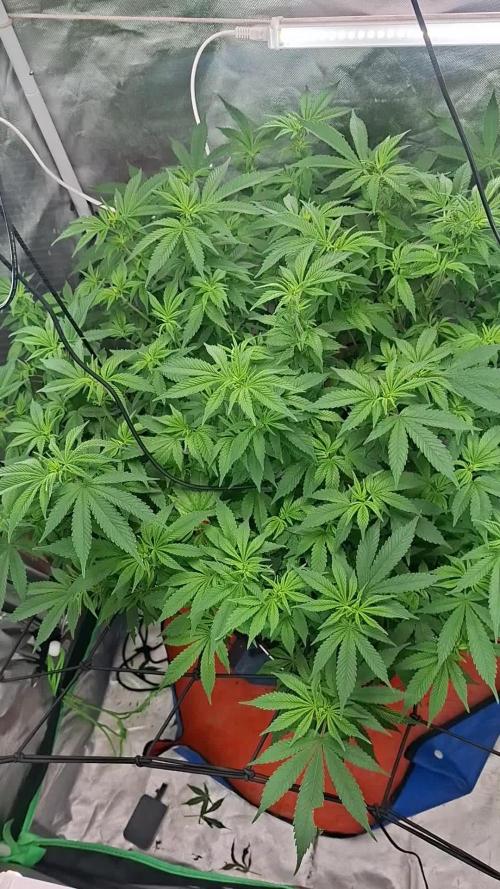
Hello, everyone. We are approaching the end of our journey. Our girl is doing well; we've started flushing the roots, feeding with clean water. Thanks to everyone for not forgetting to leave ratings. Wishing everyone patience and good luck.


Likes
4
Share

@poloq_mauriceloetel
Follow
Environment + Pests + Setup
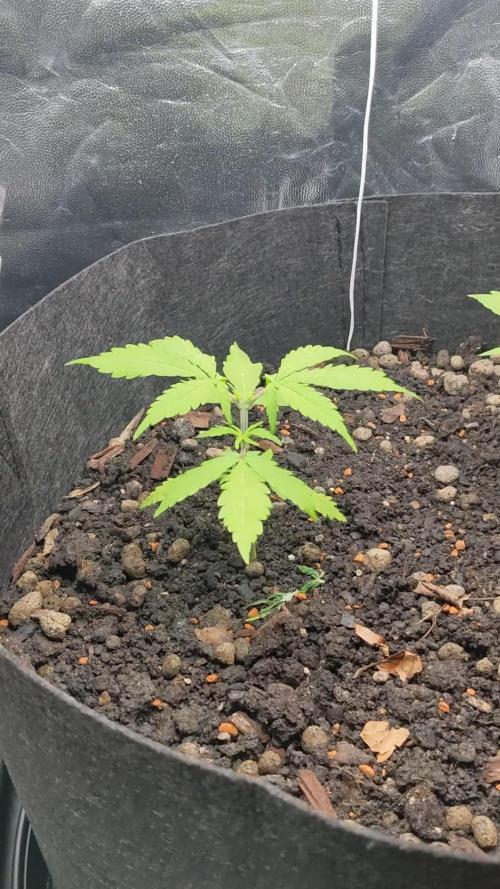
This week (at day 31) I decided to end the battle against fungus gnats. Even after almost three weeks of dried-out soil, dozens of adult insects could be seen, which told me that there were pockets of moisture that I coouldn't influence. Accordingly, I went back to the original plan I had outlined earlier: bring the system into balance and use sand and nematodes. Since I should no longer have any problems with low RH, I have also reactivated the exhaust fan, which lead to the values you can see above.
Nutrients + Environment
From the outset, the plants showed a slight nitrogen deficiency, which was evident in their rather pale, light green color. This is probably due to the fact that the substrate (until now) did not contain enough moisture to allow metabolic and decomposition processes to proceed efficiently. Directly after watering I got reassured that my choice was right and the soil still alive, healthy, and ready to 'get back to work': look at those springtails!
Plants
On day 30, I topped the plants. Both had already formed three nodes and started to develop healthy side branches at all of these nodes. So, according to my plan, I removed the main shoot, leaving enough space for the stump to encapsulate without damaging the healthy plant. I also removed one shoot from each of the middle nodes, as I don't want branches that already grow towards the center (the branches will grow towards the light anyway, and this way I can ensure that there is enough air circulation and room for expansion).
Upcoming:
Start of LST


Likes
5
Share


@alafmalaf
Follow
first day after a 12h night cycle, still have a big gnat problem. gonna go buy new bacteria, stickies and DT Earth. the grow shop just let me know that they got it back in stock but i haven't been able to find nematóides. doesn't seem to be a common practice here. i haven't watered them in a few days. the top soil is bone dry but the plants don't look like they're requesting water just yet so i think it's a good time to lay down the new dt earth and new yellow traps to see if we can kill the remainder. gonna grab some flowering ferts too while I'm at it.
Update:
got a bigger pot and some supergrow soil, only had time to transplant one of them today. but I decided to after them one more cycle before i do the DT earth.
update:
dt earth added, seems to be alright but not quite dry enough


Likes
2
Share

@GoodTimesOrganics
Follow
Hi liebe Community and Welcome Back! 💚🌱 We proud to present the second Strain from Good Times Genetics!
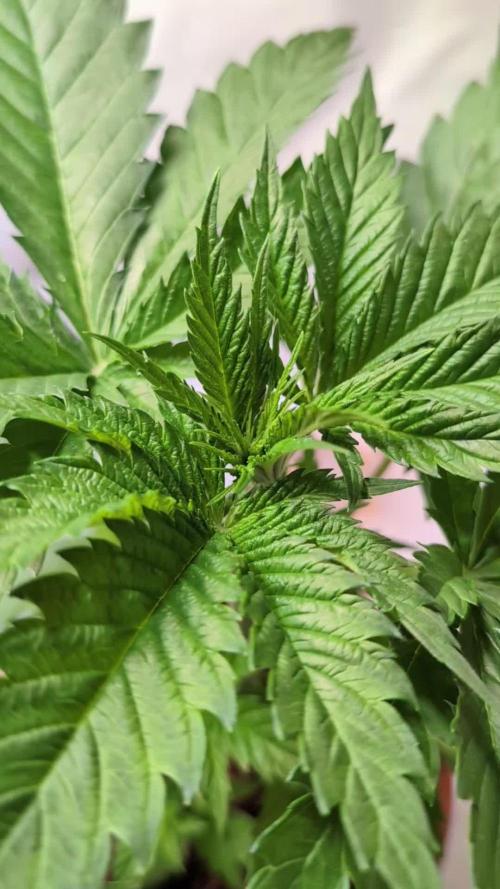
Die Wuchsform der Pflanzen wirkt bis jetzt sehr homogen, es ist zu beachten, dass natürlich die einen etwas schneller wachsen, wie die anderen.
Auch die Stielbreite unterscheidet sich etwas.
Insgesamt wirken die Jungpflanzen allerdings sehr kompakt, was eine gewisse Indica Dominanz vermuten lässt.
Das ist auch so gewollt.
Ich werde immer wieder verschiedene Pflanzen der gleichen Zucht dokumentieren und nach der Geschlechtsbestimmung dann Herausfiltern, welche zwei Pflanzen für die Fertigstellung des Diaries in Frage kommen.
Die Wachstumsbedingungen im Growzelt sind weiterhin am Optimum und Stabil:
———————
🌞 Temp: 23°C
🌚 Temp: 20 °C
💨 RH: 58%
VPD: 0,86 kPa
😎PPFD: 330 mqm
———————
Stay Tuned! 💚
Likes
17
Share


@Starblazer
Follow
Began week 4 yesterday and gave her a defol, she loved it! Her flowers are starting to look really pretty too! Honestly can't wait to harvest this lady.
Processing
Likes
3
Share


@GanjaFarmerGrow
Follow
Dispite having problems and bad conditions she managed to pull through...
I am verry happy with the way she is going after all..
She is very tall and the buds are bending the branches...
she strangly smells of blueberry...
last week of feeding..
hope she goes well...
fingers crossed...
🙏

Likes
14
Share


@Dieselnutz
Follow
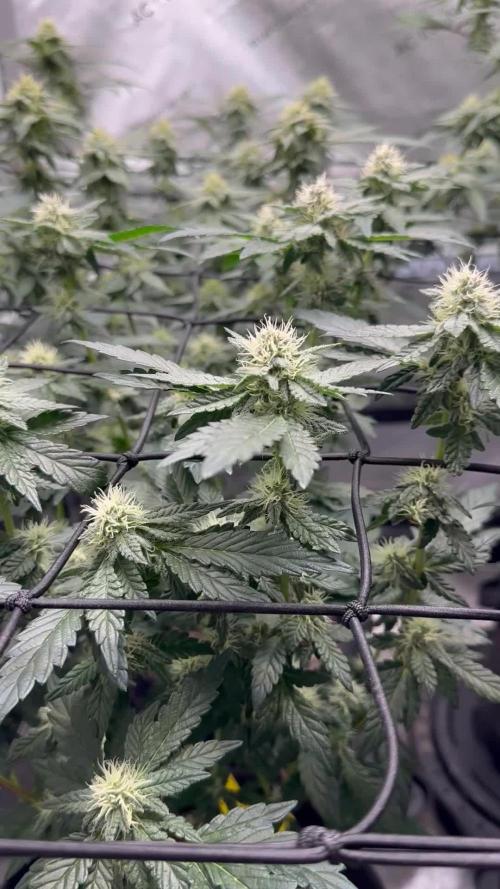
Sorry for the late update been busy with life. Out of the 5 seeds planted only 2 were female. Im almost at 2 weeks of flowering. Loving the structure didnt top plants at all, every one of em bushed out, did do some super cropping before flip to try and open up the canopy more. Getting a nice fuel smell on these girls even in veg. Some very interesting leaf variegation and sawtooth edges on 4 out of the 5 plants. Gonna do a big defoil in week 3 and try n open her up more
Likes
2
Share

@L8bloomr1008
Follow
Did a bigger defol. Adjusted the trellis. May or may not have been watering with too high of ph (7.2) so hopefully microbes have been doing their job.
Likes
4
Share


@blaze_fpv
Follow
Started off week 2 with heavy defoliation // they took it like champs // they instantly started to fill the space again // back right corner is still a bit behind but the rest of the canopy looks crisp 👌🏼
End of week 2 // kolas starting to form up // currently 27° at 60% // gonna lower the temp to 25 very soon // also collecting the water every day and then water them daily // gonna start using green power phosphor booster in the next week

Likes
26
Share


@1Right_Angle
Follow
Feb 11th
Week 8 is off to a good start.
- lite-cycle; 11.5 hrs on, 12.5 hrs off
- reducing rapidstart / CaliMag
- increasing molasses
- Reducing Volume of water > 14L next feed. Only 4 feeds till flush if all goes well.
Feb 13th
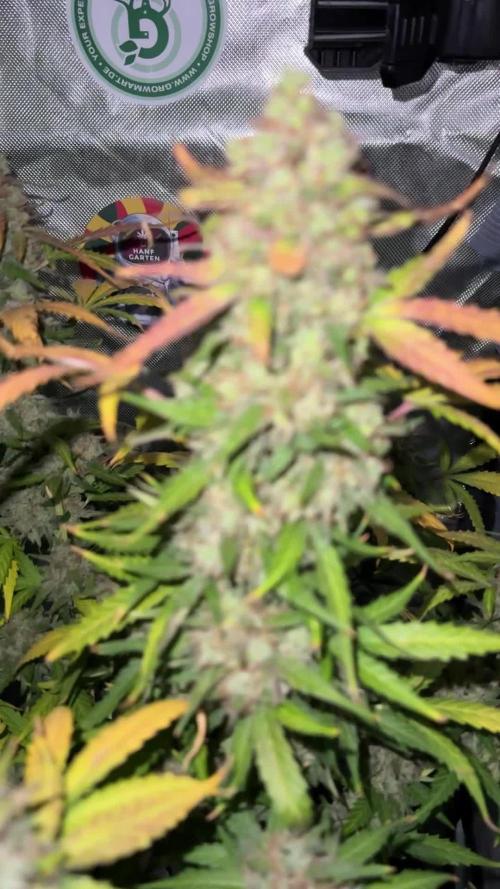
- USB scope shows that there is still a lot of development to come. Trichomes still showing clear in many areas.
- 3 areas were checked & it’s 50/50 with clear / cloudy trichomes. Week 8 of Flower from a proposed 11-13
-no food tonight, soil still damp
15th
- Lite cycle down to 11 hrs on, 13 off
Feb 16th
- reduced UVB time by an hour. Using 5 in total ( 2x 2.5 hrs )
- down to 3 feeds; before flush. Trichomes will be checked 1st
- raised light a bit ~ 19” from closest Bud
- planning Flush
-targeting 40% RH
18th
- finishing week 8 of Flower with a proactive move on shortening the lite-cycle again; 10 On - 14 Off.
Goal is to promote Resin production, Bud-filling and hopefully bring the show to a tidy finish, on-time.
- Took a few pictures last nite, posting later today
- Calyxes really seem to be swelling and filling in

Likes
1
Share
@ReallySavoy
Follow
Final dry weight report (details later):
Final chop was on day 88.
First harvest was 184g of top-shelf from 5 colas. Then another 5 colas brought it up to 300g of top-shelf on sticks — all from the tent.
On the second-to-last harvest I took the rest, which added up to another ~300g including leaves.
Flushed with Terra Aquatica FlashClean (before that I was running Overdrive + honey with the base bloom nutrients).
In total: 3 days on water + FlashClean, followed by a step-by-step harvest and another 6 days just on water.

Likes
5
Share


@CannaBossBizz
Follow
My First diary.
First time growing Fastberry bay Fastbuds.
Hyped af.
Hope for a big plant.
Maybe you'd Like to follow this grow.
Likes
13
Share


@NoVC01
Follow
Moochie's Garden 7/7/2025
Big bluster - "Miracle-Gro/10 gallon, no ph, right out of the well" Wife said phuck Fox farm we are using NPK RAW, using ph watering cans to feed @ 4 gallons each and 5-gallon buckets of ph. watering. Once a week per feed/water. Following NPK feeding schedule.
AzaMax soil drench .4%, 2 gallons each plant. Still spraying neem. Next, mixing Azamax for foliar spray. If I had not taken steps to prevent pests initially, I'd be completely overwhelmed.