


Likes
11
Share


@Growing420Dreams
Follow
En el ultimo riego con producto he bajado la dosis de A + B, he notado síntomas de sobrefertilización en una de las plantas. Se les ha aplicado defoliación quitando el 80% de hojas para facilitar que llegue la luz a los puntos más bajos.
Likes
77
Share


@Roberts
Follow
FBT2309 is doing great under the Mb Medic Grow mini Sun-2. I finally got the ph to stabilize not long ago. She has been growing fast, and strong since. She has started her preflowering. so I expect she will gain some size soon. Thank you Fast Buds, Gen1:11, and Medic Grow. 🤜🏻🤛🏻🌱🌱🌱
Thank you grow diaries community for the 👇likes👇, follows, comments, and subscriptions on my YouTube channel👇. ❄️🌱🍻
Happy Growing 🌱🌱🌱
https://youtube.com/channel/UCAhN7yRzWLpcaRHhMIQ7X4g
If anyone needs to purchase fastbuds here is a link for my affiliate program
https://myfastbuds.com/?a_aid=60910eaff2419

Likes
19
Share


@Mo_Powers
Follow
the 9th week. it's slowly starting to smell. but it's a really faint odour. the trichomes are starting to turn milky and the pistils are changing colour. i think it will be ready for harvesting in 1 to 2 weeks. it still looks very healthy. i hope the next few weeks will be really sunny again. unfortunately it's very changeable weather at the moment

Likes
16
Share


@Tipton
Follow
The stretch has gone nuts... Growth has been amazing... Nothing to really complain about besides they're hungry hungry hungry lol

Likes
4
Share

@JeyGanesha
Follow
Prima settimana di fioritura.spero di riuscire fino alla fine senza intoppi
Likes
2
Share


@RawCare
Follow
Day 23: Second feed today, baby responding pretty nice to her juices :)
Day 27: Had to reinvent something, her aunties are on flowering, thus had to allocate her the attic 🙏

Likes
48
Share


@AsNoriu
Follow
Day 117. Trim jail and heavy upload session for 24 hours at least. Don't like to keep photos, so ill upload each plant separately and will delete them. Phone camera is still cracked and off-focus, but they are all nice !
Day 128. I knew that those plants will be smallest, but Mini was in centre and her buds were still not nuggy nuggy ... sadf .....
#1 67, #2 68 , #3 75 , #4 56. 266 total .
836 from 720W is good, not my best, but good, just that airy quality ....
Happy Growing !!!


Likes
57
Share


@SmokieMcPot
Follow
what do they say about different strains on the same RES, in the same pot??? welp, here goes nothing...
Last time I saw this waterfarm I was still a teenager. Ran it in a closet with two 4ft flouro shop lights either side going vertically upward like the letter "A". Had two BIG ASS plants roughly 4ft tall in it side by side going STRONG! Healthy asf, huge ass healthy leaves, some 13 fingered. Flipped em and turned out BOTH were male... Been toying with the idea of doing it again... So what the hell... Here goes, 2 Girls 1 Cup or "pot"... One Herbies Godzilla Cookies Auto and one Fastbuds Wedding Glue Auto.
Current setup:
-36x36x60 tent
-"1000w" led light (130w from the wall)
-4in extraction fan/scrubber
-20+ yr old GHE Waterfarm fitted with ice probe w/ controller and PLENTY of insulation around RES.
-Multiple circulation fans
-Taotronics humidifier
Stay tuned to watch me fuck this up too 🤣
*Sow'd em both in organic peat pellets after a 24hr soak. Getting them acclimated to their new home early. Doing environment tests and dialing it in with the new to me ice probe, and the change to hydro versus soil plants that were in there. Will be more moisture in the air until a canopy covers my balls with the evaporation from the light.
**lookey lookey, BOTH have come to life and are making way to the surface. Not long and they'll be in their new "cup". Last update on germination week as once they pop we start counting I suppose.
Processing
Likes
47
Share


@Growdaddy420
Follow
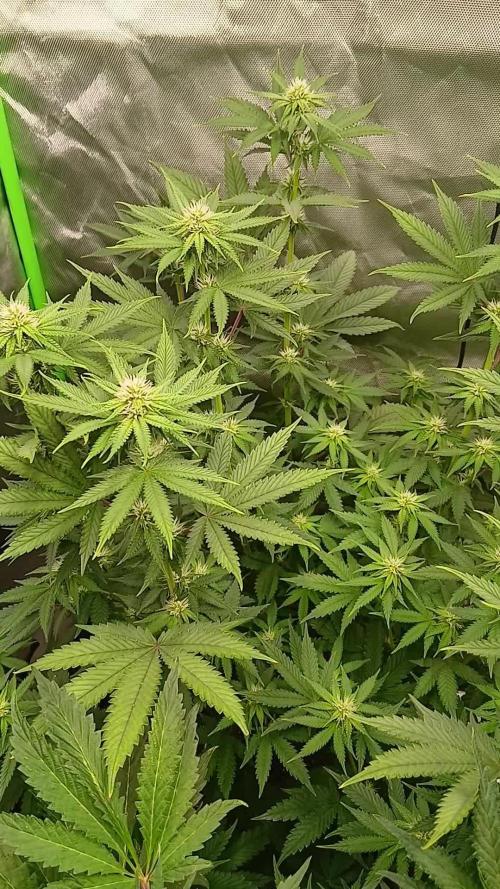
Hey guys, I'm in bud heaven right now. Everything is maturing, lots of dense crystal covered buds forming everywhere. The Cinderella 99 is the slowest to flower and is still stretching.
Do si dos is in full flower. Beautiful tight resin covered nugs. Going to be a nice early finisher, finishing mid-late September.
I am keeping an eye open for mold and mildew. Treating the plants weekly and closely monitoring. The slower flowering plants won't be ready untill mid October.
Happy with the results and mother nature so far. Until next week farmers!

Likes
7
Share


@Mokorelsare1
Follow
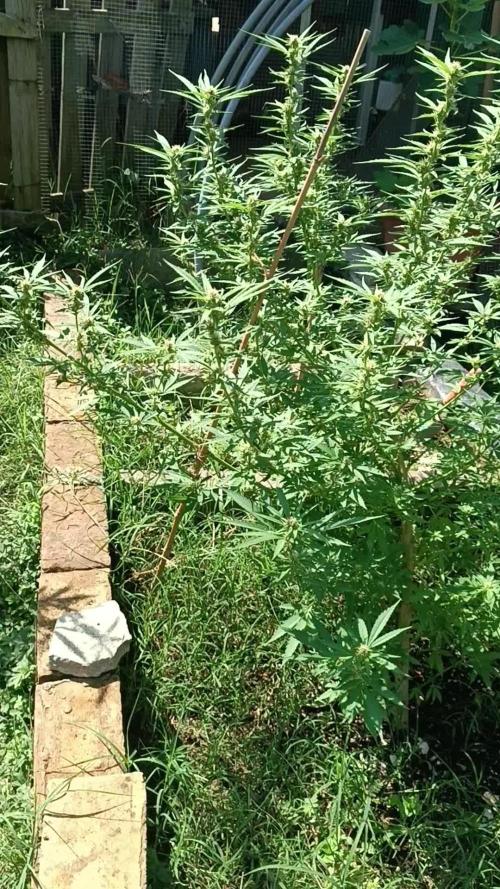
Hello let's call this first week of flower, she started to smell a little bit, also startet stretching, very strong plant!
Have some Phosphorus deficiency (curled discolored leaves, yellow leaf tips) so i'm feeding half dose of Big Buds from Advanced Nutrients (NPK 0,1,3), let's see how she reacts.
Day 30 TRYING TO FIX PROBLEMS BEFORE IT'S TOO LATE:
Magnesium deficiency - yellowing between leaf veins.
Phosphorus deficiency - curled leaves, yellow leave tips( nutrient deficiency overall) slow growth.
Calcium deficiency - small rusted dots on the middle aged leaves.
Ph was kinda high 7.1
Fix the problem:
I've added 1.5ml/l Calmag
0.1.3 NPK 1ml/l Big buds which will give plant its nuteients.
And water PH 5.5 to lower overall soil PH.
I think she will bounce back in a few days!
Day 34 and we are back on the track! She's been recovering and stretching very well, soil PH is 6.6 for now
Day 35 end of frist week of flower, 10cm stretch in 7 days.
Likes
8
Share


@Growformyself
Follow
Bin echt sehr zufrieden und erstaunt, wie gut sich die Mädels gemacht haben. Und erstaunlich, wie die nach 22 Tagen schon riechen… bin echt gespannt, wie lange es noch bis zur Blüte dauert


Likes
4
Share


@High_Class
Follow
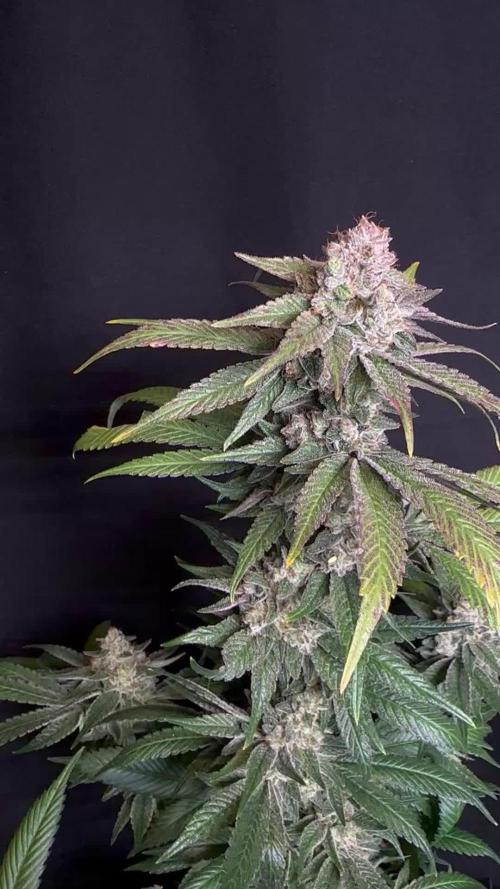
This Blue Dream grow was my best looking one. Can't wait until it's dry to sample it. The P1 clone turned a peach color, and the P2 clone turned purple.

Processing
Likes
3
Share


Likes
10
Share

@TrickzGrowz
Follow
Servus Moin!
Die Blucci OG entwickelt sich super. Ich bin gespannt, wann ich sie toppen kann und mit dem Training starten kann.
Likes
8
Share


@JamaicanDream_420
Follow
De momento hubo dos que germinaron mal y seran repuestas por otra Gorilla cookies y la otra por una cream caramel auto,fallo tambien una northern,por lo demas todo bien,segundo riego desde germinacion con poquito de calmax y gooooo..Segundo riego de la semana a 50ml x planta aplicando algun nutriente pero sin subir mucho la Ec a 0.69,hasta la proxima semana budyyes
