


Likes
Comments
Share


@TowersD
Follow
I put the plants under the Electric Sky 180 V2
I kept only 4 plants because one was growing really slow compare to the others and another turned out to be a automatic plant so i took it away as well.
I am keeping 2 phenos of the Nanaz x BBC and 2 ot the Humboldt Headband.

Likes
11
Share


@Smokeitup091191
Follow
This week seems to have gone fine no major problems to document. Girls are growing strong. Wouldn’t say it been a speedy process going into flowering but I have done some extensive training so that could be the reason for slower growth. Going to leave them alone now let them do there thing this next coming week

Likes
4
Share
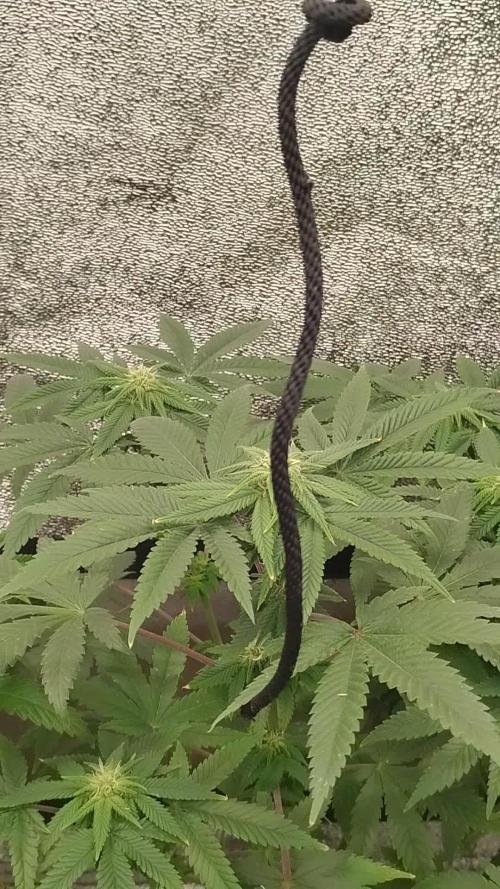

@AestheticGenetix
Follow
Looks great. Late update. New update in a couple days. Stay tuned.

Likes
50
Share


@AsNoriu
Follow
Day 85 since seed touched soil.
Trim jail !!!
2.4 meters of hanging frosty buds and air ;))))))
Happy Growing !!!

Likes
5
Share


@AlienCannaKing
Follow
When the lights are off I will post another video so the green is easy to see!

Likes
8
Share


@TheNug
Follow
loving her except still tring to figure out what it is biting away at my plant or if its just light damage, its just this side

Likes
8
Share


@Back_woods_buds
Follow
Definitely glad I picked this one to KO first since it’s an easier strain since I’m still trying to learn the whole organics thing but a few more and I should be able to produce something a little better I hope lol

Likes
7
Share


@Famtreez
Follow
crazy week found drain gnats which explains the green hue of some of my plants the larve are attacking the roots raising the p.h. and the diffecencies are showing in the leaves being lighter and or brown dots on the leaves. using mosquito dunks and spraying neem oil washing the roots to help these ladies out. also im doing things different with the soil vs dwc, i havent done much if any defoliating with potted plants just letting them grow only mainlined once and since in flower very light if any defoliating. any questions comments information feel free to ask or inform im open to critque
Likes
9
Share


@ZanderZone777
Follow
Another great week spreading and training the arms to fill the screen. Screens almost full! Flipping to 12/12 in a few more days. She's in a 1 gallon Geopot by the way.

Likes
17
Share


@Elcoquigrow
Follow
Logramos rellenar casi todo el espacio, muy contento con el proceso siendo mi primer scrog.. esperamos que formen todos los puntos de floracion para realizar última defoliacion y raleo ✌️🏾👨🌾🏾


Processing
Likes
4
Share


@Andres
Follow
new crop ... we'll see how it grows ... outdoors....let's see what she offers us outdoor ... and what color she can show us ...

Likes
5
Share


@CK-OrgGrow
Follow
Woche 10
Blüte Woche 6
Die Money Maker von den Strain Hunters ist jetzt in der 6ten Blüte Woche.
Die Blüten Entwicklung geht endlich richtig los.
In der Woche habe ich die Money Maker einfach wider wachsen lassen und habe sie nicht gestresst.
An der Nährlösung habe ich in der Woche wie die Woche zu vor nix verändert.
Bei Fragen einfach die Frage stellen, genauso bei Verbesserungen und Tipps für mich.
Danke und viel spaß mit euren Pflanzen.

Likes
105
Share


@BioBuds
Follow
FastBuds - Forbidden Runtz Showdown
We started another grow. This time we are going to start off with 2 sets of two auto's, after which we will start in three regulars right away. So we will double use the 18-hour schedule and try to save power that way.
In addition to this challenge, we are going to do a Runtz Showdown between two respected breeders with comparable strains. Her opponent will be... drumroll: the Runtz XL Auto by Sweetseeds.
Let's see where this will bring us. We did some witchcraft since we sowed the seeds by moonlight, on Imbolc; the pagan day of celebrating Bridget, the Goddess of Spring, we dedicate this grow to her. We asked for abundance and health, love and happiness and put the seeds in the ground.
The Soil
Of course, we started in our trusty organic super soil or living soil, I will include the recipe again for anyone wanting to emulate it.
The Light
And to help us again to hopefully get way over 600 grams this grow with the total grow of autos and regulars, the SP 300 by Mars Hydro will be helping us out again!
The Genetics
Fastbuds Forbidden Runtz
Taste: Earthy, Fruits, Sweet
THC: Up to 26%
CBD: < 1%
Harvest EU Indoor: 450 – 550 gr/m2
Harvest US Indoor: 1.5 – 1.8 oz/ft2
Harvest EU Outdoor: 50 – 150 gr/plant
Harvest US Outdoor: 2 – 5 oz/plant
Size: XXL
Height: 90 – 130 cm
Height US: 35 – 51 inches
Flowering: 9 weeks
Room: Indoor/Outdoor
Gender: Feminized
Genes: Sativa 35%/Indica 65%
Genetics: Forbidden Runtz Auto
Autoflowering: Yes
Thank you for checking out our new grow and for following!
Big Hug Biobuds and Sunshine.
Likes
45
Share


@KrautFabrik
Follow
Day 54: added some nematodes to kill the fungus gnats
Day 56: nutrients like plan
Last feeding
Pictures are taken on day 56
---------------------------------------------
She develops great buds and is getting some nice colour😎👍 she is the Queen of this run 😁
Happy growing 🍌🌱
Likes
21
Share


@Lazuli
Follow
This plant starts to turn dark purple , other plants in the tent stay green
She flowers faster then any auto ive grown, i like the leaf to bud ratios the whole structure of the plant is so easy to grow and flower, its not too warm now (22 celcius light on and 16 light off)
i hope she puts on good weight it smells very sweet and heavy hints of coockies
Likes
5
Share


Likes
2
Share


@Alphunsus
Follow
Amnesia HAZE:
The effect and the taste:
What do you think as an indica sativa effect, well as the name says Amnesia Haze you will forget everything, you will be as relaxed as ever, some of my friends have happened to completely forget everything : where I am who I am and where I liv, But right after that, happiness and relaxation, You have to take it well. (I also do the brownies from amnesia haze was so fucking stoned was good for first minutes but pay attention the amount you eat and the grams i make a cake of 7 gr of amnesia and eat so much,
you have to take it a little at a time , because u get stoned after 30/60 minutes!!! don't exaggerate )
GOOD very very good the taste is so good the smell is like a perfume like a big bubble or something was a good smell that every time i I was breathing very hard because i love it,
The plant:
The cold and humidity was my enemy but i defeat him with lamp hps + dehumidifer + fans , probably i can do better if know that problems
also my first time with feminized i think the plants need more and more water when switch to flowering stage and from vegetation i wasn't secure that that much water was good now i know that ! 💪😁
Likes
12
Share


@Zer0xKira
Follow
Everything is going smoothly she is growing strong and healthy. Not much to say I've just kept to my schedule of changing water weekly.
Took some pictures with my camera instead of phone for this week
