
Likes
Comments
Share

@Earthsower
Follow
At the end of week 8 the BMR is showing signs of further yellowing of the leaves could be the plant has used up all the nutrients in the substrate. The bracts are swelling up and the try chromes and more clear looking like 60%. The lady will continue to receive pure balanced phd water until the end of her bloom cycle!


Likes
12
Share

@HowtoBubatz
Follow
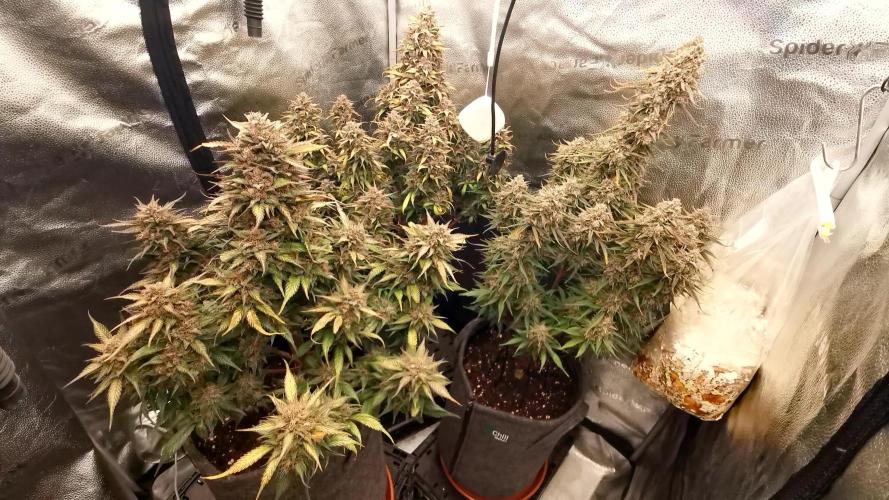
Unfortunately I lost some of my timelapse footage and the harvest shots of the plants hanging, so I only have the week 10 pictures left.📸
Still, this run with Ztrawberriez Auto was smooth and very enjoyable.🌿💚
All three plants finished in about 11 weeks from seed to harvest.
The aroma and taste came out pretty much the same across the whole run, sweet, fruity with that little pink pepper twist, a really unique profile.🍓
#1 was the biggest and most compact of the three, with very dense, stacked flowers.💪🔥
#2 and #3 produced slightly fluffier buds, but still frosty, aromatic and with great bag appeal.🌸
I gave them all 48 hours of darkness before chop, then trimmed and hung them up. After 9 full days of drying they were ready for trimming and went into jars for curing.
The final result: beautiful, resinous flowers, consistent in flavor, with some variation in bud structure but overall great quality 😍.
Even without the missing footage, this run left me more than happy 🌟🌿
Likes
25
Share


@Cdaddk
Follow
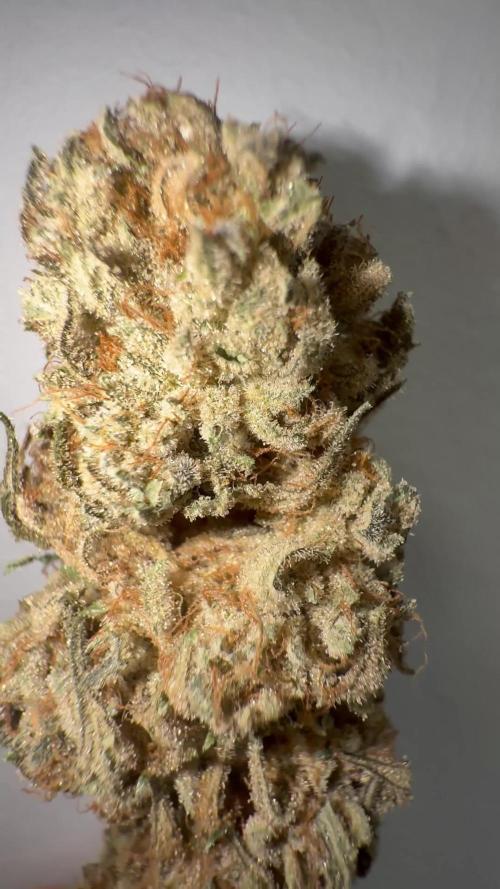
I will begin to look trichomes next week so I know when to remove all nutrients and give it a final flush i like a good % of amber trichomes 👍💨💨

Likes
34
Share


@Fronti89
Follow
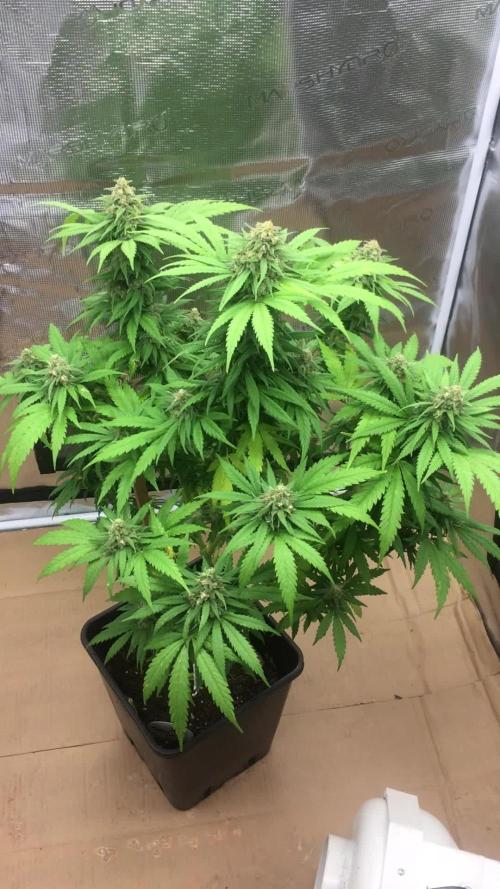
4 Woche nach Aussaat :
LST ist gut verlaufen und die Kleinen wachsen prächtig 😊.
Sind jetzt am ersten Tag der 4 Woche zwischen 20 und 22 cm groß !
29.03. : Heute wurden ein Paar kaputte Blätter abgeschnitten !
01.04.21 Tag 27 :
Viele neue Seitentriebe gewachsen ...Blüte ist am kommen !


Processing
Likes
13
Share


@Hawkbo
Follow
Pics were taken Monday on day 42, video taken Tuesday on day 42. Not much to report just starting to swell up a little bit.

Likes
20
Share


@Green_Dream
Follow
The progress is visible looking at the timelapse video, which I'm happy for, considering the events of last week.
It's disappointing though to see the huge difference in size between the Criticals and the GZkitzs, the Criticals are 3 times larger.

Likes
13
Share


@Skinnytalls420
Follow
Day 16-27/12/21 still looking good haven’t got room in the other tent yet to remove some from this one but will in a couple days!!! Day 20-31/12/21 all looking good I’ll move half of them to another tent soon!!!!


Likes
2
Share


@CanadianFillmore
Follow
Start of 12/12 light cycle, round 2 with the citrus skunk strain. Increased feeding to 6L per plant (water + nutes), hopefully this increase will keep the plants healthier throughout the grow.

Likes
18
Share


@Luca90
Follow
Week four was definitely the week when the plants started to really grow bigger, I started some LST at my way cause even if I check thousands of videos I end it up doing what I thought was better for my plants, I perhaps was a bit late so it wasn’t stretching as I thought it would have, maybe I shouldn’t have wait this long, but again first time learning a lots.. I let the plant grow with LST only in week 4 in week 5 I introduced a scrog I made myself cause I thought that I couldn’t keep doing lst because I started too late
Likes
24
Share


@JaeMack
Follow
The weight documented above is dry weight, not wet weigh. I wouldn’t dare disappoint myself by doing a wet weigh.


Likes
13
Share


@GrowerGaz
Follow
Just water and some LAB , FAA this week. The FAA is Fish Amino Acid or fuel as I prefer.


Likes
17
Share


@MasterKush714
Follow
SO UPDATE GANG!!!!
The girls are looking great, So far so good!
The grow setup is taking them to levels beyond what i could have done on my own
But like i said before its a learning process so im fine tuning things and we getting there lets GOOOO!!!!!

Likes
11
Share


@samuraifroggig
Follow
Flushed twice this week 4gl of RO then added 1 gal of 40% nutes right after.

Likes
21
Share


@MiyaguiOkPolilla
Follow
Hola amigo de cultivo!
Han pasado tres semanas desde el transplante de esta pequeña, creí que tendría una mala noticia al subir la ultima vez dado que pasaron 3 semanas sin lluvias, pero sin duda que ha sido muy gratificante llegar y encontrar este color en las hojas, el suelo se mantiene perfectamente gracias al Bactogel de Agrobacterias y mantiene la humedad perfecta.
La capa de mulch no deja calentar el sustrato y la planta es muy resistente que es lo importante.
Sinceramente estoy agradecido por todo esto!
Un abrazo grande para todos 💚☘️💐

Likes
11
Share


@AestheticGenetix
Follow
Looking good. Trying to get over the leaf necrosis. I probably over fed them. It seems the shorter stalkier, indica style plants are handling everything a little bit better than the taller more stretched out ones.
Maybe it's just a genetic sensitivity to overfeeding?
Likes
10
Share


@iLoveGoodWeed
Follow
She has reciver very well and now growin tall. Looking foward on what will come out from this CBD strain so I can make some CBD oil
Likes
3
Share


