


Likes
Comments
Share

@Targona
Follow
Hello GrowDiaries friends.
74 days since my little girl sprouted from seed/harvest time🌱
Technical and general parameters from the breeder Original Sensible Seeds:
OG Eddy Lepp Auto 💚🌺💚🌺
Growing OG Eddy Lepp Auto by the breeder:
OG Eddy Lepp Auto is a cannabis strain created in honor of medical cannabis activist Charles “Eddy” Lepp.
With a predominance of indica, it produces dense spherical buds with a rich dark green color and a touch of dull brown, which highlight the bright orange pistils that sparkle like flames. From seed to harvest in less than 70 days
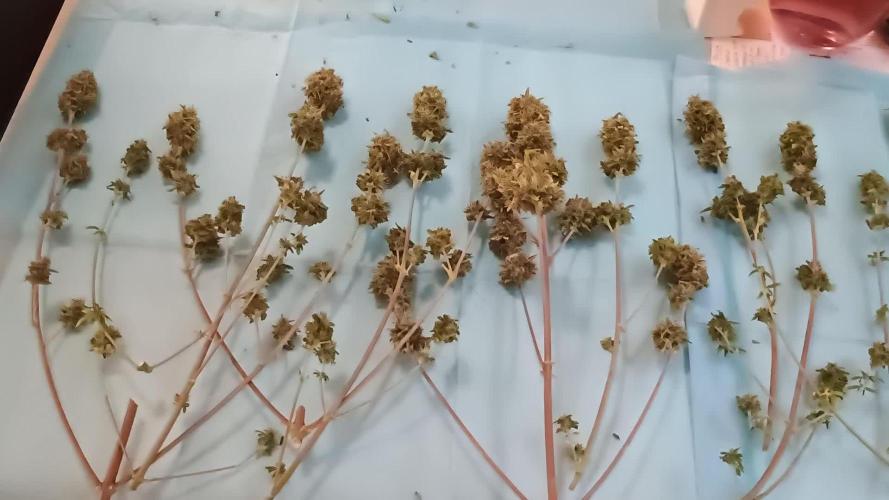
My experience: I made two major mistakes when growing - high pH at the beginning of flowering and over-fertilizing during one watering 💩💩 It affected all the plants in the tent. Some more, some less. This plant was one of the more resistant ones. Autoflowering plants are very sensitive, this strain did very well in this test. I really like it and it has incredibly hard and thick buds 💚🌺🌱 I am really very happy with the harvest result 👍🌞
OG Eddy Lepp Auto strain data sheet
Brand: Original Sensible Seeds
Parents: OG Kush × Grape Ape × autoflowering genetics
Genetics: Hybrid 50/50
Flowering type: Autoflowering
Flowering time: 60 - 70 days
THC: 22%
CBD: Low
Terpenes: Dom. terpene: Limonene
Other: Myrcene
For growing I used:
----------------------------------------------------
Growing tent Mammoth PRO+ 80: 80x80x180 cm
1x circulation fan: 15 W 🌬️
LED lighting: Mars Hydro TS 1000 - 150 W - vegetation and flowering 💡💡
Exhaust: duct fan - RAMTT100 🌬️
Odor filter: carbon filter PRO-ECO HF 160-240m3/h - 100mm - maximum air flow up to 240m3/h
4x Airpots 11 l
I mix the substrate:
Biobizz Lightmix + Perlite + Coco coir
For sale here 👇👇👇👇👇👇👇👇👇👇👇👇:
⚡⚡⚡⚡⚡⚡https://originalsensible.com/original-sensible-seeds-og-eddy-lepp-auto~22667 ⚡⚡⚡⚡⚡⚡
Thanks for the likes :)
See you soon 😍😍

Likes
3
Share


@Saintgrower
Follow
Just got these cuttings and they’re 2 weeks old in living soil. Gonna wait a couple of days then repot in coco with dots, guano, castings and recharge.
Likes
32
Share


Likes
295
Share


@Ju_Bps
Follow
Hello growmies 👩🌾👨🌾🌲🌲,
👋 The girl is almost done, Trichromes not ready, so one more week to harvest
Buds keep maturation and senesence started, more and more Yellow leaves.
Starting flush.
💧 Give water each 2/3 day
1.5 l Water + Bloom + Green Sensation + Sugar Royal (5 + 1 + 1 ml/l)
1.5 l Water + Flash Cleaner (3 ml/l)
PH @6
💡Mars Hydro - FC 3000
50% 48 cm.
Mars Hydro Fan kit
Setting 8, start to smeel à bit out, so I've up.
Have a good week and see you next week 👋
Thanks community for follow, likes, comments, always a pleasure 👩🌾👨🌾❤️🌲
Mars Hydro - Smart FC3000 300W Samsung LM301B LED Grow Light💡💡
https://www.mars-hydro.com/fc-3000-samsung-lm301b-led-grow-light
Mars Hydro - 6 Inch Inline Fan And Carbon Filter Combo With Thermostat Controller 💨💨
https://www.mars-hydro.com/6-inch-inline-duct-fan-and-carbon-filter-combo-with-thermostat-controller
Anesia Seeds - Deep Jealousy Auto🌲🌲
https://anesiaseeds.com/product/deep-jealousy-auto/

Processing
Likes
27
Share


@CannaBury
Follow
As week 8 started, buds are gaining size. Plant is drinking lots of water. About. 3/4 a gallon a day to day 1/2. Added a second light to setup now. Hoping to help the flowering buds with extra light. Relocated my fan to help circulate air flow around more of the taper colas. Should have a around 3 week a left til harvest. Can’t wait to see how this first grow turns out and what to learn from it overall at the end.

Likes
31
Share


@Cultivate
Follow
Struggled keeping humidity up I think it’s my filter but I don’t know. Tried most tricks in the book and had to invest in a humidifier ( not the best either). I know it’s frowned upon to use foliage spray sometimes as it can cause mould/light burn but my humidity levels are some what in the middle

Likes
153
Share

@Ju_Bps
Follow
Hello my friends 👨🌾👨🌾,
All was OK this week,
Weather are OK, so humidity and temperature are coorect.
I've stop fertilizer, because in this start week some leaves looking more and more burned. I've probably make a mistake end previous week or this week.
I give only Water, around 1.5l each 2 or 3 days PH@6
Plant will probably ready for harvest untill 2 or 3 weeks,
Thanks to Mars Hydro for the TS1000 and Royal Queen Seeds for seeds ❤️❤️
https://www.mars-hydro.com/ts-1000-led-grow-light
https://www.royalqueenseeds.com/autoflowering-cannabis-seeds/537-mimosa-automatic.html
Have a good week end my friends, See you next week 👨🌾👍🌲

Likes
24
Share

@Samsationalseeds
Follow
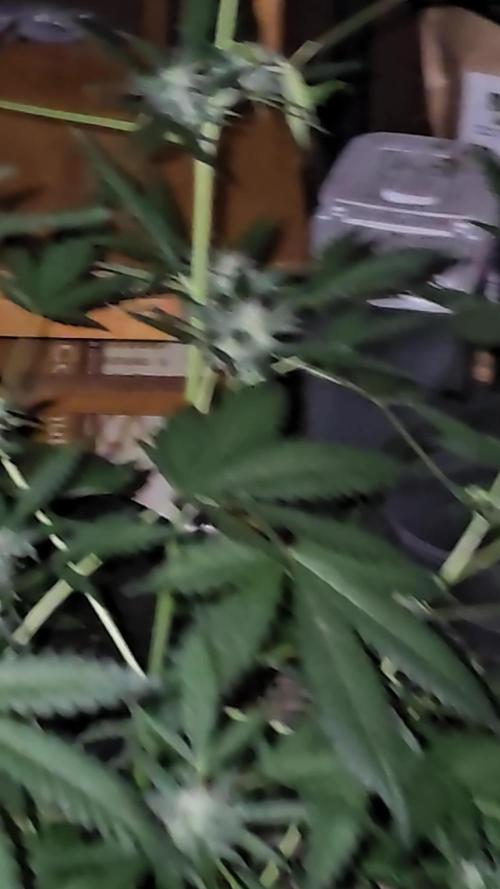
I am ending it and calling a harvested plant from here on the cherry cola auto.Because she is successfully making pollen.The other one that was in deep water culture had a severe case of white powdery mildew, but that's because I crowded the tet too much.And gave her no airflow human error and I just can only improve pretty glad and happy about this whole grow.The rest of my autos and shrains will come down.But not be a part of the grow log, it's done from here. Let's really hope I can place in one of the categories for the american auto cup friends


Likes
2
Share


@Easygrower
Follow
Hello growers day 22 with the hulkberry auto what can I say but wow this girl is really taking off the stem and branching so thick and strong very impressive in 22 days I see her first pistols yesterday so iv added biobizz top max / bio heaven 2ml of each to the mix the 4 other girls I have in 6.5l it’s are doing well 2 of them are just like the 1 in the 11l pot doing very well but 2 are abit slower all in all a very good week iv also been trimming the lower big fan leafs through out the week just to help them breathe thay are growing some big ones so snip them off that’s all for this week be safe and happy growing
Likes
5
Share


@HegauHillsFarmers_D23
Follow
In dieser Woche haben die Blüten an Größe dazu gewonnen.
Auch Trichome bilden sich jetzt um die Blütenblätter und der Geruch wird langsam stärker.😳
Vorallem süße und Zitronen Terpene sind schon heraus zu riechen 🍋🍬⛽️
Ich habe jetzt den Blühstimulator etwas reduziert und dafür Overdrive dazu gegeben, denn jetzt wird es an der Zeit die Blüten zu mästen.😏
Leider sind die braunen bis rostfarbenen Punkte auf den Blättern nicht verschwunden.. es hat sich aber zu letzter Woche verlangsamt.
Ich halte den pH-Wert weiterhin etwas höher wie zu Beginn und hoffe das es so stoppt.
Den Blüten hat es weiterhin noch nicht geschadet.🌱🍀

Likes
69
Share


@DeepWaterGrower
Follow
[DAY 43] - 13/07/2022
- Temp. 29° / RH: 50/60%;
- EC 1.3; PH 6.3 - In the next few days:
a) I will gradually raise the EC up to 1.5, first with a large addition of CaMg+ (up to 3/4 ml/L), then moving on to the full pre-flowering feed;
b) I try to keep PH at 6.0 to improve the absorption of cal-mag;
- Lamp: 80% (120 watt) - 50 cm away from the center of the net - 18/6 cycle;
- Many leaves seems to be too green, almost dark green, we'll see next days how plant grows and fix if needed;
- I widened the canopy a bit outwards through the scrog net, I hope it will help the light penetrate better in the center;
- I also removed a single leaf that was very large and which from day one was blocking all the light in the center of the net. I was certainly wrong not to remove it before, which is a lesson to me for the next runs.
[DAY 44] - 14/07/2022
no update, just uploaded pics
[DAY 45] - 15/07/2022
- 28°/29° C - 45%/50% RH (dry day);
- PH 6.0/6.2 - EC 1.5 (1.1 preflower blend and 0.4 only CALMAG due demineralized water);
- Lamp: 80% (120 watt) - 40 cm away from the highest point of the plant - 18/6 cycle;
- A bit leaf tucking today - This weekend I'll remove the ties;
- Center of the net is slowly filling up, new small branches are popping up and I hope they can fill that central hole.
[DAY 46] - 16/07/2022
- 29° C - 65% RH (wet day);
- PH 6.2 - EC 1.5 ;
- Since yesterday almost all the new leaves are growing showing signs of some problem (look pictures). Some deficiency? Excess of nutrients? Other? I ask with a growquestion and hope to understand more about it. Fingers crossed 😐
- Thanks to the advice of @Chow_13 and @SwissKush I realized that the leaves were signaling me to start flowering nutrition right away, the plant is starting to require more P and K.
I just replaced the solution in the DWC with 8 liters of bloom nutrient. In the evening I upload some pics to show how plant reacts.
[DAY 47] - 17/07/2022
- 29° C - 65% RH (wet day);
- PH 6.2 - EC 1.6;
- I just regenerated the CO2 tanks and I decided to put them outside the box because they are too bulky (the tube through which the CO2 passes is inside the grow box).
[DAY 48] - 18/07/2022
- 29° C - 65% RH (wet day);
- PH 6.1 - EC 1.7;
- TS1000 40 cm away - 80% (120 watt);
- New leaves are growing well.
- Removed the branch tie;
- Found an ant on the log, but how the hell did you get in?
[DAY 49] - 19/07/2022
- 29° C - 60% RH ;
- PH 6.0 - EC 1.74;
- TS1000 40 cm away - 80% (120 watt);
- Plant is drinking about 1.5 liters of solution per day. I'm trying to keep the PH below 6.1, at the moment it is 6 and tomorrow I try to lower it to 5.9 / 5.8; I highlight how the solution inserted on 16/07/2022 had EC 1.6 and today the EC is 1.74, it has slowly risen over the last few days. For the moment nothing alarming, I see how it proceeds and if so I intervene;
- Removed the 2-3 liters still in the DWC and inserted 8 liters of new solution: EC 1.37 - PH 5.9. The plant was not drinking well, the EC was continuing to rise and tomorrow I start the new week, so I anticipated the replacement of the solution.
EC 1.6 was too much? Or the plant was not yet ready for a full flower blend? I don't know, let's see how it goes with the new solution.
Likes
14
Share


@GandalfsHat
Follow
I would ideally have let these go for another week (if not 2 for the imperium) but my cuttings are in serious need of transplanting due to cold temps and becoming rootbound so will see how they fare on the next run given a full 10-12 weeks
Processing
Likes
8
Share


@Spgrows
Follow
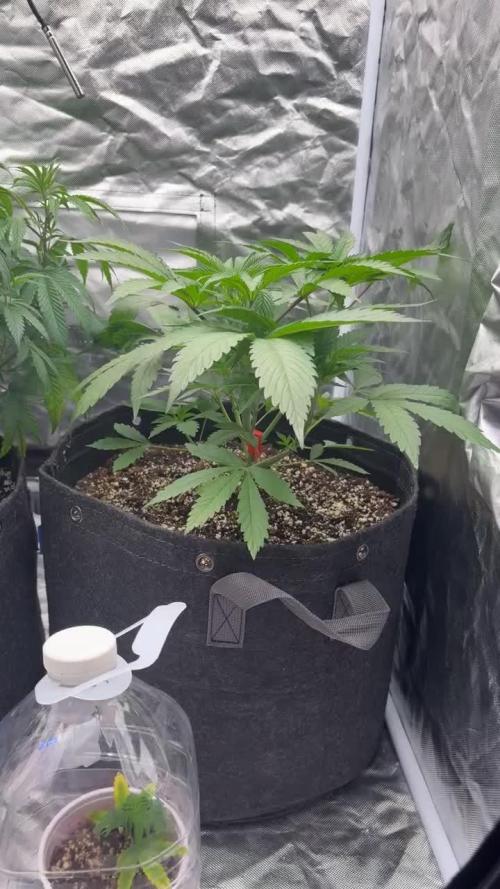
New light caused massive growth!
Definitely stronger and cheaper than the last light


Likes
6
Share


@Bogosi84
Follow
Pure instinto non sbaglia mai...
Ottime genetiche.
Fertilizzanti Noveral... Prossimamente testerò qualcosa di mio.. miscela di aloe vera...con un macerato di ortiche menta ...

Likes
Comments
Share

@gr3g4l
Follow
Inicio de semana tranquila.
Final de semana tocaria poda de bajos y de chupópteros pero se dejó para el siguiente dia, dia 22 .
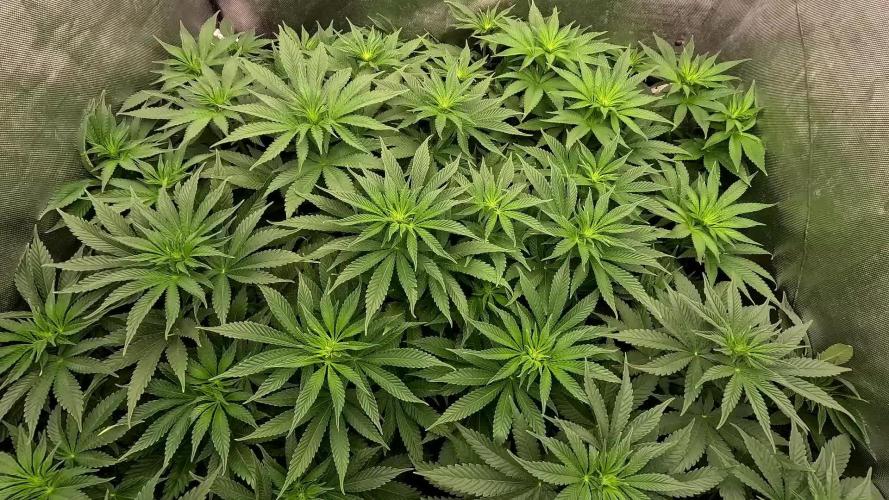
Da gusto cultivar semillas bien estabilizadas, que todas parezcan sacadas de un mismo patron como si fueran estas esquejes de una misma madre. Me encanta xd. Por ahora un crecimiento muy parejo, veremos si seguiran igual de parejas a partir de la poda de hojas y chupópteros que hay que hacerles.


Likes
435
Share

@Ju_Bps
Follow
Hello my friends grower 👨🌾👩🌾🌲
Week was good, baby's looks healthy,
I keep 26°C Night and Day
Plants are under glass to keep a maximum wet.
My lamp is a bit more min,
I give water each day with my vaporisator 1 time,
Water + rhizo PH @6
Thanks community for follow, likes, comments, always a pleasure 👩🌾👨🌾❤️🌲
Mars Hydro TS 1000
https://www.mars-hydro.com/ts-1000-led-grow-light
Gorilla Girl F1 fast version
https://sweetseeds.es/en/photoperiod-dependent-seeds/3065-gorilla-girl-f1-fast-version.html
See you next week my friends
Have a good week end 😁💕
Likes
43
Share


@Sabac
Follow
16 plantitas maravillosas
Dieron un resultado excelente
Aromas y sabores intensos
Plantas de cores sorprendentes.


Processing
Likes
18
Share


@eldruida_lamota
Follow
Buenas tardes familia, actualizamos la semana de las northern light xL, e de decir que es la más lenta del proyecto, aún así se ven como se forman unas buenas flores, por lo general compactas, iremos viendo por que todavía las va quedando.
PH Muy controlado , a estas alturas por encima del 6,2.
Ya les quitamos productos y pronto lavaremos raíces.
