
Likes
Comments
Share

@Pyrogrows
Follow
Just a little night shoot of my babies. They're still going like hell. The white gorilla haze has been cut and is drying now. Sadly had to cut that one early due to rot. The critical whites have about a week or 2 left and i'm super exited how they'll look by then.


Likes
10
Share


@CVK31
Follow
Went back through my calendar and found that today is first day of week 11 above the soil. Plant is doing really well, som3 of the large lower leaves are getting crispy-curly. Buds are very dense, mostly orange curled up hairs. Mostly cloudy with a lot of amber trics on sugar leaves. Hardly any amber on upper buds. Started flush a week ago but just couldnt bare the thought of stsrving this poor plant so I added a little cha-ching back. Shes super stinky, the most beautiful stinky Ive ever experienced. Ive found that its almost impossible to wash the smell off of my hands! Made a little slide show this morning while drinking my tea. Hope you like it!

Likes
5
Share


@Fefa128
Follow
Alright! Here we see the plant in her 3 week, we have a day one and a last day of that week to see in comparison. There's some Spanish in the pics cause I was teaching how to grow from scratch.
At this point the plant was going through treatment, being sprayed twice a day to change sex.

Likes
10
Share


@Lodzik
Follow
For another week I will rinse only with clean water and then I will cut it.


Likes
7
Share


@IberianRootcraft
Follow
Another week, a little bit stressed, fixing and growing.
First epsom salt foliar, pretty light (1g/L).


Likes
120
Share


@Hologram
Follow
OK, im doing an update now becouse my breakup cake is going tranny!!(hermie)
I already have noiticed she was not growing as strong .. but u can blame that on anything , especially when growing outdoor..
but this morning i saw that she was g(r)oing 'bananas'!😢
I have put her aside from the rest (in the back of garden) but think gonna have to terminate her asap!..(and i will, right after this post👍)
The weed she will give will be filled with seeds and those seeds will be hermies too, so wothless..
and if i dont throw her away quick she can infect the rest.
So goodbye breakup cake..😢
who wants to eat a cake when they are breaking up anyway..😒 (just hiding my pain with lame humour 😳)
happy growing for all ✊

Likes
16
Share


@Chubbs
Follow
420FASTBUDS
FBT2107 WEEK 5
The two of these are transitioning into bloom phenomenally. They've grown close to 5in in a week so it's safe to say they're reaching for the stars. Color on them both appears a vibrant green with a hint of lime for the newer growth just coming in or on some of the smaller leafs. I upped there feed by adding a little more of the Micro/Bloom nutes of the 3 part GH Flora series. Over all it doesn't seem to bother them one bit. All in all Happy Growing for these two.
Likes
3
Share


@Aerogrower1104
Follow
I’m very satisfied with my plant. According to Mephistopho websites i should have harvested by now but I haven’t. So I’m thinking these may be fake mephisto seeds from the store probably lol oh well. Still growing 😭

Likes
10
Share

@NaturalBornHustla
Follow
Lfg growing so healthy and looks strong,I made them a good defoliation and opened them as you can see in video,(3left will be done tomorrow).
SANLight Working at 100% intensity.
Likes
23
Share


@AntiGestrecktesGras
Follow
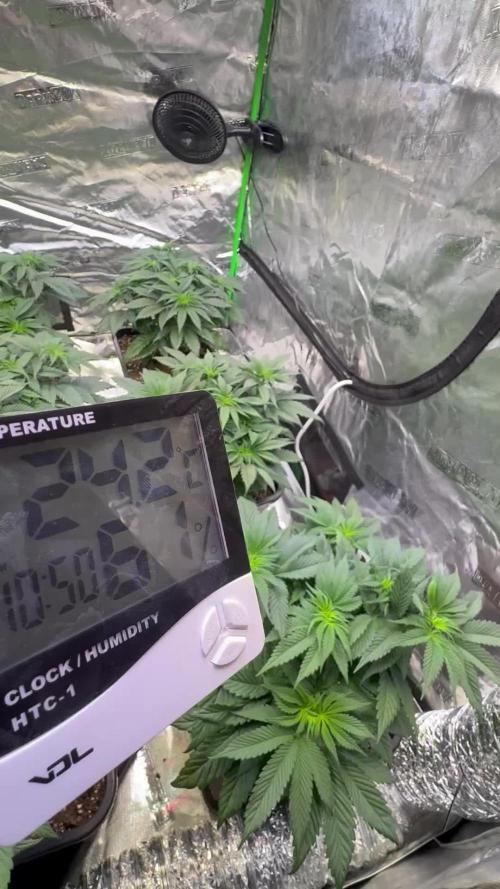
Only water and no water for the last 5-6 days. Also no light in the last 24 hours.


Likes
14
Share


@Chronigmatic
Follow
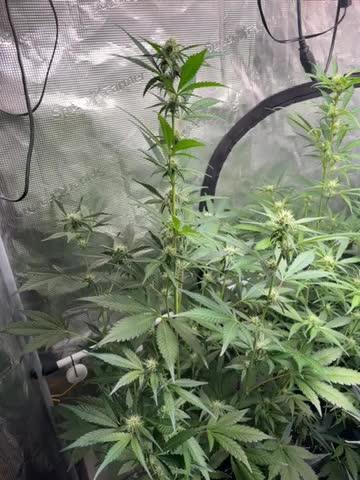
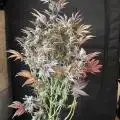
First time doing lst not the most clean one but great results. Super fast flowering. And exciting vegetative. Super recommendable strain.
Likes
11
Share
@Schubsen
Follow
Hey Growmies, I have been a Bit Late but here we go… they are getting a lot lot of buds.. Looks pretty cool. The mendo guava stretched too much, after topping she did another main stem.. and kept growing. Never had before. See last picture. But all in all very satisfied with da champions
Likes
121
Share


@Tropicannibis_Todd
Follow
💩Holy Crap Growmies We Are Back💩
Code Name FBT2307
Well growmies we are at 70 days in and everything is going much better , she's bounced back pretty good👍 really good actually 👌
👉 Shes getting frosty now , and i hope she fills out 👌if she does gonna have some buds on a stick 💪
Lights being readjusted and chart updated .........👈 Even with early major issues due to the soil/medium she's come a long way 👈
👉I used NutriNPK for nutrients for my grows and welcome anyone to give them a try .👈
👉 www.nutrinpk.com 👈
NutriNPK Cal MAG 14-0-14
NutriNPK Grow 28-14-14
NutriNPK Bloom 8-20-30
NutriNPK Bloom Booster 0-52-34
I GOT MULTIPLE DIARIES ON THE GO 😱 please check them out 😎
👉THANKS FOR TAKING THE TIME TO GO OVER MY DIARIES 👈


