


Likes
Comments
Share


Likes
32
Share


@midEastern
Follow
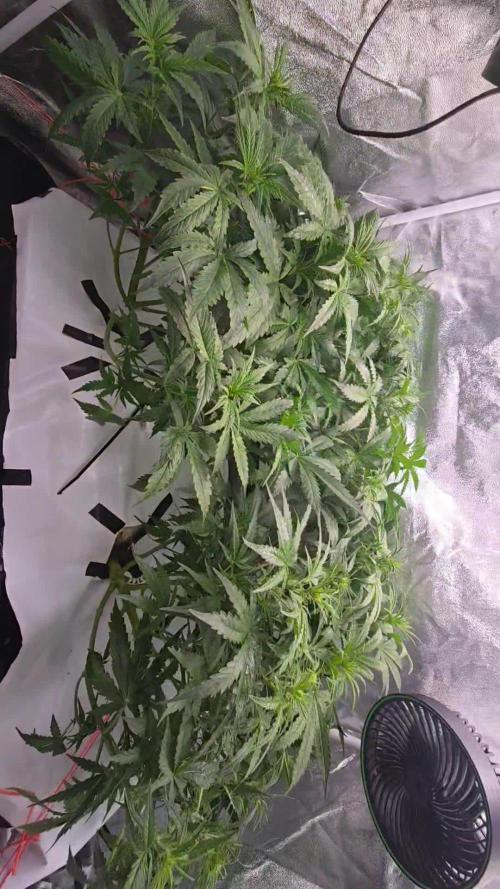
stems are wounded in the middle
as mentioned when they started flowering,my white table has fallen on parts of the plants and damaged
the main stem and a few branches.
i tied and bandaged the main stem and supported with sticks.
They flowered almost as if nothing happened except for a few small branches that stopped getting nutes and died
in the pics you can see how the main stems got severely broken in the middle.
in the last 2 weeks there has been a few weather changes such as storm,heat,and colder climate during night time,
i was ready for storm with a plastic roof on top-they were perfectly protected from water and winds and stayed healthy during 2 days of winter.got a perfect color due to colder nights and today decided they are ripe.trichs are cloudy mostly


Likes
11
Share


@Chuckwaggon420
Follow
This week has been time to put on weight!! They are getting so heavy glad put in secondary scrog net.
Have only been doing water so plants can just pull what they want our the soil they are starting to fade on their own. They have some amazing kinda blue tent to the buds. They have a gassy sweet smell to them!
This will be the last week I feel but still see some clear heads and no amber so shall see over next week!!

Likes
10
Share


@tokesly
Follow
The Apple Cup hermied this week along with the Baker's Dozen. Fortunately Tropicanna Poison is flowering so fast that it seems to be unbothered by the hermies next to it. The hermied plants will be stunted as more energy will be focused on developing pollen/seeds. Also I'll have to chop them down early before any seeds begin to solidify within the buds. It's ideal to immediately remove any hermies as soon as pollen sacs are spotted. Unfortunately I only have my small closet space so I decided to leave them and observe the growth of hermies.

Likes
7
Share


@HylianGrass
Follow
Week 6 went by smoothly, since fall have coolder temps my setup is now at its best, the preflower streech is starting and the rootzone is getting preeeeety damn gorgeous also last week using the b1 seaweed based nutes

Likes
5
Share


@Johnblaze420
Follow
3rd week in looking really nice love how the buds are just growing all up the stems gonna be a lovely turn out heres hoping ill keep u posted on her progress thanks growmies happy smoking 💯👍💪

Likes
7
Share


@Laplantadelpie
Follow
•1g de enhancer x litro de agua aplicación en el riego
• se apliga plaguicida en el riego

Likes
30
Share


@SAC87
Follow
Day 14 Flower:
Hey Growers. This week has gone pretty well. I am trying to dial in the Vipar Spectra XS2000 where the plants are happy and have reaching leaves. I have it set to 22-24” above the canopy and 95% and that seems to be where they’re happy for now.
There are buds starting to form up and some stretch happening. This next week I will be doing a leaf strip as this pheno is super leafy, I just don’t want to stunt that upward stretch right now.
They are much happier with water every other day and may need to increase to daily. As a combat to possible fungus gnats or soil born pests, I use h202 when doing my plain watering. They also seem to really like the “liquid” oxygen that is a byproduct of its use.
If it’s could get another 3-4” of stacked stretch I’d be really pleased, but whatever they do is up to them. All I can do is try to make them happy and in turn they will do the same for me later. 👍🏻👍🏻
Happy Growing 🌱✌️🇺🇦


Likes
24
Share


@Dingle
Follow
Starting to see really nice bud development this week. The smell is really starting to increase now as well.
Very little to do bar some defoliation this week.
✌️
Likes
48
Share


@Northern_Ent
Follow
July 13: this Gorilla Cookies FF is doing great and the weather here is still cooperating. Perfect cannabis growing conditions for next two weeks so lots more veg before flowering starts. 👍👍
July 14: smoky again. Watered with Kelp Humic Blend and Nature’s Source.
July 17: growing at a bit over an inch per day.
Likes
42
Share


@Only4passion
Follow
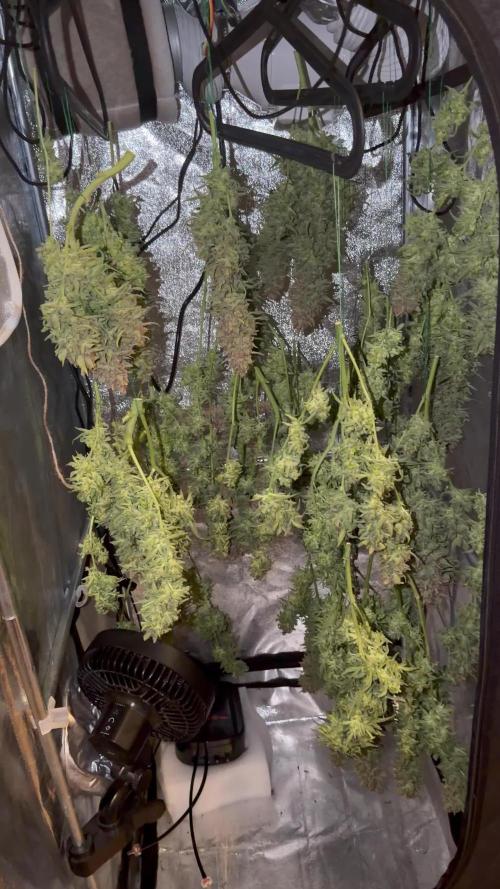
Harvest time I decide two hang the entire plant for a slow drying !!
I finally removed the plant to much humidity it was around 80%😥 it’s raining hard those days anyway I checked every buds and no mold so I switched to my old method .
📦 humidity now it’s 55% 👌
5 days of drying I try to keep humidity around 60 and 17 degrees to keep all terpenes n flavour, terpene don’t like low humidity ,heat ,and of course lightning ,see y’a next update 💪💪💪
I had 34g of nice frosty trim ,for the first time I’ve made some nice bubble hash amazing I love it!!!
I watch all of he’s videos he was the marster of hash RIP French cannoli 🙏🙏🙏

Likes
5
Share


@Nune2021
Follow
Hey bin mal gespannt obwohl ich nicht all zu viel erwarte der Wuchs bis jetz hält sich in Grenzen aber ich denke durch den Kleinen Topf ist das Wuchs Wachstum stark eingeschränkt
Aber mal sehen ich lass mich überraschen 😂

Likes
8
Share

@Nickeluring
Follow
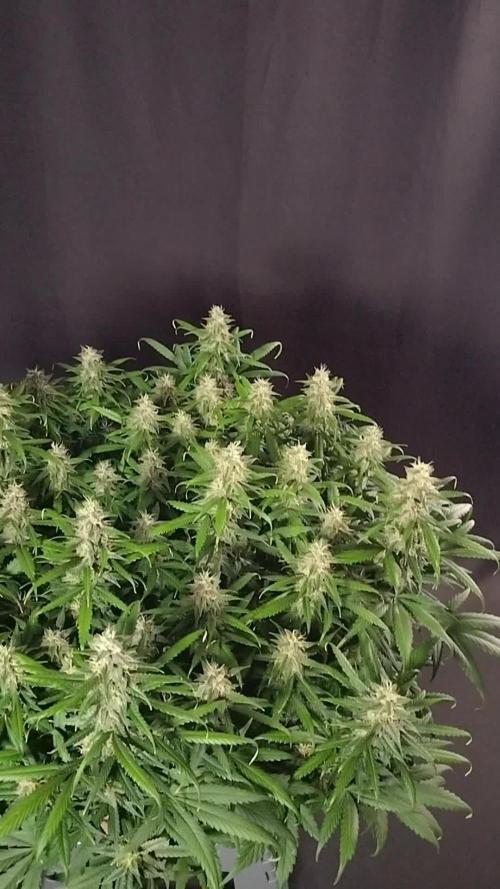
I have only removed a few leaves this week.
Lemon Cherry Cookies and Guava should be ready during the coming week. Apricot is still fattening up.
Processing
Likes
31
Share


@LockDownGrow
Follow
so the development on this lady has been VERY slow and has made very little bud production at all she also did not really stretch out at all from flower her buds are at the same stage at week 7 then the blackberry was at week 2 really , she is showing nor has all her life of any deficiencies what so ever , she has stay very short and stocky with good leave production " before i defoliated she was a real nice little bush " she smell amazing and the only was i can describe it when i touch her sugar leaves is exactly like chewing on the lemon "yellow" skittles sweet so can see exactly where the name came from for this strain.
she as you would expect has not been drinking a great deal and i am still able too only feed her 8 pint of feed per week where as her sisters are taking 14 pints ,
but other than her staying small and not wanting too really produce yet she has been easy too grow even for a newbie such as my self and has been trouble free ,
Likes
61
Share


@Amaya
Follow
Оборвала веерные листья основного стебля чтобы дать больше воздухопроницаемости.
Текущий NPK профиль такой:
N90:P67:K149:Ca37,5:Mg45
Перевожу на цветение через пару дней.


Likes
6
Share


@Growbody
Follow
Tag 73: Die Trichome der Epsilon F1 Automatic von Royal Queen Seeds wurden größtenteils Trübe. Die Blüten sind sehr fest und die meisten Blütenfäden sind braun. Die Ernte erfolgt dieses mal strikt nach dem Mondkalender. Bis dahin ist sie wunderschön anzuschauen.
Ich wünsche euch viel Freude mit eueren Pflanzen. 😀
Likes
12
Share


@SmylinPupil
Follow
Alright, bad news ladies and gents, I got the bud rot. It’s been humid as hell here and I think the buds were way to dense and not drying. I noticed it by inspecting the buds. As bud rot rots from the inside out, I noticed a few “out of place” leaves on the buds that were brown. From my experience with late season bud rot last year I knew right away. I peeled open the bud and sure enough rot. I looked around a bit more and found it in a few more places, I decided right away to take the large buds, and leave some on the plant to mature. The big green behind the garage, I also found some on one bud, I cut and tossed it. The purple one has no rot yet, I think because of the spacing between the bud sites, it’s not dense. Anyway here is a partial harvest, and some bud rot pics. I’m letting them finish, I’ll just keep an eye on them. Pray for dry weather for me.
Cheers.
