
Likes
Comments
Share

@420DeepGrow
Follow
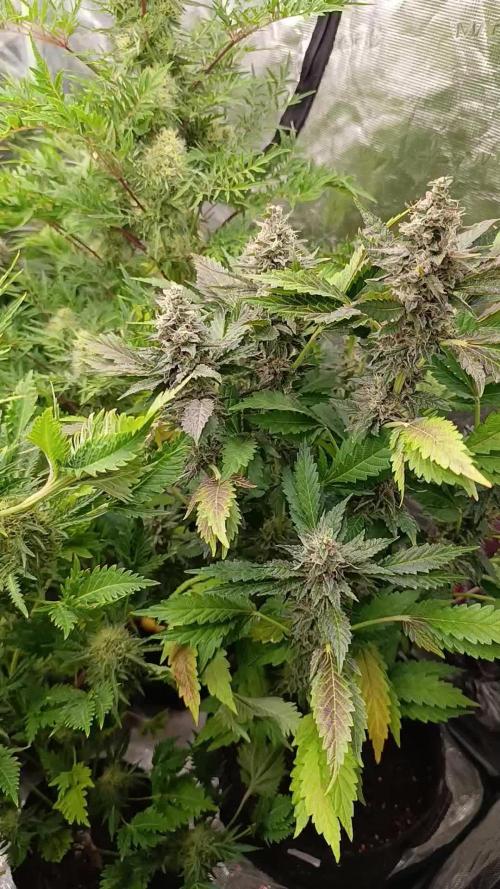
📆 Semana 7
La Sticky Queen de Royal Queen Seeds entra en su fase final de engorde, con cogollos más compactos y cubiertos de una gruesa capa de resina. Los pistilos comienzan a anaranjarse y los tonos morados se acentúan en las zonas más iluminadas, destacando su belleza genética.
El aroma se intensifica, mezclando notas dulces, terrosas y afrutadas. Los riegos se moderan y la nutrición se centra en fósforo y potasio, favoreciendo el desarrollo final de flores y resinas, mientras la ventilación mantiene el ambiente sano y equilibrado.
🌸 La floración alcanza su punto álgido, mostrando potencia, color y carácter.
¡Seguimos creciendo fuerte 💪!


Likes
3
Share


@GeminiCQC
Follow
Going back to autos only for this round. Trying out Earthbox jr.'s. As usual, I'm just gonna have fun and chill with the plants till they ready. The wedding will be more of a press plant, so I'm trying to be specific with it (not sure how)

Likes
43
Share


@OrganicPower
Follow
Week 5 flower. This one just grows slow. Slowly filling in. Very frosty, but not a nice smell. Hopefully the flowers end up tight, hard, and smelling great. Lights are at 12-14” from canopy, and plants are taking it well. Blumat drip still working, and hand watering once a week with Gaia Soluble Seaweed Extract 0-0-17. Not going to top dress anymore as these 30 gallon pots have lots to offer still and this plant is using nothing really. Thanks for views!

Likes
3
Share


@Esjey
Follow
I have first time plant like this.
This dragon take 4 liters in 20-24 h 🧐🤴
I put some new stuff from GREEN PLANET -nutriens and microbs. I put too nutriens for leavs from OPTIC FOLIAR.
Cleaning box with alcohol "IPA" 99% 🤮

Likes
23
Share


@Cookie_thefarmer
Follow
Day 68- transplanted to 3gal smart pot
Day 69 - not sure if it’s coming into flowering or not. Think it’s close
Day 72- I think I see pistols.. but again unsure.


Likes
30
Share


@zunneyboii
Follow
welcome back brother
its week 3 and they look perfect =)
they are now between 22-27 cm high which means it is time to flip them
flower period starts at 04.02
see you next week

Processing
Likes
3
Share


@Ogbangbang2981
Follow
I harvested my pollen sacks plant looks healthy at this point I dont feed till harvest just water every 3-4 days. think o got 21 more days to go b4 harvest but until then I'm just checking out my trichomes so that I dont harvest to late .....one love and dont forget weed is love so share the love with those you know .......

Likes
9
Share


Likes
24
Share


@TerpTurtle
Follow
Plants on left are nearing harvest, flipping the Slurricane. Cleaning up under canopy and light defoliation/leaf tucking as needed for light penetration


Likes
22
Share


@Canntemporary
Follow
Week 4 of bloom in a diy vertical setup. The space is 10x5 feet and in total 120sqft of canopy space
Likes
13
Share


@STAYINGONMYMAINCBATORUNTWO
Follow
04/01/21
Amazing colours have came through during cure showing off her red and purple! And she’s frosty all over and tastes like a tropical dream!mango pineapple tones with a side of lime! Would defiantly recomiod
Update; colours are coming through got some amazing hues just uploaded some vids 😍
Got the green pheno on both???! But it’s but either way I love this strain tastes a lot like the black cream auto I’ve done of sweet seeds too. So many colours in the bud and the flavour is immense throughout! Tastes like tropical mango and slight pineapple with a lovely pungent limeish taste it’s so nice and the high sent me to sleep when I tested the result! Just had to lay there and close my eyes and enjoy it and woke up to the end of my film ahahah would defiantly recommend Anyone growing very easy and amazing results!

Likes
28
Share


Likes
28
Share


@PrairieFrostGrow
Follow
*
***************** Week 2 of Growth From Seed, April 18 to 25, 2020 - Days 8 to 14 from germination **********************
*
Getting rolling on week 2. Not a surprise for me that she is doing very well. I seem to match well with the traits in Sweet Seeds selections. She is wide and will squeeze out her third set of leaves this week and hopefully working on her fourth set......time will tell🤞She is also getting more green at the start of the week so its time for some plain water as well. The medium has had little to no runoff so far so the ppm will be building and likely pH adjusting slightly,.
Switch CalMag this week and going with GH as it has a 1% value for Nitrogen. Will be increasing the CalMag now as well. Will be getting ppm in the 500 range more this week. May start to introduce Sensyzime at the end of the week.
Keep moving the lights up and down trying to dial in between 18” and 30” and see how they react. Seems to be about 28” right now they are happy.
Playing with the VPD and finding that they are not as happy with the VPD up around 1.0 and rather happier around 1.4??? Happier meaning tips and looking like she is getting bigger. Played with humidity this weekend as well between 52% and 75%. Again, they seem happiest around 58%..........going to try that for a couple of days and see how they grow for the next few days. I feel they are alrighty slower at the high humidity. Not backing away for this but rather trying to read the girls🤪🤪🤪🤪
*****Daily Detail:
Apr 18, Day 9
- VPD - 1.1
- 2L feed with Vitathrive and Velokelp and Dual Fuel @ 0.75ml/L, CaMg+ @ 0.75ml/L = 575ppm, 5.8pH.
- playing with humidity up and down today.
- ready for a plain water feed and a little larger quantity to soak all the medium.
- not sure if tomorrow though.......might be a little wet yet in the medium.
- she is doing very well. She has gotten taller and seems very energetic right now😀👍
Apr 19, Day 9
- VPD - 1.3
- 2L watering today with CaMg and Sensyzime @ 1ml/L each. 240ppm with 5.9pH.
- Had more runoff, that was the goal. Didn't bother to measure this though.
- Just trying to bring the medium pH in line and reduce some of the ppm.
- Things just aren't progressing as I think they should.
Apr 20, Day 10
- VPD 1.5
- dry out day
- lower humidity in tent to 55%
Apr 21, Day 11
- VPD 1.5
- dry out day, again. Humidity kept low.
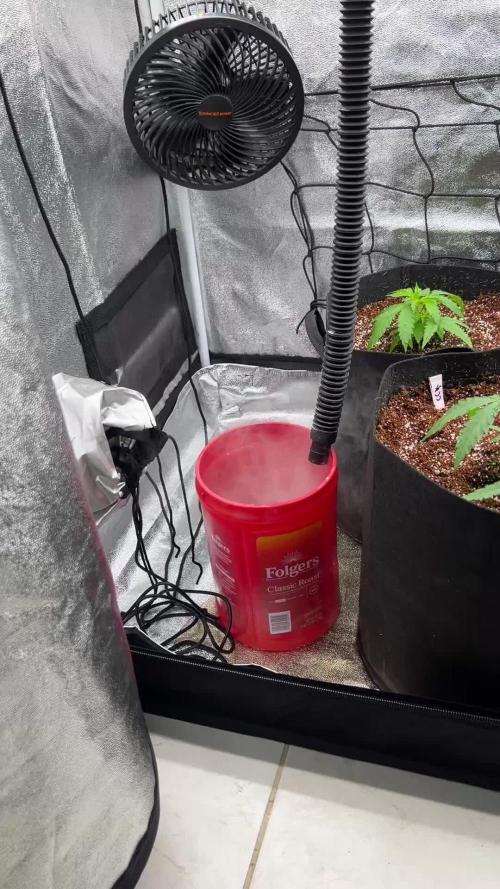
- Added home made CO2 to the tent today.
- 3.5" tall only.
- this girl is doing the best in the tent right now. She has handled the over feeding the best of them.
Apr 22, Day 12
- VPD 1.4
- Dry out day yet again but now raising the humidity back to 65%.
- tips back up today.
Apr 23, Day 13
- VPD 1.4
- 0.5L - P & V & Vitathrive @ 1ml/L, DF & CalMag@ 0.5ml/L = 410ppm and 5.9pH
- primarily calmag and something for roots.
- She has some wide leaves and doing well. She has just been slowed down....crap.
Apr 24, Day 14
- VPD 1.4
- 0.5L - Voodoo and Piranha and VeloKelp @ 2ml/L = 180ppm pH'd to 5.6
- tough week.......she battled over watering as a result of some over feeding last week.
Likes
13
Share


@Dunk_Junk
Follow
Romping through flowering!!
Still mega bushy!!!
Her trichomes are JUST starting.
Looking good so far!
Likes
Comments
Share


@GreatScottBuds
Follow
Its very frosty and I would say overall very good if you are looking for hash. I personally do not get much flavors out of it. I harvested 3 plants, flushed them properly, and dried them properly. All of that said, the flavor just wasnt there for me. I get a coffee aroma from its buds but definitely lacks flavor. I do not get any sweet notes from it like I should. This strain is strawbanana cream x do-si-do so I was hoping for a bit more flavor. I do not weigh wet, so final dry weight after a tight trim was a little over 6 ounces.

Likes
Comments
Share


Likes
13
Share


@CURATI_DA_SOLO
Follow
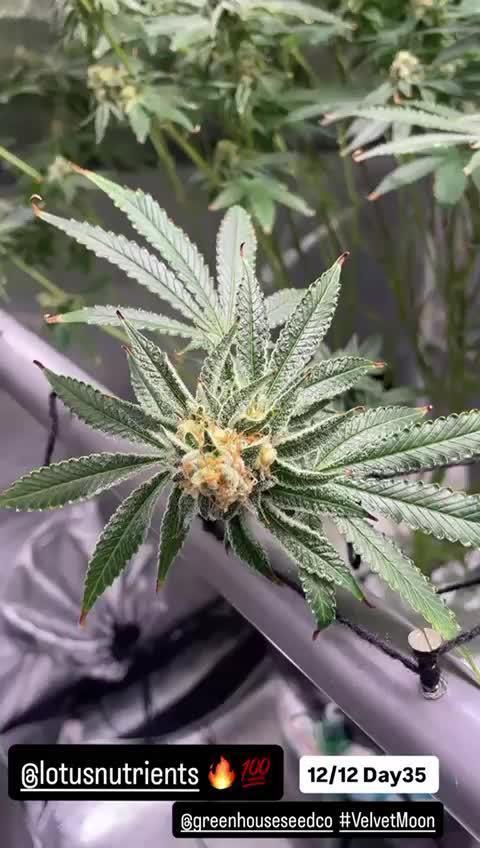
Ancora rimango pietrificato dalla struttura di questo gioiellino di Green House seed....sta diventando veramente alta con internodi relativamente corti. Ha iniziato anche a mettere germogli veramente ovunque! Questa è la seconda volta che coltivo questa genetica e ricordo che anche la prima volta fú un successo, anche se questa volta penso lo sia ancora di più! Anche grazie ai fertilizzati di CANNABOOM ( stavo utilizzando plagron per queste fanciulle ma poi ho deciso di cambiare la loro dieta) che sinceramente hanno fatto il loro grandissimo lavoro ! Già alla seconda applicazione ho potuto notare tutto il loro potenziale! Il CALMAGSI e veramente eccellente un prodotto con calcio magnesio ferro e SILICIO! Veramente questa azienda offre prodotti di qualità elevatissime a prezzi veramente modici! È il bello è che sono anche super concentrati, ce ne sono parecchi che ne basta 0.1 o alcuni addirittura 0.02 quindi parliamo che puoi fare veramente molti litri! Ma adesso tornando alla nostra carissima KING'S JUICE AUTO, penso che questa coltivazione sia veramente un grande successo...(almeno lo spero)
Ringrazio veramente tanto i ragazzi di CANNABOOM per avermi consigliato al meglio ogni piccolezza, e ringrazio anche GREEN HOUSE SEED per la loro scrupolosità nel consigliarmi che seme coltivare! Spero di fare ancora tanti diari per queste due aziende a mio parere LEADER NEL SETTORE!
Miraccomando restate sintonizzati! Alla prossima settimana!!!! Grazie mille a tutti voi che mi supportate sempre anche con un semplice mi piace!