
Likes
Comments
Share

@Pierrougarou21
Follow
Salut les Growmies,
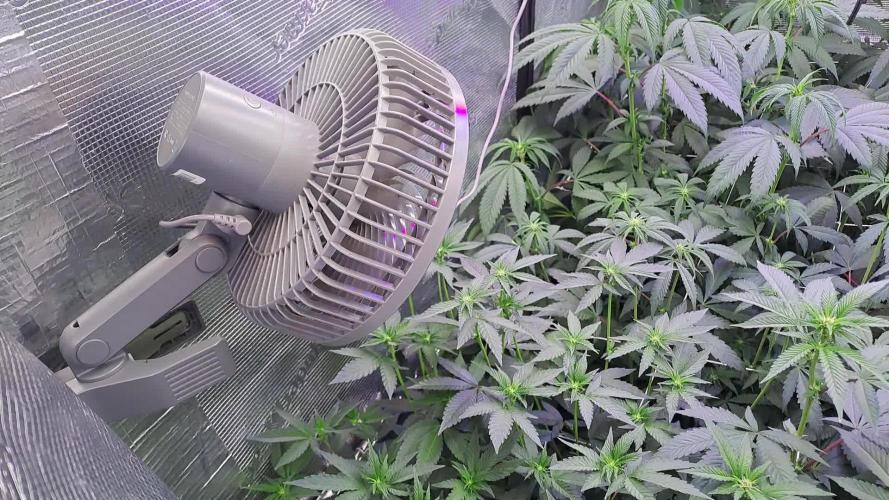
l'installation du filet à 80 cm fait des merveilles. Les plantes sont toutes ultra vigoureuses. Le stretch va être difficilement géré. Mais comme un enfant j’attends avec impatience le résultat de cette chasse. Demain soir je lance l'opération Clones et sauvegarde des phénotypes.
11/01/2026 Derniers jours de la deuxieme semaines depuis le switch en 12/12.
Je viens de decouvrir que la Tiger Paws #1 a créé des couilles . Je lui laisse une journee de chabce et je vais voir commznt les choses évoluent sinon la Tiger Paws #2 et la Velvet Cream #1 sont juste magnifiques et tres vigoureuses
Sincèrement

Likes
17
Share

@RakonGrow
Follow
Harter ritt diese Dame , alles viel zu schwer das es gleich umknickte beim defolieren .
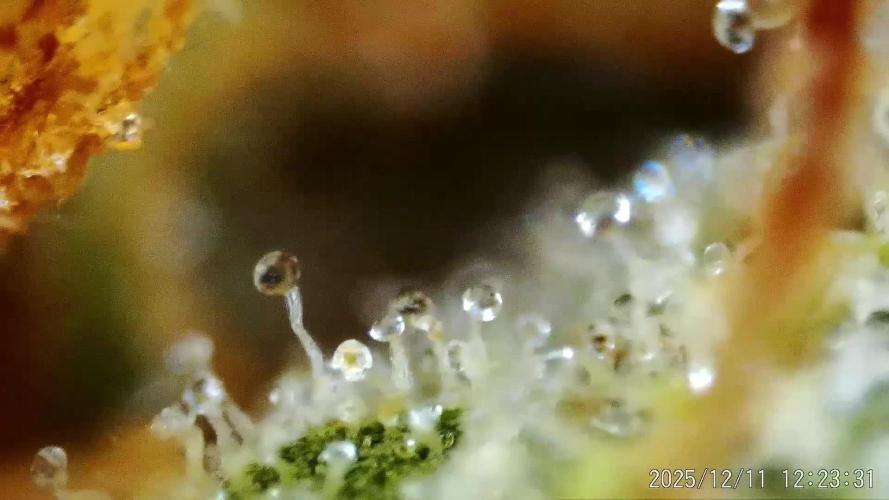
Hab mal ein getrockneten Bud aus der mitte genommen und Trichom analyse (Videos und Bilder) gemacht . ja viel klar wenig milchig und einige rot . Ergo , zuviel Licht an der Spitze (abstand zum licht viel zu gering) und im Boden zu kalt ist keine gute Kombination .
dry + trimm after 4 Days result in 120g Cannabis F1 Wurlz price 1.08€ / 1g , Total Tent : 200W on 1m² with total 280g = 1.4g/W

Likes
7
Share


@Ezzjaybruh
Follow
Like I touched on previously, I am only going to be using ILGM for One or two strains in the future. I’ve had a run of Hermies and or bananas from so many of their seeds lately it’s just not acceptable at this point. I really truly believe they have some solid genetics in some cases, but maybe they’re rushing on some of the newer strains they’re putting out. I don’t know but I’m moving towards using different banks at this point. Aside from the issue during the grow I also noticed the last round of seeds I got from them maybe 30-40% were visibly immature. No striping, which I know is normal and some strains but the real obvious sign was they were not dark enough like they were super light green almost approaching a white color.
I’ll use them for pure indica which is a power house, gold leaf and maybe blue dream.
Then again I’ve got a tent full of those clones anyhow 😉

Likes
2
Share


@Gazmm
Follow
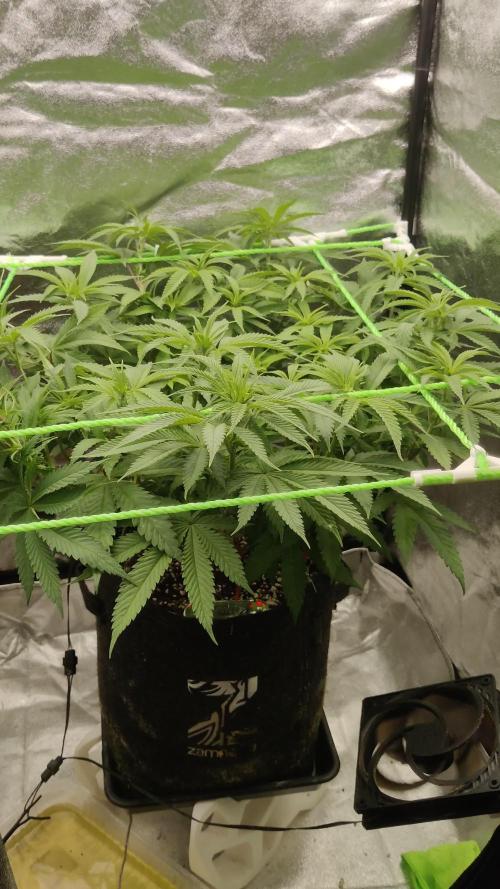
Looking good. Did a dlight defoliation.
🌸 Flowering Stage
* Weeks 1-2
* 🐟 Fish Emulsion: 1/4 tsp/gal
* Nova Green: Gradually decrease to 0
* 🍯 Blackstrap Molasses: 1-2 tbsp/gal
* ☕ Compost Tea: Once every 2-3 weeks
* Epsom Salt: Foliar or soil drench


Likes
60
Share


@BOMbolenath
Follow
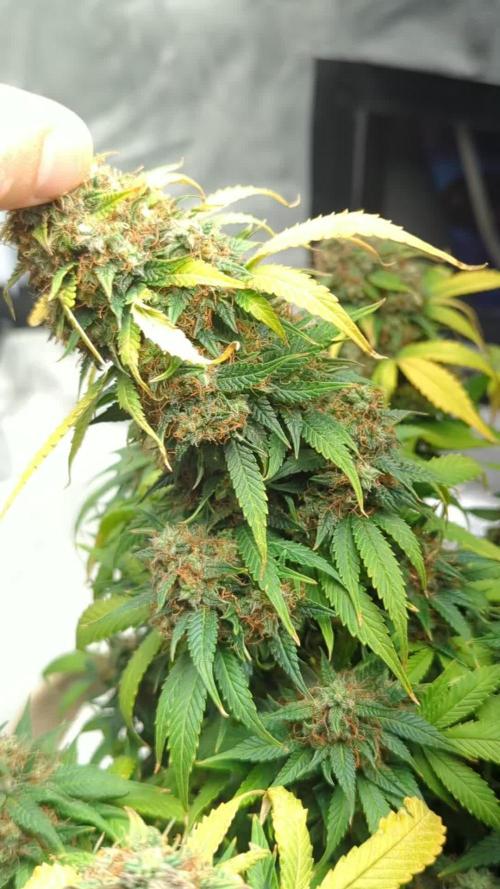
Beginning of eight week, buds are very heavy and dense. Smell is incredible. Very sticky!
One of top buds broke because of the weight and dryed. So i got it to smoke and its incredible tepene. Its fruit gas, very complex. Now its one of my top 3 strains.

Likes
2
Share

@Hidden
Follow
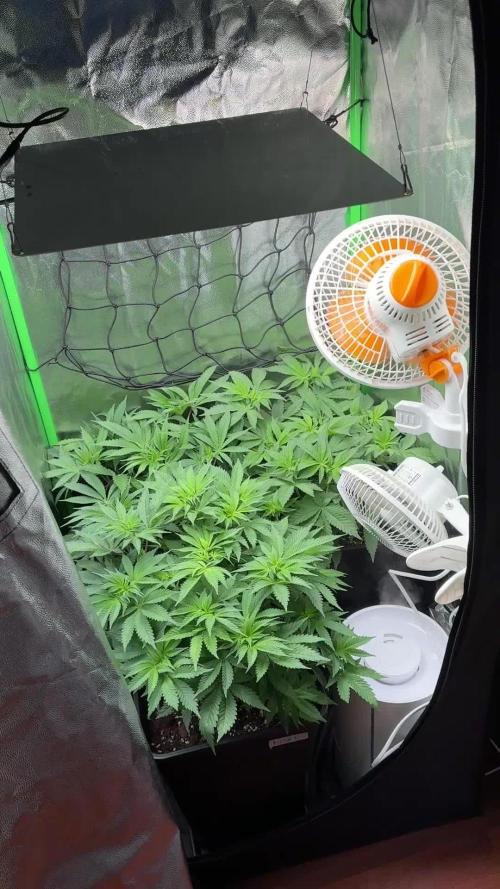
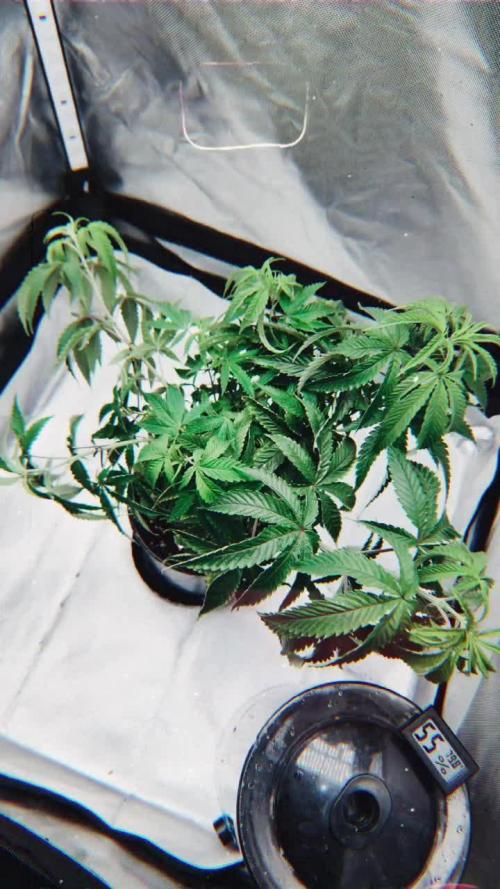
- Day 1 week 2 flow: watered them with 1,5 L ph 6,4 to 6,5 following biobizz schedule. Growing big and tall right now.
- Day 2 week 2 flow: just checking factors and controlling humidity and air flow
- Day 3 week 2 flow: not much to do, checking the tent to watch them grow:)
- Day 4 week 2 flow: watered them with 1,5 L ph 6,4 to 6,5 following biobizz schedule. Defoliation has been made and humidity is the biggest challenge. Small tent and difficult air flow.
- Day 5 week 2 flow: had to adjust light height and change it to full power. The limits of my setup but it’s ok not planing to do something too big :)
- Day 6 week 2 flow: beautiful girls, hairs are coming ou
- Day 7 week 2 flow: watered them with 1,5 L ph 6,4 to 6,5 following biobizz schedule. They have grown a lot this week, love how they can just almost double their size in flow.

Likes
3
Share

@BlaKX
Follow
Grüße Growmies im Hochsommer!
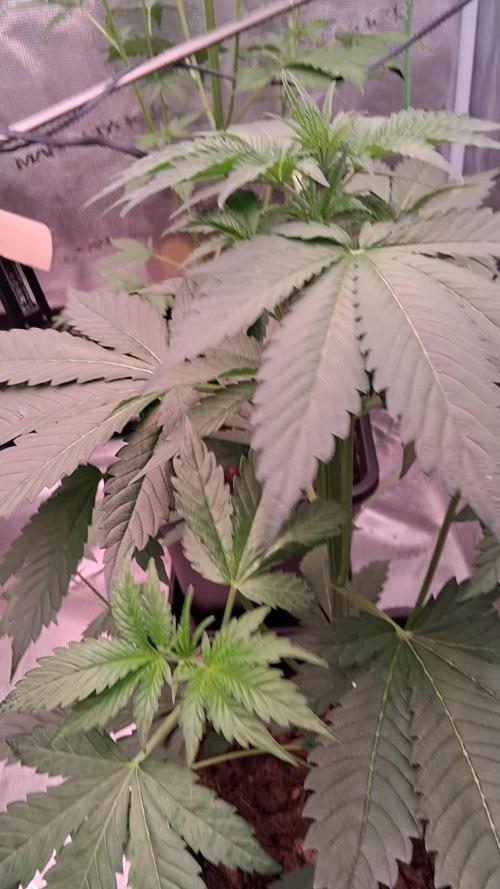
Der Strain verträgt die Hitze ziemlich gut und wächst ordentlich!
Seine Vorblüte hat mittlerweile angefangen samt strech.


Likes
8
Share

@20SYL
Follow
Debut du rinçage à l'eau claire pour la dernière plante de la session, récolte dans 10 jours.
Début du curing pour l'autre !
Likes
32
Share


@LION07
Follow
satisfied with the harvest, fantastic tasty flowers and with a very strong smell!
Likes
2
Share

@GREENPHOENIX6262
Follow
12/21 - Transplanting into a 7 gallon pot (coco/per) - increasing feeds starting tomorrow - swapped lights running the Marshydro 150W full spec - Did some light defoliation 😎😎😎😎😎

Likes
55
Share


@pifflestikkz
Follow
Day 64
05/07/24 Friday
Start of week
Big feed today 4L pH 6.2 only 20% run off.
So I have done final LST on her, I'm proud of what she has grown into over this veg period.
What a BEAST 🙌💪🤯💚
I'm allowing this week to be final veg week before I flip her.
She has so many tops I'll count them and add to diary tomorrow ✌️💚
Day 65
06/07/24 Saturday
The day after LST, she has bounced straight back 💪, she's a damn beast 👌
Picture update
Day 66
07/07/24 Sunday
Watering with De-chlorinated tap water, pH 6.0 and added cal-mag 7ml for 5L.
No run off but bottom of fabric pot is lovely and moist so will leave it there today 😁
Day 67
08/07/24 Monday
De-chlorinated tap watering today 5L with DyNoMyCo. Hoping this will help root zone uptake more nutrients during flush- we will see.
Updated short video
Day 69
10/07/24 Wednesday
Feed today! De-chlorinated tap water pH 6.0. did a 3L run through had about 1ltr run off due to high humidity this week, she never needed it I guess. But just wanted something to pull fresh oxygen through substrate.
She's getting so damn big, have to flip her tomorrow else she'll never fit under 600w hps in tent 🤦♂️😍


Likes
174
Share


@Roberts
Follow
Well 85.9 grams of goodness. Has a great smell and flavor. Very head heavy smoke. If you like high thc or even fruity buds this is a good one to grow. If anyone is interested in any fast buds strains my affiliate link is
https://myfastbuds.com/?a_aid=60910eaff2419
If anyone is interested in a Viparspectra light I can send you to a affiliate link, and look for discounts though my affiliate program as well. Please direct messages me for more information please.
Thank you grow diaries community for the likes, follows, and subscriptions on my YouTube channel. I really appreciate the support. 🌱🌱🌱 happy growing 🍓🍌🍓🍌🍓🍌🍓🍌
Likes
4
Share


@matias_scrog
Follow
TODO VA GENIAL, MUCHISIMA RESINA Y OLOR EN ESTA ETAPA. HE NOTADO QUE ALGUNAS HOJITAS SE ESTAN QUEMANDO EN LAS PUNTAS Y DOBLANDOSE HACIA ARRIBA, SUPONGO QUE FUE DEMASIADA COMIDA. DE TODOS MODOS ES MINIMO, NADA DE QUE PREOCUPARSE POR EL MOMENTO, VOY A HACER DOS RIEGOS CON AGUA Y LUEGO VOLVEMOS A FERTILIZAR!

Likes
4
Share


@ChiloteAnonimo
Follow
Satisfecho pero voy por mejorar los parámetros en la siguiente para ver algún cambio, como también cambiar de banco de semillas a uno nacional (Chile) y serán Fem.

Likes
24
Share


@Spazmagi
Follow
12/16 - Today is Day 77 from seed. Mid-last week I switched her over to 60% strength (~1.2ec) and today I switched her over to flush with 10ml/gal GH FloraKleen. Upon checking multiple buds for trich ripeness and I found an average of approximately 10% amber across the whole canopy. Some of the larger, more mature buds were closer to 15-20% Amber while some varied as low as 3-5% Amber. I am choosing to go ahead and flush her out since I need the space in the tent sooner, rather than later. I am planning on a 48-72 hour flush then chop. This will definitely be my biggest yield to date, but her sister, the Amnesia XXL Auto might top her out yet, though she is still a couple weeks out.
Thanks for checking out the garden. Stay tuned for updates this week as we approach chop day. As always, Happy Growing!

Likes
17
Share


@Agrocann
Follow
After ~ 30 hours the small root emerged from the seed.
After 48 hours the small root become big and I managed to brake the tip of the root.
After 48 hours from seedling the new baby has emerged :)

Likes
34
Share


@Gorrilla420
Follow
This week we’ve had abit of growth not as much as I’d hoped, most of the side nodes have been ate my snails so must have stunted her a lot, I topped her few week ago and both new heads started to come out then the slugs had ate one so I’m back to 1 head and no side branches, hoping now I’ve dealt with them and won’t get attacked again and she can do her thing. We will see, was hoping to get a net over her soon to spread her out but not looking promising with no side branches left just a main head again.
That’s all this week, happy growing 🌱
Likes
9
Share


@NightsAssassian
Follow
Day 81: My leaves are still brown but from what i understand when i fried them from the spray there is no coming back. But other than that the colas are and side sites are getting fatter. one of my colas did fall to the side and it snapped the branch, I taped it up however i hope that works. Lbvs other than that these girls have went to hell and back and still hanging in there and as everything is coming to a close im just trying not to mess them up to much. LOL. As always thanks for looking and if you have any questions or tips please feel free to comment. Happy Growing.


Likes
4
Share

@DerEkstaseHase
Follow
Die Umstellung auf 12/12 ist passiert, jetzt beginnt der Stretch und dann die Blüte.
Die nächsten zwei Wochen wird nichts geschnitten, nur die höchsten Tops werden auf eine höhe gebracht.
Ich bin sehr zufrieden mit dem aktuellen Stand!
:)
