


Likes
7
Share


Likes
14
Share


@Do_it_Dan
Follow
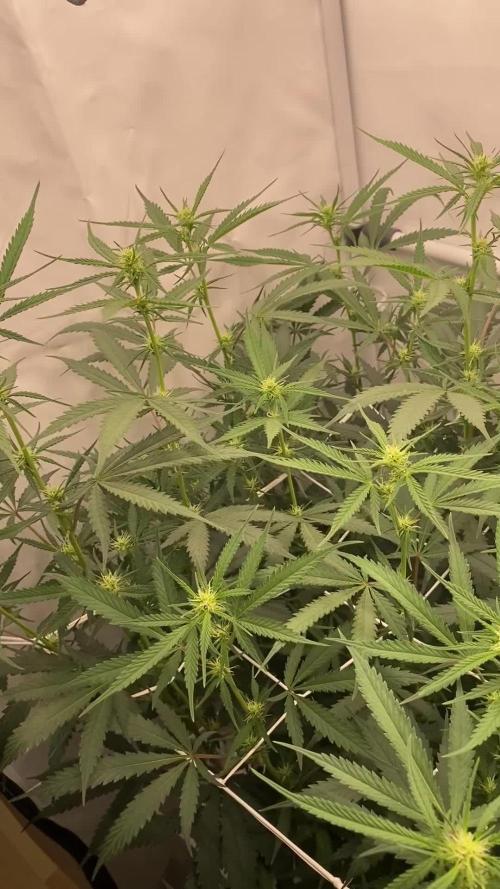
She's getting frosty and some color coming out in the girl, should of fed her but did forget, fed her yesterday so she should perk up again in a few days but let's see, happy growing and stay green ✌️ 💚 👌
Likes
7
Share


@BudLoveJohn
Follow
Plants sprouted in just three days after planting! First week for the seedlings was me learning to get the humidity and light the right distance. A little bit of stretching but not too big of a deal. Plants fixed themselves


Likes
11
Share


@gsimd
Follow
It worked! After 30 days away, I returned home to see if automating the first 30 days of this grow using the Blumat watering system and automated fan from AC Infinity worked.
Day 36 - I defoliated quite a few large fan leaved and did some LST to expose some flowers to light.

Likes
37
Share


@PapaNugs
Follow
This was a week. The drama at the beginning was one of the fans falling down onto my gorilla cookies. It snapped a branch off really bad but the girl hung onto it by threads. I duct taped her up and somehow took. 😎😢
I defoliated and did a little lst on a couple of the girls. Nothing major. Also increased the light to 80% now. I think I'll stay there until late flower when I switch to 12/12.
I also added blocks to a couple of the girls to make the canopy level. That put the light at 15" as recommended by Medic Grow.
This girl is interesting. The two middle colas are hard to separate and using some ties to push them apart. No smell coming from this girl as of now. I had to add a number of blocks to raise her up to level the canopy. I hope she'll improve.
Dimmed to 80%
Here are the lights details:
Medic Grow Mini Sun-2 150W LED
Model: MN150-022
Spectrum mode: V1
Efficacy: 2.8 umol/J
Thanks for stopping by!
You can find the light on Grow Diaries:
https://growdiaries.com/grow-lights/medic-grow/mini-sun-2-150-watts
You can find the light on Medic Grow's website:
https://medicgrow.com/
Likes
12
Share


@GirlGoneWeed
Follow
Its been very hot these past days in Ontario and the outdoor grow loves it!
Plants have been growing nice and tall, growing some fatty leaves, I wanna see how they grow without any human interference so I will leave them without training for now. The soil is still providing nutes for the looks of it, I have started spraying some natural homemade pesticide you can find the recipes on my Instagram @girlgoneweed (under the highlights) I have been spraying 2x a week to keep rodents, aphids, mites, and mildew away.
*The video is a dark angel as well but this one I have it on my roof garden.*
Thanks for following along, see y'all next xoxo

Likes
3
Share

@psychonaut420
Follow
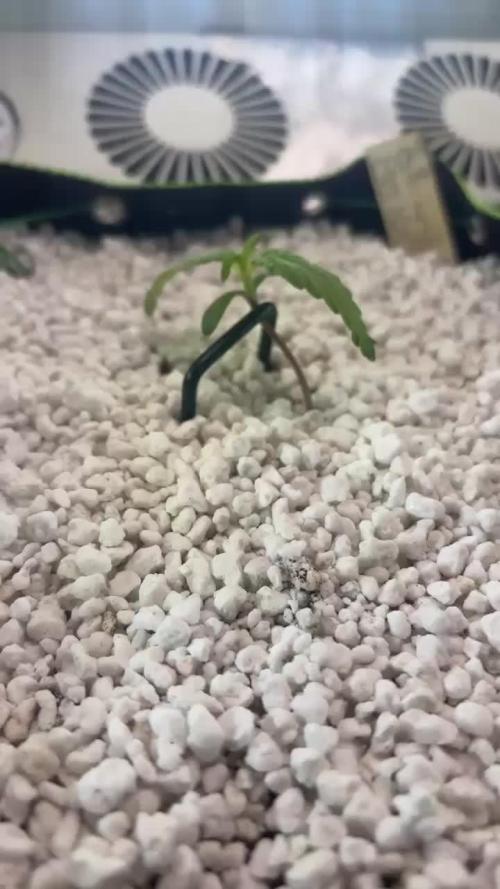
Banana purple punch RF3 auto has been developing at a steady rate the 2nd node is more developed with a tiny 3rd set of leaves can been seen for the next node have begun light bending of the stem to thicken it up and have just begun LST


Likes
11
Share


@CannaBix
Follow
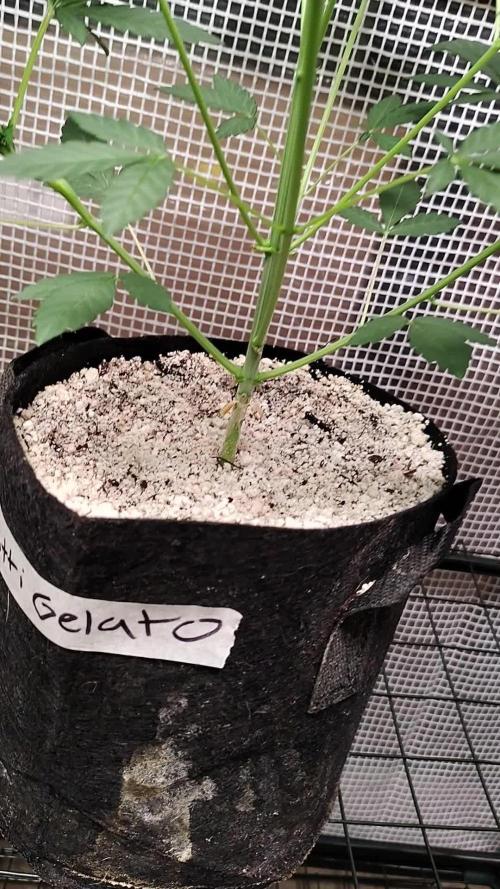
Ladies have entered in flowering period, and the home forest is getting bigger!!
I do only minor defoliation and leaf tucking until now.
Growing space is being populated more and more, I don't know if my choice for such crowded grow tent will give me the desired result.
I had years of experience in mountain guerrilla growing but indoors... I am a rookie!!!
I did a light burn, I had to lift up my lights


Likes
85
Share


@OrganicNature420
Follow
• In House Genetics
• FlapJacks (Mac1 x Slurricane x Pancakes)
• THC dominant
• Terp %45
Nutrients • GreenBuzzNutrients
(DISCOUNT CODE • GD42025) %25 off
I use the whole product range and this stuff is a game changer. I've not had one bad grow with this company and it hasn't let me down once. Terps and taste are through the roof. No need for run off in coco only during flush week (i use a 0ppm distilled water) Hands down the best nutrients on the market
GREEN BUZZ OUR NOW GIVING YOU GUYS A WHOPPING %25 OFF USING THE NEW CODE ABOVE 💚🌱
LIGHT/TENT • Mars Hydro FC-E6500 5x5 tent
Buds are so dense and it's so gasy ⛽️ .. unreal smell of the Slurricane coming through. Another top shelf grow completed

Likes
1
Share


@VirginiaGrownExotics
Follow
Last week she’s really packed on weigh the buds are nice and dense and she’s frosted up real nice time for 48 hours of darkness she’s 85% Milky 15% Amber chop coming soon
Likes
29
Share


@eldruida_lamota
Follow
Buenas noches fumetillas, abro ya mismo el diario de las green poison de sweetseeds, una variedad con una floración rápida que crecerá bajo unos Leds de la marca mars hydro.
.
Quitando el equipo el control básico es ph 5.8 temperatura 22/24 grados y humedad 70/80%.
.
La alimentación de la gama agrobeta.
0,5 ml x L Piramid , vía radicular.
0,5 ml x L Growth black line , vía radicular.
0,1 gr x L Cancerbero , vía radicular.
0,1 ml x L Tucán , vía radicular.
0.1 ml x L Flash Root , vía radicular.
0,4 ml x L Great Green , vía foliar.
.
Para ser la primera semana esto es todo en verdad, un saludo y buenos humos 💨💨💨

Likes
1
Share

@Budhunter
Follow
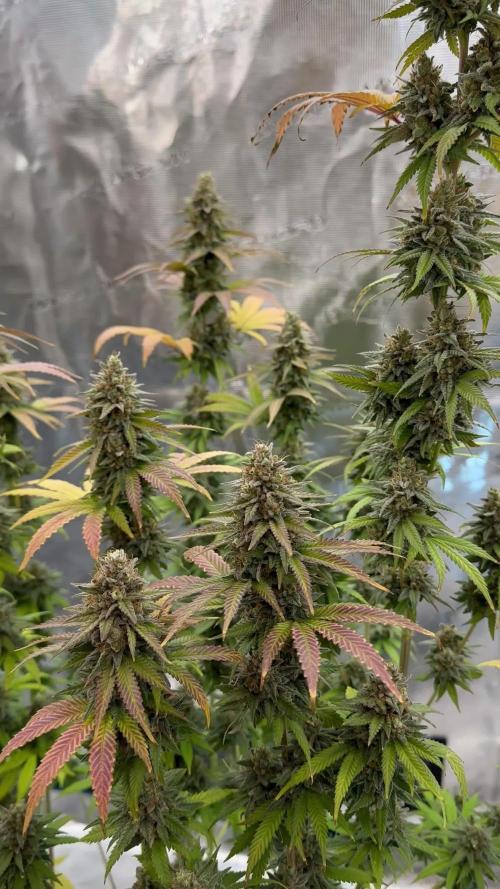
Week 7 Flower- Day 51 flw / Day 107 of cycle
Lemon tree looks stunning and it’s 🤩🤩🤩
She is nearly my size in height and have nice dense buds that the branches can barely hold. One of the most beautiful plants I have ever grown and it has a big potential to be my most yielding plant ever.
I can wait to harvest, cure and smoke her 💚
Looking at the trichomes I believe it will go at least 10 more days. I will watch her closely.

Processing
Likes
1
Share


@DRAZ_420
Follow
This plant shot up out of no where and is definitely gonna keep getting taller. I dont think ill do any training on this plant since it seems kinda short want it to get really stocky. The smell is already appearing which is way cool at 4 weeks i think thats impressive. Probably has to do with the sweet candy nutrients.anyway happy with the progress hopefully things stay great

Processing
Likes
92
Share


@Penguin
Follow
Day 64. Another week on the calendar! Time is flying but also feels like an eternity. Still can't tell if there is any signs of light stress from swapping to the QB this late in the grow. I do think the bag seed in veg sharing the tent is possibly showing signs of trouble (https://imgur.com/a/9Sn0gEZ) and would love if someone reading this could take a look and let me know. Other than that, nothing new today, won't water again until tomorrow maybe the day after. I've noticed the environment in my tent has become very consistent since swapping out the blurple. Not sure if it's connected but the RH has dropped to a steady 44% ish and the temp never climbs over 25. Loving it so far!
Day 64 update, my loupe and PPM meter arrived. Tested the run off and found it was over 2200 PPM. Flushed her with around 5L of pH'd water, got the run off to 1000. Leaving it there for now as it seems to be a recommended amount for late flower. Will probably only give her plain water for the rest of her time, maybe one more light feeding, then continue to flush it down in the next couple of weeks. Took some test shots with the loupe but sadly I don't think the magnification is strong enough to clearly identify the stages of individual trichomes. Maybe I can play around with it when I take her out of the tent again but that won't be for some time. Let's see how it goes!
Day 65. It's almost been 24 hours since the panic flush. She seems to be doing fine other than showing stronger signs of yellowing in the fan leaves. Not sure if its something to worry about or part of the end of life fade? Tried to get a few different trich shots from various flowers but again, the loupe is probably not strong enough to accurately tell. Wondering whether I should try to treat the yellowing or leave it.
Day 66. The yellowing continues but at this point there is probably not much to do about it. Gave her a small feeding PPM'd to 300 to see if it helps get her over the finishing line. Tried checking trichomes and can't really tell if some are cloudy or all still clear. Definitely no amber yet though. Hoping for a couple more weeks at most before the chop! She puts off different levels of smell day to day as well. Was a bit more pungent today, very nice smelling.
Day 67. She hasn't lost as much leaf as I was expecting considering the last few days progress. Trichomes still look a while away from turning and mostly looking clear. Still has lots of white pistils too. Humidity has been a bit higher than I'd like since watering but I try to keep good air movement and a negative pressure in the tent which will hopefully reduce risk of bud rot. Smelling good but wish she'd have covered herself with some more trichomes!
Day 68. All the yellowing/dying leaves have given up and fell off. Not worried as I think I have spotted the first signs of amber trichomes on the main cola and one other. Would love someone to take a look and let me know!
Day 69 (nice). Going along fine. The fading seems to have slowed a bit and haven't noticed it spreading to the remaining sugar leaves. Definitely going to give her another 7 days and assess then if she needs to be chopped. Thank you to everyone who replied to my question regarding that. As someone said, if I had already started flushing, the timing was perfect, and luckily I had already been flushing her, so I will continue to do so. I gave her a heavy watering today with some runoff and I might do once more before she finishes? She isn't the frostiest bitch out there but she's mine and she taught me a lot. Hopefully some of what I've learned with her will transition well to photoperiods and the bag seed that is vegging next to her. I'll flip her into flower once this girl is done.
Day 70. All her leaves are starting to fade now. There are still a lot of white pistils that concerns me about the timing. I feel like the plant will fade and yellow before it fully matures. The trichomes still look the same to me but I need to get better close ups really. She doesn't seem too frosty in recent days, not sure if it's in my head or not though. Still, hoping for a chop at the weekend if she finishes up, otherwise I might be forced to due to how fast she is fading. I think I also see some purpling on the leaves? Is that from the temps or from the nutrients being used up?
Likes
422
Share


@Crashoverite
Follow
Hi all,
Welcome to my🍌💜👊 week update
Thank you so much for all support on this bananas journey. Much appreciate all your likes, follows and comments. 🙏💚❤️💜
Week 13
Jan 8- Jan 14
This was another amazing week. Girls are behaved very well. Drinking their juice like crazy. 2 waterings of 9ltrs on Jan 10th and Jan 13th. Runoffs at ph 6.2. Buds are gaining some serious weight and the trichomes development is of the charts. Girls are covered with frost. Trichomes are mainly milky now with individual ambers here and there. On Jan 10 noticed on one Athena top colas a white topped bud! It's something that has never happened to me. It may be only led bleach or it's something abnormal and phenomenal. It's white and has red and amber pistil hairs in between and all covered with trichomes. Few days after. White coulour is not spreading and not seeing any damages. The smell in my cabinet its insane. Very sweet scents. I wouldn't say bananas but definitely sweet berries and gummies 🤤 new dehumidifier doing an amazing job. Humidity when light is on is between 49-54% and 52-58% when lights are out.
It's all looking that my 🍌💜👊 girls will be ladies very soon. Harvest is coming big time. Next week planning to gradually cut nutrients down and prepare for flush.
Stay tuned for new week update very soon!
Peace and love brothers and sisters ✌️💚👨🌾
Links
https://2fast4buds.com/seeds/banana-purple-punch-auto
https://plagron.com
https://www.biobizz.com/
https://fishheadfarms.com/
Likes
Comments
Share

@Redgoose420
Follow
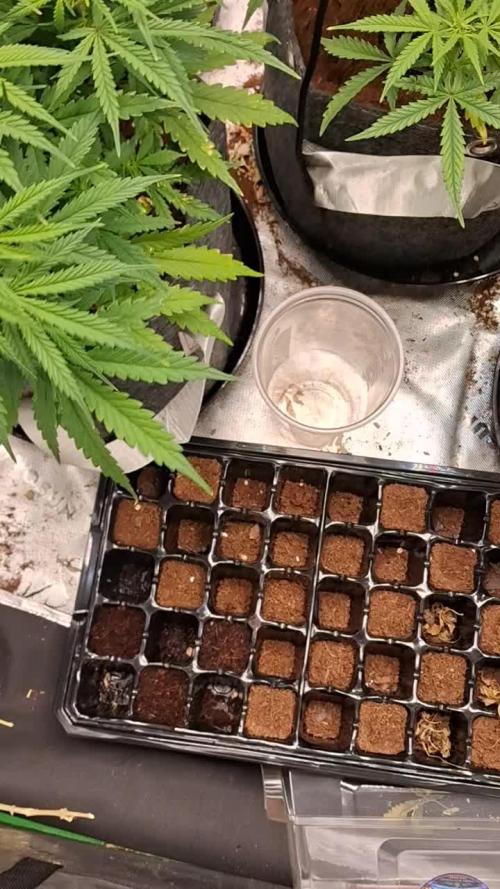
Im sick :( but so happy! Lol. I crossed 2 strains from my favorite sensi seeds.
BlueBerry candiez auto x sticky orange xxl auto
Lets see what happens!
Likes
2
Share
@Smev1337
Follow
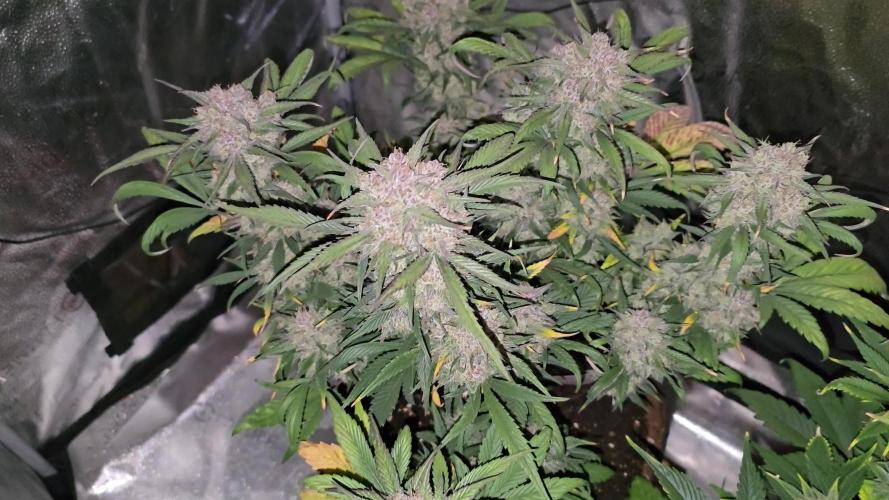
hey all! this week is starting off strong in bud development and also the trichomes are going milky slowly which you can actually see on the pictures, the left plant is doing way better than the right plant but i got other plans with the right plant which will be probably made into bubblehash 😋 happy growing all! ✌️💚😎