


Likes
12
Share


@thonhash
Follow
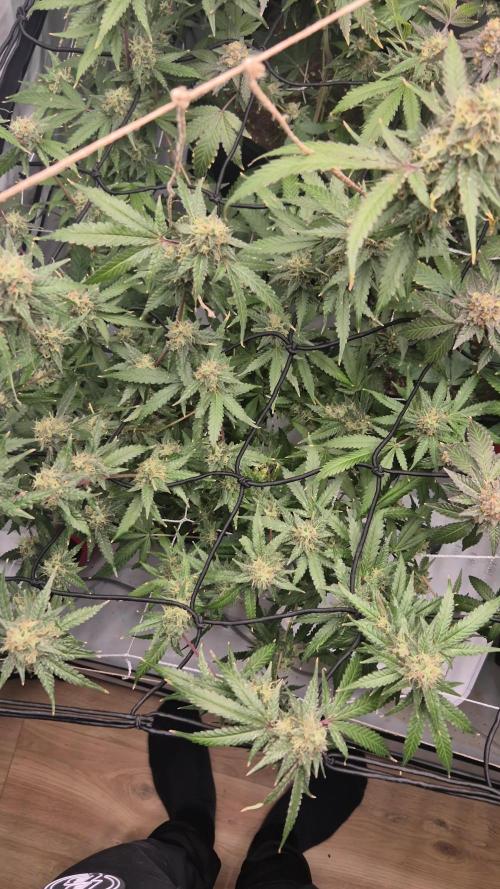
Finalizamos estas mataro blue,con un olor bastante “inquietante” que se hace de notar,veremos que tal una vez secado y metido al bote. Aquí ya no hay nutrientes,ya que se hizo el lavado de raíces y como dije,posterior engorde por sequía.

Likes
Comments
Share


@AmniZombie
Follow
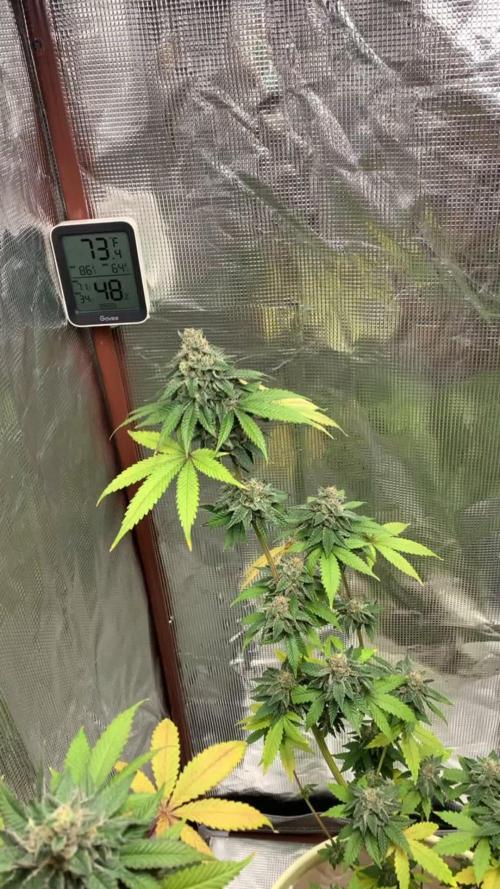
21/11/24 - Week 4 of flower.
I'm giving the ladies 600w at 80cm distance.
I'm also Struggling with the temps because of the winter.
During lights on temps are between 26 & 28 degrees celsius, with lights off i try to keep the temp steady at 24 25 degrees celcius.

Likes
2
Share


@Demaro
Follow
It's starting to get better without stopping. After changing the soil in the middle of the pot to peach moss.


Likes
4
Share


@DaBeers
Follow
Easy and didn't need much love. It ate organic and seemed to love it. Daughter says it smells like keif. It's in the drying room now. I can see myself growing a room full of these in the future. Cant wait to see it on the scales and taste it in my bowl... I found this one to be amazing and I think I nailed it!


Likes
11
Share

@Paying_Customer
Follow
Not stretching as much and the buds are starting to bulk up all the bud sights have a nice purple fade. She’s a short plant but looks like she will be productive in the end. Day 47 had to remove some of the big fan leaves that were blocking light on some of the bud sites below them. She's really starting to put on some weight.
Likes
39
Share


@AestheticGenetics
Follow
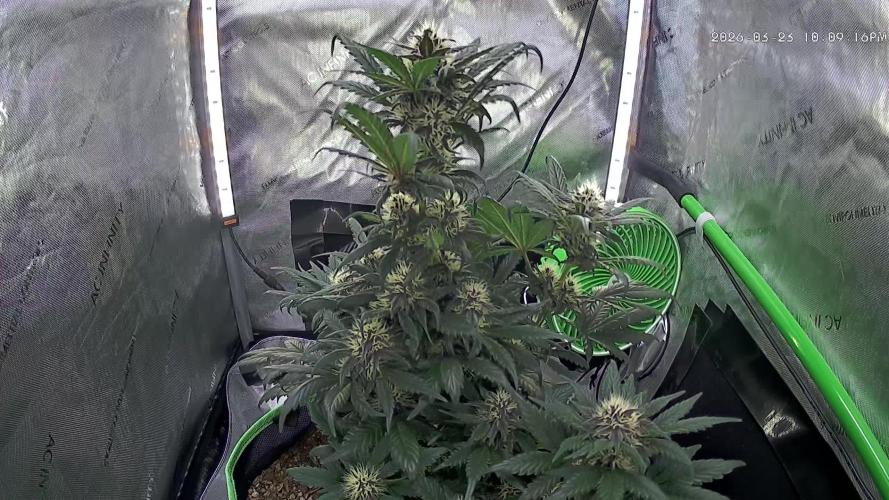
4/9/25
Welcome to another week. Week 5 since the flip of 12/12 just ended. So today is day 36 since 12/12. The begining of week 6.
About halfway done with flowering. Time to start packing on weight.
also its important to note that it took a week or so after 12/12 to have pistils show up. So its closer to 28 -30 days of Flowering.
I have a foxtailing pheno thats mostly green with thin buds.
I have a super chonker green pheno with ridiculously chunked up golfball sized nugs everywhere.(R3)
I have a sativa style but thicker buds with nice long connected colas (R2)
another smaller pheno with traits of some of the others and also green.
and then a singlular pheno that looks gelato dominant and its purple pretty much everywhere to the point that i didnt notice its coloring until it was next to all of its sisters that are straight green.
Very beautiful plants and a nice display of phenotypical expressions
Top dressed
2tsp bloom
2tsp microbe charge
1tsp bloom booster
A Special thank you to Zamnesia and

Likes
5
Share

@KannaGrowing
Follow
Esta semana, tenemos que conectar el tercer Led LazerLite Pro 720W para que no se tapen luz entre las plantas más crecidas.
También aumentamos la potencia al 50% y seguimos con riegos alternos con y sin fertilizante.
Tratamos con Propolix vía foliar como preventivo todo el cultivo.

Likes
98
Share


@OrganicNature420
Follow
Germination date 🌱 28/11/2021
Day 98 09/03/2022
Strain 🍁 Solfire Gardens Bahama Bussdown
(Runtz x Bahama Mama)
THC% • Unknown
💡 Mars Hydro FC-E6500
• Power draw 650W + 5%
• Max coverage 5 x 5
• LED 3978 pcs high quality chips
• Max Yield 2.5g / watt
• Noise level 0 DB
• Removable Driver & Light bars
• Daisy chain
• Fast cool system
https://marshydroled.co.uk/ 🇬🇧
PROMO CODE • (organicnature420) DISCOUNT
https://www.mars-hydro.com/ 🇺🇲
PROMO CODE • (ORG420) DISCOUNT 👍🏻
⛺ Mars Hydro 150 x 150 x 200cm
📤📥 AC infinity 6inch
💧 10lt dehumidifier
❄️ 3.1kw air con system
💉 Nutrients GreenBuzzLiquids 🇩🇪
⭐⭐⭐⭐⭐
Organic Grow Liquid • 1-4ml until 2wk flower
Organic Bloom Liquid • 2-4ml flower stage
Organic More PK • 2-4ml +wk3 of flower
Organic Calmag • 1-2ml/lt whole grow
Fast Plants Spray • first 2wks at night lights off
More Roots • 2-5ml veg +2wks flower
Fast Buds • 5ml 12days before flower until wk1
Humic Acid Plus • 2-5ml whole grow
Growzyme • 2-5ml whole grow
Big Fruits • 2-5ml flower stage
Clean Fruits • 5ml flush 1wk
Ph powder
Root Gel
Living Organics
https://greenbuzzliquids.com/
PROMO CODE • organicnature420 15% off ✌️🏼
🥥 Growing Media • Coco Coir
💡 80%
Notes 📝
It's not been a good week. Had some family time last week and unfortunately caught covid with all the symptoms. I've been bed bound since Monday and today I'm starting to feel slighty better. Not asking for sympathy 🤣 but this explains why some of my girls have switched on me...
Looks like all 3 Frosted Biscotti have gone into reveg. Obviously have a light leak but think I've sorted it now. The mystery is just well under feed as I've run out of Bloom and big Buds and its also gone into reveg. The other coco ones haven't gone into reveg and almost look done. Biscotti Mintz and Bahama Bussdown look 🔥 well impressed. The mutant Biscotti Mintz (soil) has come along nicely and looks amazing. I don't get why that hasn't revegged as its surrounded buy the others that have. The 2 at the back, (Bahama Bussdown) ones taken a slight knock and revegged and the other one has just got to heavy and collapsed. Again looks near enough done so now need to think of a plan of action for curing as tent will be occupied for at least another month. So I think that's it with the problems 🤣 ..
Apologies again for not getting back to anyones dairys over the last 2weeks. I'm going to spend the weekend catching up with you all and sorting out the tent as long as I'm covid clear. My partner has been doing so much for my son and I I couldn't ask her to maintain the tent aswell. She did give them a water but no nutrients 🙈 half effort still wins my heart ❤️
✌️🏼 if your thinking of changing nutrient company's please think of GreenBuzzLiquids. They honestly are a game changer and you can thank me later 😉
Discount codes in bio for Mars and GreenBuzzLiquids 👍🏻

Likes
55
Share


@valiotoro
Follow
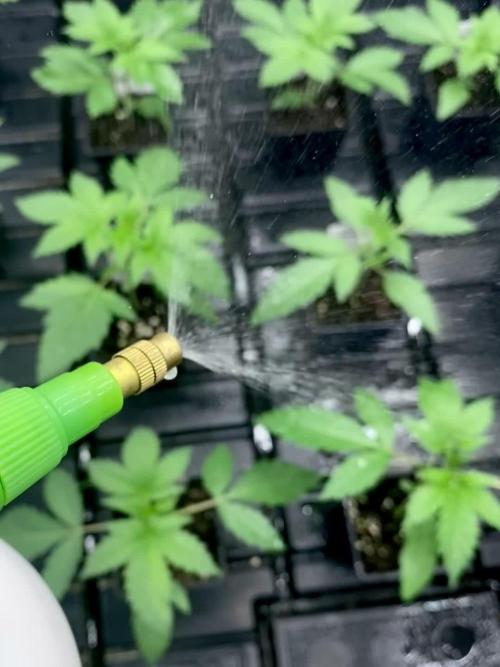
Veryyyy excited to try this tester from Fast Buds🤩🤩
For this test I’m gonna do one in coco & perlite
One in light soil & one in super soil!!🤠
3 different EC solution & 2 different PH
As always I’m gonna PUSH the plants to the maximum💥
Germination in a glass of water with hydrogen peroxide 24h💧
All the seeds have germinate 😎
Likes
8
Share


@NordicClosetGrower
Follow
Second week with the mini humidifier here and so far mixed results. I need something with larger capacity so I don't have to refill it every single day, but still small enough to fit the IKEA box.
Strongly considering to add a heated mat too at some point. There seems to be quite a bit of temperature difference between the plant and the bottom of the pot. Maybe just some insulations. Sooo many things to try, but let's focus on not overfeeding them 😃
Processing
Likes
4
Share


@luxeluxe
Follow
Her second week in flower and she’s doing great. Waiting for the stretch, she’s so short and bushy! Lol. She’s a fantastic plant and brings me joy for sure.

Likes
1
Share


@Elguacho420
Follow
Buenas a tod@s... 3ra semana de floración de las red cookie gelato, de momento van bien, algunas hojas oxidadas a esta altura pero creo q es normal, eh podido regular bien la comida( a mí creer) y eh visto mejoras en las variedades, no las noto como antes q estaban como decaídas y se las veia agobiadas, las veo bien y en esta tercera semana se ve claramente la diferencia... Los nutrientes utilizados se ve q son la bomba... 🙌🏻👌🏻 La semana q viene más y mejor, se están poniendo hermosas...❤️ Muchas gracias y buenos humos para todos... 💨💨🇦🇷🤝🏻🇪🇦 🏻♂️


Likes
7
Share


@GRow_M8s
Follow
Not much for this week to report. I was hoping to harvest it in 7-8 weeks of flowering but I dont see it happening. By the look of it in the end of 6th flowering week it will need 3 or more weeks. Almost all pistils are still white but the buds are getting fatter so will be worth the wait.

Likes
15
Share

@For2itous
Follow
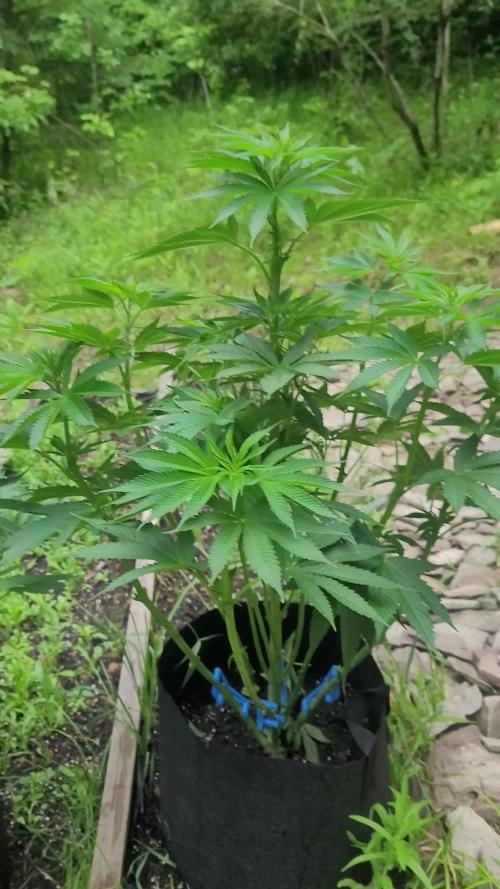
She's got good smell so far. Just did some defoliating almost some lollipoping. Give some nutes but it's been raining so haven't needed to feed as often lol Happy growing 🌴


Likes
4
Share

@Kinghaze
Follow
Last week of nutrients.
I will flush them next week with advanced nutrients flawless finish.
There are some big differences in finish time between the plants ,but we will see .
Unfortunately i don't have the luxery of having a separate drying tent.
So i have to find the sweet spot between the plants.

Likes
13
Share


@NSABND
Follow
Day 66 ... the weather get´s more worst too cloudy and cold at night 😱😫😵... so i decide to harvest today 😃👍
Now "Hilde 2.0" is hanging in the dark in the basement and can dry... I'm curious to see how the harvest turns out 😃🙌🙏