


Likes
Comments
Share

@Alvareas
Follow
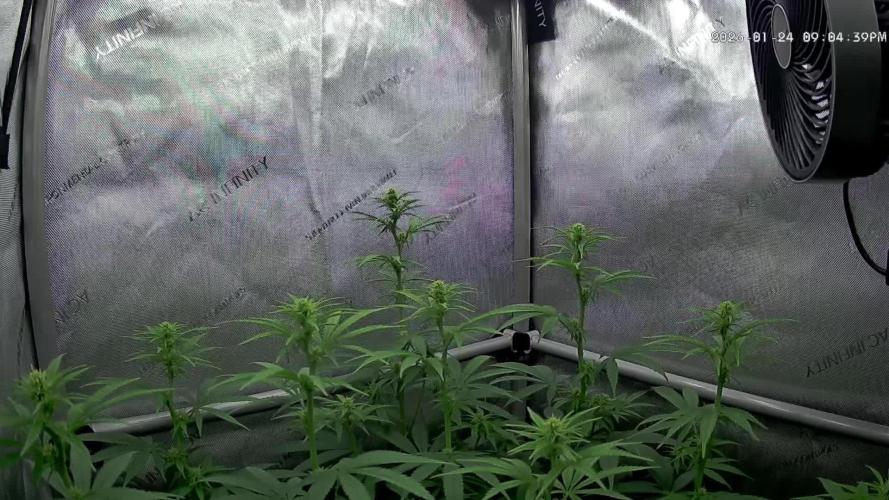
Der Grow:
Diese Woche ist die Pflanze explodiert.
31 cm sind es am Ende der Woche gewesen.
Zum Glück habe ich bei diesem Run die Abluft von Anfang an außerhalb des Zeltes platziert, sonst würde es eng werden.
Ich hoffe das es in der 3 Woche nicht noch einmal 30 cm werden, sonst bekomme ich Probleme mit der LED.
Die Buds entwickeln sich auch sehr schön.
Von Tag zu Tag fängt die Pflanze mehr an zu duften.
Ich kann den Duft nur schwer beschreiben, aber es erinnert mich irgendwie an einen starken frisch gemahlenen Kaffee mit leichten Skunk Tendenzen.
Die Erde performt immer noch einwandfrei.
Es sind keinerlei Mängel zusehen.
Auch Cal/Mag musste ich nicht hinzugeben.
Bis hierhin klare Empfehlung von mir.
Am Ende der Woche habe ich alle Blätter bis zum Netz entfernt.
Die Parameter in Woche 8:
Controller Einstellung Tag: Advanced AI Luftfeuchtigkeit 50% - 60%
Controller Einstellung Nacht: Advanced AI Luftfeuchtigkeit 50% - 60%
Durchschnittliche Tagestemperatur: 25 Grad
Durchschnittliche Nachttemperatur: 22 Grad
Durchschnittliche Luftfeuchtigkeit Tag: 55%
Durchschnittliche Luftfeuchtigkeit Nacht: 55%
Durchschnittlicher VPD Tag: 1,3
Durchschnittlicher VPD Nacht: 1,1
LED Leistung: 40% = 145 Watt
Beleuchtungsdauer: 12 Stunden
Umluft: Stufe 1 oszillierend


Likes
1
Share

@WalachianGrowinDiary
Follow
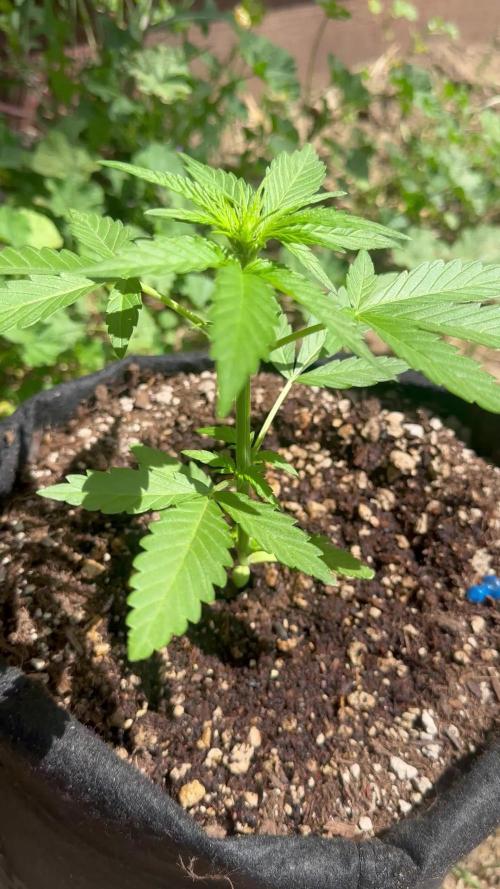
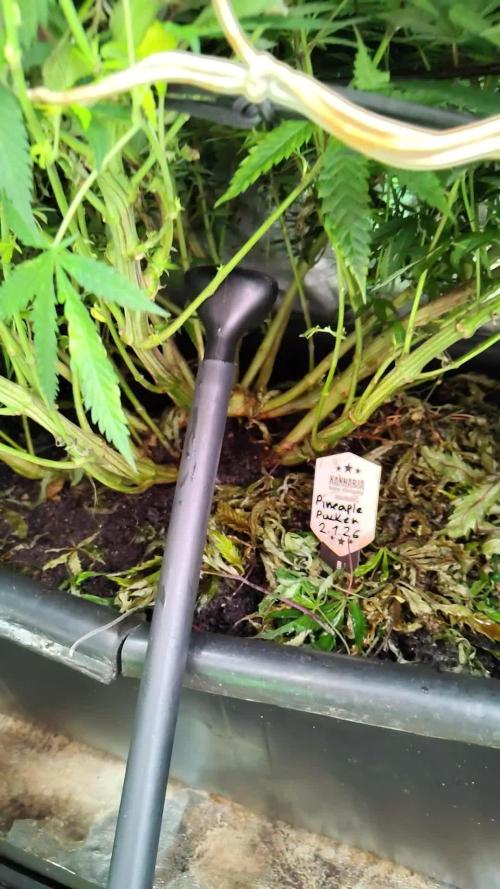
Before flipping 12/12 im adding 3g/l of substrate bio Bloom cover IT with wormhumus And watering with compost Tea for Flowering . Then ONLY clear water And every week bio enhancer 1g/l
Processing
Likes
12
Share


@Homegrown_Meds
Follow
This week I found a hermaphrodite amongst the ladies. I got rid of it but not before it dropped a little pollen 😭.. I,ve got my fingers crossed 🤞


Processing
Likes
9
Share


@maxpain
Follow
In cure mode ..tried a bud couldn't wait ...I .can tell it will be good once properly cured..

Likes
20
Share


@Experimentgreen
Follow
I won't say it was a perfect growing experience, because i kept running into problems with keeping the lights a good distance away, but that was the most difficult problem I faced.
It was definitely a very successful do-over. Both of these plants easily were 2 times the size (width/height) of my 1st sour stomper attempt, they yielded at least double and in Plant A's case...triple. And all by the few simple changes of using LEDs earlier in the grow, larger pots, being in a tent and having one tiny duct fan.
My nutrient regimen stayed pretty low and for the most part the same as previous grow. However in my opinion one of the most crucial differences was having them in the 3 gallon pots. They didn't dry out as quickly and they were able to be soaked more effectively than the 1 gallon smart pot had been.
For me this was a very important grow on grow diaries as this was basically Part 2 of my first indoor, man made grow. Learning these minimal differences in how to have plants turn out enormously better was essential to any future indoor grows I might do, even though I'm sure i just skimmed the surface on potential problems that could occur and how to fix them.
The buds from this grow were not only dense enough to be worth smoking, but every piece of the plant including its leaves will be useful for pressing. The couple presses i did on this plant so far had a beautiful golden color, an amazing smell, and had zero plant byproducts inside it from using the 90 micron bags. The only downfall with the micron bags and the pucks are they retain a fair amount of the pressed rosin, the only solutions I can think of would be to add them to an edibles mixture or to stack them all up and continue repressing.
All in all this was a fantastic grow, and I'm very grateful for all the support and for mephisto for making such a solid strain.

Likes
20
Share

@3rnest
Follow
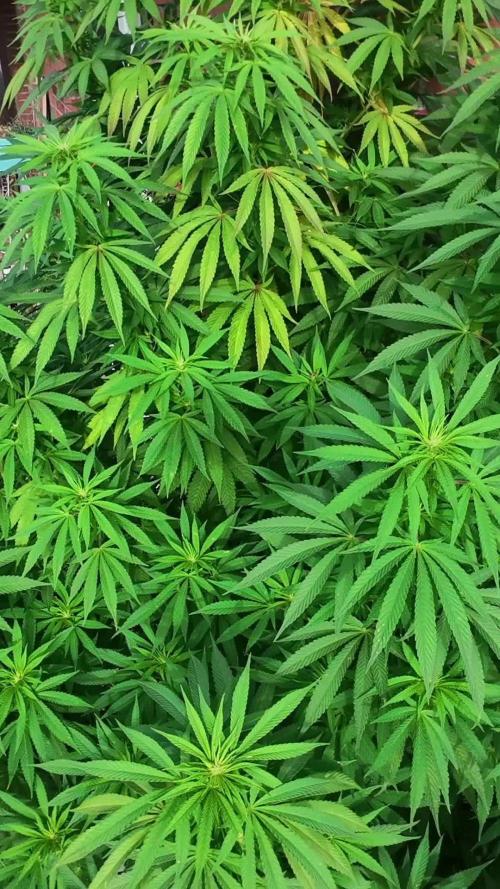
Weiter geht's!
Bis jetzt entwickelt sich die Pflanzen gut und bekommt weitere Blüten.
Hoffen wir mal, dass der Herbst schön wird...

Likes
7
Share


@Chucky324
Follow
Hello. This is the end of week 3 and the beginning of week 4 of flowering.
I read an article a few years ago that said: If you force flowering for 3 weeks, you can put it outside after the summer solstice and it will keep on flowering. So, it's been a month since the summer solstice and this plant is going on to it's 4th weeks flowering. According to the article it should keep on flowering and not switch back to veg. This article was written for the Netherlands and where I live is below that latitude near the 48th, so they should keep on flowering.
I saved a bit of pollen from my summer pollination run (see my Runtz Mintz Cream diary)and I'll be pollenating a branch, on this plant, this week, for future seeds.
The plant is doing good. I see it's just starting to show some resin. I see lots of white stigma's, meaning... this plant will have big buds.
OK. Be Great.
Chuck.

Likes
3
Share


@Bones
Follow
I will be running Blue Dream in my flower room but they havent even rooted yet. In the mean time, since shes getting huge lol I decided to flower Queen Blue my Nirvana Shop 'Blue Dream" mother. Lets see how she does! Ill add her daughters to the diary over time.
EDIT: I mentioned I didnt cut the plant at all but thats actually not true I always top my plants at the 5-7th nod. Thats it though.

Likes
13
Share


@Corwinism
Follow
So it has begun... I've had to start utilizing string to hold up branches by tying them to the ceiling rods and surrounding equipment. These plants are healthier and happier than my first grow, so I wasn't quite expecting them to blow up like they did, therefore my single-layer screen was not enough to support the branches. Not to mention the net used was store-bought and kind of sucks. I prefer my double-layer from the first harvest.
The Mimosa is packing on some major frost, followed closely by the Glookies. American Pie trichomes seem to appear and ripen much closer to the ending stages of flower.


Likes
6
Share


@Barcelona_Farmers710
Follow
Tardamos un poco en finalizar la anterior y además con alguna que otra plaga, estás se están recuperando de las plagas bastante favorablemente... esperaremos con el transplante coja más cuerpo farmers!🙏🍁

Likes
2
Share


@PlantTherapy12
Follow
First grow and first ever harvest...... I haven’t weighed her up whilst she’s wet I’m gonna wait for her to dry out and cure up and then I will update the yield 👊🏻

Processing
Likes
31
Share


@NorCal311
Follow
10/29/19 - All is going good. The stretch always amazes me on how fast they grow! Watering 4 cups of water each plant every three days. I did not switch to 13/11 yet. I will do that the last few weeks. I moved the lights up to compensate for the stretch so lets see what that does.
10/31/19 - Moved the one that is not flourishing from the net to the side. The other are rocking the house!!! Did a bunch or rearranging and LST in the net. Should be set this week to leave it all alone. I also did a bunch of defoliation. Too bad I was not going to clone this strain anymore, cause there was some great cuttings. 👌
Likes
1
Share


@mauigrown
Follow
As week 5 came to a close and we move into week 6 of flowering, I am having really high hopes for the end result. The buds started to get some light orange hairs which is really nice and they are really starting to thicken up!
Towards the end of week 5 the plants started to show early signs of burn on their leaf tips, so I started the week 6 feeding a little early. In week 6 we bring the EC down quite a bit as we get into the late stages of flower. I also recently switch to measuring with EC vs PPM for ease and accuracy.
Also at the end of week 5 I did a calibration on my coco for each plant as week 6 nutrients are much lighter.
Coco Calibration Method
1. Mix up nutrients.
2. Water plants as normal and measure runoff.
3. If runoff EC is not at or close to the inflow EC
a. Water more and keep measuring runoff until the runoff is at or close to the inflow EC
4. Do steps 1-3 for all plants (One at a time)
Tips:
- I use a shop vacuum that I stick the end in the bottom of the pot saucers and leave it on while I water so it sucks the runoff as soon as it drains out the pots. Then I measure, empty and water again until I hit my targets)
For this calibration, I ended up using around 6 gallons of nutrient solution.
Watering technique used is to measure runoff at every watering and make sure we are staying as close as possible to the inflow EC. It does not matter how much water you need to put through the pots to get to the desired EC on runoff as that is a benefit of Coco. My main goal is to keep my runoff in check and the plants seem to do better than I have ever grown before!
The smell off these ladies are amazing and strong. I don't have a carbon filter and enjoy her smells and aromas all day long as my desk is right next to my tent.
There were no issues in Week 5. Plants continue to look amazing and the buds are continuing to bud up and structure very nice! I'm excited to see the end result after the ripening and flush stages. Also the colors that are soon to come! Stay tuned!
______________
We are 5 days into week 6 and the buds continue to grow fatter and fatter on a daily basis.
I'm really dialing in my EC and making sure to mix it at 1.1 EC and making sure my runoff is from 1.1-1.4.
I started playing with the mix as I am getting used to the grow schedule and how the base nutrients effect the EC.
I have found that doing 50% of the low strength calendar hits me right at my target EC and I don't have to dilute my mixture after.
The smells continue to be strong and fill my house up.
The weight is starting to make the colas lean over which is nice because it's opening up the canopy to get more light in.
I'm very excited to see what the buds look like in week 7 and then we are on to ripening stage, flush, and then finally harvest!!
Likes
5
Share


@MarcelMarcel
Follow
Způsob klíčení
Sklenice s vodou, papírový ubrousek, kokosové peletky.
Ve skleníků 3 dny, na topení, vysoká vlhkost. Vyrostly 4 z 6
Sázeno do stanu 2.1.2023


Likes
22
Share


@ButterfliesLittleFarm
Follow
Hello Diary.
The first week of vegetation is behind me and for now all the plants are growing nicely on my little farm. I put the Fat Banana in the middle between the two Haze Berrys, I'll see how it fits her there.
I started adding BioBizz on schedule for the first week of vegetation and p.H. I regulate with Plagron’s Lemon Kick.
The temperature and humidity are satisfactory, so I no longer used a humidifier.
Here's how the week went.
25/09/2020 - Day 1.
Photography. Fat Banana is officially 1. day old. I mean by the first day when the plant gets the other two leaves. Then it is no longer sprout.
Fat Banana - Day 1. - 5.5 cm
Temp / Humidity on the farm - 25.8 degrees and 52% humidity.
26/09/2020 - Day 2.
Watering. First feeding. I regulated p.H. at 6.1 and added BioBizz's Root-Juice - 4ml / L, Bio-Heaven 2ml / L and Acti-Vera 2ml / L. Each plant received a liter of water.
Temp / Humidity on the farm - 24.9 degrees and 45% humidity.
29/09/2020 - Day 5.
Watering. p.H. is regulated to 6.3 and I added BioBizz on a schedule for the first week. Like three days earlier. This time I watered with 1.5 lit.
Temp / Humidity on the farm - 24.2 degrees and 45% humidity.
01/10/2020 - Day 7.
Photography. The first week is officially behind us. Fat Banana is progressing nicely, although it lags a bit behind Haze Berry's roommate, but otherwise everything is cool.
Fat Banana - 10 cm - Day 7.
Temp / Humidity on the farm - 24.8 degrees and 50% humidity.
What to say at the end of the first week, I am pleased with how the plants are progressing and I will try to please them as best I can. See you next week.