


Likes
Comments
Share

@SwabianMadness
Follow
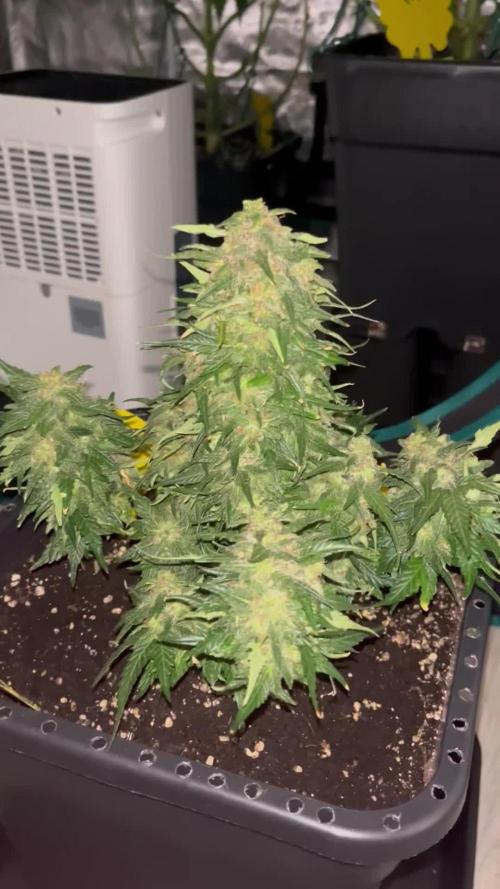
All good. Give her a Dryback once because the Soil was to wet. After that her Flavour come back. It‘s a candy sweet but not that extreme and maybe bit floral or i don’t know exactly. But i like it
Gave her at 26th one Liter with 0,5ml Calmag. At 27 i decide to flush her. 7l with PH 6.5 and 7l normal Tapwater. First a bit of the PH corrected then the Tapwater and at the End 3l of the PH Water again. That she don’t get burnt by the Nutrients.
Was first time i did this. So don’t know if it makes 100% sense 😄
At 30th May she was dry out and i gave her another Litre. Give her few more Days to mature out. Trichomes are almost all milky. A few amber ones i spotted. At 10% amber i want to harvest her
Corrected the Lights for the Bilbos. And the Doppler gets 800 PPFD until she get cut
Was real happy and proud that i get her trough this crazy Run 😁🙏🏼 she don’t stress me, but make me lil bit nervous when i found out that she had flipped without the Flip. But everything turns to a good Story 💚💚 i stayed at Paradise Seeds in Future
Had a 3 Seeds Pack of Nebula again at home one of Dutch Dragon and the other Dopplers are in my Fridge and wait to germinate
Thank you all for being here with me, checked out my Diary sometimes and comment a lot 🏼 hope we‘re stay in touch

Likes
32
Share


@Compassionate_Gardener
Follow
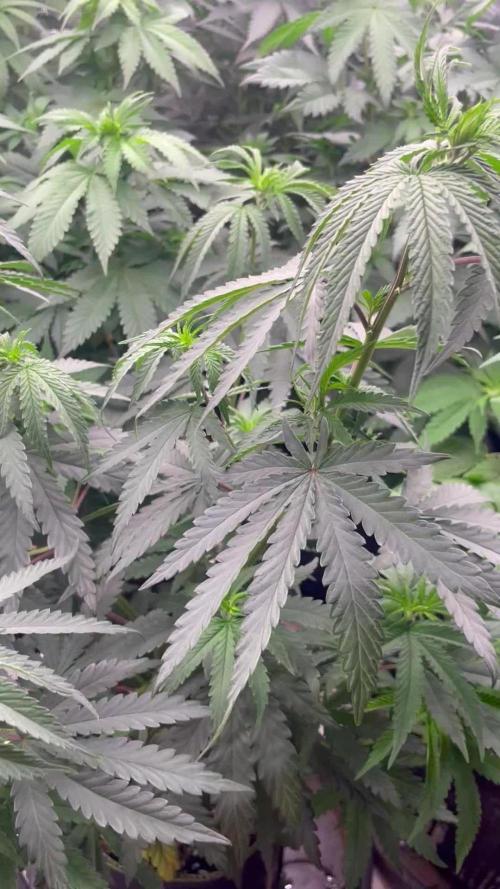
Shortly after they were switched to flowering (after week 3) the plants continue to stretch and then start to develop their first flowers. Now in week 7 all plants have very nice flower clusters all over the plant and side branches. They have grown to 45 cm (=Shiva Skunk on left side) and 40 cm (Serious Kush on right side of aisle) in height respectively and all plants have a nice dark green color, which shows they are healthy and also that the Advanced Nutrients schedule works like a treat. The Q6W-Gen.2 LED-Lamps are now dimmed to 100% (=three green LEDs on the dimmer) and work on FULL POWER, which ensures full fledged flower production. Both varieties have now started to exude their typical aroma. The Shiva Skunk starts to smell musky and sweet, while the Serious Kush smells 'gassy' and 'fuely' like its OG-Kush heritage. The flower clusters on the Serious Kush appear to grow denser than the clusters on the Shiva Skunk.


Likes
3
Share

Likes
6
Share


@Aleks555
Follow
Zamnesia - Pineapple Express (F1 Auto) - 76 Days
The time has come—harvest day! It's bittersweet to say goodbye to this incredible journey, but all great things must come to an end. The Pineapple Express (F1 Auto) has been a true wonder, delivering both in strength and flavor, with an aroma that's unforgettable. This strain produced the hardest buds we've ever grown—rock-solid and packed with resin, the likes of which we’ve never seen before.
A massive thank you to Zamnesia for providing these remarkable seeds! And an extra special shoutout to Xpert Nutrients for the outstanding fertilizers. The results speak for themselves—your nutrients truly work miracles, creating those dense, powerful buds that we're so proud of.
Stay tuned for the final photo and video showcase of this incredible harvest. We're thrilled to share it with you all!
Xpert Nutrients – The Key to Powerful Harvests
When it comes to achieving the best results, we trust only proven solutions. And with Xpert Nutrients, our plants are getting nothing but the best! These nutrients are not just a product, they’re a true catalyst for growth and powerful yields. Thanks to a balanced formula, each dose nourishes our plants with essential elements, promoting their health, strength, and abundant harvests.
Every cycle with Xpert Nutrients shows progress. We see incredible results: dense, resinous buds, rich aromas, and, of course, yields we can be proud of. With these nutrients, there are no compromises – only maximum performance!
Thank you, Xpert Nutrients, for your continuous support and for helping us unlock the full potential of our plants. The results speak for themselves!

Likes
3
Share


@evAq22
Follow
Plant is growing fine, gonna top it next week
03.04.
I'm waiting for growth. But I cut away the cover crop a bit

Likes
4
Share

@Chubbs
Follow
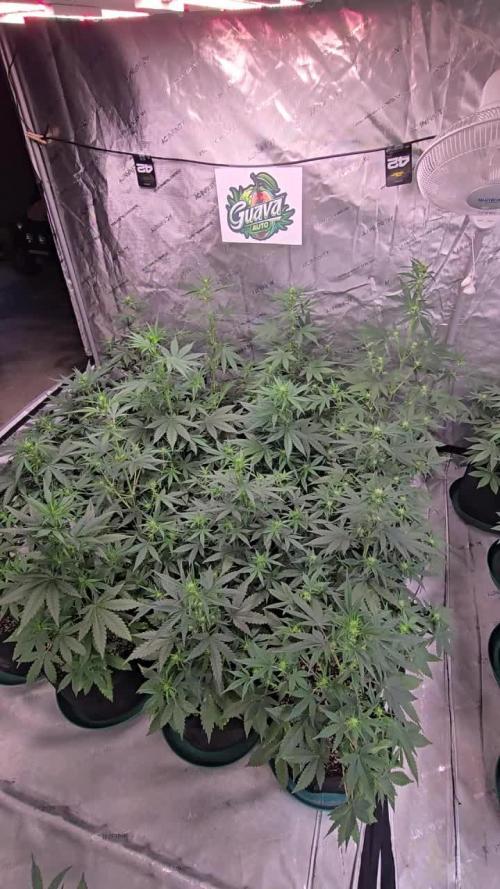
What up Fam. These girls are growing amazing. Now that I can controll the temps a little better they've taken off with growth. Starting the flower period which we all no know what that means. The countdown is on. Over all Happy Growing.


Likes
2
Share

@Snugens
Follow
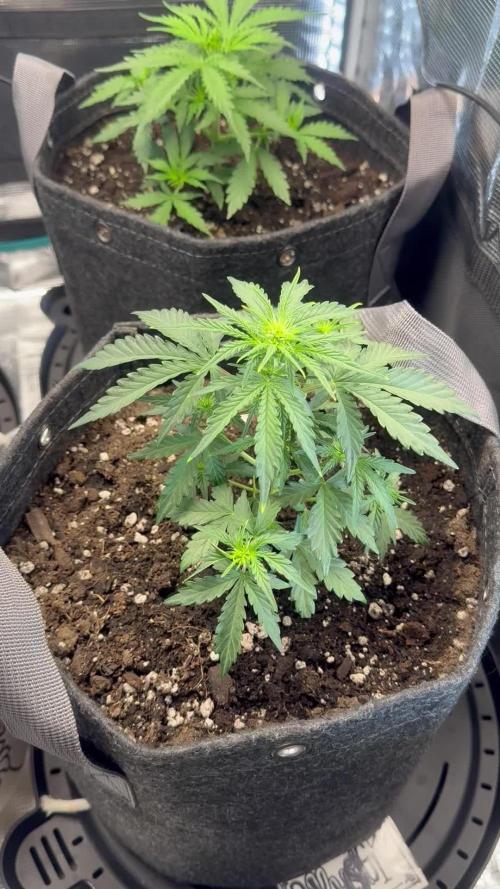
This week the girls all got hair cuts. Pineapple actually had to get 2 cause she’s such a grower. Put a little ogk in a pot for the wife so she can have a window plant if you see that in the video. Little burn on ogk but they’re all loving life right now.

Likes
10
Share


@Elpicor
Follow
Plant showing first sign of extra nitrogen, I'm trying to fix it with algae and

Likes
64
Share


@SmokingTiki
Follow
Buds are growing😁 I think I might have nutrient burned my plants a bit, especially the Wedding Cheesecake. I've decided to listen the advices from @nonick123 and remove the BioGrow. I'm still searching a good way to water them, they seems to drink more some days, so I try to adapt. The smell is super strong in the room now, it smells really good 😎


Likes
15
Share
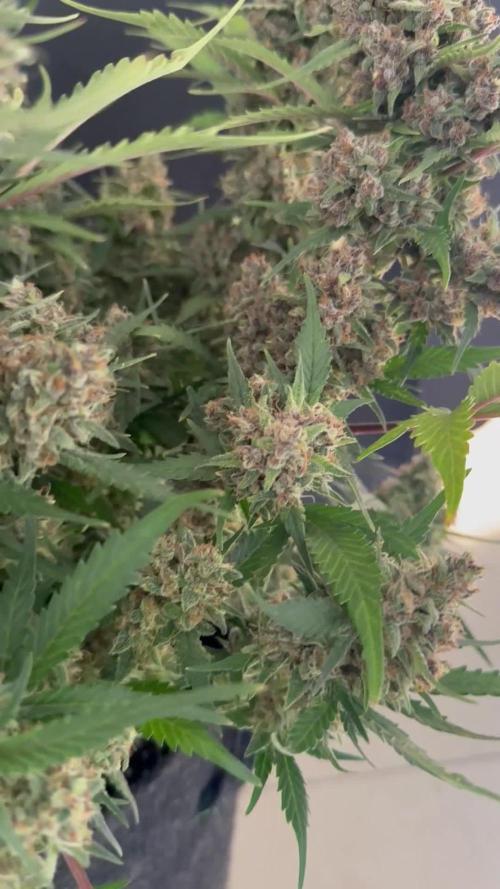

@DE_BW
Follow
Flowering Week 6
The plant continues to progress steadily towards harvest. The buds are now heavily covered in trichomes, showing strong resin production. The aroma remains very intense with a clear strawberry note.
I decided to add one more week of Overdrive to push the final phase a bit further. The plant was flushed yesterday using Flawless Finish.
Harvest will take place once the pot has fully dried out.
Overall, a very interesting plant — structurally a bit unusual, but the quality so far is definitely convincing.
Likes
9
Share


@Backbedroomgrow
Follow
Looking good, I think 🤔 defoliation next week. Still not mastered the art of watering 😖
Likes
32
Share


@Dunk_Junk
Follow
Wow she almost doubled her height this week!
She grew 29cm!!!!!
I think she's doing OK 💪
Likes
5
Share


@BenChasinBigBudz
Follow
Well we are in week 7 and this girl is just now starting to fill in on her node sites. She is sucking the pH out of the water. I have been gradually lowering the ppm from around 1100... Right now the ppm is around 750 and the next top up I will be putting it down to 550.
She is a 10 weeker so we have probably another 4 weeks to go but I'm around for it.

Processing
Likes
10
Share


@Barcelona_Farmers710
Follow
Bueno Farmers un error por ni contar la época de Pre-Flora entramos ahora semana 2 de flora, ya empieza salir la resina...sobre todo la Royal Gorila. No podremos pasar a led de momento próximamente mas novedades compañeros!🍁

Likes
27
Share


@420DeepGrow
Follow
Gracias al equipo de Zamnesia Marshydro XpertNutrients y Trolmaster sin ellos esto no sería posible.
💐🍜 Cosmic Noodles:
Orgullosa descendiente de Alien OG y Rollercoaster Haze, la Cosmic Noodles ofrece cosechas excelentes y una experiencia de fumar fragante. Esta variedad es muy potente, tiene un 25% de THC y produce efectos intensos y duraderos. Edificante y relajante, fumar Cosmic Noodles catalizará un colocón cerebral energizante que luego disminuirá hasta convertirse en un relajante colocón corporal.
Aquí se pueden detectar las influencias de ambas cepas parentales y las flores son notablemente cítricas, con la lima en primer plano. También disfrutarás de notas especiadas y terrosas con delicados matices florales.
🌻🚀 Consigue aqui tus semillas:
https://www.zamnesia.com/10777-zamnesia-seeds-cosmic-noodles.html
Código Descuento 20%: ZAMMIGD2023
💡TS-3000 + TS-1000: se usaran dos de las lámparas de la serie TS de Marshydro, para cubrir todas las necesidades de las plantas durante el ciclo de cultivo, uso las dos lámparas en floracion para llegar a toda la carpa de 1.50 x 1.50 x 1.80.
https://marshydro.eu/products/mars-hydro-ts-3000-led-grow-light/
🏠 : Marshydro 1.50 x 1.50 x 1.80, carpa 100% estanca con ventanas laterales para llegar a todos los lugares durante el grow
https://marshydro.eu/products/diy-150x150x200cm-grow-tent-kit
🌬️💨 Marshydro 6inch + filtro carbon para evitar olores indeseables.
https://marshydro.eu/products/ifresh-smart-6inch-filter-kits/
💻 Trolmaster Tent-X TCS-1 como controlador de luz, optimiza tu cultivo con la última tecnología del mercado, desde donde puedes controlar todos los parametros.
https://www.trolmaster.com/Products/Details/TCS-1
🍣🍦🌴 Xpert Nutrients es una empresa especializada en la producción y comercialización de fertilizantes líquidos y tierras, que garantizan excelentes cosechas y un crecimiento activo para sus plantas durante todas las fases de cultivo.
Consigue aqui tus Nutrientes:
https://xpertnutrients.com/es/shop/
📆 Semana 5:
Comienzan a formarse los cogollos, las hojas se llenan de resina cada dia y el olor es bastante fuerte. Parece que ha terminado de estirar. Practico una defoliación intensa para airear los futuros cogollos y dejar mas espacio en el cuarto de cultivo.
Agrupo de nuevo las macetas en su lugar optimo para asi rellenar por completo la carpa @marshydro.
Me quedé algo corto de nutrientes pero estoy muy contento con los resultados, cada vez le voy encontrando mas su punto optimo. Siempre es mejor quedarse corto que pasarse.

Likes
49
Share


@LockDownGrow
Follow
Ok just finnished a blunt of this a out an hour ago, and I do not smoke blunts lol
But it seems only right too do a real smoked reveiw ,
So the fbt7 has been dry now for about 2 weeks and in a jar and today was the day too take the first bud too try so I rolled a fat one " fat one in photos lol ,
So for me the flavour just isn't there yet and am hoping that will come after a cure ,
So I smoked this all too my self and qiukly ,
Within a few minutes I went white as a ghost as was twitching the the corner hehehe,
This is very strong bud and I would go as far as saying it's probably the strongest bud I've had in years ,
I am what I would describe as a joker smoker , as I turn my bud into oils and do not smoke it ,
But any serious cannabis smoker will absolutely love this strain ,
Well done fast buds and thank you :)
Likes
13
Share


@NordicClosetGrower
Follow
All quite steady overall. Would really like to have some internal ventilation going on in this cabinet.
No nutrient lock in site so far. Mayme time to start adding a bit more nutrients, the leafs are looking a bit discolored and on the yellow side in some spots.
Likes
85
Share


@Wicked_Stix
Follow
Been on 12/12 for a week and this girl is getting stretchy. Starting to look like preflower. Did some defoliation and spread her branches out a little. I moved her to the middle of the back row because I am trying to pair similar sized plants up for even light height.
Nutrients per gallon
.5 tsp maxigro
.25 tsp maxibloom
.25 tsp armor si
.5 tsp calimagic
.1 tsp 90/10 humic/fulvic acid
Ph to 6.0
Pumping nutrients 24 hours
