


Likes
Comments
Share

@Budhunter
Follow
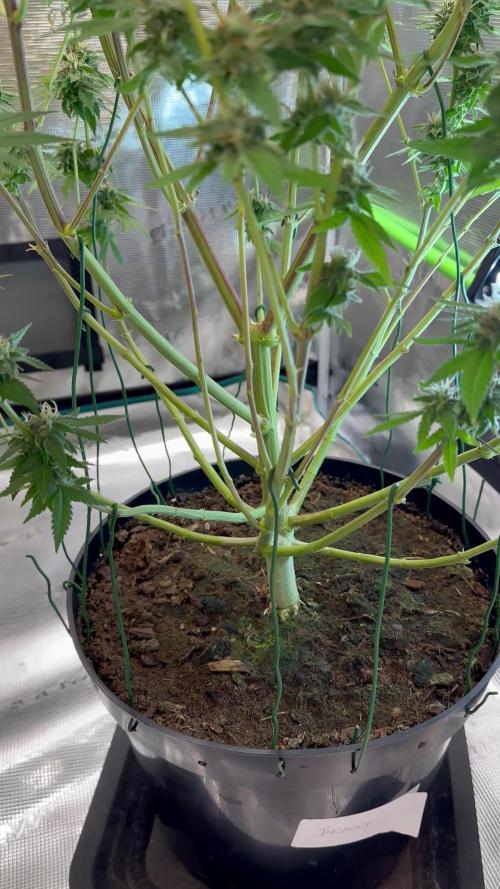
Week 7 Flower- Day 51 flw / Day 107 of cycle
I am jealous about jealousy 😅🤣
She is fattening up nicely and seems to be one of the plants I will harvest for last by her appearance..
She is smelling nicely, I still yet to describe that smell but I am liking what I am seeing… I fed her last time with fertilizer this week and next time I will start giving her only water.
She will probably be the second yielding plant from this run.. even though it will be a nice one.
Let’s gooo

Likes
1
Share


@Spearhead
Follow
Well today is the day too clones at 3.5 nodes! I was very pleased with the amount of growth. 5 -7 day more till I make the next cuts. Feeding a weak solution of Terp Tea and Extreme Blend on drip irrigation.


Likes
8
Share

@Organic473
Follow
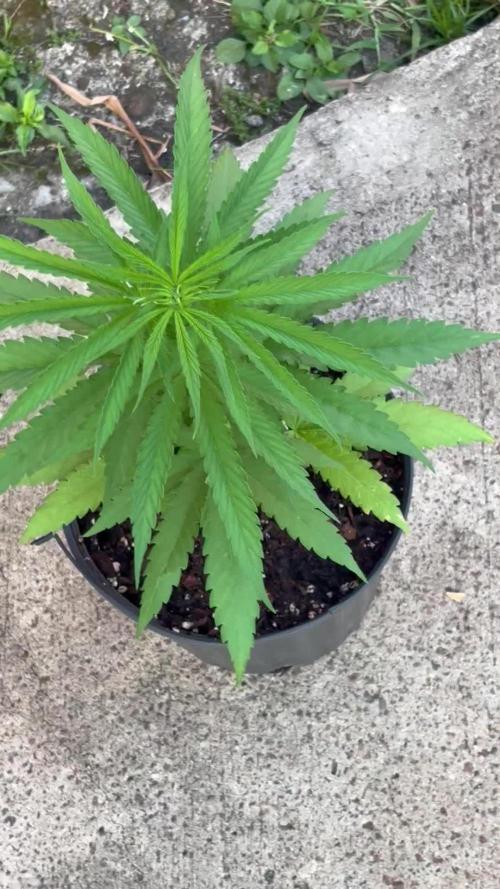
Growing and glowing…defoliated her lower branches and changed her pot size.
Likes
4
Share


Likes
9
Share


@TRASHGROW
Follow
Week 8
Last couple of days to go, she's been getting only water for a few days now and I also pulled the lamp up a bit. She's starting to tilt under the weight of the buds so I tied a couple to make sure they don't snap/bend.
Looking and smelling amazing, super sticky tho it doesn't too look .
I'll be taking a closer look at the trichomes over the next few days.
Can't wait😁


Likes
8
Share


@4F1M6
Follow
The ladies are starting to flower and the male is starting to drop some pollen. Most his more developed pollen sacs will be ripe and dropping in about a week a couple were aheadand already dropped. Giving the females plenty of time to throw a bunch of stigmas out there to catch it. Blessed.
I super cropped his main stalk over top of the ladies. I also added a clone from him in there for some more pollen for storage. For future crosses. All in all this breeding tent is doing swell. I also snipped of a couple really ripe sacs. Than dusted a couple sweet and sour buds with it. Get 1 more extra cross going.
Until next update. Happy growing and stay lit fam.


Likes
12
Share


@Cheeba_Inu
Follow
This grow is going to be testing my coco based auto watering setup. The plants will eventually be going into 2.5 gallon airpots which I cut to be very tall and narrow which I hope will give great performance for this grow style. Nutrient solution will be pumped from a 5 gallon bucket to halo-style drip emitters 6 times a day for 5-10 second intervals. I am going to try to use inline flow control knobs to dial in the watering and allow for slight runoff every fertigation.
For lighting I am using my HLG 100 watt lights, one per plant. I am a big fan of these quantum boards, they have given great performance in the past!
Thanks for reading! 🌱👍
May 13 day 1: the Blackberry breached after germinating in a rapid rooter for 2 days. I am impressed with how quickly this seed popped! It had no issues with stuck seed casings, which I find is the main downside of germinating in rapid rooters. I am excited about this one!
May 16 day 3: Auto watering drip emitters are set up, and I am testing them to dial in the amount of runoff it produces. I also planted the seedlings/rapid rooters into 1 litre grow bags and began feeding nutrients. They are still under the humidity dome for now for the time being and seem to be doing well.
Day 4: seedlings doing well, they are staying under the dome untill they grow their next set of leaves, then I will take them out and run a humidifier.
Likes
48
Share


@McBubatz
Follow
14. Woche, P1 fällt morgen, die ist soweit gut denke ich (ca. 20% aufwärts Bernstein Trichome).
P2 braucht leider noch ca. 1 woche länger.
93. Tag ist für P1 das Ende, sie wurde heute vorgetrimmt und zum trocknen aufgehängt.
Ergebnisse gibt es wenn die P2 auch geerntet wird, denke nächste Woche um die Zeit.
Aber eins kann ich euch versichern, is mit Abstand die schwerste die ich ist jetzt hatte😊🍀🍀.
Gebt euch auch mal wie viele Trichome die gute produziert hat, Duft is noch sehr pflanzlich, Blüten sind ziemlich fest gewesen hoffe das es nach dem trocknen noch so ist. Alles in allem super Run.
Hoffentlich is die gute bei den Top 10 das wäre ein träumchen, wobei ich es wirklich jedem gönne zu gewinnen und bei soviel starker Konkurrenz geht ich wahrscheinlich unter.
ABER was ein geiler Contest trotzdem, hier ein dickes fettes Dankeschön an Zamnesia und Plagron für die Möglichkeit hier überhaupt mitmachen zu dürfen 🙏💙💜
98. Tag , werd die gute am Samstag/Sonntag je nachdem wie ich Zeit finde, umlegen und zum trocknen aufhängen.
Likes
178
Share


@NuggetPawn
Follow
Another quiet week, plants are slowly loosing lower shaded leaves as expected, luckily they aren’t growing any taller anymore. Will be surprised if no foxtails appear as the par is 1300-1400 around some of the taller colas. My lights in total are using 810w, as I have had to dim the light at the front down by 30% a couple weeks ago.
DWC really is a breeze during flowering, barely any work to do, kinda miss having a reason to go in there for anything other than observing 😊
Happy growing all ✌️

Likes
32
Share


@Wilmer
Follow
05/07 start of week 3.
They are growing fast and very bushy, today I gave fert for the first time.👹
I'm having problems to reach the plant at the right corner, I hope she don't develop too many pop corns 🙌


Likes
21
Share


@CanadianFillmore
Follow
Tonight on growfessor theatre, 4x4 edition, 4 ladies get fed and defoliated!
Green Crack, LSD and Mandarin dreams are in the home stretch, this is their last feeding before flushing. Do-si-dos will get another feeding next week and flush a week later.
Thanks for stopping by growfessors, tune in next time for another episode of growfessor theatre! 👽🌳💚


Likes
2
Share


@GrowPassionItalyChris
Follow
Sono nate tutte e già sono pronte per crescere in maniera abbondante. Dopo una settimana già sono dieci centimetri alte e tranquillamente si stanno adattando al caldo estivo italiano. È stata una germinazione perfetta e sono felice di avere scelto queste magnifiche banche dei semi mondiali. I cloni invece hanno preso bene e sono già posizionati a terra all'aperto e posizionati in penombra. Alcuni cloni non c'è l'hanno fatta ma più di nove cloni sono in perfetta salute e hanno iniziato a radicare. La pianta madre dei cloni è una Orange Bud raccolta indoor in gennaio e poi trasferita in outdoor per farla rigenerare e ad inizio aprile ha iniziato una seconda fase vegetativa abbastanza mostruosa perché sta formando centinaia di diramazioni biforcute e sta prendendo la classifica forma di cespuglio grezzo. Ne vedremo delle belle con queste varietà coltivate biologicamente. Un abbraccio a tutti.


Likes
13
Share


@growlikepros
Follow
Things went pretty well this week after having some PH issues in the previous week. The girls are all maturing at different rates and there’s a visible difference in their nutrient uptake and usage that I can see by the color of the leaves. One of the girls pistols have turned about 25% orange brown, while the other two only 10% or so. I decided to defoliate the majority of the fan leaves to help them along maturing and to manage the night time humidity levels. The trichombs are fattening up and turning milky white, only a few amber. Check out the short recording from my microscope. ✌️

Likes
63
Share

@SundancerS
Follow
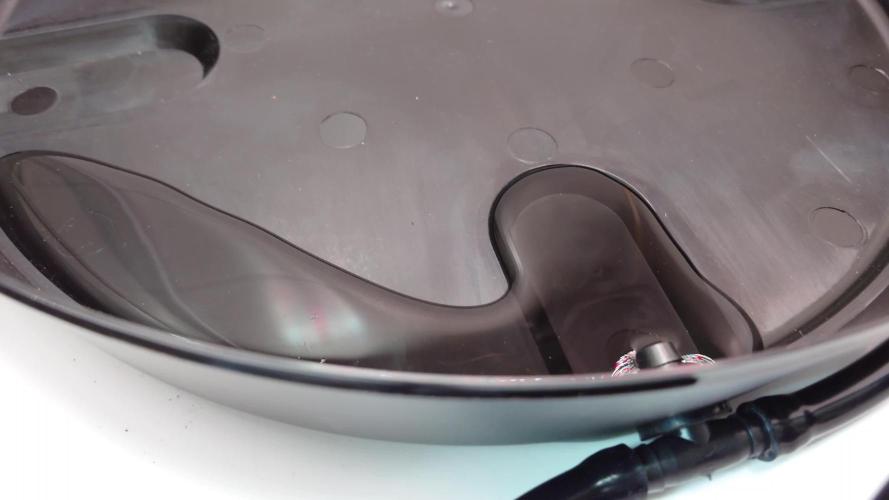
Aufgrund eines spontanen Urlaubstrips haben wir für 4 Tage das automatische Bewässungssystem von Spider Farmer aufgebaut.Eine heikle Angelegenheit in der Endblüte, aber hey, wer nicht wagt, der nicht gewinnt, oder?
Spoileralarm: Alles lief besser als erwartet und die Broccoli hat den Wasserspender einfach als ihren persönlichen All-You-Can-Drink-Pool genutzt. Sie hat sich mehr als 2 Liter pro Tag gegönnt, als ob es keinen Morgen gäbe. Allerdings hatte Sie nur Wasser ohne Dünger im Reservoir.
Die Buds? Nun, die sind mittlerweile so massiv, dass wir die Pflanze kaum noch sehen, sie hat sich mittlerweile mehr in einen „Budbaum“ verwandelt. Die Broccoli hat quasi das „More is more“ als Lebensmotto adoptiert. Sie bleibt trotzdem erstaunlich stabil und es gibt keine umknickenden Äste, was wieder für eine Top-Genetik von Zamnesia spricht!
Alles in allem: ein völlig entspannter Urlaub für die Pflanze, bei dem sie uns quasi mit einem Bud-Marathon überrascht hat. Sie hat ihren Job gemacht und wir freuen uns auf die nächste, wahrscheinlich letzte Woche. 😎 😊 😘
Likes
16
Share


@borneogrower
Follow
Recovery from pruning n 2nd topping. Waiting for 3 weeks for 3rd topping.
Planning to transfer the plant for flowering