


Likes
Comments
Share


@BudBeat
Follow
Die Blüten werden immer noch größer und die Pflanzen strecken sich brav nach oben 👆

Likes
15
Share


@bhanga_garden
Follow
12/6 Update - seed is germinated and ready to grow! I will post a new weekly update tomorrow!
So I had to scrap this plant - it was just growing too slow and it was unfortunately not a health plant. I decided to remove the plant altogether and have started a new seed. Since this plant will be four week behind its neighbor in the tent I will have to modify my approach to training on this one. I typically mainline - mostly just to utilize the space in the best way that I can. This time around I think I will just top it maybe once or twice and then let it recover for two weeks then flip to flower and manage out the lower branches from there. It will be kind of fun to do a side by side with these. The neighbor plant is super healthy and is almost ready for its first topping, I did however go through today and remove all of the growth from the plant (other than topping) so that should slow that one down quite a bit and give this new plant some what of a chance to catch up.
Also - check out the worms!!! I pulled out that plant and reached down into the soil just to see what the worm activity was looking like - I pulled out this little ball of freshly hatched worms!
Barney's Farm Gorilla Zkittles - Feminized. I'll be growing just one of these plants in this 2x4x5 tent. It will be growing side by side with another plant but I wanted to be able to document them separately.
This is my fourth grow using this set up, I'm excited to document the process this time around!
The seed broke ground today! Photos and time-lapse coming soon!

Likes
22
Share


Likes
9
Share

@trustno1
Follow
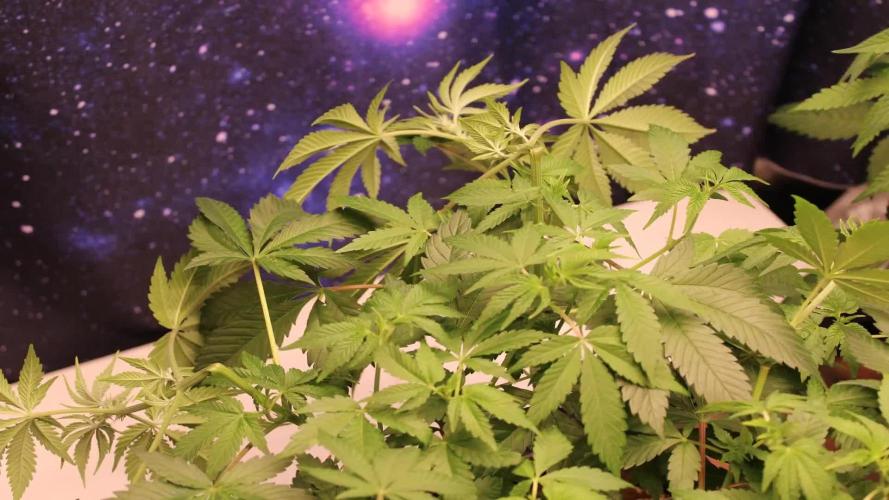
Hi 👋
Blüte Tag 27
Lady Broccoli entwickelt sich gut, und ab heute gibt es 1ml/l Plagron Green Sensation.
Das LST ist abgeschossen und die Lady darf mit der Bud Produktion beginnen.
Gruß M.

Likes
1
Share

@Organic_bud21
Follow
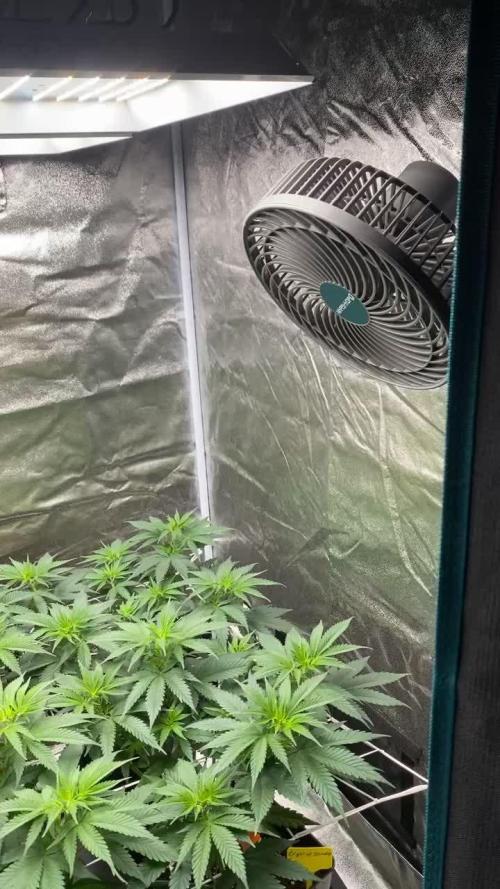
Diese Woche kam das Automatische Bewässerungssystem von Mars Hydro mit einem 50L Tank. Ich brauchte alle 8 dripper weil ich im anderen Zelt auch noch die F1er hatte, deshalb hat mich das genaue einstellen 3-4 Stunden Zeit gekostet. Am Ende lief alles gleichmäßig bei 1 min 20 Sek 500ml aus jedem Dripper. Daraus konnte ich mir auf die Sekunde das Benötigte Gießvolumen ausrechnen. Der Tank roch übrigens nicht mal annähernd so schlimm wie ein Pool oder sonstige Hydro Schläuche, was oft in den Kommentaren negativ bewertet wird. Die Pflanzen habe ich weiter ins Netz eingearbeitet und ein letztes Mal mit B-52 und Break Thru Foliar behandelt. Sonst stand nur weiterhin Erholung auf dem Plan, damit die Blüte bald starten kann.

Likes
6
Share


@Skunkinyabag
Follow
Small pot has slowed development considerably I believe. Runoff has been in range so it has to be the roots bound up. Hope it fattens up a bit before the trichomes amber out.
Likes
7
Share


@MadeInGermany
Follow
Hi everyone 🤗
This week Topping was applied :-).
It starts to develop really well, the Green Buzz Liqudis fertilizer is noticeably good for you 😃👍.
There is unfortunately nothing more to report this week :-).
I wish you a nice week, stay healthy 🙏🏻 and let it grow 🌱.
You can buy this Strain at
https://thecaliconnection.com/original-sour-diesel.html
You can buy this Nutrients at
https://greenbuzzliquids.com/
Type:
Original Sour Diesel ( Clone )
☝️🏼
Genetics:
Fem seeds- Original Sour Diesel to Original Sour Diesel BX3 RVSD Male
Reg seeds- Original Sour Diesel x Original Sour Diesel BX3 Male
👍
Vega lamp:
2 x Todogrow Led
Quantum Board 100 W
💡
Bloom Lamp :
2 x Todogrow Led
Cxb 3590 COB 3500 K 205W
💡💡☝️🏼
Soil :
Canna Coco Professional +
☝️🏼
Fertilizer:
Green Buzz Liquids :
Organic Grow Liquid
Organic Bloom Liquid
Organic more PK
More Roots
Fast Buds
Humic Acid Plus
Growzyme Big Fruits
Clean Fruits
Cal / Mag
Organic Ph - Pulver
☝️🏼🌱
Water:
Osmosis water mixed with normal water (24 hours stale that the chlorine evaporates) to 0.2 - 0.4 EC. Add Cal / Mag 2 ml per l water every 2 waterings . Ph with Organic Ph - Pulver to 5.8 .

Likes
16
Share


@MrGoonai
Follow
This week, I had to cut three leaves—two smaller ones that looked like some kind of insect had laid eggs on them, and one of the big sun leaves.
Finally, I can see some brown trichomes on the B-grade buds. I thought about harvesting soon, but it will probably take another two weeks or so... Or I may have to harvest her week by week. I haven't decided yet.
What I can say is that increasing the amount of fertilizer has helped improve the health of the leaves. I should have increased it sooner; it seems that autos need more nutrients earlier than photoperiod plants.
Likes
10
Share


@wheedtobeus420
Follow
Day 70 she’s frosting up nicely. Her cola structure looks more saliva in nature compared to the last one I grew. She is much larger then the last girl I grew out. I excited to have her around. She’s one of my favorite strains. I wish I could smell her but my nose is so clogged I have no idea why but my face could be pealed off at this point 😂🤷♀️🏻

Likes
38
Share


@Oyziphar
Follow
Trichomes and strong smell. That's what we like 😋😍
👆 Largest plants = Triple G = 125cm
👇 Smallest plants = Wedding Gelato = 85cm


Likes
26
Share


@FUH20
Follow
2021 - 08 - 29
Wedding Glue Auto 1
- most fan leaf are starting to turn yellow , Hoping she finished up in a week to 2.
- Day 55 since sprout
- trichomes are mostly milky, not much amber on buds yet.
Wedding Glue Auto 2
- Some of the buds and fan leaf with abit of sugar leaf are turning purple...
- Day 50 since sprout
- She's fattening up nicely
image format : Wedding Glue Auto 1-4.1 day 27
Wedding Glue Auto 1( plant strain and tag number) , 4 (week), 1 (image number) , day 27 ( Date since sprout )


Likes
Comments
Share

@DopeCutz
Follow
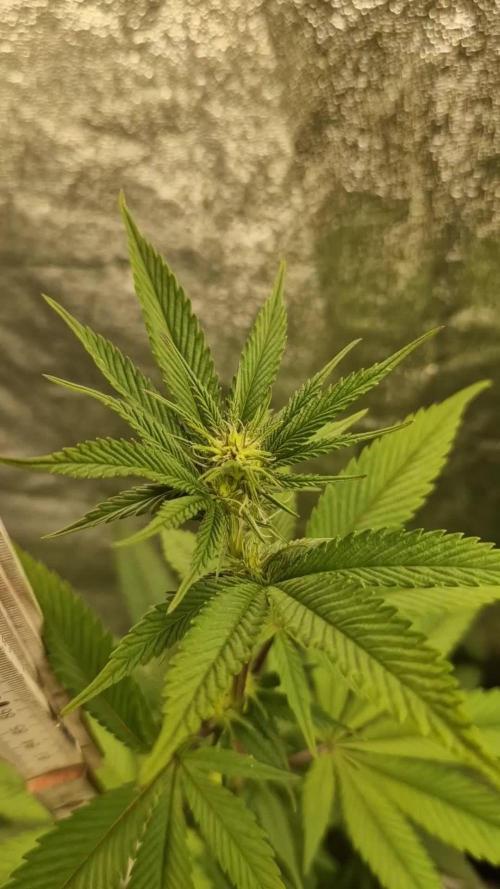
Mit 90 cm ist der Stretch beendet, und die Pflanzen können sich auf die generative Phase konzentrieren. An jeder Nodie sind jetzt Blüten zu erkennen.

Likes
184
Share


@Still_Smoq
Follow
#seedsman420growoff and #SeedsmanSeeds
📆 Week 5, 25-31 May 2024
25-27 May - Observed and let the plant grow.
28 May - Defoliated plant.
29 May - Placed scrog ring on trellis system, bent top of plant over 90 degrees, adjusted and spread branches (see pictures).
30-31 May - Observed and let the plant grow.
📑 I’m very pleased with the way this plant has responded to the nutrient schedule so far. Now it is time to see how she will do with training. I like using a version of the scrog method most because it gives me the greatest space for bud growth overall. My experiences have taught me that under these lights there is about 15-18” worth of quality vertical bud potential. Anything below that line is only draining on the plant, and not receiving adeqate DLI. So I dont need to focus on a tall plant - rather a wide one. Now that she is under a scrog the DLI has a significant canopy increase.
What I’ve done with this plant is cut all side shoots off the main branches up to the scrog. She will grow for another week to allow all for growth to develop just above that and then be flipped to flower. I’ve never grown this plant before, but assumeing she can double her size during pre-flower, I’ll have plenty of room in my grow tent.
The Trellis System: is made with 1/2” (12.7mm) white, SharkBite PEX, 1/2” pex clamps, small screws/nuts #6-32 x 3/8 in (to hold clamps opposite each other, this is what holds the structure together, side bars, rings, scrog), 1/2” pex straight coupling connectors (to connect rings, and extensions), nylon tape and nylon cord. The frame design is independant from the bucket and can be put on anytime before or after the start of the grow. It simply snaps together (nothing needs to be crimpted), the rings stay in tact with coupling and tape, the netting is strung once for the most part, I prefere 2” squares, and held in place by clamps. The size of the rings depends on the size of your pot, the bottom and top ring are measured seperately. The scrog ring is determined by the size of the tent or desired spread. It takes 5 side bars evenly spaced apart and snapped on the bottom ring 1st to hold the frame sturdy in place, their length should start flat from the bottom to about 8” above the top of the bucket. Place the pot into the bottom ring with 5 side bars already attached, lift up the bars, then put on and attach the top ring, this prevents it from moving. Both are then placed on a 12” Bonsai turn table for easy access and observation of the plant. The final scrog is placed on when the desired height is close to being achieved, then maneuvered down over the plant. A simple design that allows you to easily adjust the netting (place extenders on side bars faceing in opposite direction for additional height) and opens many other possabilities for training. See pictures for an example.
🍶 25 May nutrient solution changed
🍽️ 25 May feeding schedule updated
💧 Using reverse osmosis water with EC/TDS at 0
🐉 Nutrient Solution EC 2.3 at 73 degree F
🔆 Light power at 60%, DLI 30-35 canopy coverage at 18hrs
😤 Using General Hydroponics, HGC728040, Dual Diaphragm Air Pump, 320 GPH
That is it for this week. Thanks for the look, read and stopping by.

Likes
13
Share


@TiRobotProds
Follow
Passage 12/12 le 15/11 léger défoliation . Elle ce développe a une vitesse incroyable. Consomme pas beaucoup de nutriments attendons quelques semaines..


Likes
2
Share


@UrbanBoer
Follow
This Gorilla, has went ape.
All I need to do now, is nurse it to harvest, to get bigger buds,I want dense nuggets. But more than having nuggets, I need it’s potency to be on deadly level, I want smokers to crash after smoking. Or I would only get that if I was growing Gorilla Glue.
Likes
7
Share


@WakeAndBake
Follow
Had no time for them through the last week but they are still alive and growing massive heads 🥦🥦🥦

Likes
15
Share


@SweetheartOG
Follow
Girls are doing well with the LST. Kosher cake was topped last week and now has what looks like 8 heads.
3rd of June have given the girls living soil veg.
Likes
12
Share


@OilyEliteOrganics
Follow
Took a sample out and it was very smooth and sweating .
Smells great is growing very flush .
Dense fluffy buggy flowers.
Purps all over as a natural color.

Likes
Comments
Share

