


Likes
Comments
Share


@Hanakage
Follow
I used a green gelato seed (Mother) in order to take clones
I germinated the seed with a paper towel. The germination time served to wash the coconut with 1000pppm of calimagic, then I added it with 30% perlite and wetted the soil with GH Flovanova GROW+Calimagic+DiamondNectar at 400ppm.
These processes lasted 2 days, when the seed was ready I placed it in the soil, and from then on I watered it once a day with a pH always between 5.8 and 6.0.
And the following weeks I always use these rules along with the plant's responses:
After it opens up and shows the cotyledons, water twice a day.
After showing 2 knots 3 times a day and increased to 600ppm of the same solution.
After 4-5 knots, water 5 times a day and gradually increase to 900ppm-1000ppm.
I put some clones of the mother to root, underneath the rock wool tubes I placed 1/2 finger of water with FloraNovagrow solution up to 400ppm. they rooted as shown in the photo after 1 week and 3 days. I put it in the final 14-liter vase with the soil already washed and the preparation processes done. The mother was transferred to the 60x60 greenhouse, which will flower before the clones.

Likes
6
Share

@Skynets_Growing
Follow
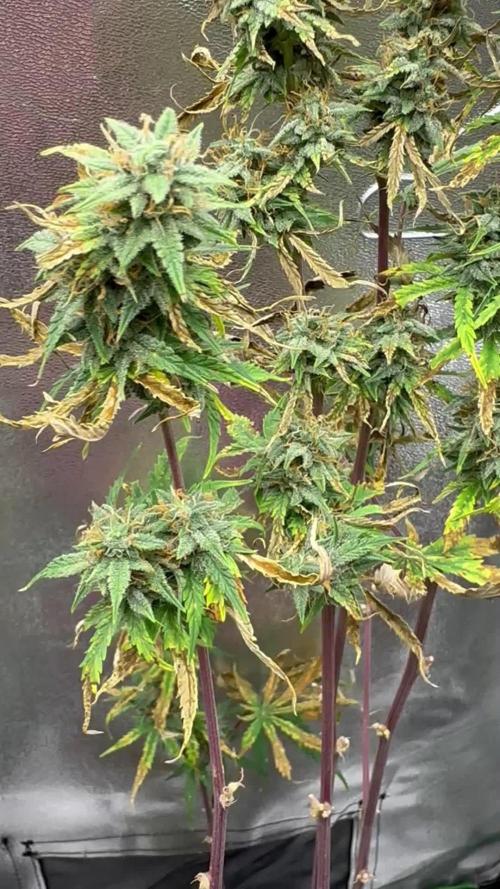
I feel like I‘m in a waiting room, the time passes extremly slowly when you‘re waiting your turn. And my turn named Elsa‘s Harvest, but she taking her time… and i Grant her it…see you next week.


Likes
44
Share


@PEAKYPLANTERS
Follow
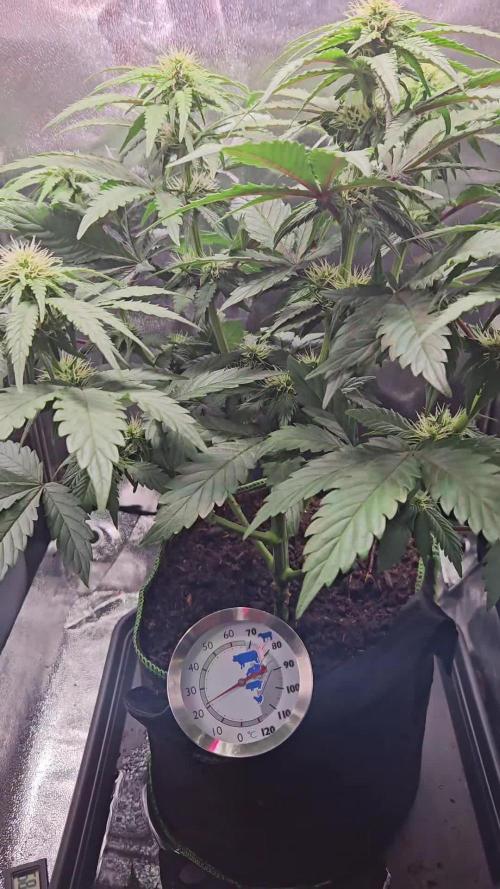
The queen of cultivation welcomes you to a new week in her fantastic gardens!
The small feminised grow under a 18/6 and then be rotted and transferred
happpy hravest to all


Processing
Likes
25
Share


@BigBomber
Follow
Veg week 14 for my Crimea Blue girls...
They now must have built a root system in their outdoor environment, because I only have to water them once a week.
They have not produced pre flowers yet, so this plants are gonna be really freakin huge, I promise :)


Likes
4
Share

@SWITCH420
Follow
Hi folks,
I'm coming here to start the process of ending this grow journal. I harvested about three months ago and the weed is definitely cured. Photos are about to come — I'm doing a real studio photo shoot for those buds, they deserve it!
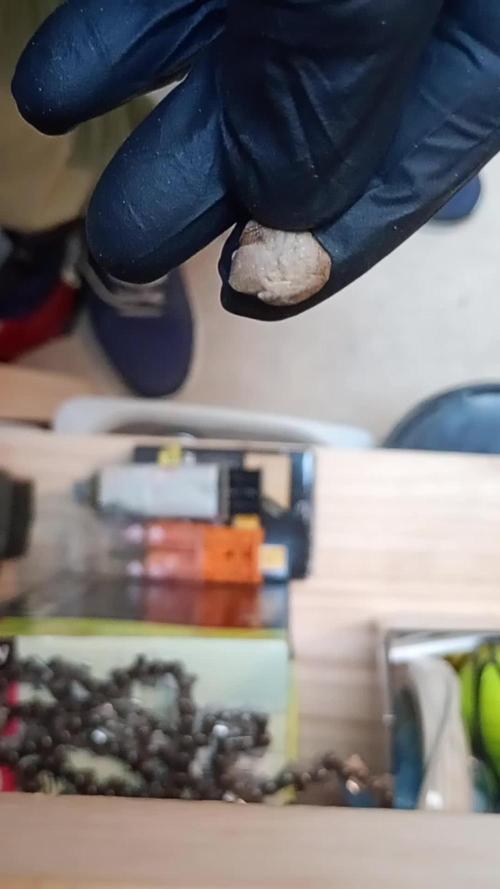
While waiting for the shots, I made some pretty damn dank hash temple balls using the iced water extraction method (solvent-free) with my little washing machine. It's a mix of the 8 strains I grew here — never ideal to mix different kinds of resin... but man, this is some serious dedicated work, so I'm making myself happy with that 14g shiny temple ball in the end 😉
Here are a few details about my process for you guys (and don't forget — you can do it with fresh material! Fresh frozen is always tastier. Also, the drying process is much more efficient and faster with a freeze dryer, but... you need the budget for that. I don't, so I go with the air drying method — check it out below):
1. Get your dry trim, then cure it properly for at least a month (I did 3 months). Smell it — mmh, sweet, dried to perfection. ✅
2. Freeze it, delicately wrapped in a freezer bag.
3. Let a large amount of tap water sit for at least 24h to remove chemicals like chlorine, then use it to make plenty of ice cubes — don't be shy, especially if you're not working in a cool environment.
4. Prep your washing machine: add trim between two layers of ice, fill up with clean water (as much as you can, large vortex is better than a smaller one), then make it seat for 30 min (45 min for thicker buds) the time that the dried green material gets wet again.
5. Prep your filtering tools: catch bag, different mesh bags, spoon, etc.
6. Wash as many times as you can before green contaminants appear, as these lower the quality of your hash — don't hesitate to go up to 8 to 12 washes if the resin still looks clean! Important: each wash has its own specific duration, and they get progressively longer as you advance through the process. Frenchy Cannoli (a true hash legend) provides a detailed timetable for this — from as little as 30 seconds to 1 minute for the first wash, all the way up to around 25 minutes by wash 8. Make sure to follow that schedule rather than using the same duration for every run or running it too long the first wash !! It could breaks to quickly your precious material before you collect all the trich's and the quality would be lower in the end.
7. Collect the wet resin in the mesh bags with a frozen metal spoon, make patties with the resin, and let them sit over some towels in order to drain as much water as possible (place a tissue made for hash collecting over the towel).
8. When the patties are a little dry to the touch, wrap them as they are in the tissue and place them in the freezer for 48h or more.
9. With an iron strainer, microplane your patties over the biggest flat surface you can get! It's important that your micro pieces of hash dry widely and don't get too compacted. Any failure in the air drying process will nucleate rot, ruining your hash in the end and making it a poor product — eventually something to throw away. Sad when you think about all the phases of the process to get to this point!
10. So, in order to air dry properly, you must — it's not optional — lower the RH of your dry room to 35% or slightly below, never above and let it dry as long as needed until the material feels like dry sand. For myself, I found 10 to 15 days is ideal. The room must be very lightly ventilated (not directly on your resin!) and in complete darkness — the goal is to preserve all those delicious terpenes! Ideally, temps around 60°F or 16°C
11. Now that it's dry, collect your resin with a large thin spatula! Make a little mound between two layers of PaperHash, boil some water, and fill up a wine bottle with it!
⚠️ From this point on, to avoid exposing your carefully dried resin to a more humid environment — which could ruin all your hard work — everything must happen in the same drying room. Keep working at 35% RH until your temple ball is tightly and airtight wrapped in PaperHash. (And don't forget to drink water — it's dry in there! 💧)
12. Start to slowly press your resin. Magical moment. Finally....
13. Press 3 times for 10 to 15 minutes in order to really decarb your hash — because that's what it's all about! Between each press, try as best you can to shape a patty... until the final press, when you'll be able to form that magical shiny temple ball (it only shines with gloves on, guys 😄)
14. You are now allowed to try it — for quality control purposes only, of course!
15. Because you want to age your hash for the sweetest 5-star smoking experience: wrap your temple ball in a large piece of PaperHash — if you can get that brand it's ideal, or another kind (check https://thepressclub.co) as long as it's organic!
16. Place the wrapped temple ball in a glass jar and store it in a dark, cool place.
17. Wait a minimum of 3 months before opening it.
18. Open, smell, touch — you'll be amazed. Roll it up with some weed or tobacco or both (I do both) / Or get a Hooka... you are smoking some true primo aged hash made by yourself! Taste the difference and realize all the path from choosing the seeds online until this first amazing puff ... 🙏
I want to credit my inspiration for making this kind of hash to the great Frenchy Cannoli, who has shared all his knowledge through amazingly rich tutorial content that you can find online with a bit of searching. 😉 Peace Frenchy 🕊️☮️




Processing
Likes
26
Share


@eldruida_lamota
Follow
Esa familia, a que pintan fenómeno estas skunks?.
Es que Zambeza hizo un gran trabajo con esta variedad, es una cepa que es bastante rápida en floración, crece muy bien en su etapa de crecimiento, y sobretodo es aparte de típica, muy sencilla de cultivar.
De mis favoritas hasta ahora para indoor, como siempre, controlamos el ph y la humedad (siempre dentro de los parámetros correctos establecidos).
La semana que viene nos vemos con más avances , un saludo.

Likes
9
Share


@GetTheGat
Follow
Well 84 days later ...in Flower its was finally time to Harvest . I sure had my challenges as a beginner and learned a lot by my mistakes and learning about fixing issues and keeping the environment Consistent . I did turn my 600HPS down to 400 as i was my plants were getting light burn and heat burn ..... lets just say i was learning all the way throw . it was exciting being my very first time . I started flowering too late late and they stretched and stretched ... i dont have much space ....lesson learned . I had to train them to grow sideways which did help significantly as did the lower my light to 400 watts ..my space is a square Meter and low ...... it was crazy but I really enjoyed it and there hanging ..... Personally I thought id end up killin them ...lol
Thanks for the advice and comments they were greatly appreciated ... Happy growing .... Hope my next ones are Prettier ,,,,LOL Cheers
Likes
29
Share


@Ukfarmer420
Follow
Hi guys
So 8/10 on germination so far but the other 2 are on there way lol.
So day 1 from pop now the count down starts to 100 haha.
I will be repotting into there 3 gal fabric pots on Tuesday/Wednesday using biobizz lightmix and putting them in a 4x4 tent under a marshydro tsl2000 and a bloomplus bp2500 set to 50 intensity as they are autos. I will be feeding them biobizz root juice at 4ml to a litre aiming for a nice looking canopy this run
So been a busy week, only managed to up pot last night, so here they are on day 6 in the 4x4
Processing
Likes
10
Share


@Canadian_Steelheader
Follow
Well it’s been a rough ride with this WW girl, She was veging on the side for quite a while and not in the best of conditions. Transferred her to CoCo and things went terrible. pH was good and nutes were good, but her roots weren’t the best of shape. She wasn’t growing and all her stems and main branch were turning purple, I thought not again, I foliar sprayed for a few days with epsom salt which helped a little, but I decided to Put her back to soil. I nurtured her back to health and I was able to do a little fimming and she responded very nicely after that. She now has a few friends beside her in the tent, which is my grow 3 & 4. Two Purple Kush and a northern light. Hopefully if all goes well I’ll be flipping the switch in 3 or 4 weeks. The new additions just finished their 2nd week of veg. Wish me luck, I certainly need it !

Likes
6
Share
@sedygrows
Follow
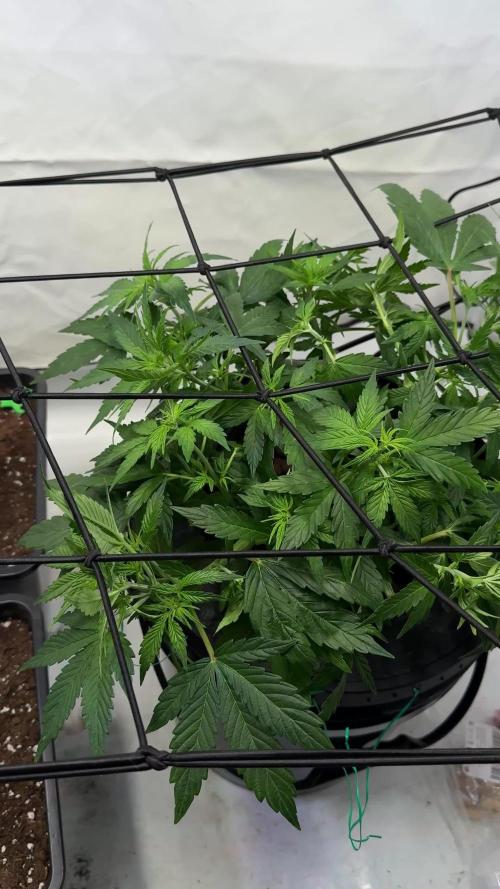
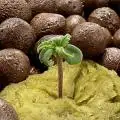
After another week of waiting, she finally decided to bloom. In the next few days i‘m going to change the water and add more nutrients. First experience with silicia. We‘ll see 😋🏻
Likes
2
Share


@SessionMeister
Follow
This is still week 7 but a couple days after last weeks pictures. The Photos haven’t fully flipped to flower but are showing clear signs. Really pleased with Somango and BCP but I’m not really liking the way LSD is growing. Doesn’t have an abundance of leaves and is growing really long Branches. We’ll see how that goes in Flower, I hope it’s not going to turn in to a lot of Space and/or humidity Problems.


Likes
123
Share


@MrHightimes
Follow
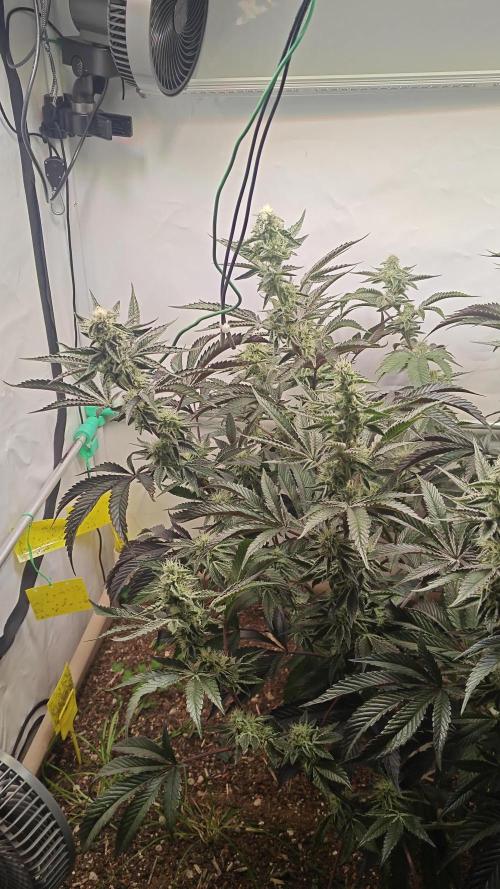
Getting there baby! my hope is to feed them GH Ripen next week then flush a week and be done!
______________________________________________________
My friend "The Defoliator" came by and helped me to see even MORE haircuts to give! I think I've set my Defolate schedule to a bit on week 3, alot on week 6 and a little more on 8 or 9.
Buds are looking great and I'm hoping my schedules are going to work!
______________________________________________________
They are drinking it all up and asking for more! Just letting it do its thing at this point!


Likes
203
Share


@Still_Smoq
Follow
📆 Week 13, 4-10 April 2024
4-10 April - Let the plant grow and observed, assessing maturity.
📑 Buds have fattened up and matured. The trichome head colors are 80% milky, 10+% amber, and about 10% clear. All but a few pistil hairs are brown. She has a strong, sweet earth, gassy, berry scent.
The plan now is to flush with RO water for a few days leaving lights on the same 12/12hrs schedule but turning power the down to 50% to help cool down the grow just before the cut.
From what I understand putting plants in darkness may not be necessary according to a recent suggestion by Dr Bruce Bugbee. This practice he claims halts all plant activity without light. So I’m doing my own comparisons over the next few harvests. It will not hurt/gain much either way. Harvesting techniques occure with some controversy, but the definition of a successful harvest is universal - to grow a plant to maturity that is pest, pesticides (chemical), mold and bud-rot free.
🍶 4 April nutrient solution changed
🍽️ 4 April feeding schedule updated
💧 Using reverse osmosis water with EC/TDS at 0
🐉 Nutrient solution EC .8 at 60 degrees F
🔆 Light power at 90%, DLI 65-70 canopy coverage at 18hrs
😤 Using PYPABL, Air Pump, 400GPH
That is it for this week. Thanks for the look, read and stopping by.