


Likes
Comments
Share

@Stacy_smokez
Follow
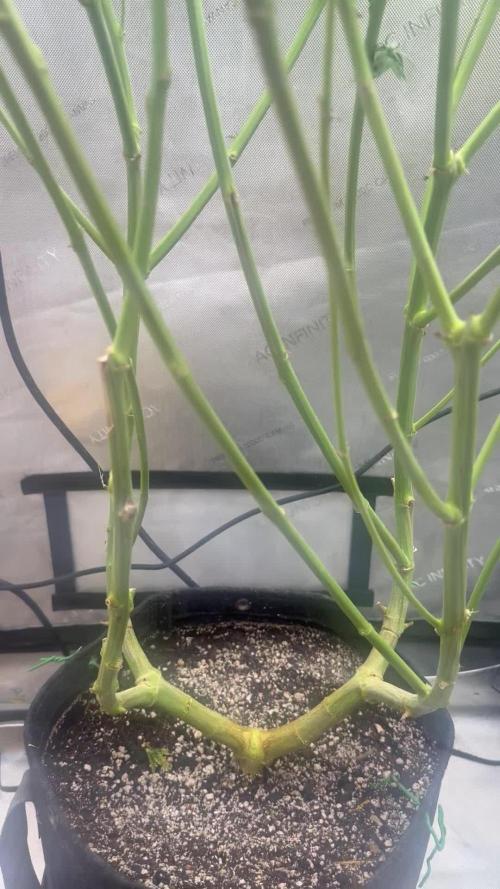
Based off when I’m saying, I’m definitely gonna chop her within the next week probably sooner forgot to update last week so by the time you guys see this, she’ll be chopped over overall this girl was a little bit different especially seeing as my light messed up through things off, but I can’t wait to retry this grow all over again and see what the next outcome is

Likes
4
Share

@GoodTimesOrganics
Follow
Hi liebe Community and Welcome Back! 💚
Weiter geht's im Vergleichsgrow!
Bio Tabs NL. vs. Weedefix (Stuttgart/ Germany)
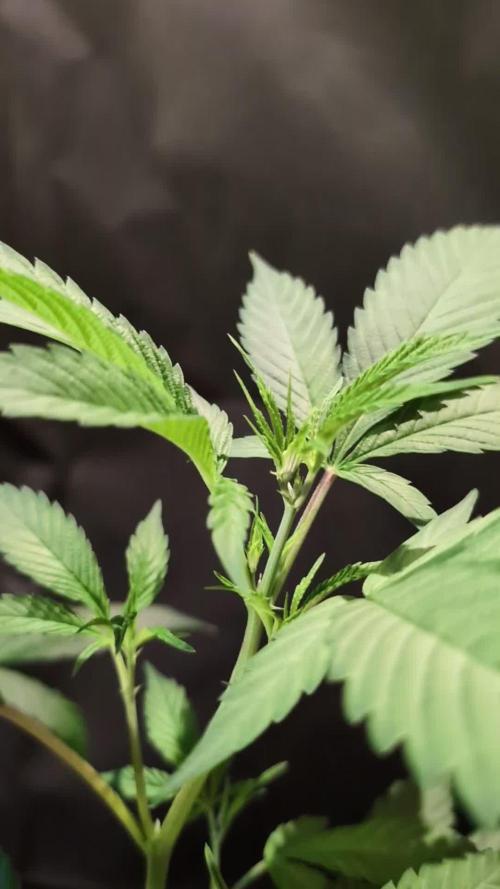
Hier im Bio Tabs NL Grow haben wir nun nach Tag 28 des Einpflanzens eine Höhe von 43 cm Erreicht.
Die Triebe bilden sich rasant aus.
Leider ist mir ein Seitentrieb abgebrochen, daher habe ich der Fairness wegen, bei der anderen Pflanze auch einen Seitentrieb an der gleichen Stelle entfernt.
Immer wieder lerne ich, was die Cannabispflanze für ein robustes gewächs ist. Die stand eigentlich dem Ende nahe und nachdem aber Wurzeln kamen, ging es wieder Bergauf.
Diese Woche, habe ich mit Wasser und 5ml Orgatrex (Melasse mit Pflanzenextrakten) gegossen.
Und es zeichnet sich bereits ein stärker werdendes Aroma ab.
Die Bedingungen im Growschrank sind Top!
—————
🌞 Temp: 21
🌚 Temp: 18°C bis 19°C
💨 RH: 58%
VPD: 0,75 kPa
💡ppfd: 330 mpm
—————

Likes
45
Share


@KrautFabrik
Follow
Day16: nutrients like plan
Day 18: i added 2 secret jardin tled 42w bloom
---------------------------------------------
She is doing well, all the other stuck a bit because of heavy deflotation i made last week🤷♂️😅
The small one in the middle is an Banana clone, which i made just for Fun. (I tested to clone with biobiss root juice, it took 5 days to root) 😁
Maybe someone have some experience with secret jardin tled can can tell me how far i should place them? 😅
Merry Xmas everyone 🎄🍌

Processing
Likes
46
Share


@crazy_haze
Follow
This week started out by hooking the autopot res up to begin the gravity feeding, the roots have had plenty of time to establish and give the autopot plenty to work with.
Ive also topped the plants, and thinned down the huge fan leaves, these were acting like an umbrella keeping light out out. Already new growth is kicking in and the plants are responding really well to the prune and gravity feeding.
The rest of this week is all about tlc and recovery, and what i mean by that is ill be leaving them well alone and giving them some privacy along with some peace and quite while they settle back down and recover their injuries 👍

Likes
5
Share


@Brendanfromtherose
Follow
I've brought the PPM down again and kept the pH at 5.7-5.8, plant looks great first grow so very happy, Alot of Trichomes and don't know if I should be getting ready to flush and harvest, buds still getting fatter and she's still thirsty and drinking water but a lot of amber pistils and not sure if the crystals are clear or Milky but plant looks Great, just unsure when to harvest,
I've reduced nutes a little more and calyxs still fattening up, gonna hopefully start flushing at end of this week for about 2-3 days in my 4gallon bucket


Likes
4
Share


@Growstopher
Follow
7.2.25.
9th week of flower started on 6.30. Week in 1/2 is harvest. Buds look nice just not a lot of them! Still fattening up some and drinking everyday! Trichomes are mostly milky with some clear remaining .
Thanks for checking out grow enjoy rest of your week!🏼


Likes
18
Share


@AlienScrOG
Follow
I dont now if ... The last 3-4 week of have do a very light feeding ... I see Yellow in top of the plant .... I have wrong so much do ... In bloom fase ... I think the First week of Bloom the root deat for so much H2O2 ...and the root grow again to the top of the plant ... Is not good ... I have use h2o2 for Paint to pytium... Only now at 1 month ti finish plant grow bud


Likes
9
Share


@MuzzFuzz
Follow
Things ticking along no real stresses this week. Starting to show some white hairs and still stretching. Temps and humidity much better this week and a lot easier to manage without the co2.
Likes
61
Share


@DreamIT
Follow
👨💚🌴 Grower HageWeed is delighted to introduce his🌴💚👨
⚜️👑🌱 Autumn Cup Contest by Royal Queen Seeds 🌱👑⚜️
💚🏁✅⚜️🏆🏅Today, 2nd October, I received the Royal Queen Seed package. I was just expecting seeds and a lighter with their nutrients, but instead a roundup of very interesting stuff arrived. Hemp papers, normal, clipper signed royal queen seed, a magazine I can't wait to read, nutrients, stickers, a complete catalog with the new genetics, a Zamnesia booklet, 5 seeds Honey Cream fast flowering, a door joint (which I have photographed several times, I already love it, my walking joint will no longer suffer from the long walks in my pocket waiting to be consumed), grinder, fabric vase that I really like at the sight, and the starter kit for germination. Due to the current lack of space to germinate, I dipped 2 seeds in water, (I started with one but it seemed to suffer from loneliness: D). I can't wait for them to start growing, I'm very excited to be able to participate in a contest. Stay tuned: D 🏅🏆⚜️✅🏁💚
➡️04/10 Yesterday, examining the packet of seeds carefully, I noticed that one of them seemed split, and so it really was. I put it directly in the jar covering it with plastic wrap hoping it will grow anyway. Should it be born we have 3 honey cream seeds: D On one of the two seeds 2 mm of radicle begin to be seen, the other still shows no sign of opening but we are not in a hurry: D
➡️05/10 Today the root of the second seed has also begun to emerge: D we continue to wait impatiently: D
➡️06/10 Very well, both seeds are coming out well. probably tomorrow they will be put in the jiffy. I have great things in mind for these two seeds: D Come on, grow up !!!
➡️07/10 Today these sweets have lengthened the radicle a little, just enough to win a place inside the jiffy. The broken seed I put in the jar also seems to have taken root, but we'll find out more in the coming days. With one of the two suits I will start a solo cup diary, even if I am out of time for the contest. It will especially help me to better understand how to manage plants in different situations. Well so, Yeah!
.➡️08/10 We are already two centimeters away. Even the broken seed seems to want to get out but we wait patiently. Well so, Yeah!
➡️09/10 Today I helped the leaves to free themselves from the seed, as soon as I see some roots, they will be moved to the final pot without too many transplants. Today I also start counting the days. Day 1 from the emergence started. Well so, Yeah!
➡️10/10 Tomorrow the jiffy will be moved to the 11 l pot of royal queen seeds: D can't wait. The one in the jar doesn't seem to have caught, too bad :( the sprout is about 3 centimeters high. Well so, Yeah!
➡️11/10 Today this sweetness has been poured into its final jar, positioned near the rim for a future LST. I added 1l of corrected water to the new pot, away from where I put the seedling. Unfortunately, the broken seed didn't make it.
➡️12/10 Everything is OK. I will try to take 2 photos every day, horizontal and vertical, then I will see the results: D
➡️13/10 Wet with 0.4 of fertilized water vegetative pattern, today is the first 12/12 light day. Well so, Yeah!
➡️14/10 Nothing to report today, Well so, Yeah!
➡️15/10 The humidity gizmo says it's still pretty wet at the bottom, I'll wait to irrigate. Well so, Yeah!
Likes
5
Share


@JazzBerries
Follow
Organic, I'm on day ~55, but the flash photo was taken on day 50. I've had some problems, but it's looking like they'll hold out until fully ripe. Trichs are starting to look cloudy, but new pistils are still forming aggressively. I'll try for 1 more week.
Lower nugs are taking their time to finish.
Likes
78
Share


@AsNoriu
Follow
Day 162. One more girl chopped, so it's 2 X Incredible Bulks, 2x Gorillas and one Cookie, wich went crazy colours ...
I'll give them all time till frost and then harvest. No HERMIES seen in left strains, no bud rot too, hope UK weather will give me couple weeks...
Happy Growing !
Likes
4
Share


@TheSurfBud
Follow
Sweet Seeds, Sweet Auto Mix..
Day 60....
I think thats all its got...
Pretty much ready to chop...
Fading out with trich's starting to amber..
Following High Powered Organics Island-Blend Grow Guide...
Happy growing friends 🇦🇺
Likes
72
Share


@JUNGLE_B4RNS
Follow
Week 5, last week in the 1.5l pots, I will transplant them during the weekend in 18l pots. The roots have filled up the 1.5l pots creating a strong roots ball ready to explode in their next pot. I am starting to need to water them too frequently from what I like... transplanting them in bigger pots will extend the watering frequency, giving me more free time to enjoy some dank weed while surfing GrowDiaries 😊
(Tip of the week : After transplanting no need to feed, any horticultural soil is pre-fertilized)
[Day 31]
Transplanting into 18l pots, using Cellmax Organic Pro.
- Water + RootBooster + AllZymes
(P.S: I am looking for a job in the Cannabis industry as, Master Grower, Mineralogist, Quality Control 🐞)
This diary is updated daily ☝️



Likes
3
Share


@RandA
Follow
Hi there! I'm so satisfied of results until now. Third Generation SPEED AUTO has a growth fast and vigorous, thanks to Rhizotonic support also, what gives them necessary boost to the increase.😎

Likes
10
Share


@eldruida_lamota
Follow
Que pasa familia, vamos con la cosecha de estas Papaya Sherbet de FastBuds.
Por dónde empezar, las flores son bien compactas y van repletas de resina, tienen tonos verdes bastante bonitos, y tiene unos aromas afrutados bastante marcados con toques cremosos.
Es muy sencilla de cultivar, es de ciclo de 2 meses y medio, pero bien agradecida.
Hasta aquí todo, Buenos humos 💨💨💨
Likes
Comments
Share


@Growfather1
Follow
Hello everyone.
Welcome back to the update for week 5 of the Mac 1 F1 hybrid clones part 2.
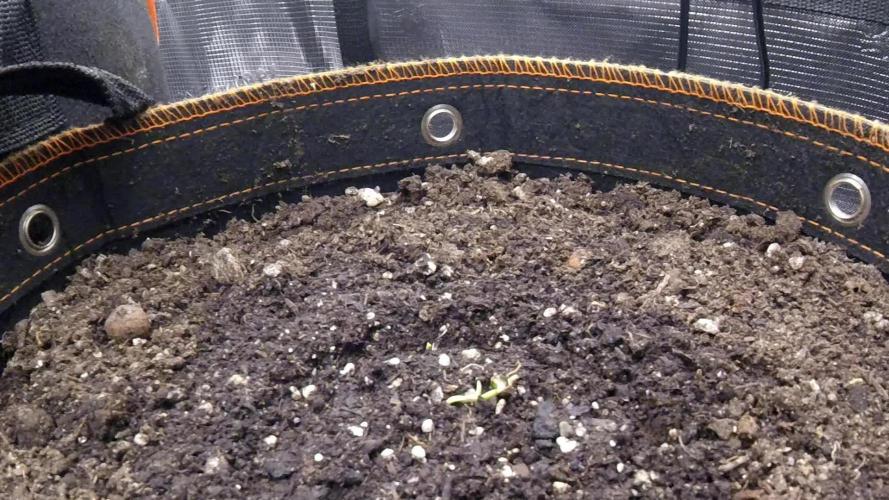
Above the soil, it looks like a ghost town right now—absolutely nothing is happening on the upper side! I guess the ladies decided to take an unannounced vacation, or maybe they are just practicing their best statue impressions.
But jokes aside, they must be incredibly busy beneath the surface right now. All their energy is clearly focused on making a massive root network, building the ultimate foundation hidden down in the coco.
Because they are focusing purely on roots, I am keeping the menu very simple at this point. They are getting their basic nutrients with Canna Coco A and B at 2 ml per liter of water, with absolutely no extra additives this time around.
The environment is dialed in perfectly. The temperature is sitting comfortably between 21°C and 25°C. Humidity is staying above 60%, thanks to the humidifier working hard in the background to keep the air dialed in.
There is an interesting experiment running this week between the two clones. I decided to give one clone a fresh defoliation and a topping, while the other one was left in peace to do its own thing for now. Next week, she will likely need some defoliation as well.
I am highly expecting a massive burst in growth next week once these roots are fully established! Let's see how they react and what they look like next week.
Thank you for stopping by and have a nice day.
Best regards,
Growfather
