







Likes
14
Share

@GERGrowDesigns
Follow
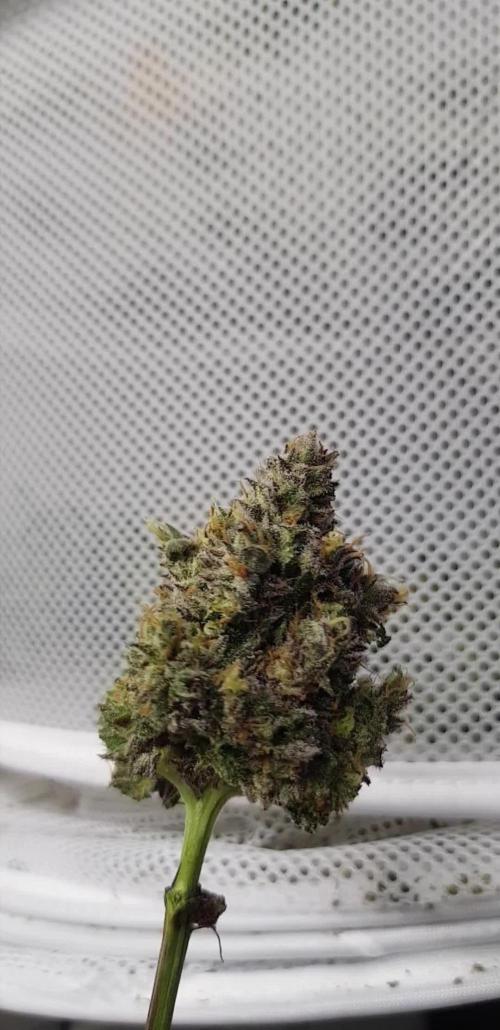
Welcome to Flower Week 9 and harvest of Fast Buds Papaya Sherbet
For this Project , I’ve chosen the Feminized Photo strain Papaya Sherbet :
Here’s what I’m worked with:
• 🌱 Tent: 120x60x80
• 🧑🌾 Breeder Company: Fast buds
• 💧 Humidity Range: 35
• ⏳ Flowering Time: 58 Days
• Strain Info: 30%THC
• 🌡️ Temperature: 26
• 🍵 Pot Size: 16l
• Nutrient Brand: Narcos
• ⚡ Lights : 600W x 2
A huge thank you to Fast Buds for allowing me to try my Best with this amazing collection from Automatic and Photo Strains they managed to Sponsore . Big thanks for supporting the grower community worldwide! Your genetics and passion speak for themselves!
Let’s grow together – and don’t forget to stop by again to see the latest updates!
Happy growing!
Stay lifted and stay curious!
Peace & Buds!
Likes
39
Share

@GERGrowDesigns
Follow
Dear Growers ,
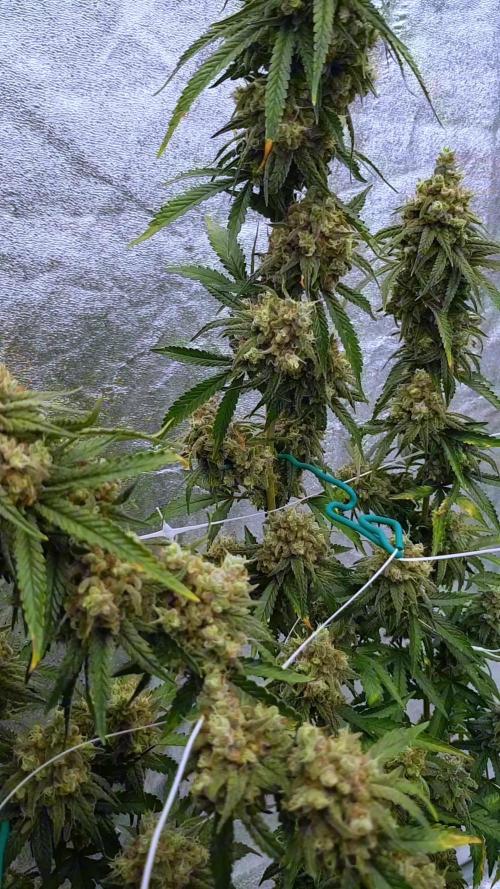
Welcome to Flower Week 9-10 Day 63-70 from Flowering , we’re excited to share a very special project with you:
NARCOS SEEDS Kingping Kush .
With dedication, knowledge, and hands-on practice, we’ll guide you step by step through the journey—watch with us as growth, development, and small wonders unfold before your eyes.
Whether you're a beginner or an expert, you are warmly invited to join, ask questions, and share your own experiences along the way!
Project Setup & Conditions:
• Brand/Manufacturer: Narcos Seeds
• Tent: 222cmx150cmx150cm
• Light: 2x 720 Watt Full Spectrum
• Humidity: 40%
• Soil: Narcos Organix Mix
• Nutrients: Narcos Products
• pH Value: 5.6
A Special Thanks To
Narcos Seeds
for the amazing collaboration, trust, and generous support in making this project possible. Your contribution is truly appreciated!
Congratulations on Your Own Projects!
We celebrate your growth, your creativity, and the passion you bring to the table. It’s truly inspiring to witness at Each visit .
Stay curious and keep up Growing —we look forward to welcoming you back for the next chapter soon!
Processing
Likes
2
Share


@midEastern
Follow
I think flowering is initiated..worst case I will have 9th week of flowering
Likes
3
Share


@123Grow
Follow
1. LABS - I suggest using distilled water for the entire process ( no chlorine or chloramine). I also suggest the type of rice product shown ( 1/2 cup), it has red, brown, white, and black rice blended together. You get the benefits of each type.
2. Take the rice that was used in making the rice rinse for labs and boil it in 3 cups of water for 30 mins. Strain the rice out. Add 1 TBSP molasses per 300 mls.
Use 300 mls of the above mixture during your watering cycles. It contains starches, b vitamins, aminos, trace minerals, calcium, magnesium, iron, phosphorus, potassium, and some nitrogen. The ppm’s are not higher than 200 ( if using distilled water). This is ONLY used if your plants are healthy. If your plants are sick…this will NOT help them. It will make stuff worse!!!
The Hulk-Berry got a new home. 1 tsp 7-3-1, 1/2 tsp 0-12-0, 1/2 tsp Langbeinite, 1 TBSP 2-2-2, 3 TBSP 4-3-3, worm castings, recharge (1/32 tsp) into the soil ( Mother Earth).
The 3 RuntZ are coming back from slow growth at the outset. I added LABS, Lentil SST, Photosynthesis Plus to the media. I did a foliar spray with recharge. 24-36 hours later the leaves exploded with growth and height. I added ZERO nutrients!!! I only used natural inputs and bacteria to get the root zone back in order.
11-3. Things are all in check! The LABS, SST’s and Rice wash have gotten the 3 RuntZ back on track. The Hulkberry is in full swing. I think I can get to 3 feet by flower time with the Hulkberry
11-5 All is well today!!! Everyone is very happy after the cal-mag, Photosynthesis Plus, kelp bath

Processing
Likes
3
Share


@StonyHemp
Follow
As I’m growing autos and female regulars in the same tent I’ve had to limit the amount of light the autos are getting to 12 hours a day in order to flower the lemon haze and gelato 41. This shouldn’t have too drastic effect on the Zkittles but we’ll see how they take to it. After the first week of flower receiving 12 hours of light and we can see that they’ve all opened up during the pre-flower stage ready to flower.


Likes
55
Share


@Theia
Follow
All buds are cut and washed in a bath of lemon juice and baking soda/water. I have adopted this as a new standard for every harvest. We washed out quite a bit of dirt and shit. Lots of black floaties in the bath after and a few bugs we did not even realise were in there...
The buds were hung and left with a fan over them for an hour before being removed to my drying room. Sitting hanging in there at RH 65% and temp is 20c. Will bring Rh down to 55 in next few days.
I will update with a report once they have dried..
Thanks for all the help on this grow people who helped.. you know who you are..
Back in a wekk to 10 with a taste report..
Update.. buds dried after 6 days. Trimmed and jarred with a final dry weight of 112g once I took all branch off. Not tried her yet. I will give her a week at least in the hats before we try and will report back then.

Likes
5
Share


@Pechu420
Follow
Beginning of the second week of flowering. One has not yet shown its sex, it appears to be indica, but it is full of pre-flowers.
The largest is 47 cm, the smallest around 30.
09/10 - Now it's 58 cm, this sativa doesn't stop growing. The indica has not shown sex yet despite having pre-flowers everywhere. It doesn't seem stuck to me, as it continues branching, but the height hasn't changed almost anything.
10/10 She reached 65 cm. The others are 50 cm. The last plant that was missing to show the sex, came very late, it had all branched before showing the sex, unlike the others, and unfortunately it was a male, already dead. She just looked indica, but was a long sativa male.
Of the 5, 3 females (2 in organic soil, 1 being fertilized and the other in inert soil) 2 males dead
11/10 - It is 72 cm. It is colossal, I had to tie it up at the top, as I didn't have enough space to lift the bulb and it was starting to burn some of the tips of the leaves. It's better to have mild, temporary stress than heat and burning stress, which is worse in the long term. The others grow well, gaining weight, without problems with height.
Likes
51
Share


@DogDoctorOfficial
Follow
the freak is getting better and better , i mean she still a frack but now a freak that is evolving and starting to pack up <3<3<3
as the week keeps going she keeps getting better and now the trichome production is starting to became a serious business for this one, form a freat to chick i think, lets see but loving the evolution n these rare peace of art hehehe
I mean not much to say apart that she is gonna prove us all wrong and deliver great medicine in the end, tats what i think hihihi
As always thank you all for stopping by for the love and support and for it all, i truly appreciate it all <3 <3 <3
Genetics - Fast Buds Tester 2308
Ligth - LUMATEK ZEUS 465 COMPACT PRO
Food - APTUS HOLLAND
#aptus #aptusplanttech #aptusgang #aptusfamily #aptustrueplantscience #inbalancewithnature #trueplantscience #fastbuds #dogdoctorofficial #growerslove
With true love comes happiness <3 <3 <3 Always believe in your self and always do things expecting nothing and with an open heart , be a giver and the universe will give back to you in ways you could not even imagine so <3 <3 <3
All info and full product details can be find in can find @
https://2fast4buds.com/ wen released
https://aptus-holland.com/
https://autopot.co.uk/
https://lumatek-lighting.com/
Have a few good more diaries going on fell free to drop by and say hi <3 <3 <3
<3 <3 <3 Growers love to you all <3 <3 <3
Likes
4
Share


@I_Identify_As_A_Dan
Follow
Week 6 of the 9lb hammer F2.
She hasn't exploded like the gelato just yet. Been getting 10hours of light while they sleep in my closet so I can keep giving 16h of light to everybody else, as i only have 1 tent atm.
Still hasn't shown any signs of sex, has been in 10hON/14hOFF for the last 5/6 days now i think, so hopefully in not long.
Her siblings are also coming along nicely, did have a small issue with a little underwatering as you can see the bottom leaves yellowing from neglect,
This strain clearly likes it slight more moist soil compared to the gelato i have in the same tent.
Likes
4
Share


@DoubleDsTrees
Follow
Everything looking good! I have started increasing nutrients slowly now that the plants have some size to them. PPM's are at 265 and PH is at 6.3. This solution seems to be holding pretty steady. Once I see the PPM's start to drop and not rise, I will up the nutrients to around 300. I started adding a phosphite to my solutions for root health. In turf we use phosphites to combat root diseases such as pythium so I figured it couldn't hurt to try it in this setup.

Likes
68
Share


@MiyaguiOkPolilla
Follow
Hola amigo!
Arrancamos un nuevo proyecto, esta hermosa sativa The Ethiopian de @TERPYZ
Semillas regulares, genética landrace pura de Etiopía, grande, gran poder sativa, larga floración y resistente a clima húmedo y cálido.
La marca recomienda sembrar directamente al sustrato, aquí, en suelo vivo funcionó perfectamente. 4 de 4 germinadas.
Los brotes tardaron 3 a 4 días en aparecer entre el húmedo ambiente inicial.
Se mantendrán en el tupper hasta que se vea estabilidad y tamaño apto
Saludos a todos y éxitos, este proyecto viene cargado de una gran aventura

Processing
Likes
14
Share


@DUBDOLLASIGN100
Follow
Patience my friends, patience. At the point monitoring my plants closely for caterpillars or any insect that will effect this stage of flowering.
Likes
15
Share

@Stoney_Stark
Follow
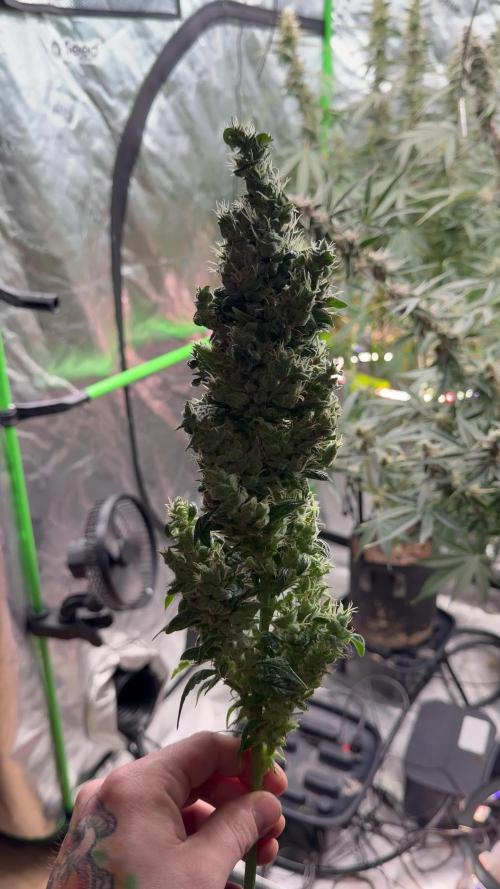
Week 10 Update – Sticky Broccoli Auto
Late Flower / Staggered Harvest Begins
This week marked the start of harvest. One plant had to come down early due to size and structural issues, but overall quality is still looking strong. The remaining plants are being staggered for harvest to dial in peak ripeness.
⸻
Drying / Post-Harvest Note
• One harvested plant nearly filled the Cannatrol Cool Cure C
• Space is now a real concern for the remaining harvest
• May need to stagger loads or get creative with drying strategy
⸻
Lighting & Canopy Management
• Installed under-canopy lighting (3/25)
• ~24W per light
• Producing 200–300 PPFD under canopy
• Helps push lower bud development late into flower
• Likely contributed to improved lower-site density
⸻
Feeding Strategy Shift
• Fully transitioned to hand feeding
• Removed emitters to prevent overwatering and improve control
• Beginning staggered flush approach:
• 2 plants switched to plain RO water
• Final plant continues light feeding before final flush
⸻
Feeding Log
3/26 – Standard Feed
• 4 gallons mixed, ~2.5 gallons used
• ~5% runoff per plant
• 5.8 pH
Per gallon:
• 0.5ml Silicium Bloom
• 2ml MagCal
• 4ml Green Sensation
• 2ml Cocos A
• 8ml Cocos B
• 4ml Pure Zym
⸻
3/27 – Accidental Heavy Feed (Adjusted)
• Mixed wrong schedule, used ~50%
• 900 ppm / 5.8 pH
Per gallon:
• 0.5ml Silicium Bloom
• 2ml MagCal
• 4ml Green Sensation
• 3ml Cocos A
• 12ml Cocos B
• 4ml Pure Zym
⸻
3/28 – No Feed
⸻
3/30 – Light Feed / Transition Phase
• Fed at lights on (~2:30 AM)
• ~5% runoff
• 430 ppm / 6.0 pH
Per gallon:
• 0.5ml Silicium Bloom
• 2ml MagCal
• 4ml Green Sensation
• 2ml Cocos A
• 8ml Cocos B
• 4ml Pure Zym
⸻
Trichome & Ripeness Check
• Majority: cloudy dominant
• Some amber beginning to show
• Small percentage still clear
• Right in the harvest window depending on desired effect
⸻
Observations
• Bud weight is seriously stacking – causing structural issues
• Under-canopy lighting seems to be helping lower development
• Plants are finishing strong with good resin coverage
• Staggered harvest should help maximize overall quality
⸻
Next Steps
• Chop 2 plants this weekend
• Let final plant push another week for increased amber
• Monitor Cannatrol capacity and drying timing
• Continue RO water on finishing plants

Likes
17
Share


@Young_agronomist
Follow
09.03.2023-первый день пятой недели начался с сломанного главного стебля ((
Увы спасти его не удалось пришлось сделать “топпинг“.
10.03.2023- После поломки стебля “видимого“ стресса не испытал.
По показаниям ppm стока стал активно пить воду (3 литра каждый день)и есть орехи .
На этой неделе я начну давать 750 ppm
12.04.2023-взрыв роста за ночь !!
Начинаю видеть предварительные цветы , думаю это последняя неделя вегетации(ей уже тесно в палатке )
Перевел на новое питание greenhouse feeding short flowering , сделав флаш новым раствором пока сток не сровнялся с входом
Ppm 700 ph6.0
13.04.2023- Продолжает сильно растягиваться (особенно малышка , которой был сломан ствол заметно быстрей растет , ветки толстеют .Видимо перелом основного стебля направил соки в побочные ветки 👌🏻мне повезло 😂😂) обе пьют 3 литра в день ppm 700 ph6.0
14.03.2023- у девушке что поменьше обнаружил легкий ожог орехами , после замера ppm он показал 1100 . Принято решение сделать флаш раствором с маленьким содержанием Орехов , после чего ppm стал 600.
Вечером этого дня срезал пару старых лопухов затемняющим свет .
15.03.2023- Этих девочек не остановить ! Рост каждый день , палатка полностью заполнена . Со дня на день она начнет цвести.
Добавил лампу на 25w для более кустистой части (девушка без топпинга).
Likes
1
Share

@Walachiangrowdiary
Follow
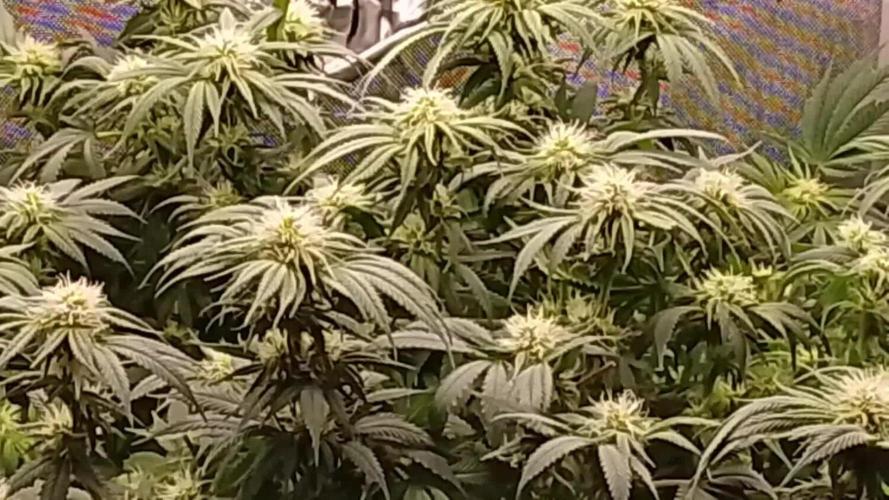
Next defoliation at fourth week of flower. Watering with BioEnhancer 1g/l And compost Tea .

Likes
8
Share


@Meechnmerchfarms
Follow
I had turned the light up to 75% last week and they def started showing signs of light stress, I turned it to about 70% but they don’t seem any less stressed, I think the tops are just too close to be honest. Not sure if I should go back to 75%. Other than that they seem incredibly happy. They pray every day even with the curled tips. I ordered some overdrive which should arrive just in time for when it’s supposed to used, going to defoliate tonight anything under the trellis I think.

Processing
Likes
8
Share


@BigBaby420
Follow
Thought my growth was stunted but I came back from a 5 day vacation to some pretty consistent growth. Also the one from last week with the weird growth came out looking normal after the first couple leaves.

Likes
2
Share

@Ninjabuds
Follow
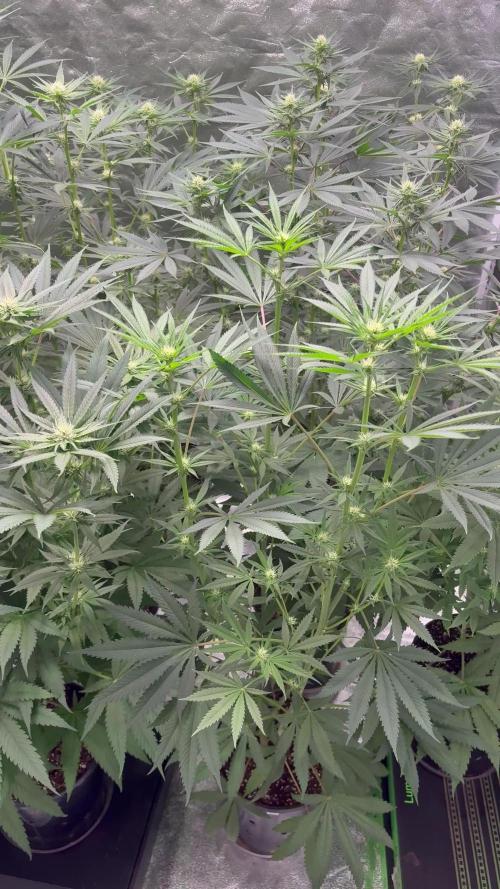
Week three of flower is off to an amazing start! At day 22, the ladies are looking incredibly healthy. They're praying like crazy, reaching for the light, and stacking nodes like it's their job. The buds are starting to plump up, and the trichome production is getting intense. I'm so excited to see how they develop over the next few weeks!
Processing
Likes
24
Share


@ElChicoDelaWeed
Follow
14 días desde EASY START.(4 semillas,1 venía solo la cáscara de un lado)
Maceta RQS 10L.
-EASY BOST ORGANIC NUTRITION.(preparación del suelo con 50g en 10 litros de sustrato con perlita)
-EASY COMBO BOOSTER PACK.
-En la 2ª semana riego las 4 plantas con agua mezclada con la pastilla EASY GROW BOOSTER (la dividí en 4 trozos para la semana 2,3,4 y 5 diluyendo en 1L. de agua la mezcla).
-Las 3 que están en vaso de plástico para la próxima semana le voy añadir al vaso uno granos del EASY BOOST ORGANIC que no le mezclé cuando las planté).
👌