
Likes
Comments
Share


@Homegrown93
Follow
160 days of life harvested on day 63 of flower. I don’t have photos of her vegging but she started off great. About two weeks in, she started having some major issues. Her leaves started atrophying, curling up at the borders, growing 3 finger leaves, all new growth was deformed and twisted and growth in general almost stopped completely, to what I suspect was from broad mites. These fuckers are nasty! I dm’d my local grow shop and tried out some Neem Oil. I diluted it in water like they recommended and sprayed that baby every day for one week, then every other day the following week, then down to once a week. I sprayed her leaves stem and surface of the soil. I also cleaned the entire grow space with some bleach solution. Doing this allowed her to really bounce back, growth started to take off again! So I vegged for a few more weeks and trained her as much as I could to keep her uniform but short, she responded well to this. During flower, she was very happy. I had two main issues during this time, one was being too hot in Nitrogen and a week of very hot temperatures which burned her a slight bit, although she didn’t seem to mind much. I also could’ve continued a once a week spray of Neem oil because I think they might’ve started to come back on the lower and younger leaves that weren’t getting much light. Overall it was a dope grow and hope to do better on the next one!


Likes
207
Share


@Legendaryseedthumb
Follow
I could let them sit in the pot for 1 more week, but I really need my weed. 100% cloudy but no amber


Processing
Likes
13
Share


@rainman
Follow
Plant is looking and feeling great. Buds are full of trychomes, sticky icky icky stuff. This week i'll give ripening nutrients and will begin flushing, so i can harvest in the end of next week. Peace.

Processing
Likes
45
Share


@UKauto
Follow
Not doing too bad. Seems to have settled now and stopped stretching,
Smells pretty peppery, like a tangy pepper haha
Start her on PK warrior next week see how she does. She's got the sumo booost foliar as well as root feed this week.
All healthy though she's loving the shogun stuff 👌🏻
Likes
3
Share


@ohcibi
Follow
Update June 4th
Another 3 liters fed today. As expected, this week is full of LST and scrogging only, but it’s going very well. The prep work I’m doing now is basically what I did in the first week(s) of flower in the last grow, so the foundation for flipping will be much better prepared this time. Maintenance on Taktlo$$ is even getting a tad bit simpler.
Flipping is expected on Sunday. I’ll just keep the same week marker for simplicity, even if I could flip earlier.
Update June 1st
Fed a full 3 liters again. Those plants are chugging like hell. Prolly just more developed overall from double the feeding since the start.
Maintenance on Royal Gorilla is still more demanding than Dynamite Diesel, but Takti is fully recovered from the extra topping. Scrogging is all that’s left now.
Update May 31st
FVW - Final veggie week. I’m not sure yet whether I will wait the entire week before flipping. I have no plans of further topping, so I might flip around Wednesday or something already. Strong feeding and light made this third of three Royal gorillas seeds grow like Ken. Very bushy and super large leaves. Stay tuned!

Likes
16
Share


@UnkleSkunk
Follow
il tutto prosegue per il meglio ho tagliato qualche rametto basso e un po' di foglie...
continuo con la sistemazione regolare dei tiranti..
ora sta iniziando a far vedere il sesso vediamo come si comportera'...


Likes
1
Share
@in_a_few_weeks
Follow
Smallest ones from the actual Grow. No fertilizer till they are bigger. Want to test the Strain. I will keep them small. Maximum 4 weeks of vegetation. Then 12/12 with topping and Lst. If i like the result i do them bigger next time.
Likes
41
Share


@FadedTotoro
Follow
The buds are fattening up this week and some hairs are turning orange on the bigger buds. I’m guessing I’ll have to harvest this one in stages looking at the bud development now.
The buds are beginning to smell very strongly. Some large ones are having difficulty standing up so I imagine I’ll have to secure them in the next few days.
Trichromes are clear and the sugar leaves are getting frostier and frostier each day. I’m estimating harvest first week of April so I’ll begin flushing next week.

Likes
29
Share


@TightNugs
Follow
Started her, second set of leaves.I predict this 1 will take over the AK x BD in 2 to 3 weeks if shes anything like the other sensi/white label strains I've done b4.Started in coco in my small cabinet then transplanted to hydro after first set of leaves.All good 👌🤞🍁

Likes
2
Share


@DELTA9_CANNABINOID
Follow
Hello everyone! How are you? Here's an update on my Papaya Zoap. This week I'll only be able to share some photos, as I'm having technical issues, but I promise that next week I'll bring you the best photos I can.
As I mentioned in the Black Muffin and Strawberry Cola diary, I started noticing that my plants had slowed down their development a bit and were showing signs of deficiencies. I discovered that my pH regulator wasn't working properly, but I've already fixed that problem. Most likely there was a root blockage. I've already flushed the plant once with distilled water, and I'll probably do the same on the next watering. I'll fertilize again next week.
You'll have news soon, haha! Hugs machines.💀😍
Likes
20
Share


@Nautilus
Follow
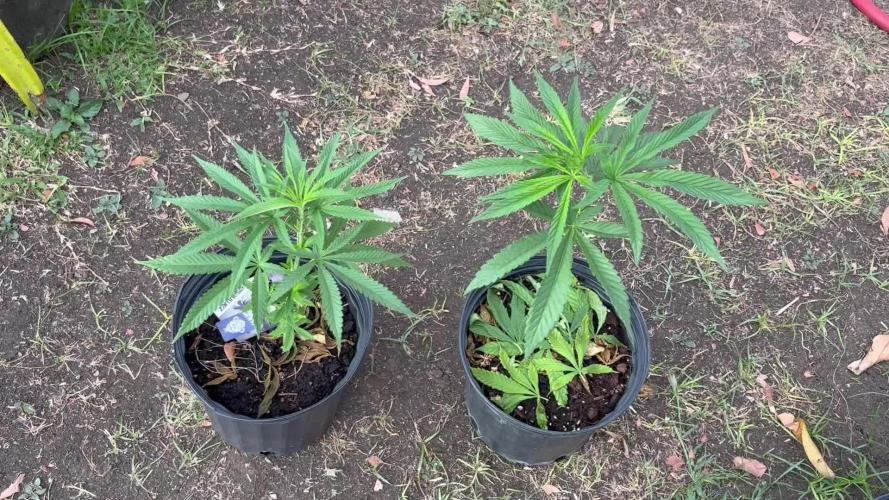
I dont touch them for the entire first and second week, gonna watch into go for an lst on week 3 in order to get flower a better light! Let's hope 🤙🏻🤞🏻
I give him max 0.7/8lt until water go down a bit and then wait until soil is a bit dry in order to let the root work and search for nutrient then water again!
Likes
15
Share


Likes
109
Share


@Prototype0181
Follow
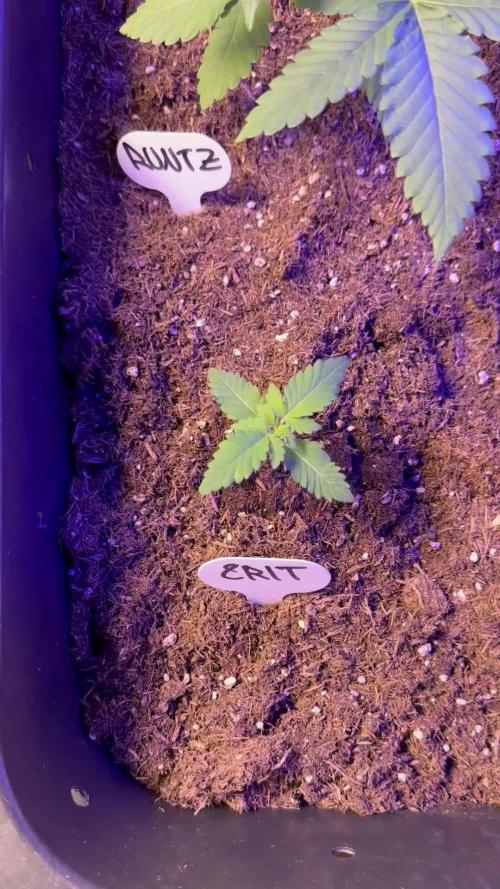
Everything germinated i had actually 8 cookies, 1 Barney's farm Runtz muffin, 1 Humboldt seeds Gorilla Breath and the French Connection Rosso Corsa. Gave 1 cookies and the Barney's Runtz muffin away to a friend.


Likes
5
Share


@Mrg7667
Follow
Smells like Rubber bands coated in a berry sugar or berry sryup very interesting on the nose!
Harvested day 67 ish maybe a couple more hard ot tell outdoor Split the harvest into drying buds and some to made into fresh frozen hash. i can dry weigh the fresh frozen buds and put that weight in the wet section and i will put the to smoke buds in the dry weight section so total between the two will be the whole plant
Drying was a big mishap got condensation around day 10 of drying and it caused some mold 🤦♂️ right around the time i was going to cure!
Found a peroxide soak that ill post butt it seemed to take off all the mold without affecting tricomb heads! Had to re dry for another week afterward i feel like the re dry maybe messed with the terps because it definitely never got the smell back like i thought but who knows slmost 3 weeks into cure coukd get better but doubt it

Likes
13
Share


@TPBzh
Follow
They are growing well and smelling good! I defoliate quite often, as it is dense in the tente. They look healthy :) all good