


Likes
Comments
Share


@Biggiegrown2
Follow
I dont Like writer too much i Just Like share my baby with everybody


Likes
4
Share


@eldruida_lamota
Follow
Vamos familia, actualizamos la segunda semana de floración de estas Thunder Banana de Seedstockers, salieron las 3 de 3, 100% ratio éxito.
Aplicamos varios productos de Agrobeta, que son increíbles para aportar una buena alimentación a las plantas.
Temperatura y humedad dentro de los rangos correctos dentro de la etapa de floración.
La tierra utilizada es al mix top crop, por cambiar.
De 3 ejemplares seleccioné los 2 mejores para completar el indoor, cambié el fotoperiodo a 12/12 y también apliqué una poda de bajos, se ven bien sanas las plantas, tienen un buen color progresan a muy buen ritmo por el momento, las flores están empezando a formarse.
Agrobeta:
https://www.agrobeta.com/agrobetatiendaonline/36-abonos-canamo
Hasta aquí todo, Buenos humos 💨💨💨

Likes
9
Share


@M3_Growing
Follow
Found mold on my plant. Since she is now pretty close to harvest time, this was her last watering and I will now try to dry her out slowly over her Last week.
Probably gonna harvest next week if nothing goes wrong from here on out.


Likes
3
Share

@Provokateur
Follow
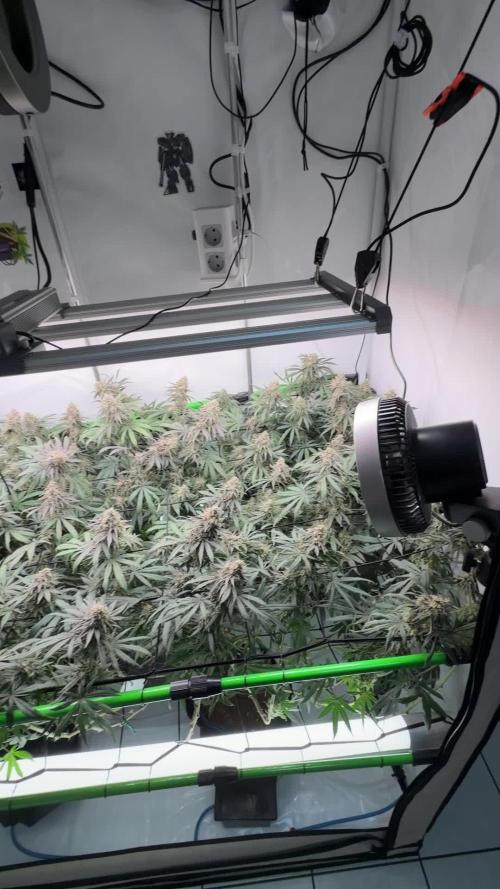
Noch 2 Wochen bis zur Ernte, gedüngt wird nurnoch mit Terra aquatica final Part


Processing
Likes
6
Share


@Ashbash
Follow
Not giving them Any nutrients now until chop which should be in a few days. Seeing lots of amber on the Royal Gorilla, not so much on the Green Gelato, but still present in small amounts.
2 days until 10 weeks total flowering.
Letting the plants fall and rest on the side of the tent isnt ideal, but its the only way i could have saved them from the heat.
Check out my stardawg diary for what heat can really do to a plant....gonna upload another week soon and there is HUGE damage to the plant that didnt auto.
These smell lovely anyway, cant wait to try them!

Processing
Likes
17
Share


Processing
Likes
16
Share


@GRow_M8s
Follow
Week 7 we increased the bio-grow / bio-heaven to 3 ml/L to provide more N to the plants but they still look like something is missing. More fresh air is provided this week.
At the beginning we thought that this light green pale colour on leaves was due to N deficiency or fresh air. After a week of extra N and Fresh air we can say that non of them was what is causing this issue. All these let us believe that our problem is the low temperature as in the end of the dark period temp drops down to 17 c and is likely that soil gets low enough to stress the plants. Effort will be made in week 8 to get them back in good health and switch them to 12/12 as soon as possible.
Our auto "noname" strain after a week of watering with just high PH water around 7.5 is back to normal feeding. 2ml/L biogrow/bloom/heaven and 1 ml/L topmax.
It's aroma is intense grapefruit/citrus.
Likes
3
Share

@Newborn
Follow
The buds are so heavy that I had to support them with a plant stake, but I still haven't found the long-awaited any amber color among the trichomes, which means I still have to wait until they reach full maturity... Well, no matter how I count, this is already the 10th week, I won't feed them anymore, now they will only receive pH-adjusted water.

Likes
51
Share


@squalino
Follow
AUTOSEEDS TRAINWRECK
Chasseur de THC contre Squalino
❤️❤️❤️❤️❤️❤️❤️❤️❤️❤️❤️❤️❤️❤️❤️❤️❤️❤️
Mise à jour de croissance
Variété : Trainwreck Auto
Date de germination : 10/09
Âge de la plante : 37 jours (Semaine 6)
Taille actuelle : 80 cm (+42 cm depuis la dernière semaine)
❤️❤️❤️❤️❤️❤️❤️❤️❤️❤️❤️❤️❤️❤️❤️❤️❤️❤️
Arrosage & Nutriments
Jour 31 : Rien donné
Jour 32 : Rien donné
Jour 33 : Rien donné
Jour 34 : Défoliation
Jour 35 : Rien donné
Jour 36 : Rien donné
Jour 37 : Rien donné
Description
Quelle poussée fulgurante ! La plante a presque doublé en taille cette semaine pour atteindre 80 cm. La défoliation effectuée au jour 34 a permis d'alléger la canopée et d'optimiser la pénétration lumineuse au cœur de la structure.
La plante commence à peine à former ses premiers bourgeons : les têtes et les pistils blancs pointent désormais le bout de leur nez de manière bien visible sur les différents sommets. La structure générale est magnifique, vigoureuse, avec un feuillage d'un beau vert éclatant et des branches secondaires bien développées qui s'apprêtent à exploser en floraison.
Un grand merci à AutoSeeds pour leurs magnifiques graines. Vous pouvez les retrouver directement dans leur catalogue sur leur boutique : https://www.autoseeds.com/shop/seeds/
Merci à tous les lecteurs pour votre suivi ! N'hésitez pas à aller faire une tournée chez mon partenaire THC-HUNTER : https://growdiaries.com/grower/THcHunteR23

Likes
32
Share


@Dunk_Junk
Follow
20cm vertical growth this week!!
Things going well. Probably entering flowering in the next week.


Likes
6
Share


@Northern_Ent
Follow
Aug 29: Amnesia Haze Fast is flowering nicely. Later start than my other three plants so she is smaller, and she was particularly hard hit by hail near the end of veg stage.

Likes
4
Share

@PrinceOfHerbs
Follow
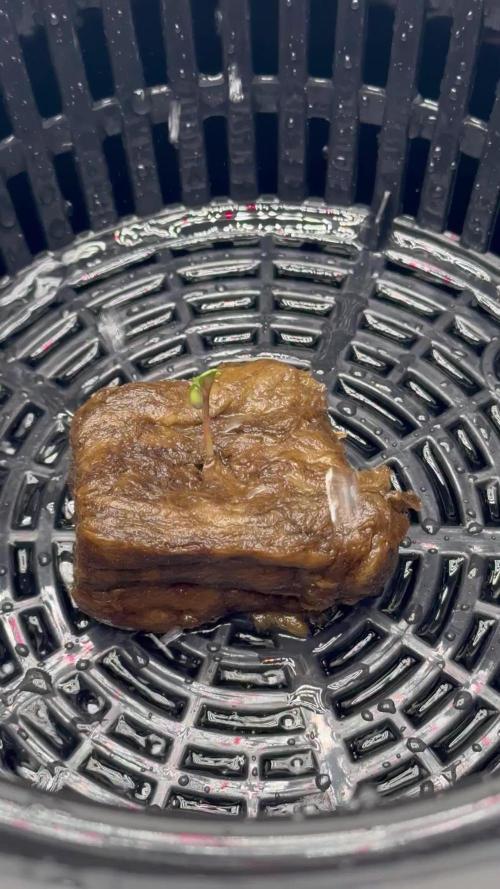
The seed had already sprouted after 24 hours and is now watered once a day.
Likes
9
Share


@Mr_nugs_lover_David
Follow
I'm so sad just because I cannot get a lot of jars full of this wonderful haze man! Damn I love her aroma to pieces her terps are just awesome suuper sweet but you still can feel the sativa haze smell,but it's got a lot of berry and fruity smell tho,thank god I have this wonderful strain in Photoperiod version and I'll be able to grow her,definitely love this strain,I'll add her to my Photoperiod abd automatics list,AWESOME STRAIN! can't wait to smoke this,100% organic pure and clean free of any chemical sh%t thank you guys hope you like my work 💚✌️🌱💛❤️
Likes
5
Share

@Xpie77
Follow
Strain: 24K Kush (Seeds Genetics) – ook bekend als 24K Gold of Kosher Tangie (Kosher Kush x Tangie)
Genetica: 60% Indica / 40% Sativa
Type: Feminized Photoperiod
Aantal planten: 4
Medium: Potgrond (organisch/basic soil)
Potten: 7 liter fabric pots (stofpotten) – uitstekende drainage en wortelbeluchting
Belichting: 415W Bestva LED full-spectrum, 12/12 schema
Setup: Indoor in 120x120 cm tent (1.44 m²) – ruime tent voor stretch en LST, goede spreiding onder de lamp
Week: Week 6 Flowering (zesde week bloei)
Update Week 6 Flowering
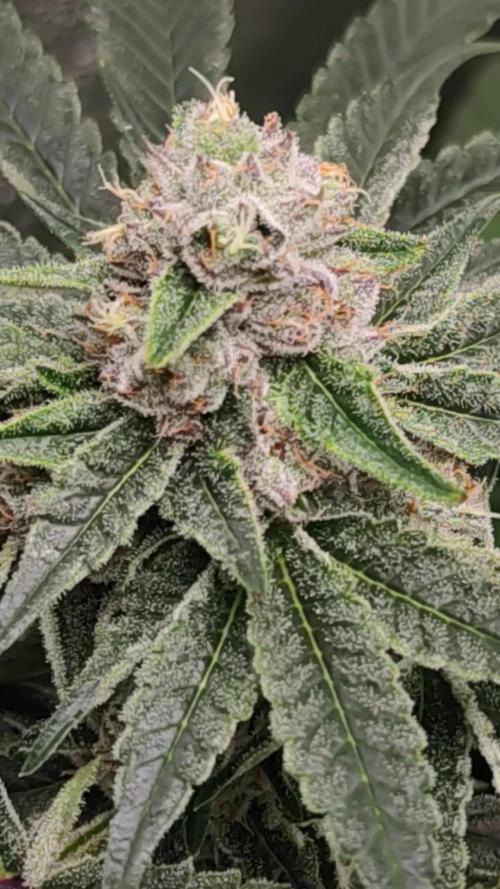
De stretch is grotendeels voorbij en de planten focussen nu volop op bud development! In week 6 bloei staan de 4 planten tussen de 55-85 cm hoog (gemiddeld ~65-75 cm). De Tangie-sativa invloed zorgde voor een duidelijke stretch in de eerste 2-3 weken (tot ~30-40% toename), maar nu stabiliseert de hoogte. De Kosher Kush-kant zorgt voor stevige, compacte structuur met bredere cola's die beginnen te vullen. Pistils (witte haartjes) zijn talrijk en beginnen hier en daar licht te kleuren naar oranje/bruin. De calyxen zwellen mooi op en de buds krijgen meer densiteit en hars – de eerste echte "fatty" look komt eraan.
Hoogte: 55-85 cm (stretch grotendeels gestopt; totale hoogte blijft beheersbaar in de 120x120 cm tent dankzij LST)
Structuur: Canopy nog vlak door eerdere LST, side branches goed gevuld. Bud sites ontwikkelen zich tot compacte, harsrijke clusters. Brede fan leaves beginnen licht te vergelen (normaal in mid-flower als de plant energie naar de buds stuurt).
Gezondheid: Planten zien er sterk en productief uit – diep groen waar het telt, geen grote deficiënties of pests. Fabric pots blijven top presteren met goede drainage tijdens de hogere waterbehoefte.
Belichting afstand: Bestva LED op ~30-45 cm – voldoende intensiteit voor bud swelling zonder burn. Gelijkmatige dekking over alle 4 planten.
Water/voeding: Water elke 1-2 dagen (afhankelijk van potgewicht). pH 6.0-6.5. Volle bloom-voeding (hoog P/K, bijv. NPK 1-3-4 of 2-3-5 op 100% sterkte, plus CalMag). Extra PK-boost (zoals PK 13/14) kan helpen voor dikkere buds. Potgrond buffer is bijna op, dus consistent voeden is key.
Omgeving: Temp 20-24°C (iets lager voor dichtere buds en terpenen), RV 40-45% (laag houden om schimmel te voorkomen bij dichtere cola's). Sterke airflow blijft cruciaal in de tent.
De geur is nu duidelijk aanwezig: zoete citrus (mandarijn/orange van Tangie) met zware, skunky Kush-ondertoon – lekker pungent! Dit is het moment waarop de strain echt laat zien waarom ze geliefd is: harsrijke, dichte buds met potentie voor hoge THC.


Likes
6
Share


@IamCy
Follow
I'm speechless......... I don't know what to say or think at this point. This strain is amazing!
Likes
Comments
Share

@GasGrassOrAss
Follow
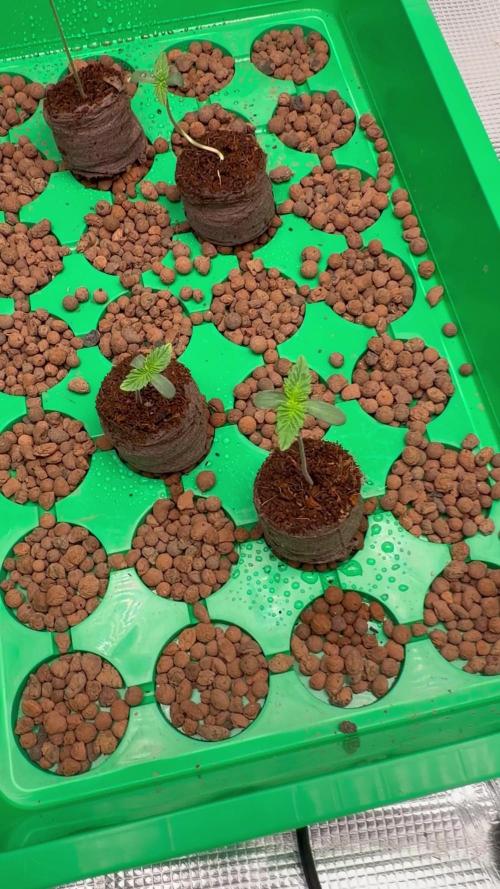
Opening the ventilation, monitoring the humidity inside the some, opening the dome every day for 15-20 minutes. Coming along nicely, some are twisted, but will be alright.
Likes
29
Share


@valiotoro
Follow
Pheno 1 dark purple : On the nose, it reveals a sharp burst of fresh lemon, layered with a powerful eucalyptus aroma that’s both invigorating and camphorous. A truly refreshing and vibrant terpene profile😈🍋
Pheno 2 Green : this one is a real surprise! If I close my eyes, it’s like Nutella! It’s as if you’ve just walked into a kitchen where hazelnuts have been freshly roasted 🤤🌰
Pheno 3 light purple : It’s a mix of the first two with a hint of amarena cherry at the end🍒🍧
Likes
16
Share


@Naujas
Follow
everything looks stable :) the mistake was made when choosing this pot, it is too small for her :( there is no room for the roots so it grows quite slowly, but everything is fine - I learn from my mistakes :) this week I did a lot of pruning of leaves and branches, which the girl responded well to , without much stress, I'm going on vacation soon - I'll leave the girl alone for a week - of course someone will come to water her :) so before I leave I'll give her at least 1000ppm water, and the next 2 waterings will only be pure water 25ppm :) I hope everything will be fine :) good luck everyone :).

Likes
36
Share


@nonick123
Follow
Día 94 (02/09) Aplico Insect Frass como Top Dress para ver si revierto un poco el amarilleamiento que muestran algunas hojas, ya que empieza a ascender por la planta
Riego con 500 ml H2O pH 6,5
Día 95 (03/09) Dia nublado y de temperaturas entorno a 24 ºC. NO es necesario regar!
Día 96 (04/09) Llueve que te llueve! 🌧️. Temperatura 21 ºC. Dias de humedad alta por aquí!
Riego con 500 / 1000 ml H2O pH 6,5
Día 97 (05/09) Floración en progreso. No veo ni una sola oruga con el bacillus thuringiensis y espero que siga así! 🤞
Dia muy nublado. No hace falta riego
Día 98 (06/09) Riego con 500 / 1000 ml H2O pH 6,5 + 4 ml/L de BioGrow de Biobizz para tratar de parar el amarilleamiento que asciende por la planta
Día 99 (07/09) Riego con 500 / 1000 ml H2O pH 6,5 + 4 ml/L de BioGrow de Biobizz para tratar de parar el amarilleamiento que asciende por la planta
Día 100 (08/09) Riego con 1 Litro de Té Floración de Lurpe Solutions. Preparación: 24 horas con bomba de aire (oxigenación) con ingredientes:
Healthy Harvest 8 ml/L + Insect Frass 16 ml/L + Hummus Lombriz 8 ml/L + Melaza 1 ml/L + Kelp Hidrolizado 0,25 g/L
Aplico de nuevo Insect Frass como Top Dress
💦Nutrients by Lurpe Solutions - www.lurpenaturalsolutions.com
🌱Substrate PRO-MIX HP BACILLUS + MYCORRHIZAE - www.pthorticulture.com/en/products/pro-mix-hp-biostimulant-plus-mycorrhizae
