


Likes
Comments
Share


@AutoCrazy
Follow
These plants were great. I messed things up a bit but they still turned out a half decent yield. The taste and smell of the final product are great.
I am growing one of these plants in my greenhouse and I can’t wait to see what it produces as I don’t have the small space to confine the plant.
I love Humboldt genetics and can’t wait to grow more.

Likes
26
Share


@PedroAndHisPlants
Follow
Day 36:
"Hey everyone!
Just a quick update: I removed a few more leaves here and there and did one last round of LST (low stress training). 🌿 The plants are looking great, and I'm going to let them recover now before sending them into the flowering stage. I'm really excited to see them start blooming in 2-3 weeks!
Also, a quick update on our temperature issue: today, the temperature stayed below 26.8°C, which is great news! However, we still need to find a solution to keep the humidity levels up. Our 360 m³/h exhaust system isn't able to maintain the required humidity level. I've calculated that we need a humidifier that can evaporate 1800ml/h to maintain 60-70% humidity, which would help manage the temperature better.
Does anyone have tips for a good humidifier or other methods to control the humidity and temperature? Any advice would be greatly appreciated!
Day 37:
Hey everyone!
Tomorrow, we're planning to buy some Cal-Mag because we suspect the yellowing leaves might be due to a calcium-magnesium deficiency. We're also going to get a pH test kit to make sure everything is balanced properly.
Do you think this is a good idea? Any tips or suggestions would be greatly appreciated!
Day 38:
Hey everyone!
Quick update: it turns out the yellowing leaves were due to a nitrogen deficiency. We increased the fertilizer dosage today, so the plants should start looking better in 4 to 5 days. 🌿
Thanks for all the support and suggestions
Day 39:
Hey everyone!
Another quick update: after increasing the fertilizer yesterday to address the nitrogen deficiency, it should take about 4 to 5 days for the yellow leaves to turn green again. 🌿
We're already seeing improvements! The plants have grown significantly and are developing a dense canopy once more. It's great to see them bouncing back so quickly!
Day 41:
"Hey everyone!
Quick update: we've removed the bands we were using for LST (low stress training) and are now letting the plants grow freely. 🌿 We plan to keep them in the vegetative phase for about one more week before transitioning them to the flowering phase.
Excited to see how they continue to develop!"

Likes
27
Share


@Rap_a_cap
Follow
Great climate, ideal. No problems to report, for the moment the critters are focused on something else. If it doesn't get too hot, I'll start reducing irrigation and defoliate more. Today 13.27 hours of light.
My Gorilla is doing well, lots of flowers are forming although they are smaller than those in Special Kush # 1. Strong cheese smell. The supercropped twin branches will become one giant bud.
August 19 update - Very initial mites infestation promptly treated with nettle macerate spray.
August 21 update - first day of new heat wave
Likes
176
Share


@Hologram
Follow
Goodmorning growbros
Cookies are being baked in the sunshine😎👍
looks like we are having a lil' indian summer and she could not be happier!!
her leafs are bit rusty (RAF😉) that's bc i have been feading her roots a bit too much lately 😳
so im fluching her now as her buds are swelling in the sunshine..👌
happy growing for all✊


Likes
1
Share


@Jakor420
Follow
un dia de 4ml por litro de BLOOM A+B - Y otro dia BUD CANDY 2ml x litro
un increible crecimiento
muchas ansias de que llegue su momento de cortar


Likes
3
Share

@Grasshopper96
Follow
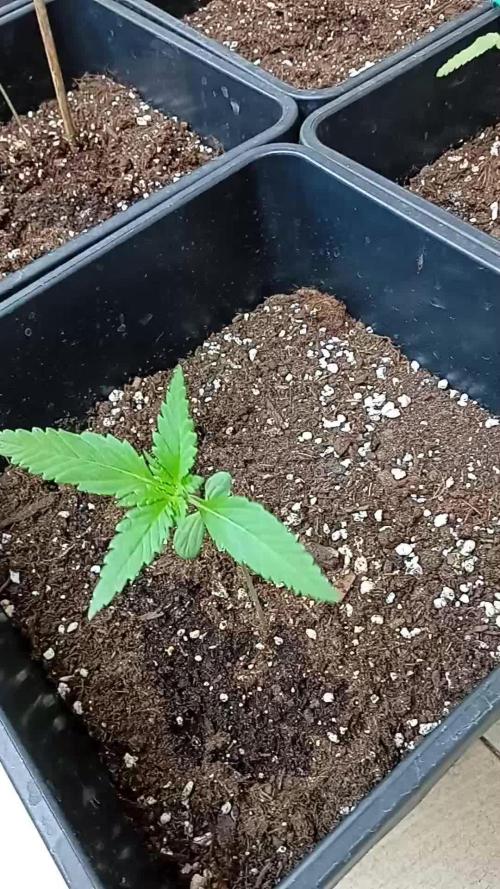
Thiss week start Better , the plant grow and make new couple of leaves, i Hope this plant grow much😁

Likes
16
Share


@Oimjr
Follow
So far, so good. I used a but of koolbloom. I'm pretty new to this, so I don't know of it will help. But here goes. Not much longer I think. May e a few more weeks.
Water change on 3/9. 4 gal well water 1 tsp maxi bloom 1 tsp Kool bloom ph to 5.8. Looking good!


Likes
20
Share

@MrGrowDiarie
Follow
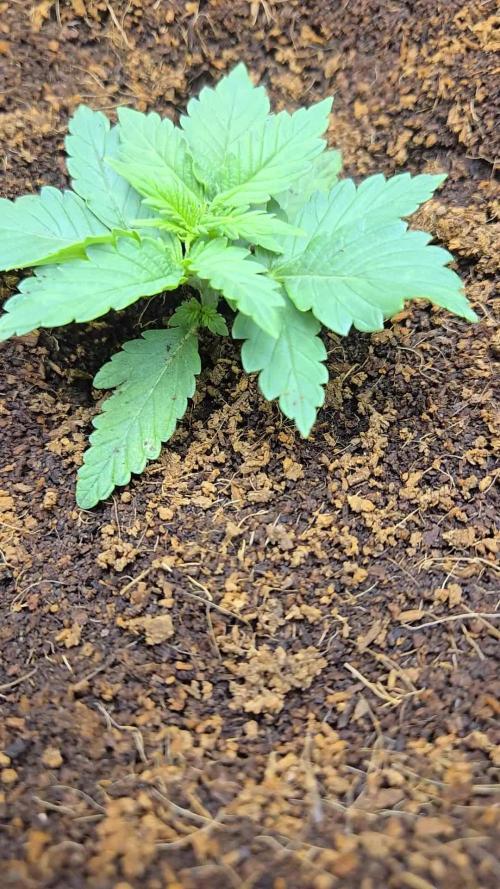
Week 3 – Compact but staying small
She's definitely healthy, but growth is staying tight and low to the ground. Very compact structure so far, not stretching much yet. Could just be her genetics, or she's focusing on building roots before taking off above ground. No signs of stress though – nice green color, strong leaves, and new growth coming in steadily. Hoping she picks up the pace soon, but sometimes the small ones surprise you later!

Likes
1
Share

@Black_Widow
Follow
Привет садоводы
Началась новая неделя
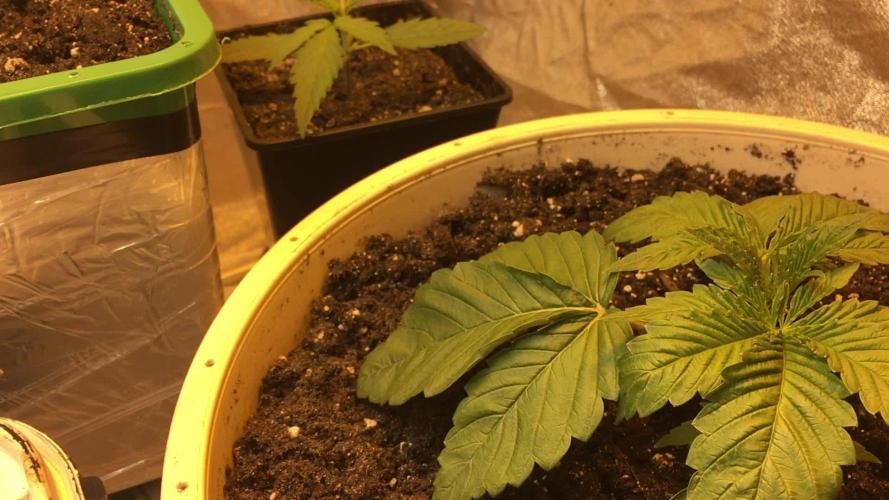
растения прошли начальную стадию роста и уже пересажены в свои горшки
растения чувствуют себя хорошо
в гидропонике раствор разведен на 600 ppm
в нем поддерживается ph 5.6
хочу еще немного подождать когда растения подрастут и начать их тренировать LST


Likes
52
Share


@Pr3m_85
Follow
▪️︎02/26/21 (Day 8) : started a new week ! ✌️🏼
▪️︎02/28/21 (Day 10) : the leaves appear to be healthy. Flowering intensifies !
▪️︎03/01/21 (Day 11) : photo caption :
#BR = Bubble Runtz
#TP = Tropical Punch
#WC = Wedding Cake
#FT = Fruit Tartare
#KC = Kosher Cookie
▪️︎ 03/03/21 (Day 13) : #Fruit Tartare started to show her precious treasure smelling more and more pineapple 🍍🍍🍍!


Likes
42
Share


@Ganjagrandaddy
Follow
DAY 49 F: Hi Growmies. It seems that the girl scout cookies have thrown me a curveball by going for another pistil flush !!. I thought they were close to finish , especially #1 who looked ready to trot at the start of the week but as I watched , the pistils began popping up on the plants. With 2 weeks left this was a relief!. A quick finish is never my goal with flowering but not trying this strain before , I did think it may be the auto version finishes quicker. They are now on their dragon force finish feeds for the next week to power those converted nutes to good use. As there are now 3 Girl scouts and only 2 amnesia haze , they are all naturally fading with some beautiful colours among the leaves . The Amnesia are going strong on building the bud stacks and plenty of trichromes build up now too. They are starting to look quite potent and they smell so fruity sweet now. I am keeping the rh at around 55% so far but have plenty of airflow too. All the bud sets are really nicely compacted on these girls so far with the exception of the critical cheese but she is a sativa and only now hitting her true stride. Hopefully her long colas will be formed into long donkey appendages before harvest.!!. I will keep feeding as the Amnesia gets fed as they should finish around the same time too. The tent is filling up with varying strain smells now and when I opent the flap , a sweet , pungent weed and fruit aroma oozes out. Be safe and well

Likes
37
Share


@Gardener_of_Goodness
Follow
Another steady week thanks to @royalqueenseeds genetics 👌
Not much to report apart from the obvious swelling and increased trichomes coverage 🤓😁👍
See you all in the new year! 💐✌️😎💨
Likes
139
Share


@Inganjawetrust
Follow
The girls are doing well they took 64oz each on the last watering and I will continue to increase as we go along. I am very pleased with the progress so far and have my fingers crossed that it will continue 👍☮️
Likes
21
Share


@CanadianFillmore
Follow
Welcome growfessors to the harvest of Mandarin dreams pheno 2. She's typical light, airy fluffy buds.
Wet trim and then vacuum sealed and into the freezer. Experimenting with this strain, freezing before turning into bubble hash.
Will update with some sort of weight in the future.


Processing
Likes
5
Share


@HylianGrass
Follow
Week 6 is done and everything went smoothly, using lst and defoliation will provide maximum light penetration and maximize bud structures, adjusting ph and climate and we are golden. Flowering stage is always a no brainer for me in fact i call this step cruise control. She will do her things and she is now strong so she wont react the same to high nutrients or even ph fluctuations as long as it stays near the range, her roots are strong enough to be completely submerged since she now drinks a lot more.
The purple on this strain is beautiful, Not too dark and even, edges of the calix are red like whine and the pistils creamy white with a hint of salmon like pink in there. She is gorgeous and her structure is amazing, she might event yield the same as my previous grows even if she is on the small side because of her genetics.
The resin is starting to fill the trichomes but still very low, this being said if i rub the top of a sugar leaf that is coated in trichomes iT will get sticky On my fingers and the smell will start with a very strong chemical/amonia like scent and 2 seconds later welcome to the damn blueberry field my friends . Amazing, that smell is just perfect, it literally make you want to much on that leaf. I’ve had blueberry before, yes it did smell a bit like blueberry But nothing compares to this one ,in my opinion hydroponic set up brings the most out terpenoids and thc production.
Next phase we will start to see bud seriously stacking and resin production, after that the buds will get some weight and mature, im expecting it to be done by week 10 if i flush it by week 9
Until then happy growing and take it easy 👊🏻
Likes
422
Share


@Crashoverite
Follow
Hi all 😁
Welcome to my 🍌💜👊 week update.
Hope everyone keeping well and having a great week.
Thank you so much for your all support on this bananas journey 💜💚💜💚
What a amazing week. Very little to work around those beauties. The smell is so delicious already. They smells like sweet berries. Buds are loaded with trichomes, very sticky and hard as rocks especially on Athena. Trichomes are mainly clear and some parts milky. Absolutely love power of LST and how it worked on this strain. If you won't look under net it's almost impossible to see which cola belongs to main stem.
Week 11
Dec 25 - Dec 31
Dec 25-26
Joyful observation
Dec 27
Selective defoliation and
First watering for this week. Nutes adjusted, almost 8ltr between both. Runoffs PH on both at 6.2. I am finding this PH level for this strain as perfect. Girls are looking super healthy and drinking they mixture like crazy.
Dec 28-30
All is going smoothly. I can see more and more weight each day.
Dec 31
Secomd watering foe this week. 8 ltr beetwen both.
It's the last day of this week and also end of 2023!!
See you in the new year 🍾🥂🍀
Peace and love brothers and sisters ✌️💚
Links
https://2fast4buds.com/seeds/banana-purple-punch-auto
https://plagron.com
https://www.biobizz.com/
https://fishheadfarms.com/
Processing
Likes
92
Share


@Penguin
Follow
Day 57, didn't upload anything as nothing had changed.
Day 58, still no noticeable changes to her but gave her a pH 6 drink. QB still hasn't arrived but hoping soon. The temps here have turned very pleasant and the tent stays between 21 and 25 throughout the day and night. My humidity also stays under 50% which is nice. Ordered a PPM meter, more pH calibration solution and some new soil for the next grow after this one. Ordered some "Super soil" mix that apparently should cover the first 2 months of nutes. Fully prepared to make the next grow a good one after the learning experience on this. I managed to source 5 RQS Diesel Autos and 5 RQS Royal Madre Fotos (I guess the guy only had stock of the older seeds as he listed it by that name and not the Mother Gorilla that I wish it was). I also have the random bagseed growing in the tent with this NL Auto still in Veg but it showed sex this week and turned out to be female. I was using it to practice HST and attempted to FIM / Top her so I will see how she grows and maybe finish her out before starting my next grow of the Diesel Autos, probably 2 at a time.
Day 59. Noticing a lot of the lower leaves are yellowing more than before. Not sure if this is at a normal rate or because of a deficiency. Bud sizes don't seem to be increasing in size still but I am not expecting them too at this stage. I am hoping the yellowing is a normal process at this age and isn't happening too soon as she doesn't have a lot of them to spare if they start dropping off this quickly!
Day 60. Definitely noticing a lot of leaves starting to fade and die. I am not sure if I should be doing something to fix this or if its part of the natural cycle at this point in her life? Buds look like they are putting on some nice frost though and the smell is really strong now. I had got used to it because when I left the house for shopping and came back, I could smell her from downstairs. Need to invest in a filter but for now making sure the door is closed in the room with the tent seems to be working.
Day 61. Decided to give her a watering today as she was looking a bit droopy. My PPM meter still hasn't arrived so I am unable to check the runoff at this point but hopefully the soil isn't still too hot for her. Also waiting for the loupe to arrive to check trichs but from my best attempts to zoom in on them, they still look to have a fair ways to go.
Day 62. She's still chugging along. Haven't noticed any new issues or changes to her today since watering yesterday. Temps got a bit cold last night and the tent dropped to 18c from its usual 21c at night. Doesn't seem to have bothered her too much though. QB arrived today! Swapped out the noisy hot blurple for this 150W QB. Currently running it on 100W as I am not sure if the shock between the 230W actual draw blurple to 150W QB would stress the girl out too badly. Already have to say the light coming off this thing feels "cleaner" somehow and its a beauty for taking pictures with. In love already and can't wait to get the next one going. I have a bag seed in veg in the same tent as the auto that I was planning on flowering after she is done, I think the QB on this intensity might fry her though?
Day 63. She has spent some time under the new QB and hasn't shown any visible signs of stress with the light sitting at 13" and 100W. I bumped the wattage up to 110 this morning and plan to do 10W more a day until at the full 150W. Gave her a watering today until about 10% runoff. Watered at 6.5 and the run off measured in at 6.6 so next watering I will go for a lower pH. Not sure how it's built up as I've been watering around 6 for a while. Will keep a close eye on her again after bumping the wattage and watering her. The bag seed seems to be perfectly happy with the change in lighting as well and hasn't shown any signs of stress yet. Also got my seeds today! Will likely grow one or two together, not sure which yet though and will wait for the bag seed to finish up. Will give her the whole tent for flowering to see what kind of yields it will pull. Anyone got experience with the strains Royal Madre or the Blue Cheese from RQS?