


Likes
Comments
Share


@ILoVeThiSpLaNt
Follow
Giorno 49
Ho girato in fioritura.
Le due Zombie come già detto nelle settimane scorse sono due fenotipi completamente diversi. Uno sicuramente haze e l'altro bubba Kush. Stanno bene entrambe ma la più grande l'ho dovuta defogliare per bene e sono certo che tra 15/20gg farò una seconda passata. Ultima bevuta prima di mandare in fioritura EC 1.28 ph 5,8.
Anche le due Rainbow Belts sono diverse perché sfregando il gambo una sa di Zkittlez l'altra di frutta quindi penso più a qualche fenotipo dosidos.
La Milk Monkey è quella che per struttura mi piace più di tutte.
Per la prima volta ho preso dei cloni anche se non so dove tenerli e sotto che luce. Per ora li ho messi in un vaso ricoperto da velina nel box delle autofiorenti


Likes
2
Share

@Diaaz
Follow
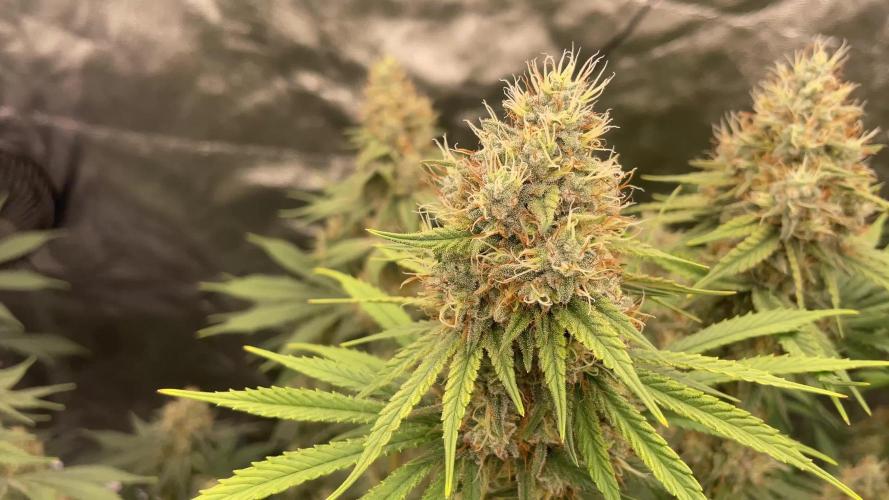
Week 13 and they're looking fantastic! The buds have really filled out, trichome coverage is impressive, and the plants still look healthy and happy. At this stage it's all about letting them finish properly and maximizing quality. Last week of using fertilizer.

Likes
7
Share


@Mr_nugs_lover_David
Follow
This ladies look absolutely gorgeous and super strong, they're gonna be flipped into flower tomorrow on February 15th when they'll hit the 30th day since they were planted and the first day of flower!
As said, I have flipped this ladies into flower on February 15th so now I think we're gonna see a beautiful stretch specially on this 2 plants which are the biggest one in the tent, very nice genetic, cannot wait to see their performance ❤️💛💚👨🌾 stay tuned everybody! This is gonna be a beautiful run! ✌️

Likes
6
Share


@Gruschel_Muschel
Follow
Cash Express 03.01.2025
Tag 7 / 13.01.2025
Feedback:
Meine zwei Cash Express haben die erste Woche überstanden, ich hoffe es weiter so gut geht.


Likes
15
Share


@SweetheartOG
Follow
Started the girls with some LST to see how they all coped and they bounced back well.

Likes
15
Share

@Suemchen
Follow
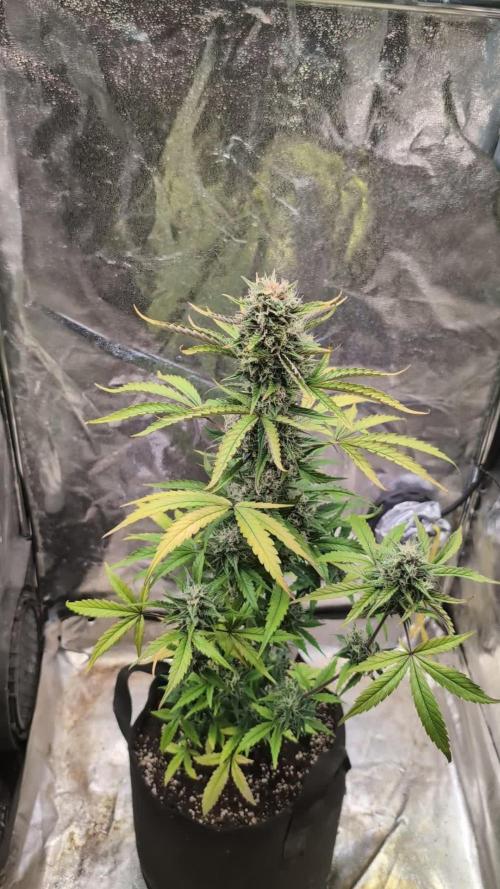
Sanlight EVO 3-60 at 80%
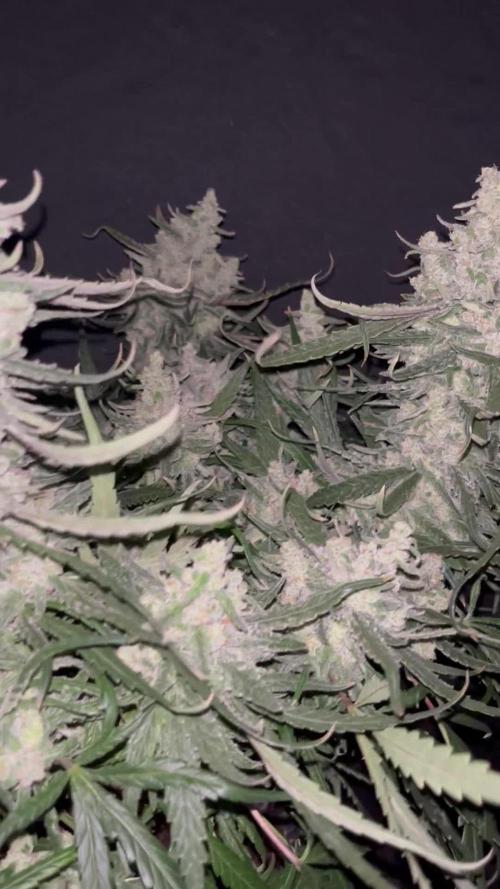
Day 57: Looks great watering still with rain water and 3 ml/l AlgaBloom, 1 ml/l CalMag, 2 ml/l Hesi Boost and 1 ml/l Green Sensation 👌🏻 pH at 6.4 👍🏻
Day 60: looking good 🤗 watered with rain water 👌🏻
Day 63: Looks great watered with rain water and 3 ml/l AlgaBloom, 1 ml/l CalMag, 2 ml/l Hesi Boost, 1 ml/l Pure Zym and 1 ml/l Green Sensation 👌🏻 pH at 6.4 👍🏻



Likes
3
Share


@macrocefalo
Follow
Another week for the first-time sailor. I started doing LST as I'm a beginner unfortunately my lack of skill took 3 leaves but the plants apparently did not feel the stress as they continue to grow and with the birth of new leaves. This week reduces the space for watering before 7 days to 5 days the growth is good but as everything in life can improve but I am happy with my performance and learning from my failures.
Likes
130
Share


@SlowpokeFuegobud
Follow
❓ 💚 😗 💙 ❓ 💚 😗 💙 ❓ 💚 😗 💙
Welcome to week 6, dear friends!! 😘
I enjoy my autoflower grow to the fullest! 😍 It's different than growing photos, but I love both kind of.
Them girls are so virtuous and bravely growing, doing their thing, smelling awesome.. 💚 🙏
Just the height difference is a bit uncomfy, but I took care of that.
DAY 36
Watered with 1ml A+B EC 1.0 + enzym+ 💧
DAY 39
Watered with 1,5ml A+B and 0.5 ml C4 EC 1.2 💧
DAY 42
Watered with BioEnhancer 💧
Thanks, everybody for visiting!! 💚 💚 💚 Immaculate grower love!!! 😘🙏 🌱
_________________________________________________________________________________
SETUP:
° Zelsius 60x60 cm (2x2ft)
° Light
Greenception GC4 128W
4 Cluster OSRAM + CREE LEDs (380, 455, 630, 660, 720, 760nm)
6400k (cold-white to cover the basic load during the growth)
2100k (warm-white to cover the basic load during the blossom)
The module groups can be switched individual as follows:
⬤ Module I: growth 1x 32 watt
⬤ Module II: full spectrum: 2x32 watt
⬤ Module III: Bloom: 1x 32 watt
⬤ Module I is optimized for the growth phase. A relatively high amount of blue and white support a dense growth.
⬤ Module II suits for the growth as well as blooming phase. Optimal plant light full spectrum.
⬤ Module III is optimized for the bloom. A high portion of red and an additional infrared push.
° 2x 5W Fans
° custom 320/270 cm³/h exhaust fan & Carbon Active Granulate 240cm³/h
° Mills Nutrients, Green Buzz Nutrients
Shouts go out to my sponsors @GreenBuzzNutrients, thanks so much for your support! ❤️
If anyone would like to try their amazing organic products, use code GD42025 for generous 25% discount (for orders of minimum 75€) ✨
https://greenbuzznutrients.com/
° tap water EC 0,26uS upgraded to EC 0,5 with PlantMagic MagneCal - pH 8, nutrient solution downgraded to pH 6,5 with Advanced Hydroponics Minus Bloom
° from week 4 in the same container Aptus Enzym+ once a week
° Biobizz Lightmix
❓ 💚 😗 💙 ❓ 💚 😗 💙 ❓ 💚 😗 💙
Likes
12
Share


@HerbalBlazer
Follow
Now nearly court up so this is around 3_4 weeks flower just finishing stretch here

Likes
12
Share


@Zer0xKira
Follow
Amazing told this run 110 grams of bud and 80 grams of shake. An amazing pungent fruity citrus cream cheese aroma eminates out of my cure vault. The high has been described by my friends as a creative uplifting high followed by intense couch lock.
The grow itself was a breeze. The only real issues i had in the hydro grow was that i needed to to add cal mag because it was growing so fast and i was using distilled water. I basically did not train my plants other than defoliating to make space for air flow and light penetration. I would recommend this for any first time hydro grower that has a decent amount of space.

Likes
Comments
Share


@Old_school_grower_dude
Follow
My Purple Star Killer girl looks great. I am doing a lot of LST to try to keep her spread out and not get too tall. She's drinking 5 gallons a day now and I think I'll have move that up to 10 gallons soon.



Likes
Comments
Share


@Earthsower
Follow
She is still moving with no pace but with no signs of deficiency. She has i problem with her rootball at the moment. I gave her a saturation of phd balanced water two days ago and she seems fine but it’s still touch and go with her.

Likes
1
Share


@Growedbypepper
Follow
Esta planta ha tenido un avance un poco lento para el tiempo que tiene en siendo esta la segunda semana esperemos que pueda desarrollarse lo mejor posible
Likes
22
Share


@Dankbudz84
Follow
The strain handled all my mistakes as a new grower great and is one of the reasons why I chose these strains. Just to name, bad Ph, over watering, over feeding was giving full dose instead of half, not watering to run off, not checking ppms and flushing right before harvest instead of weeks prior. I was not expecting the trichomes to look like diamonds as the video doesn’t do any justice. They really sparkle.

Likes
32
Share


@BigDaddyK
Follow
Really looking and smelling lush....that centre cola man.... its a masssivvvveee
Likes
66
Share


@mulch
Follow
Slight Changes in nutes:
Current feeding
FloraMicro 4ml gal
FloraBloom 8ml gal
SM-90 2.5ml gal
Cannazym 2.5ml Gal
Ful-Potential 2.5ml gal
Liquid Koolbloom 2.5ml gal
Floralicious Plus 1ml gal
ArmorSI 1ml gal
CaliMagic 2.5ml gal
FloraNectar 5ml gal
Drip Clean 0.4ml gal
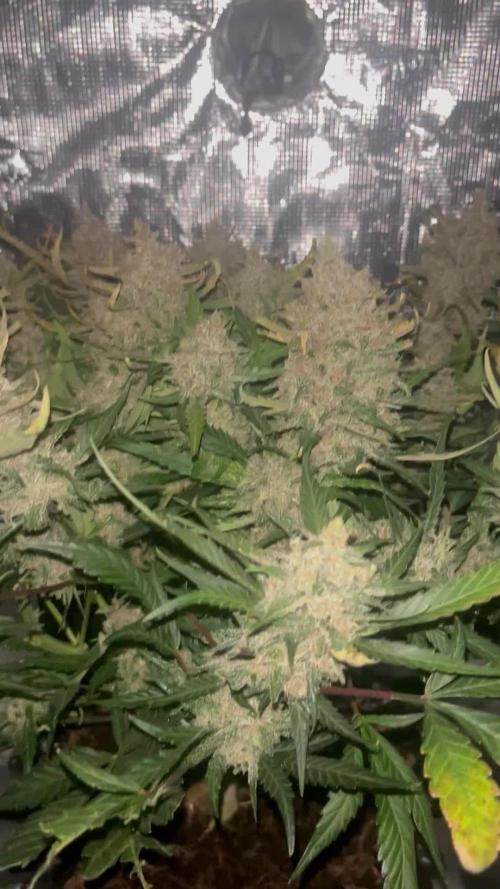
9/6/17 A couple VERY LARGE buds tipped over and i didn't notice immediately. I found them and i think i staked them back to health in time, no noticeable damage, more blindsided while realizing the volume and coming to grips with the next step. the reality of the bounty of my garden is dawning on me, and i am a bit intimidated. by the dry, as i am in low RH. by the cure, as i have never done one before. by killing my girls, as they are lovely
to ease my anxiety, i ordered 20 hydrometers and increased my jar count from 36 quart jars by adding a dozen 1/2 gallon jars. it is obvious some of the buds need bigger jars to stay intact during the cure. i skipped the boveda packs for now. they are amazon prime away in an emergency, but i figure my attentiveness will be enough, at least this first grow; plenty of people did it right before me without the boveda packs, and when i can pay less per hydrometer than boveda pack... it becomes an interesting decision. i choose old school... for now (mind subject to change)
end game is WAY more intimidating than dropping that seed into that cup of water. no one told me it would be this stressful!
i hope i do them well during this next phase and these next few weeks. they certainly appear to have done me well
9/7/17 I have a confession to make. When I thought the plants got stunted by the heat, I considered pulling the plants and starting over. Boy an I glad that I didn't. I didn't know what I didn't know.
What stopped me was reading a forum post somewhere and a guy was frustrated with his grow and was thinking of pulling it (i think he only had 1 plant).
Someone responded to him with very prolific questions. "And then what? Plant another and make the same mistake again? Why don't you finish her out so on your next grow you know better what not to do?"
Bingo. He wasn't even talking to me, but he was speaking directly at my situation (or so I thought). I decided to finish them, even if they were stunted dwarfs (SPOILER ALERT: They aren't, I was wrong, they were anything BUT stunted)
I am really glad I found that advice because who knows if I would have went through with it if this gentleman hadn't given me a moment of clarity.
So if you are frustrated by your first grow, I would advise to finish the grow no matter what (unless, obviously, its a male or moldy or something that DEMANDS the plant be culled) and learn what to do better for next time. I thought mine were gonna be bonzai plants. Not even considering the money wasted and the time wasted, I would have missed out on what the plants have taught me and a tent full of superstars.
Now, as I am approaching the end, I need some advice. Aside from trics, is there any other way to determine approx how long left in the grow? I need to change my nutes to end stage stuff (adding dry koolbloom, phasing out unneeded nutes, and finally the flush. ) I am super worried about getting the timing right. Besides trics, are there any other clear signals that we are rounding the corner to the final stretch? Thanks in advance.
Also, I live in a dry environment. A desert, actually. For real. It seems like dry trimming will be very important for me if I do not want it to smell like alfalfa after the cure. Any thoughts on dry trimming? I know it is more work, but the results seem better. My plan, so far, is to hang the entire plant upside down in 1 piece to dry. The only question is, how many of the large fan leaves to leave on. Some leave all, some leave only the small ones in the buds. Any thoughts will help me decide along with my other research. Thanks!


Likes
39
Share


@BudsBanditUK
Follow
Easy week, the plant is growing fast. Only feeding water for a few more weeks. Will start training next week and maybe top if needed. Nothing else to say, this is the boring part.