stonymahony611 Started my first grow in December 23.
On 14th December I put 3 seeds in paper towels. After two days 2 seeds germinated. After third day seed 3 made it also.
On 18th December the germinated seeds already established in cultivation pots.
likes
comments
Share
Used method
Paper Towel
Germination Method
1
Week 1. Vegetation
2y ago
1/4
6 cm
Height
16 hrs
Light Schedule
23 °C
Day Air Temp
No Smell
Smell
45 %
Air Humidity
20 °C
Substrate Temp
18 °C
Night Air Temp
20 cm
Lamp Distance
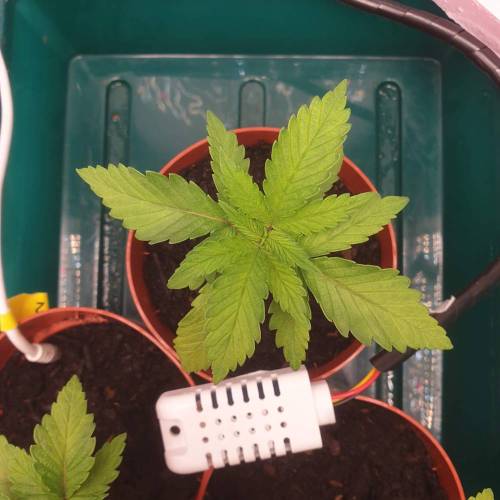
stonymahony611 Starting week 1 on 18.12.23 with ca. 5 cm high seedlings.
In the following days I noticed very fast growing and thin tribes. My assumption is, that this happend to high temperatures during a failure of the control system (~30°C) or/and to high distance to the lamp (ca. 30 cm). I reacted with lowering the lamp and got the temperature under reliable control, which sucessfully stopped the growing in height.
1 like
1 comment
Share
2
Week 2. Vegetation
2y ago
1/9
6 cm
Height
16 hrs
Light Schedule
23 °C
Day Air Temp
No Smell
Smell
35 %
Air Humidity
20 °C
Substrate Temp
18 °C
Night Air Temp
20 cm
Lamp Distance
stonymahony611 After a good start in week 1 I started to experiment a lot with my grow setup. Due to my impatience I removed the lid of my cultivation box. After a few days I noticed a relative slow growth compared to the first week. My assumption is, that the relative humidity was to low (30-40%). I didn't want to put back the lid of the cultivation box (don't know why ... Im dumb :)). So I tried to bring back high relative humidity with alternative ways (wet towel, lower temperature, on/off switching of ventilation). Nothing worked really well so I finally decided on day 16 to put back the lid of the cultivation box. Simultaneously I raised the temperature (Day 25°C, Night 20°C) and raised also the PPFD from 300 to 600.
P.S. Sorry for the bad quality of photos. My smartphone has broken and I had to switch transitionally to an older smartphone which has unfortnunateley camera issues. Waiting anxiously for my new smartphone.
likes
comments
Share
3
Week 3. Vegetation
2y ago
1/9
8 cm
Height
18 hrs
Light Schedule
25 °C
Day Air Temp
No Smell
Smell
60 %
Air Humidity
20 °C
Substrate Temp
20 °C
Night Air Temp
30 cm
Lamp Distance
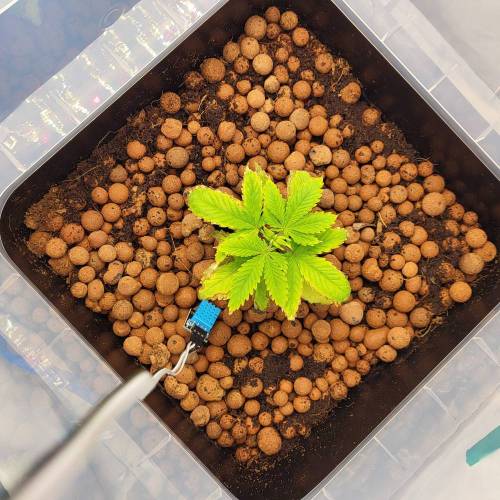
stonymahony611 First days of this week were mainly about tuning my grow setup for the new targetvalues for temperature (Day 25°C, Night 20°C), humidity (60%) and light (600 PPFD). I think the plants had a good response to the changes. They look healthier as before. I saw roots at the bottom of the cultivation pots so it's time to transplant into bigger and final 8,5l Autopot's.
Day 20: Transplantation to Autopot's
Holy....This was a stressfull. I washed the cultivation soil off the plants and tried my very best to not make anything wrong. We'll see if the plants will recover from this.
Made a big mistake and forgot the root control disc of the Autopots, which prevents roots to grow out of the pot and in the tray. When I noticed, that I forgot the RCD's the plants were already transplanted. I thought it is to hard for the plants to be transplanted again out of the hydro medium (Coco and clay pebbles 60/40 btw). So I made the decission to not transplant them again and just put the disc between the pot sock and the pot. I hope this will also be fine. When root are really conquering the tray I will simply cut them I guess.
In addition to the transplantation I cleaned up my growbox and changed the multiple plug against a bigger one. Now I have 3 free plugs, which I may need for other electric devices. One of them will be an ESP32-CAM, which will make photos every hour.
No photos from my new setup yet, but I will make some in the next days.
likes
comments
Share
4
Week 4. Vegetation
2y ago
1/24
10 cm
Height
18 hrs
Light Schedule
25 °C
Day Air Temp
5.5
pH
No Smell
Smell
60 %
Air Humidity
20 °C
Substrate Temp
20 °C
Night Air Temp
8.5 liters
Pot Size
30 cm
Lamp Distance
Nutrients 4
Cocos A
2 mll
Cocos B
2 mll
Hydro Roots
1 mll
stonymahony611 _____________________
Day 21:
--------
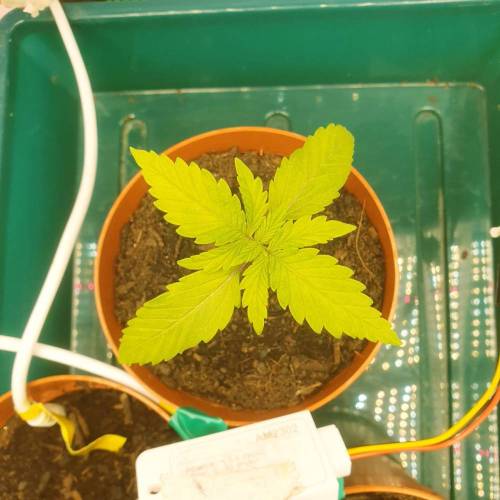
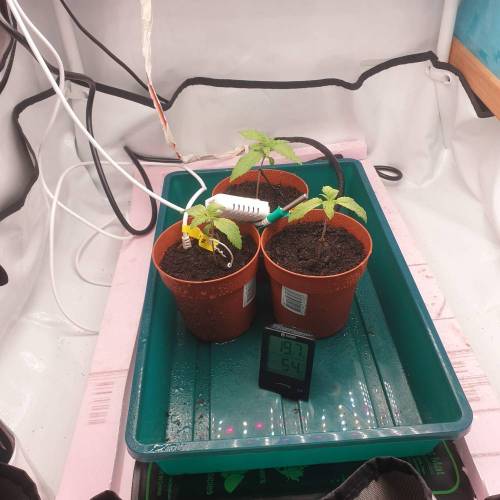
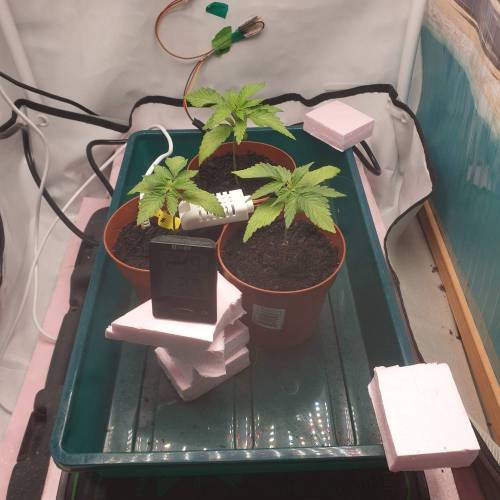
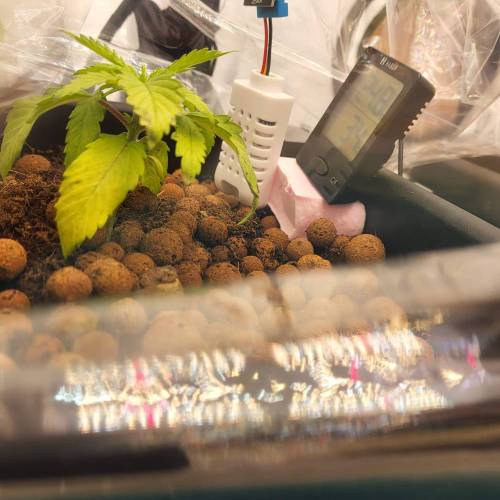
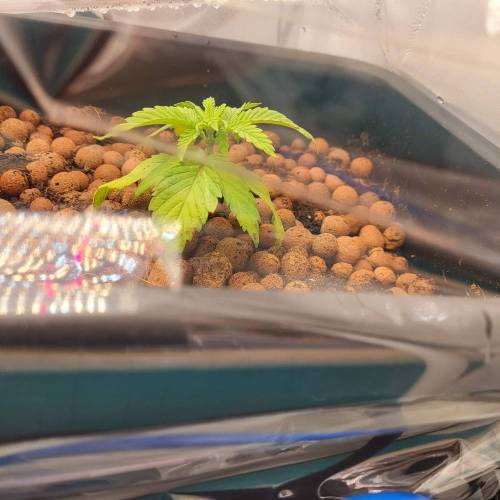
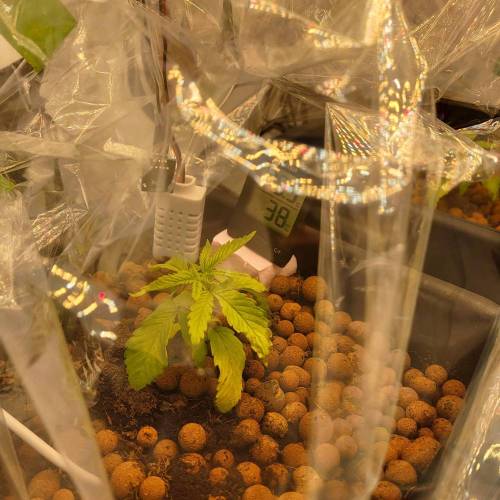
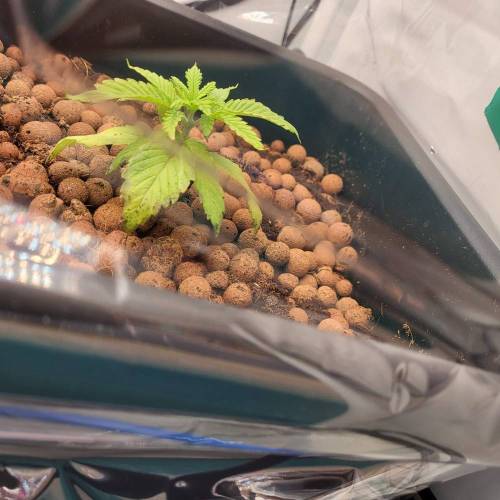
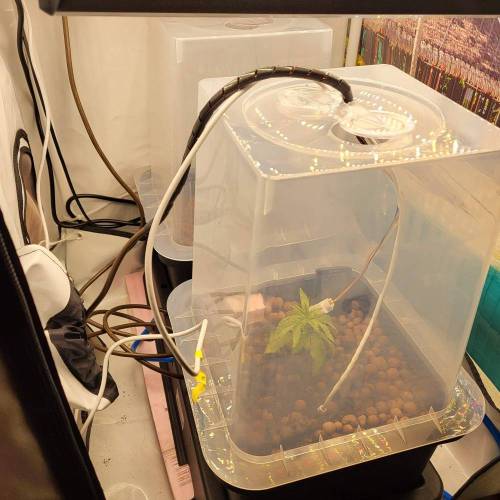
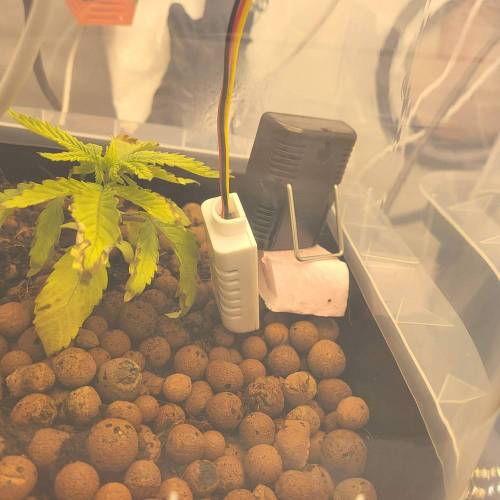
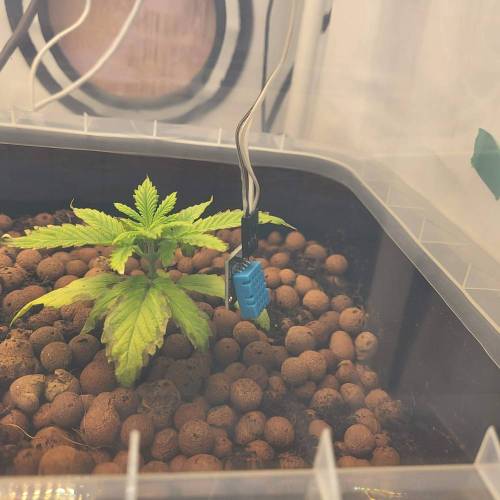
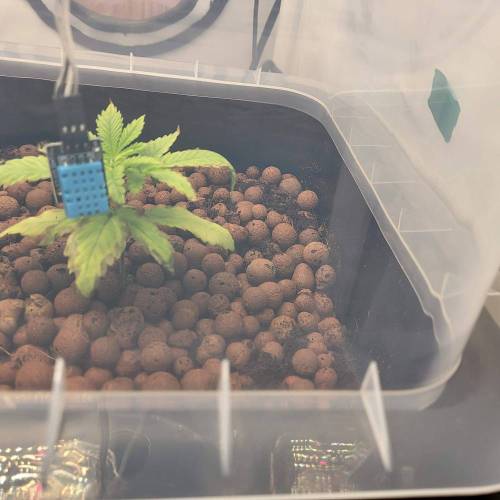
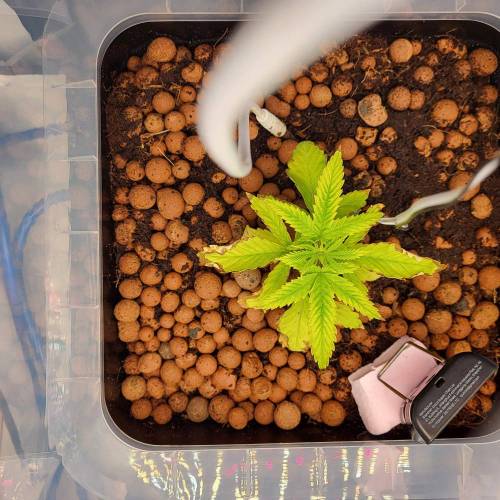
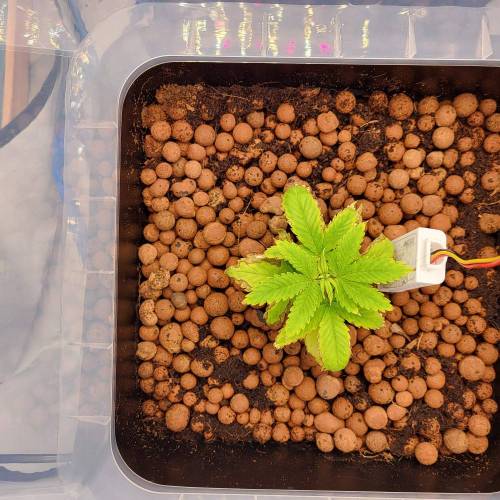
Today, as promised, I'm showing you the first pictures of my two transplanted plants in my new growbox setup. Plant No.3 didn't get a place in the new setup and is now standing in the house to be admired :).
Fortunately, my new smartphone arrived today and I was able to take some very nice photos of my ladies.
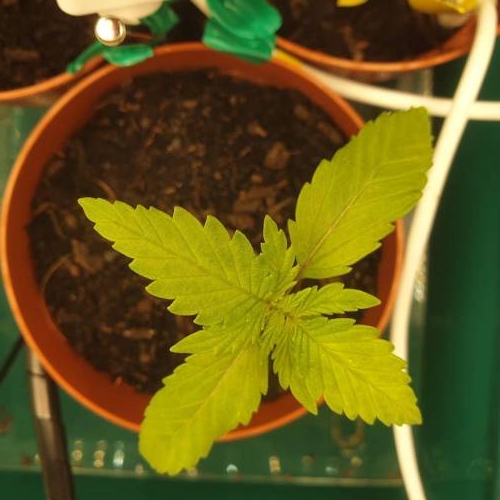
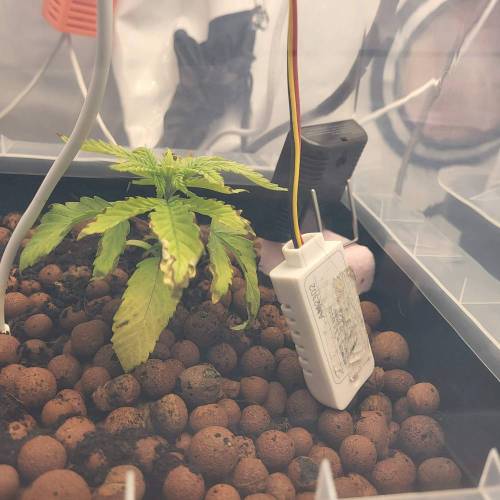
On picture 3 you can see the recovery of Plant No.1 on day 21. I think they both survived the transplantation well.
Picture 5 is a special addition from me this week. You can see a complete description of my setup.
If you have any questions, I will of course be happy to answer them. I would also be very grateful for any helpful hints.
________________
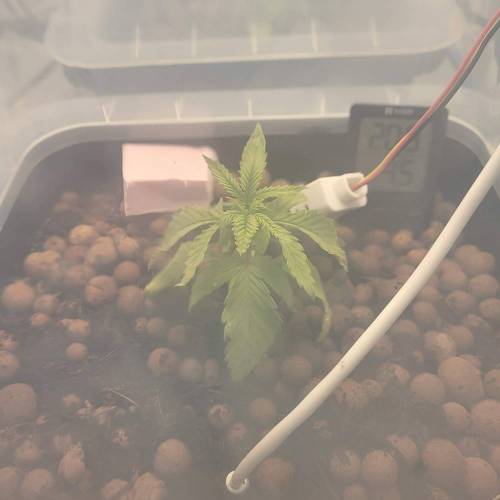
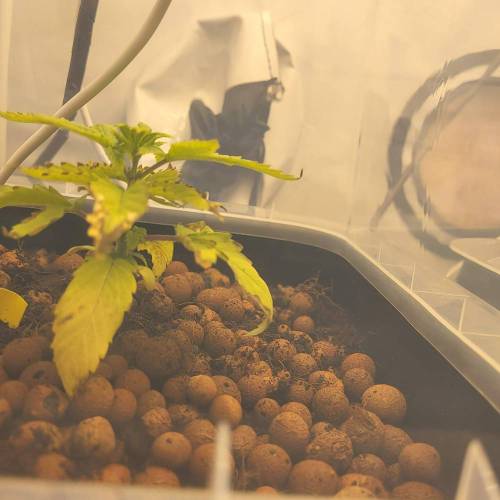
Day 22: Plants have still hanging leaves, but I think they are stable and still curing from the transplantation. I try to disturb as little as possible and keep conditions stable. Unfortunately temperatures are below 0° C so I will take less photos to avoid large temperature deviations in the growbox.
_________________
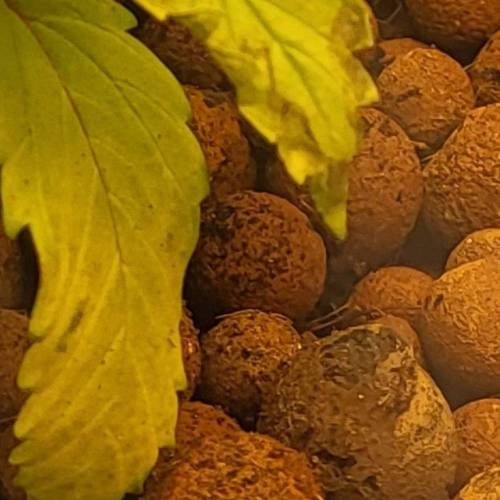
Day 23: On the second day after transplanting, it becomes clear that the plants are not doing well. In my opinion, the signs point to too much fertilizer. I followed the instructions on the fertilizers, but it seems to have been a bit too much for the little ones.
I added 0.5 liters of pure rainwater from above near the plant.
_________________
Day 25: Watering with pure rainwater has helped. The yellowing of the leaves has slowed down considerably. Nevertheless, yellow tips still appear here and there. I watered again with 0.5 liters of pure rainwater and this time measured the EC value of the drain. This was 1.5 ms/cm, as it should be according to the fertilization scheme. However, the value is 1.5 after the second flushing, which indicates an overdosage before flushing. I think that flushing is enough for now. I will continue to monitor the plants very closely.
________________
Day 26, 27: Little adjustments of ventilator and temperature control.