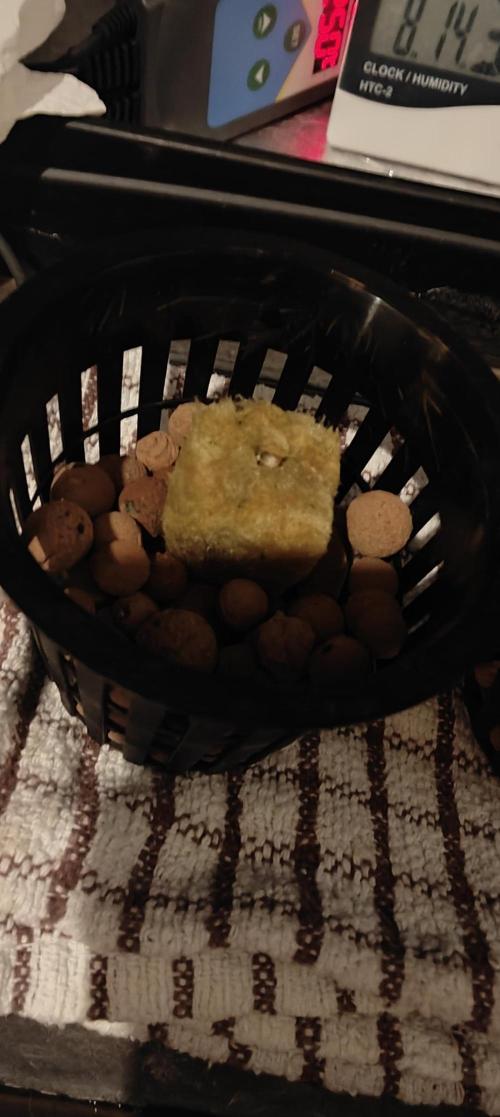
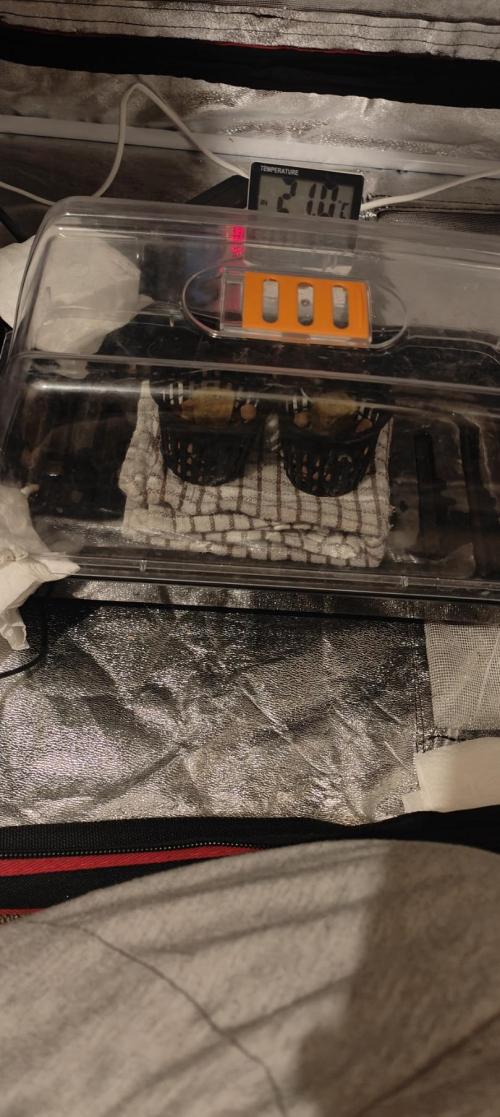
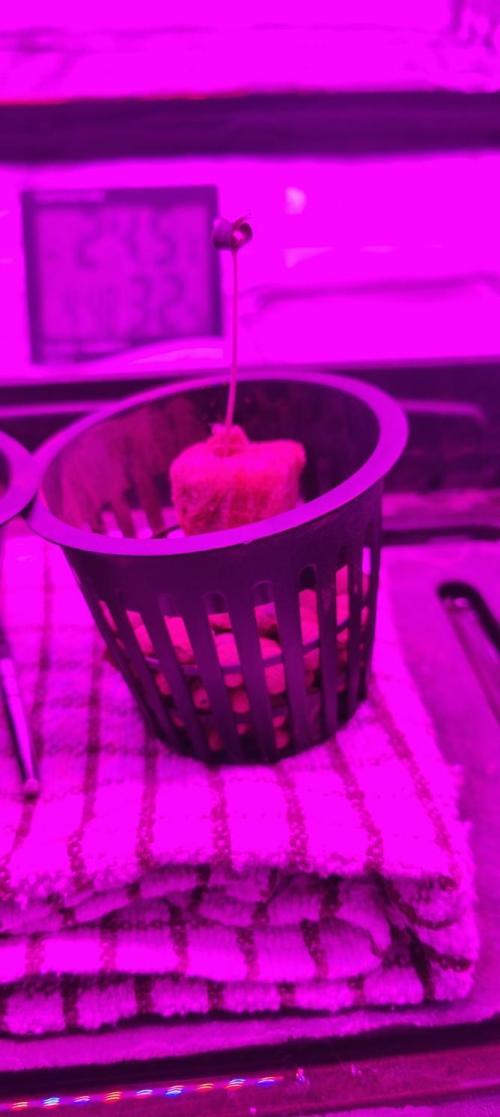
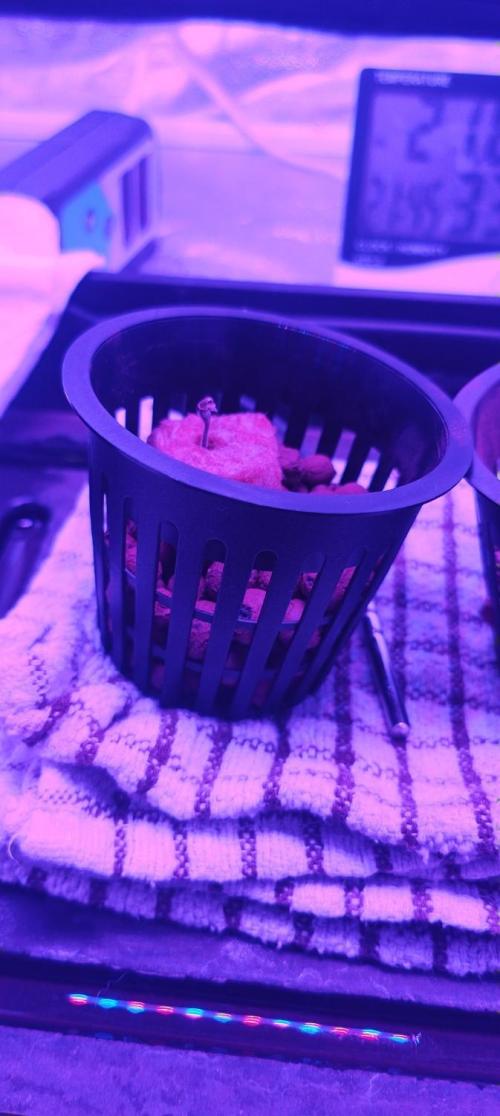
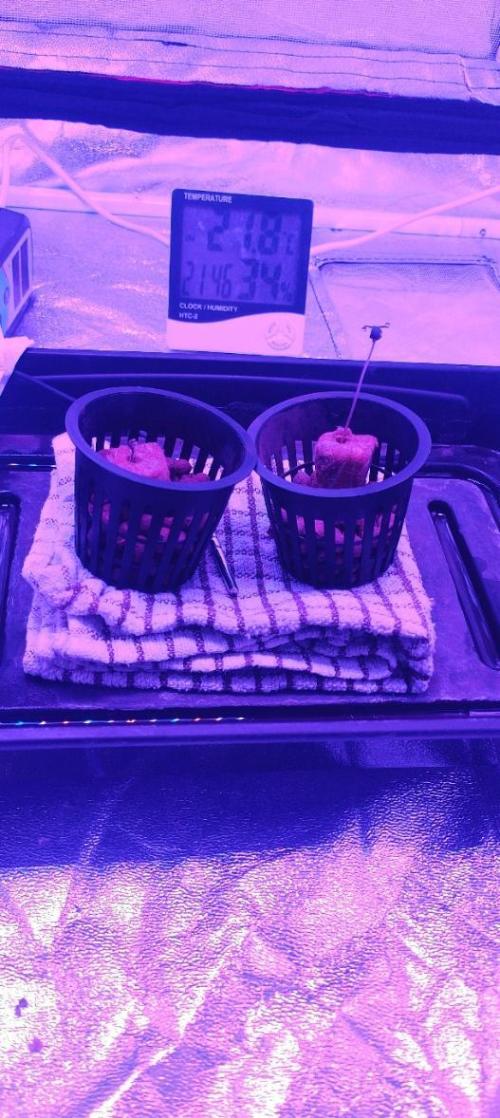
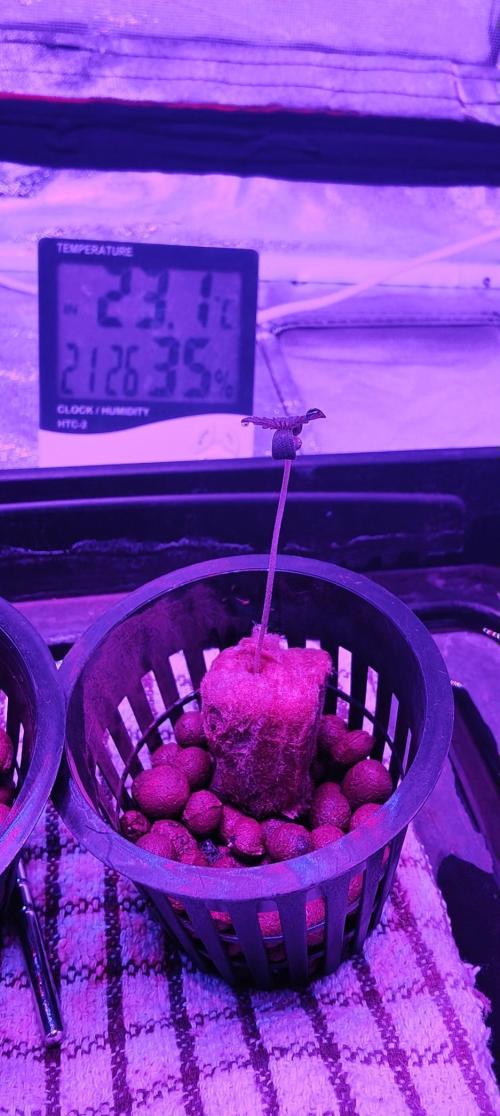
Gangreen_Hippy I began this Pineapple Chunk run by soaking the seed overnight and then placing it directly into pre-soaked rockwool inside my heated propagator. I kept the vents closed and used a tea towel under the rockwool so it wouldn’t sit directly on the heat source. The propagator stayed dark and warm with high humidity, and for the first couple of days everything looked stable. Moisture levels were good, the temperature stayed around 23–25°C, and the seed showed normal early development.
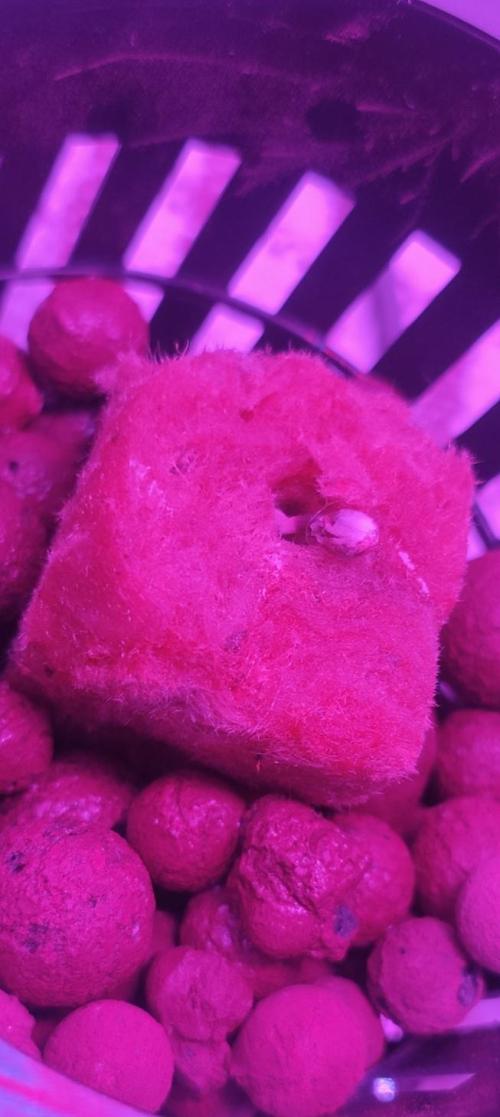
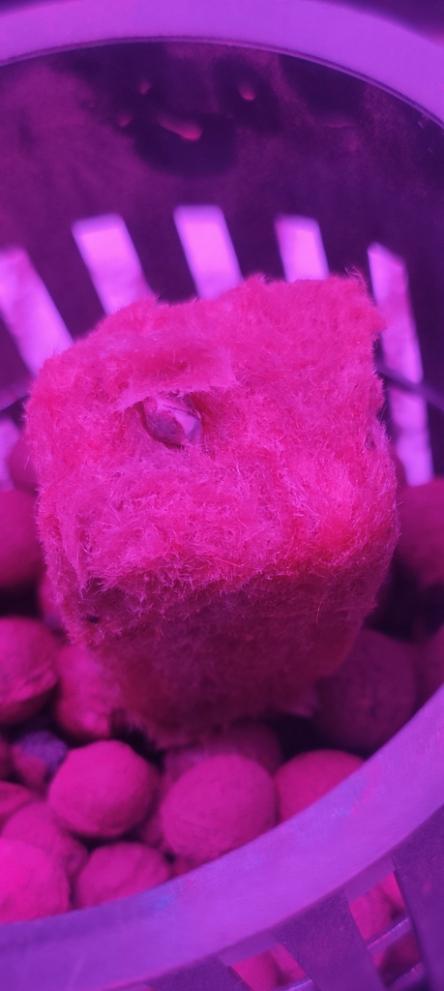
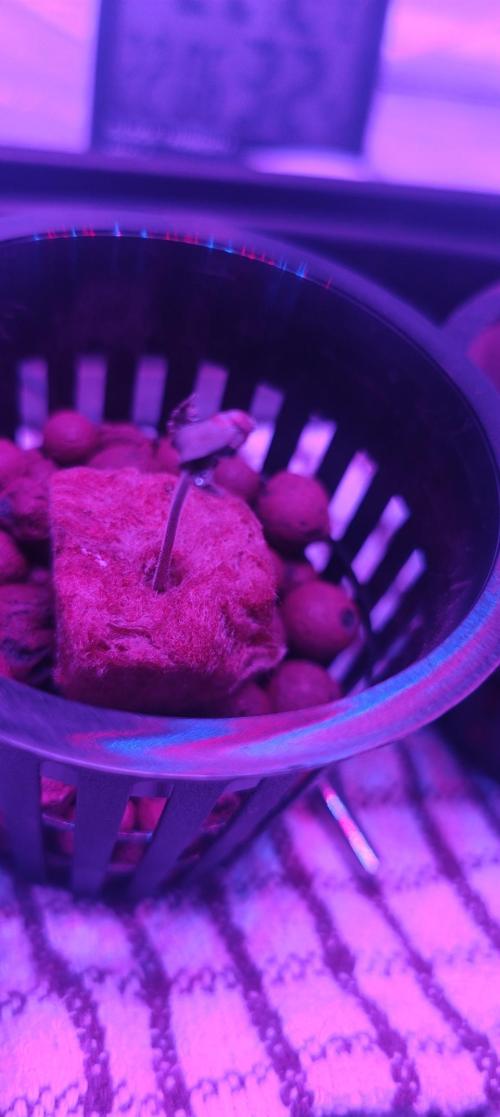
The first major issue happened shortly after sprouting. I came in one morning and found the seedling completely collapsed on the rockwool. The cube had dried out too much, and the stem could no longer support itself. To recover it, I rehydrated the rockwool with 10 ml into the cube and another 10 ml into the crevice around it. I propped the seedling up with a cotton bud and put the humidity dome back on so the moisture could stabilise again. After this, the seedling slowly lifted itself, and by the next check it was able to stand without the support. The cotyledons were dark and curled from the stress, but the plant did survive.
I tried removing the dome at one point to begin hardening the seedling off, but it wasn’t ready. Temperature and humidity shifted too quickly, so I put the dome back on and allowed things to settle again. Once the seedling was holding itself up consistently, I began adjusting the vents slightly to improve airflow without dropping humidity too fast.
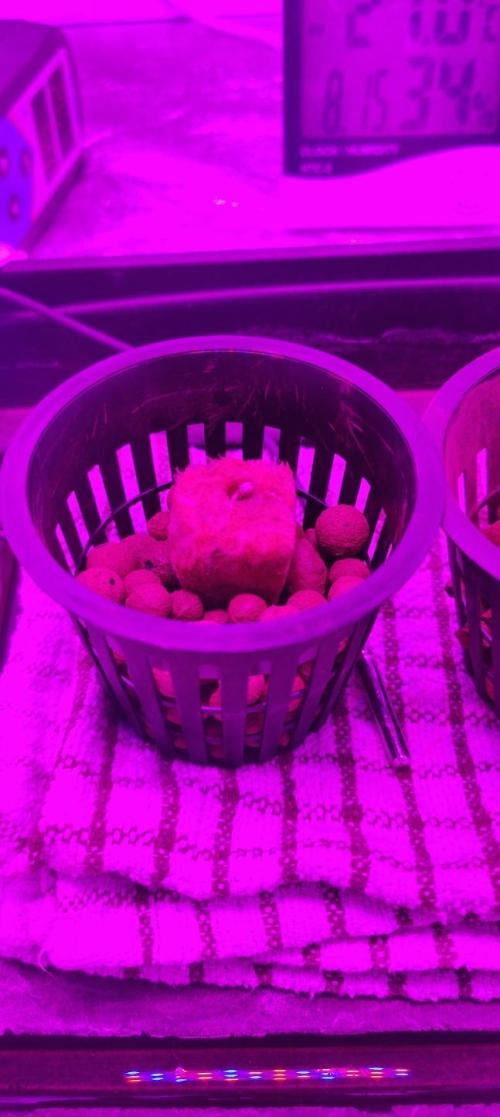
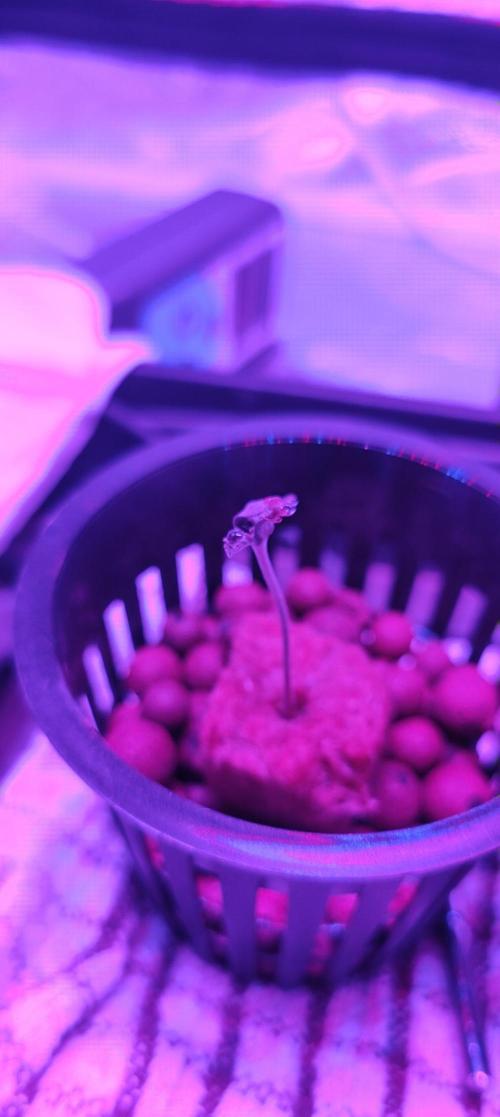
When the seedling showed some strength, I introduced the Phlizon light. I started with around 380–390 PPFD and then increased it to about 450 PPFD. One of the seedlings stretched early on, but increasing the PPFD corrected that and helped firm the stems up. Temperatures with the light on remained consistently between 23–25°C, and condensation on the dome each morning confirmed that humidity levels were still appropriate.
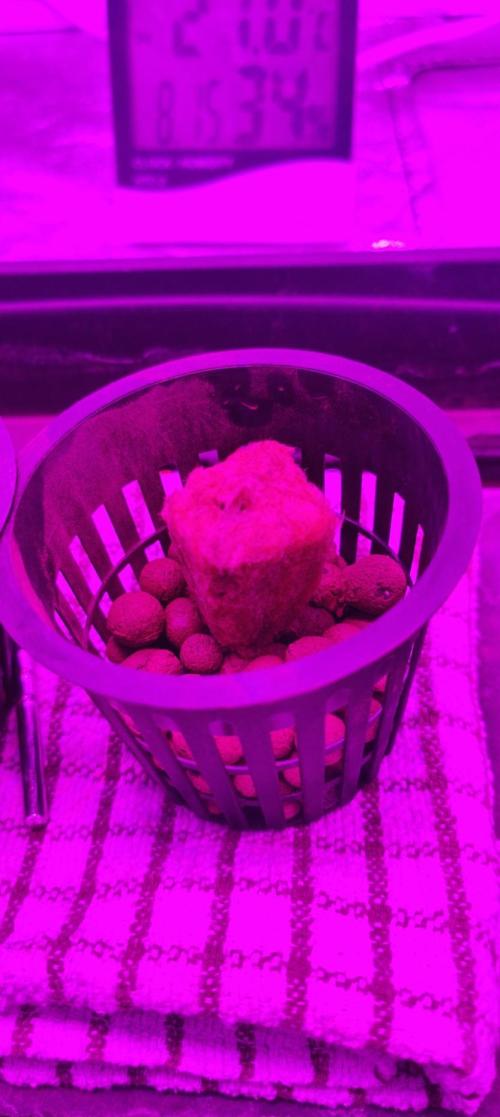
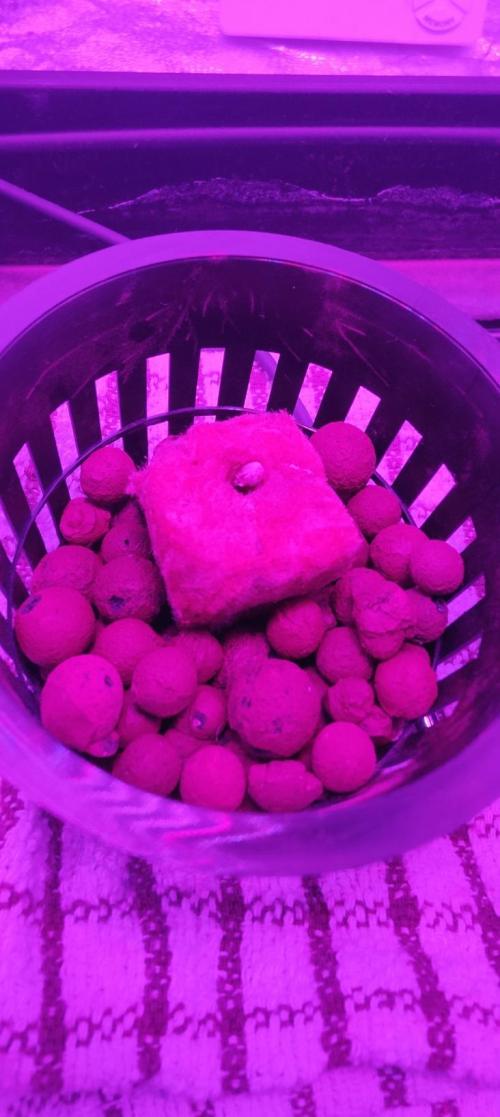
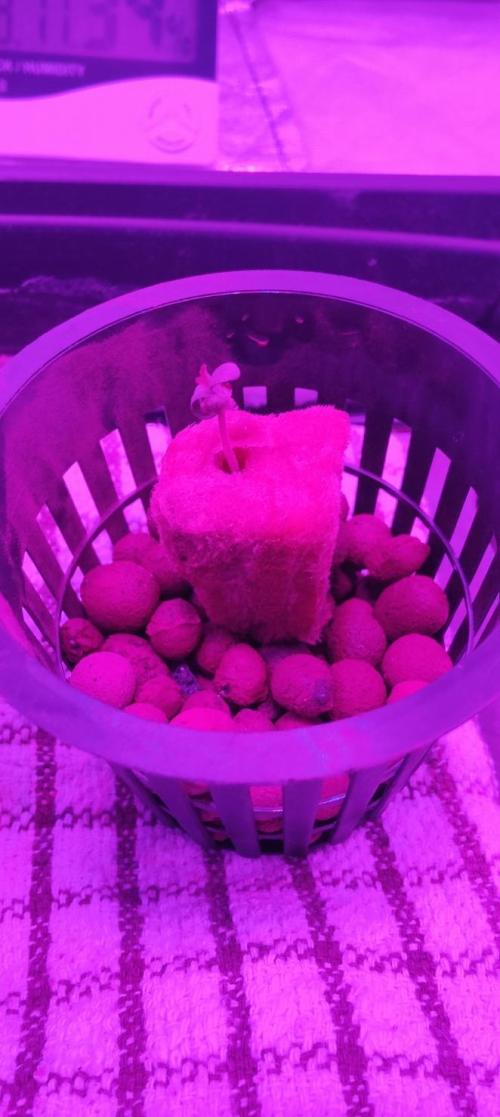
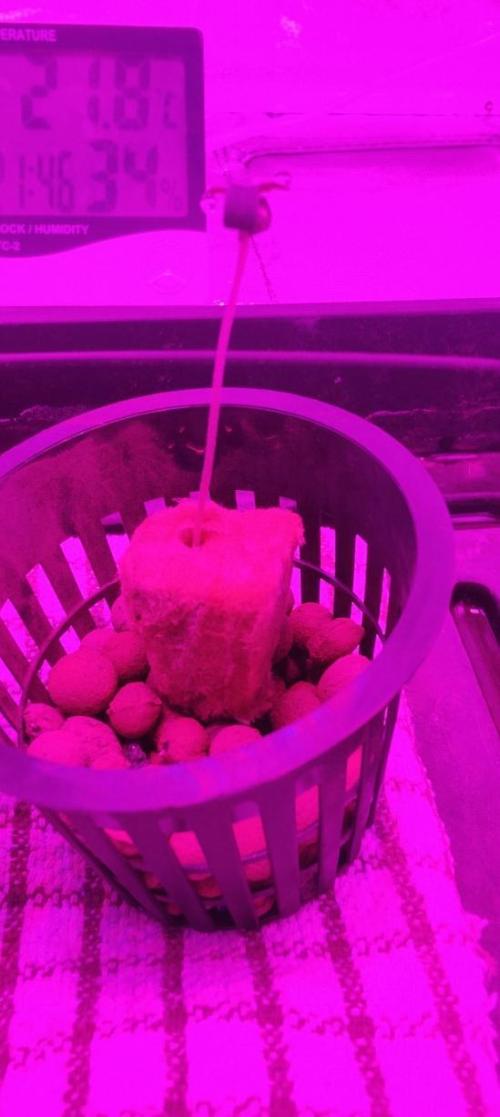
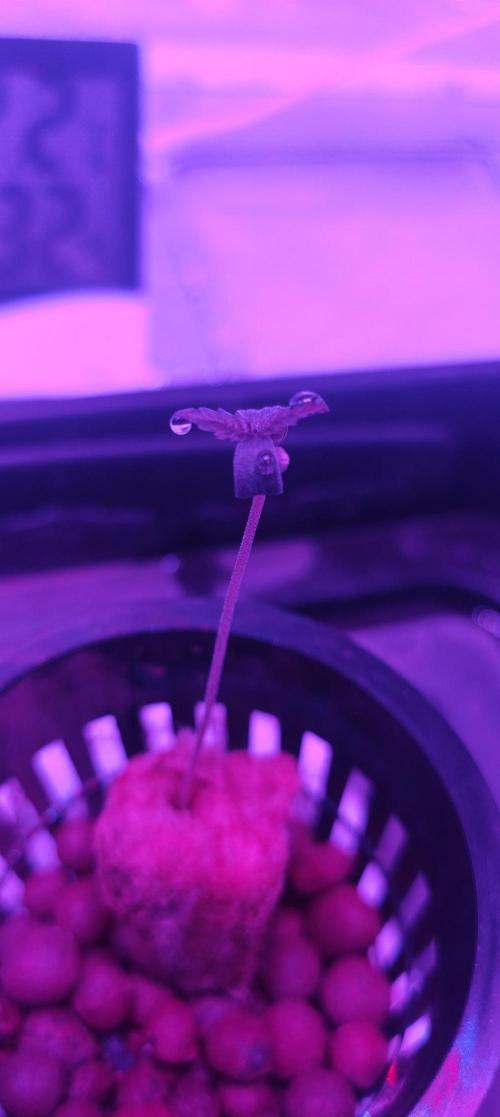
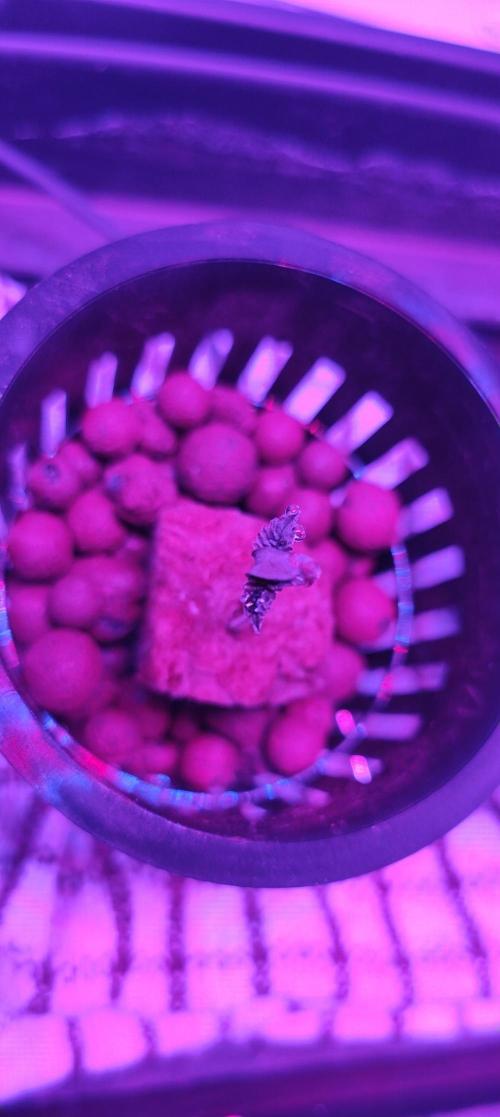
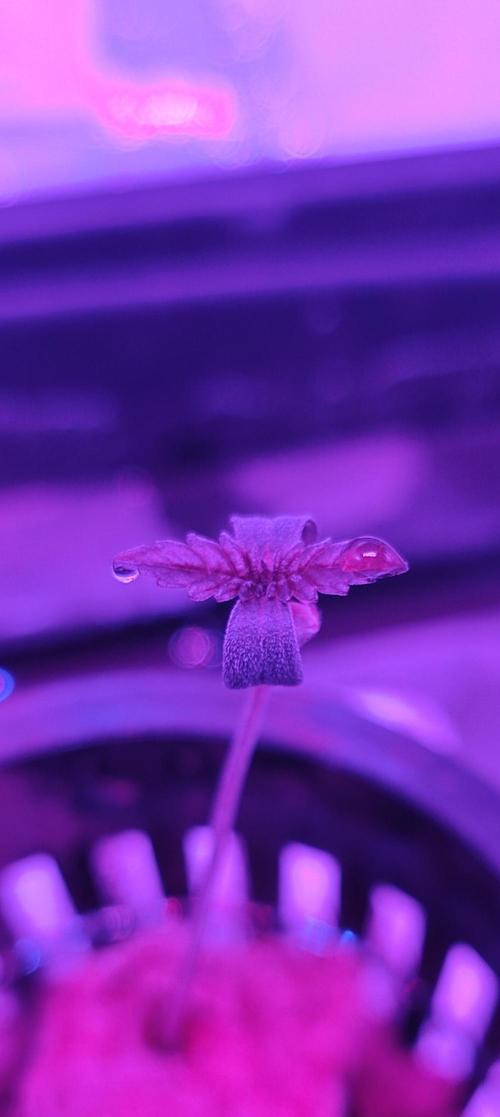
At this point the seedling had recovered from the early dehydration event, stood upright, and started to show the first set of true leaves. The rockwool is now staying evenly moist without overwatering, and no nutrients have been added yet, which is correct for this stage. The plant is handling the current PPFD well, and the environment has stabilised enough that root development is beginning to progress. Root tips are just starting to emerge from the bottom of the rockwool, which means it will soon be ready to move into the DWC.
So far, the main setbacks have been the rockwool drying out and causing the seedling to collapse, a small amount of early stretching, and an attempted dome removal that lowered the temperature too quickly. Each issue was fixed immediately by rehydrating and supporting the plant, increasing light intensity to tighten growth, and reinstating the dome until the seedling was ready.
At this point I would classify the grow as early seedling stage, starting from germination. The plant has stabilised, is showing steady improvement, and is preparing to transition into early vegetative growth. Over the next few days I will maintain the PPFD around 350–450, keep the dome slightly vented, avoid nutrients until the true leaves fully open, and prepare the Kaizen Mini for the next light stage. Once the roots come through properly, the seedling will be moved into the DWC system to begin its main development.