CandyQueenAuto Hey everyone 👋🌱
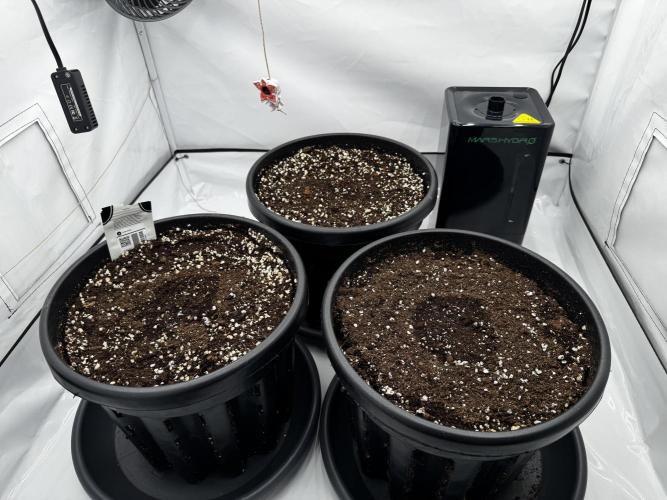
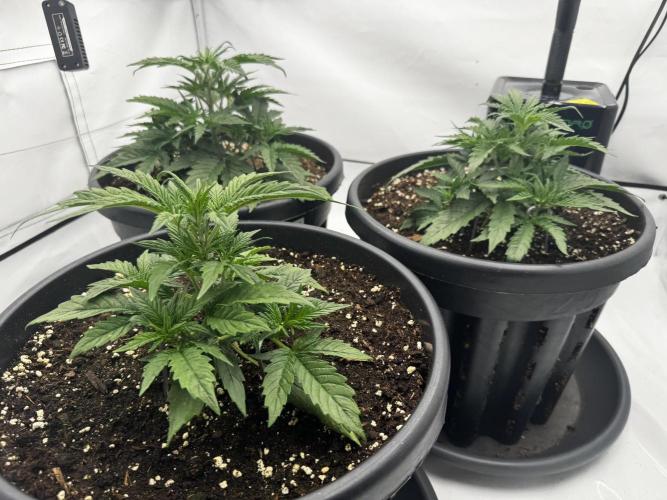
I'm starting my new grow here and want to share the entire run with you. This time, I've got 3 Autoflowers from Fast Buds:
2x Z Up and 1x Banana Punch (both FastBuds).
I'm especially excited about the development of the Banana Punch and hope for beautiful colors and lots of frost. I'll document the whole grow step by step here – from start to harvest.
Looking forward to exchanging ideas with you and can't wait to hear your opinions and tips! 🌿
____________________________________________
Germination Method 🌱
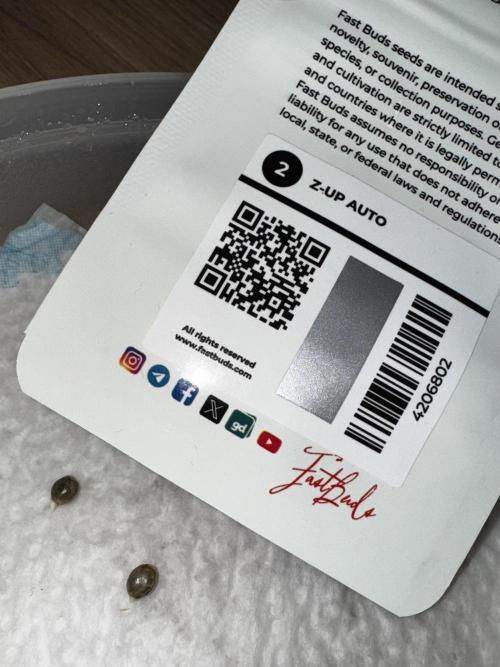
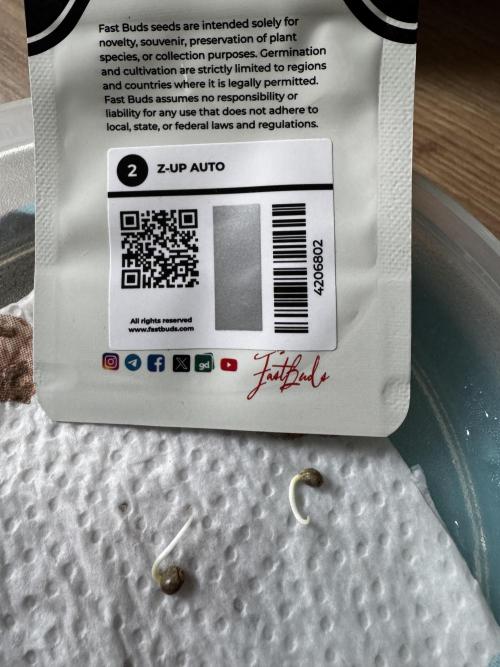
I germinated the seeds using the classic method with a damp paper towel. I placed them between two slightly damp paper towels and put everything in a closed Tupperware container to keep the moisture constant.
I moistened the paper towel with pH-adjusted water. After about 24 hours, the seeds had already opened, and the first root tips were visible.
1 like
comments
Share
Used method
Paper Towel
Germination Method
1
Week 1. Vegetation
7mo ago
1/2
20 hrs
Light Schedule
24 °C
Day Air Temp
16.5 liters
Pot Size
50 cm
Lamp Distance
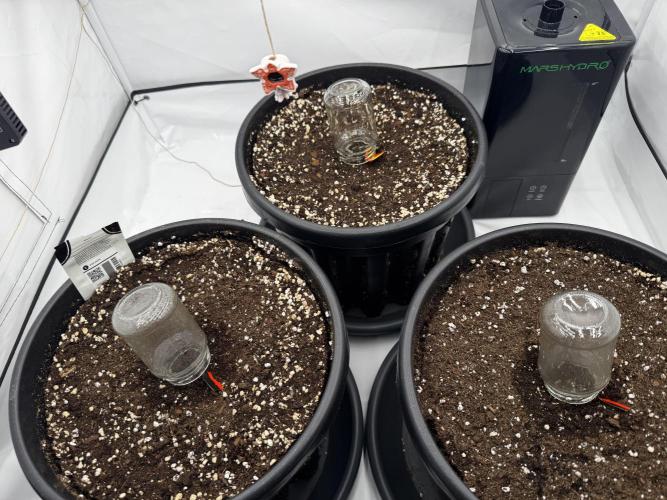
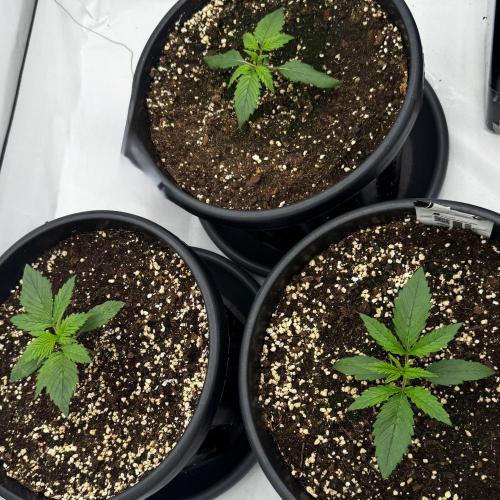
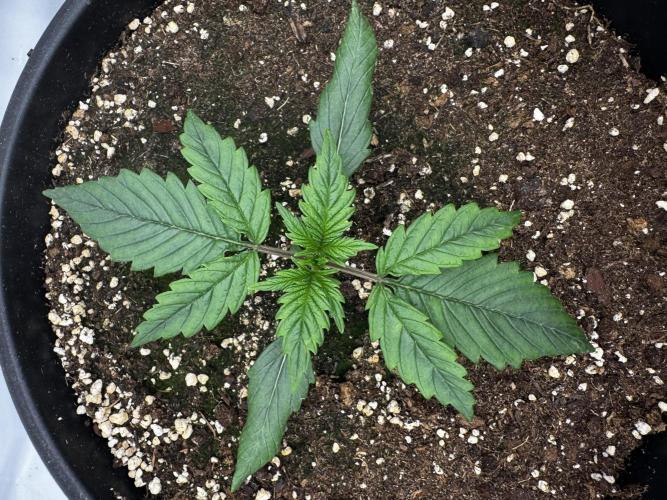
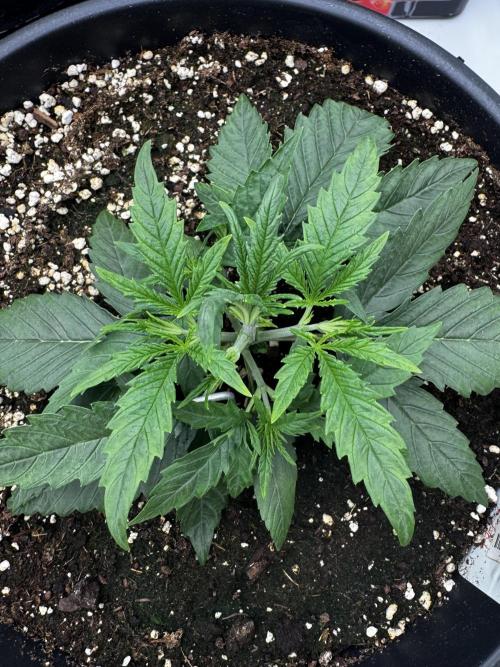
CandyQueenAuto Seedling Phase – Day 1 🌱
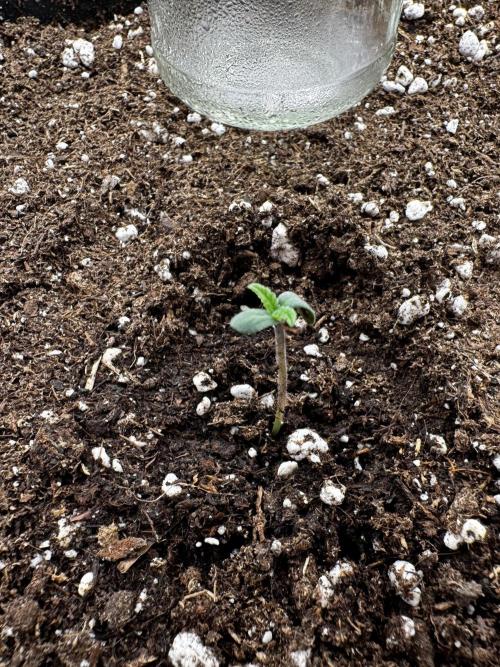
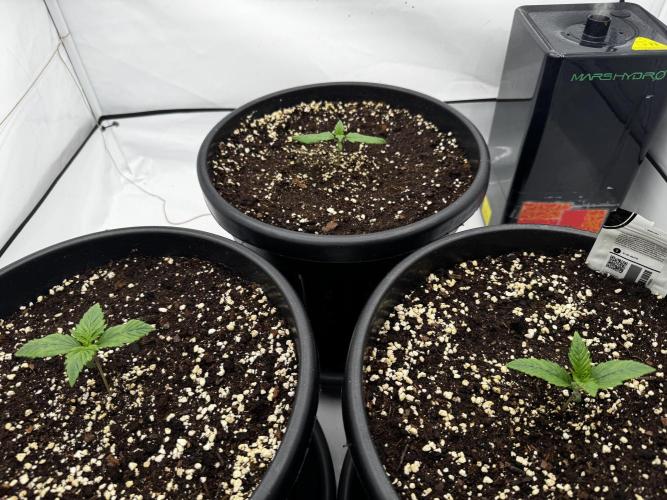
On 08.03, the seedlings emerged from the soil. Already after one day, there was a noticeable difference in growth: The BPP was about 2.6 cm tall, the Z-Up on the left was about 4 cm, and the Z-Up on the right was approximately 2.5 cm.
To increase the humidity for the young plants a bit, I placed slightly damp glasses over the seedlings. The lamp was running at about 150 watts during this phase at a distance of approximately 50 cm.
4 likes
2 comments
Share
2
Week 2. Vegetation
7mo ago
1/4
20 hrs
Light Schedule
24 °C
Day Air Temp
16.5 liters
Pot Size
1.5 liters
Watering Volume
50 cm
Lamp Distance
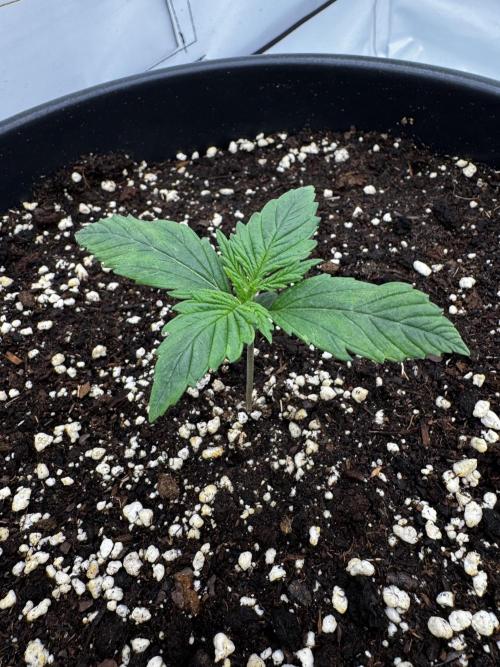
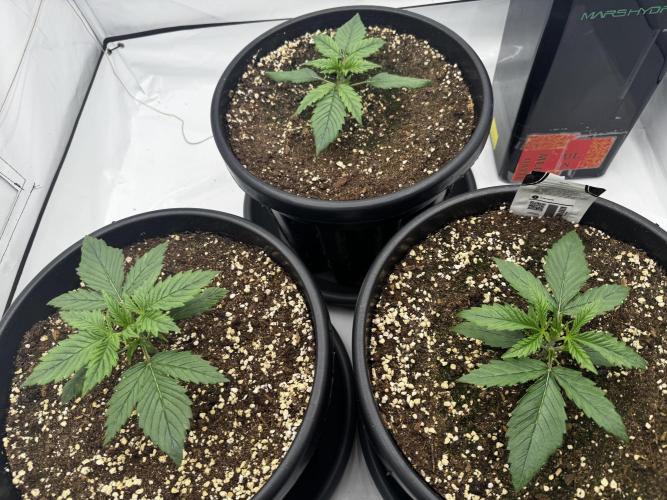
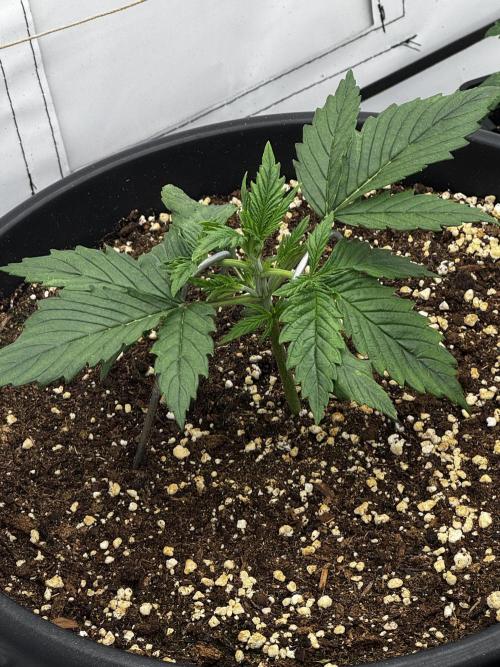
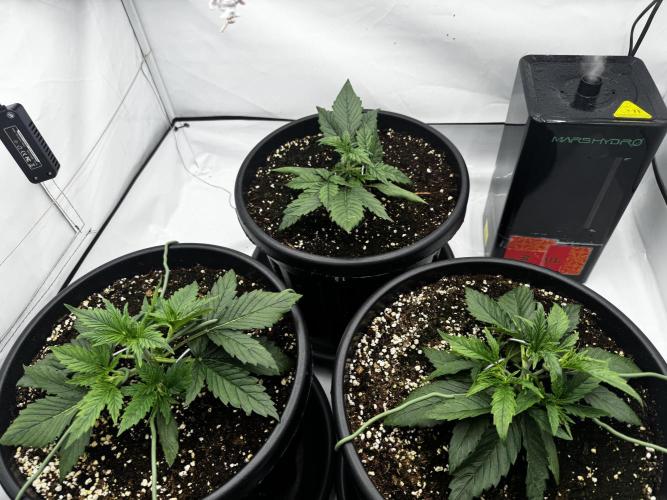
CandyQueenAuto Seedling Stage – Week 2 🌱
The plants are developing well. At the beginning of the week, I watered each plant with about 1.5 L, since the pots are air-permeable and this helps maintain higher humidity in the tent. I also set the light to 180 watts.
On 16.03., I measured: Z-Up (left) 7.5 cm, Z-Up (right) 7.5 cm, BPP 5.8 cm.
1 like
comments
Share
3
Week 3. Vegetation
7mo ago
1/10
20 hrs
Light Schedule
25 °C
Day Air Temp
75 %
Air Humidity
16.5 liters
Pot Size
1.5 liters
Watering Volume
40 cm
Lamp Distance
Nutrients 3
TNT Complex
5 mll
Bio-Down
0.1 mll
CalMag Pro
1 mll
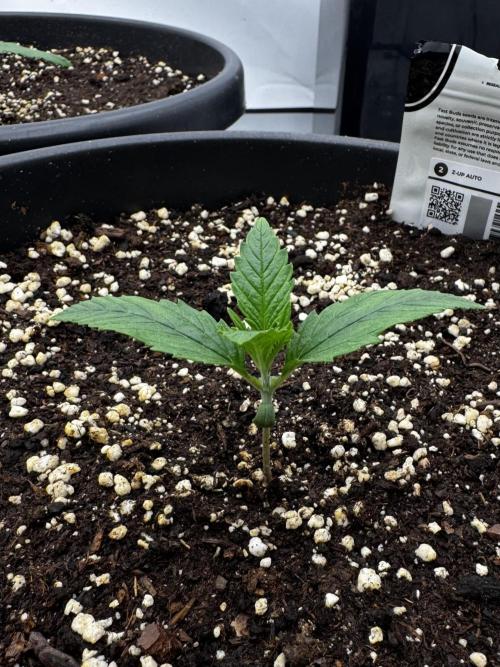
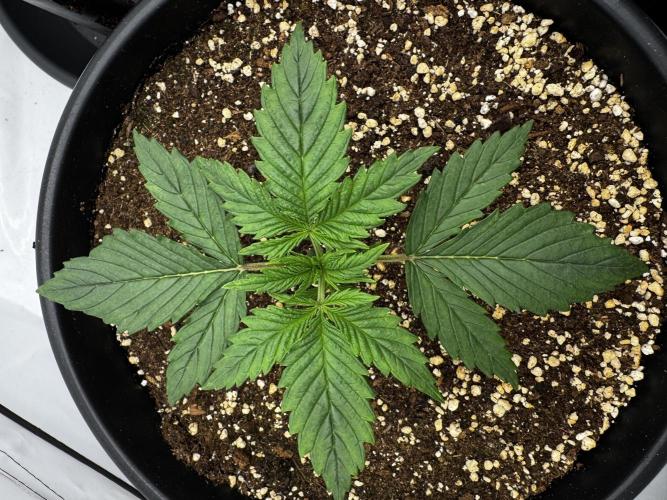
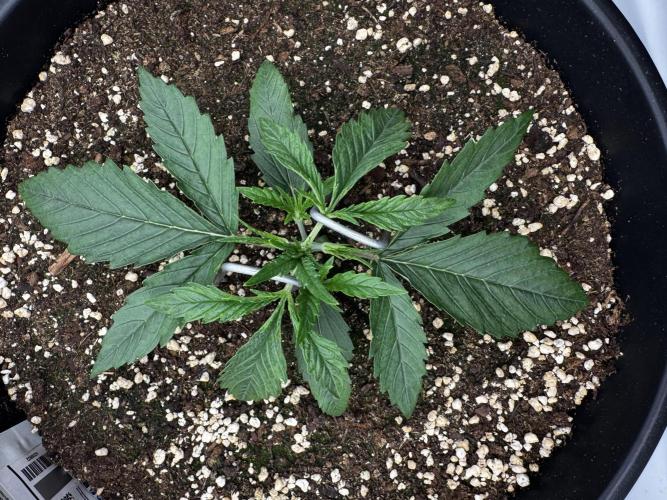
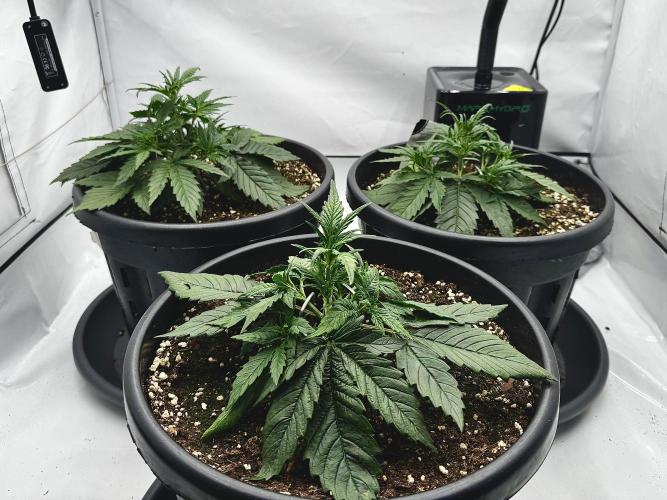
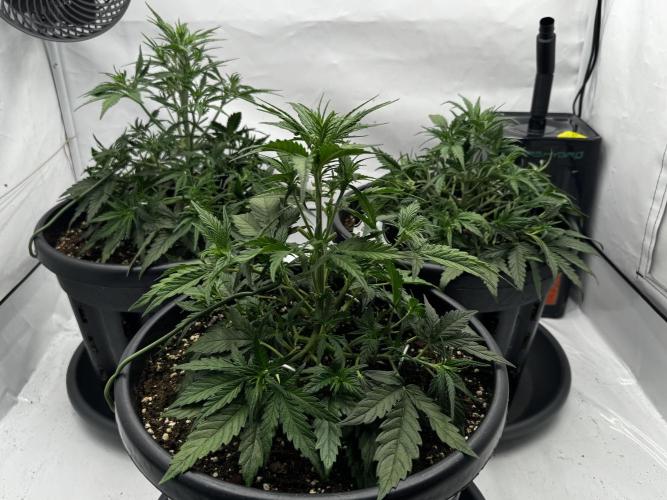
CandyQueenAuto Vegetative Stage – Week 1 🌿
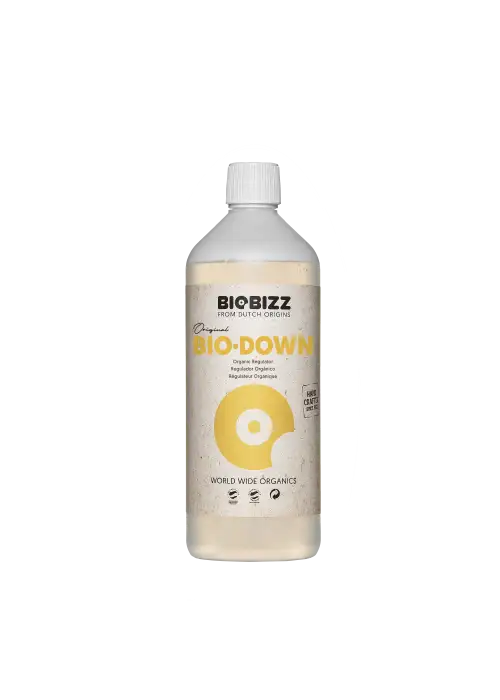
All plants have now entered the first week of the vegetative stage. On 22.10., I watered with pH-adjusted water (6.2) and, for the first time, added nutrients from Hesi (TNT according to the feeding schedule) as well as Plagron CalMag Pro at 1 ml/L.
I also gently bent the upper fan leaves to the side and slightly downward to allow more light to reach the lower branches. Additionally, I set the light to 240 watts.
3 likes
1 comment
Share
Used techniques
LST
Technique
4
Week 4. Vegetation
6mo ago
1/3
20 hrs
Light Schedule
25 °C
Day Air Temp
60 %
Air Humidity
16.5 liters
Pot Size
1.5 liters
Watering Volume
40 cm
Lamp Distance
Nutrients 5
Bloom Complex
5 mll
Phosphorus Plus
2.5 mll
Boost
0.528 mll
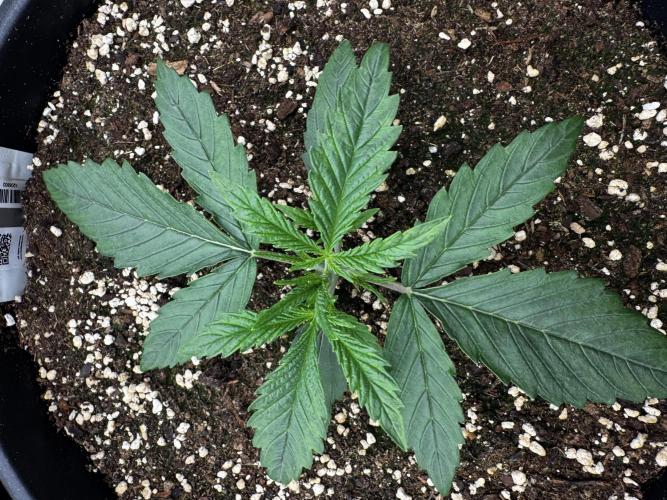
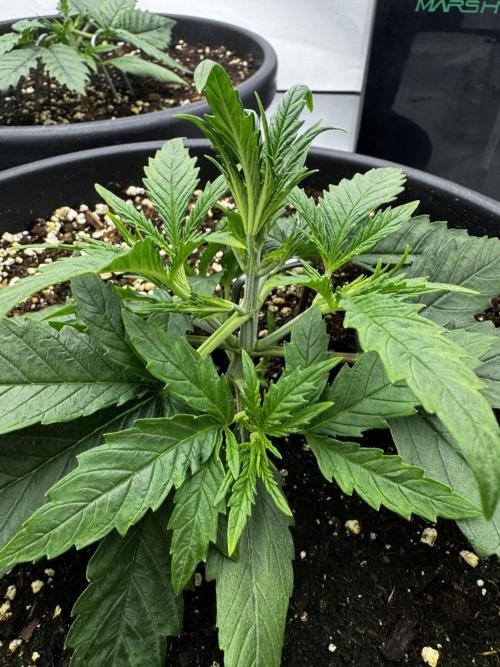
CandyQueenAuto Week 4 – Transition to Pre-Flower 🌸
During this week, I mostly watered with plain water and fed once using the bloom feeding schedule from Hesi, as the first signs of pre-flower started to appear.
Overall, the plants remained very healthy and continued to grow well.










 commentedweek 17mo ago