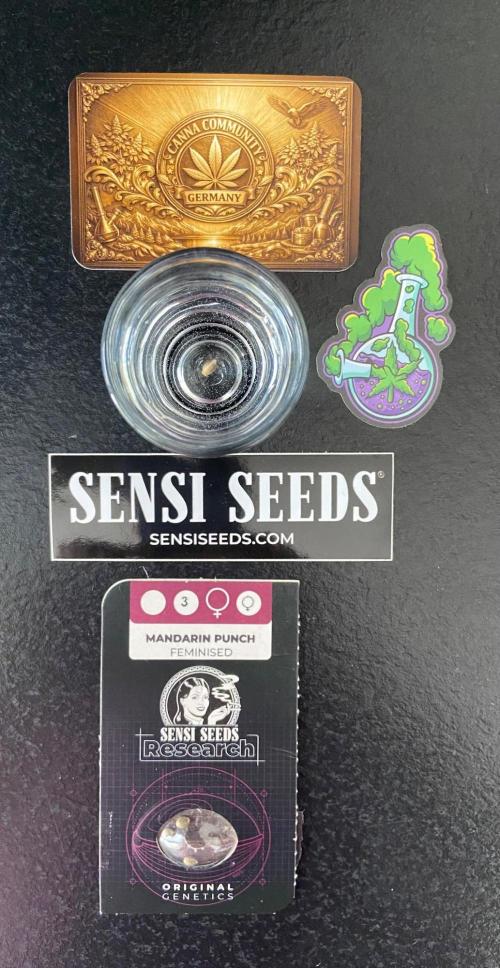
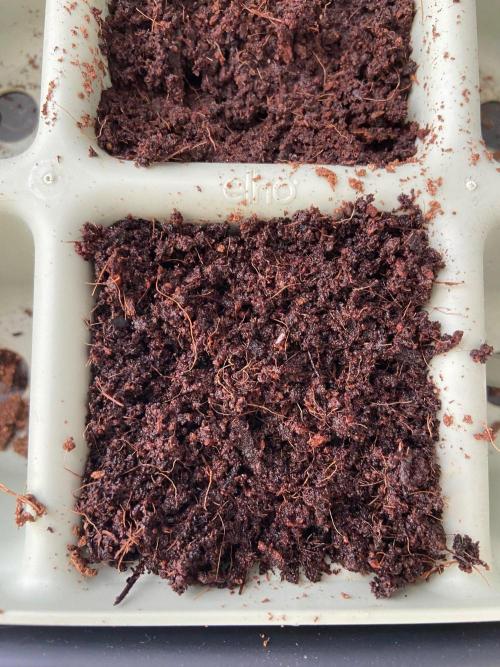
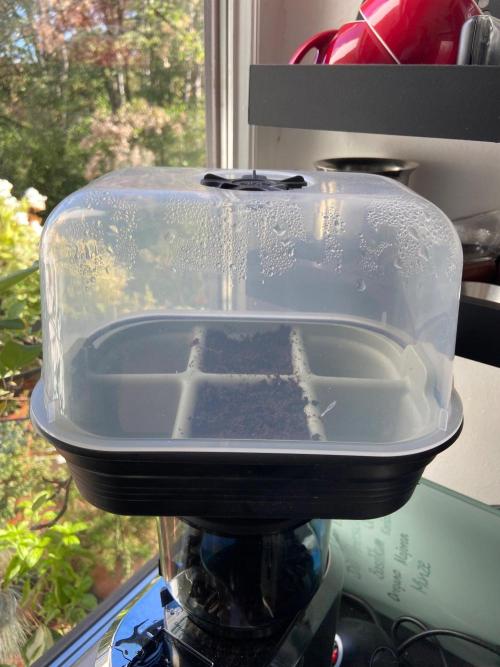
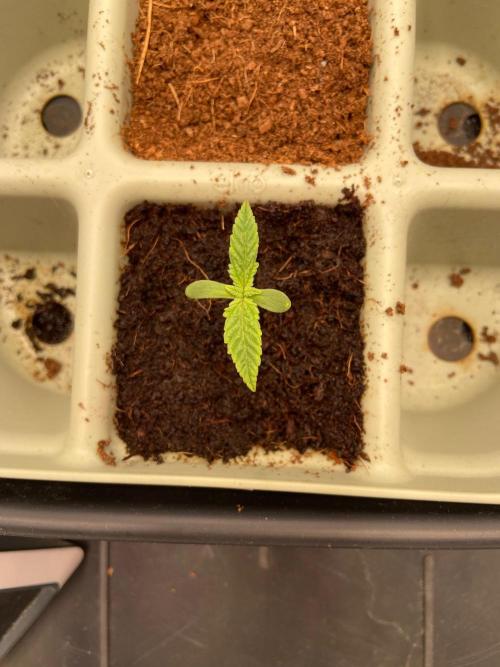
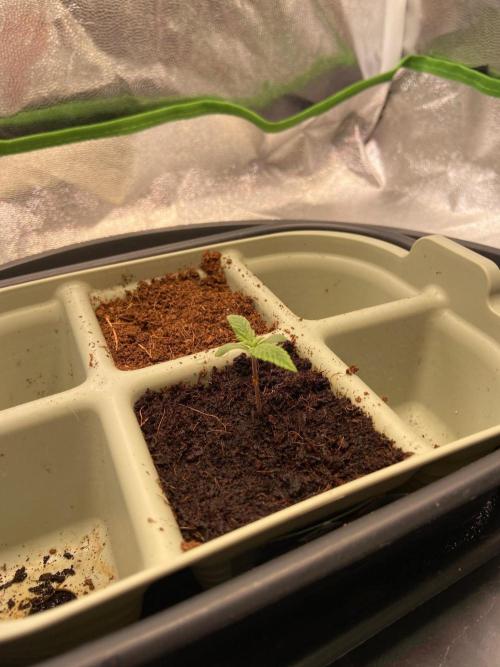
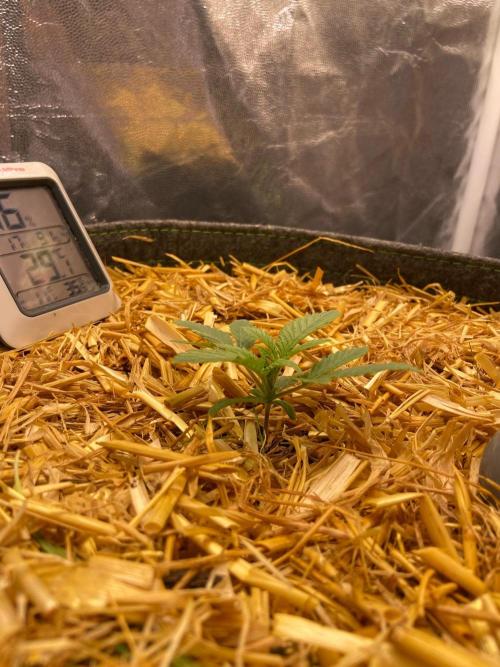
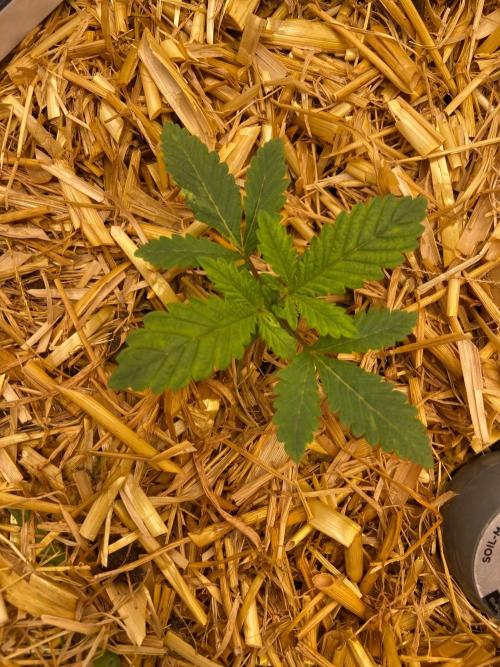
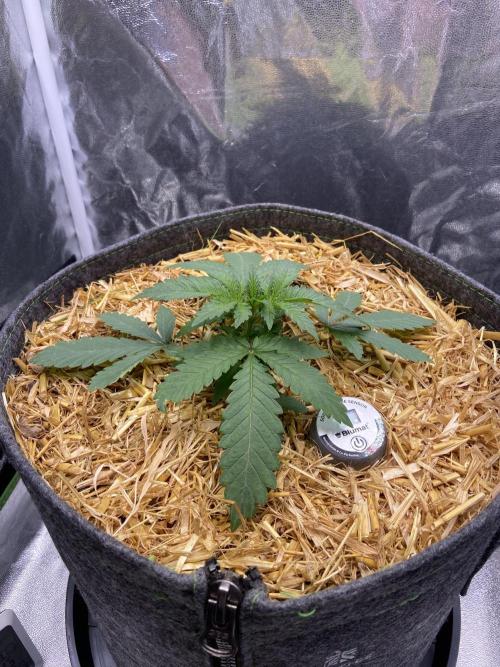
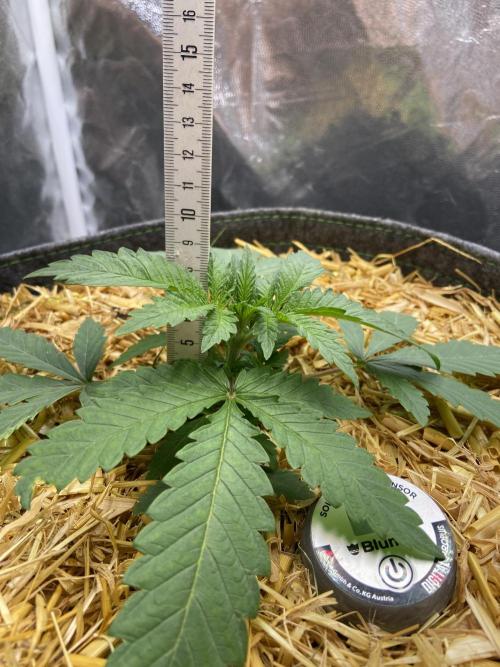
MrMaabra I struggled with germination at the start and lost some time because I was only popping one seed at a time. It finally worked out with the third out of four seeds.
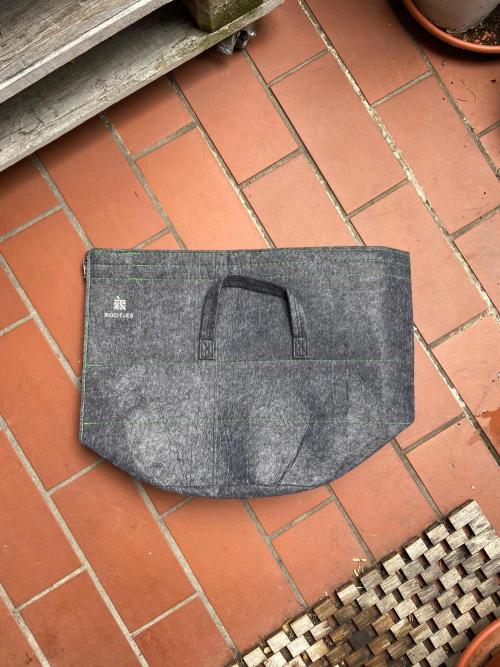
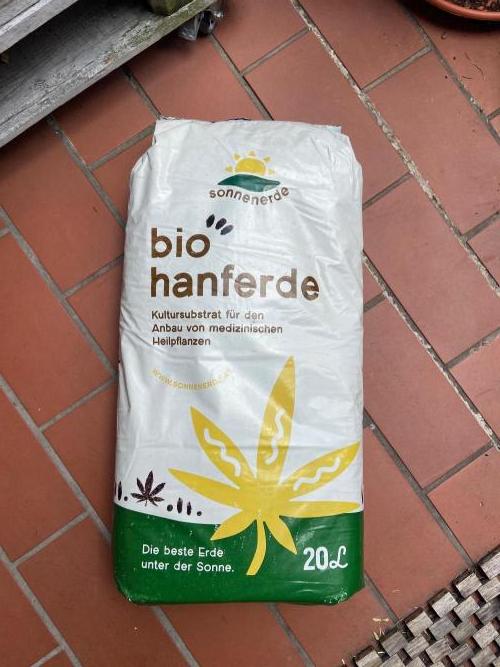
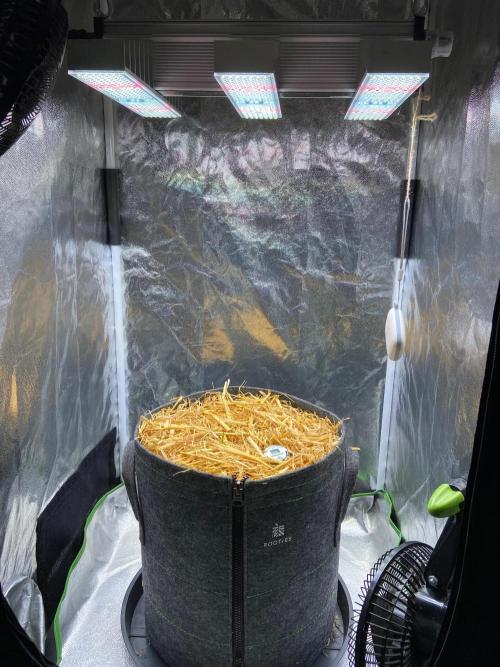
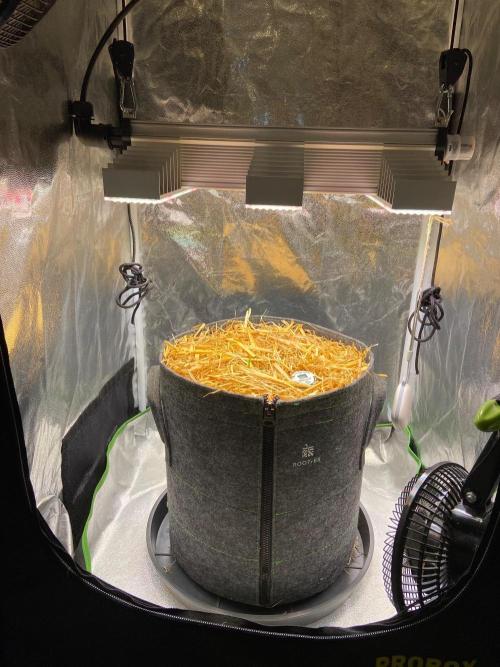
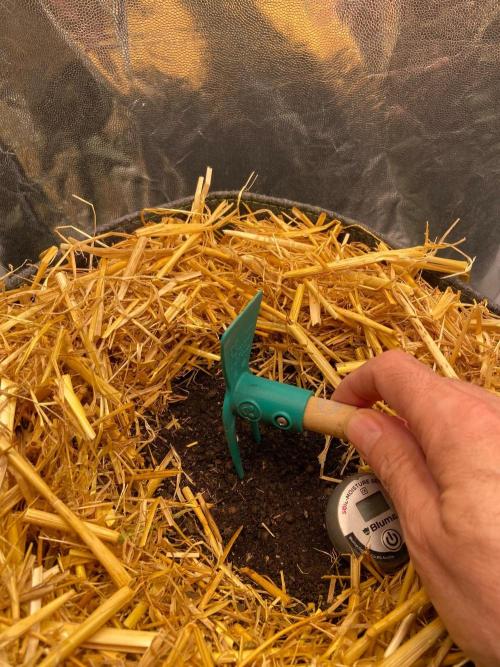
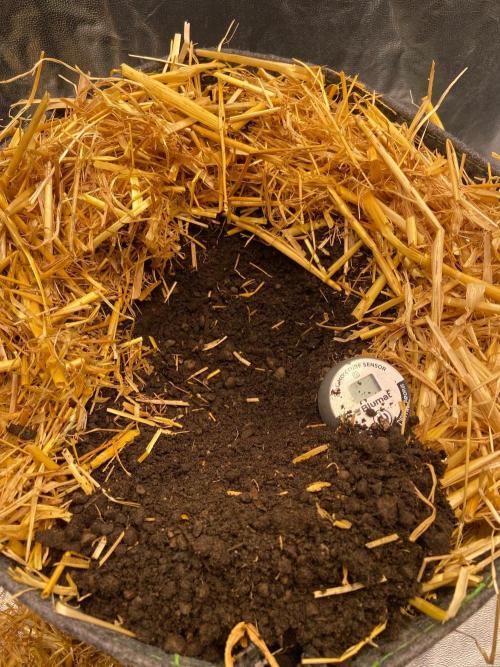
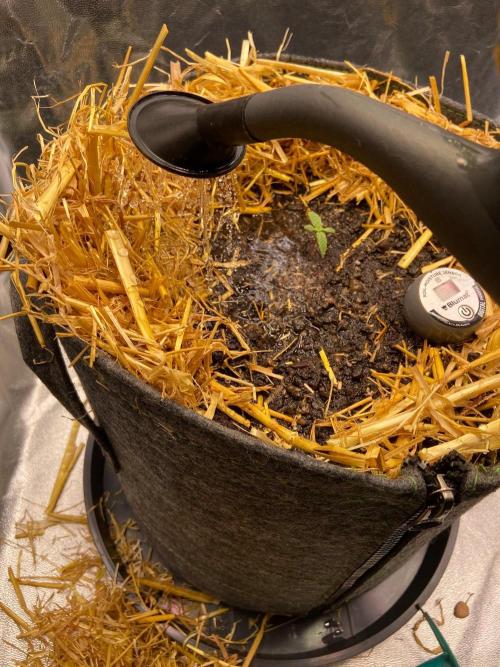
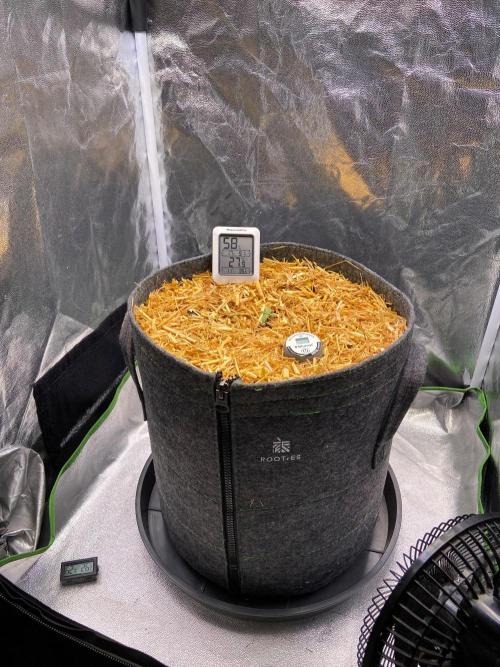
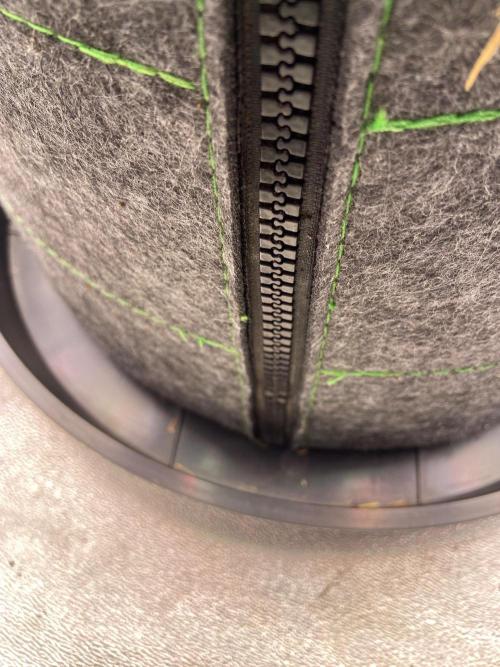
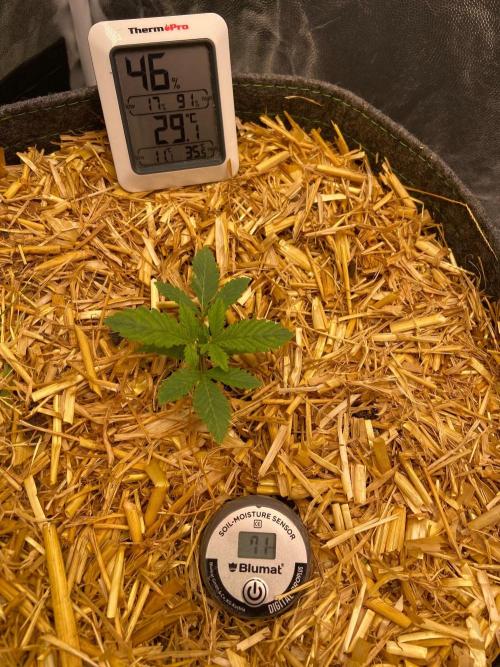
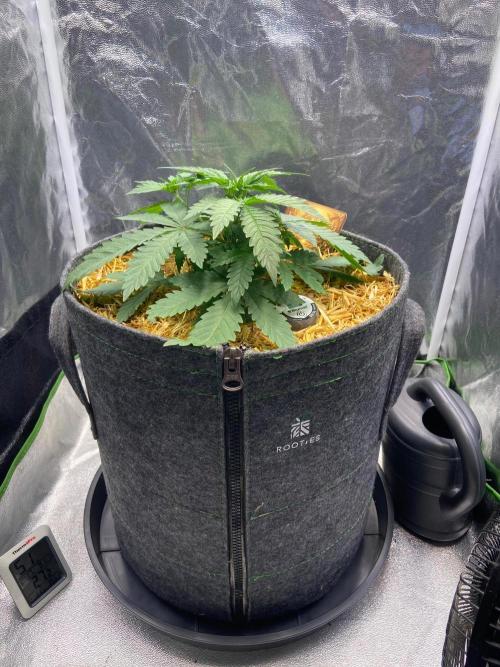
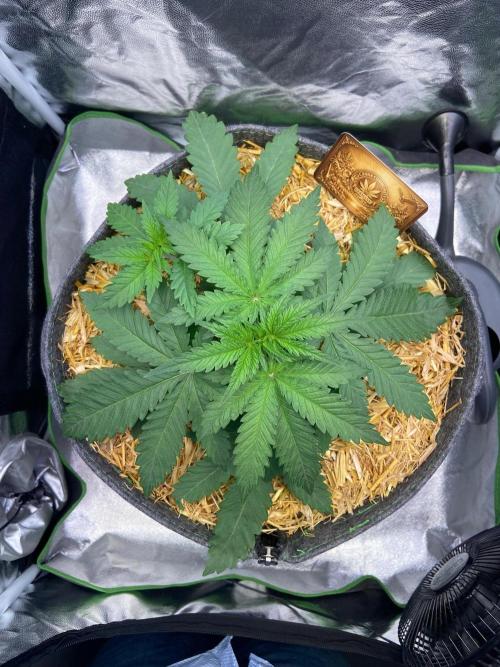
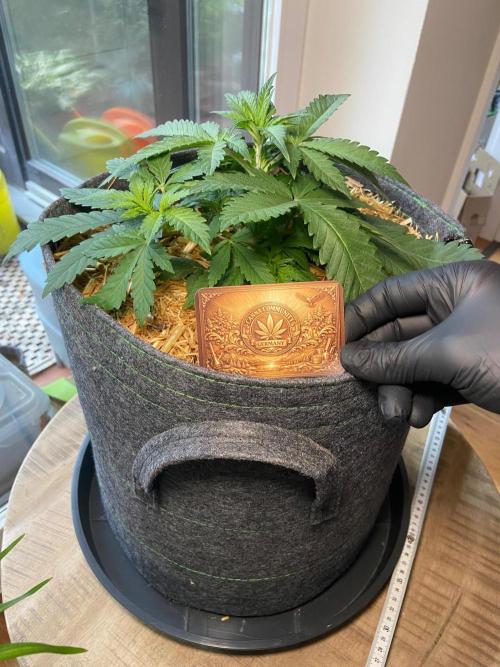
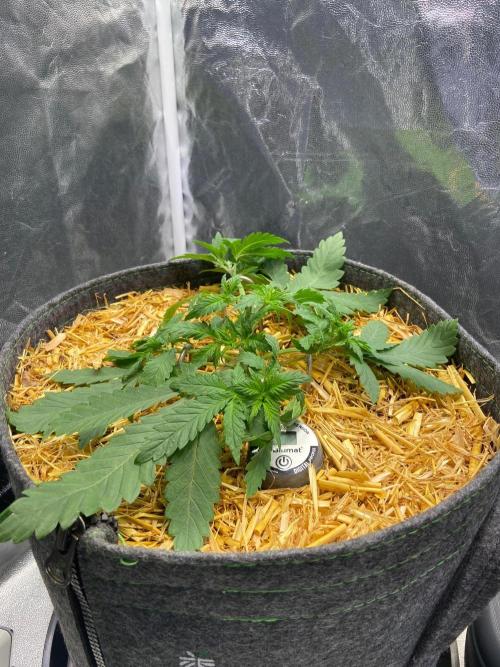
During week 1, while waiting for germination, I prepared my 30-liter fabric pot with living soil. For the mulch layer, I’m using untreated small animal straw. To start, the Sonnenerde living soil is pre-watered with 15% of the total pot volume. I made sure to get zero runoff, as drainage would mean overwatering — which washes out valuable microorganisms and nutrients, and we definitely don't want that.
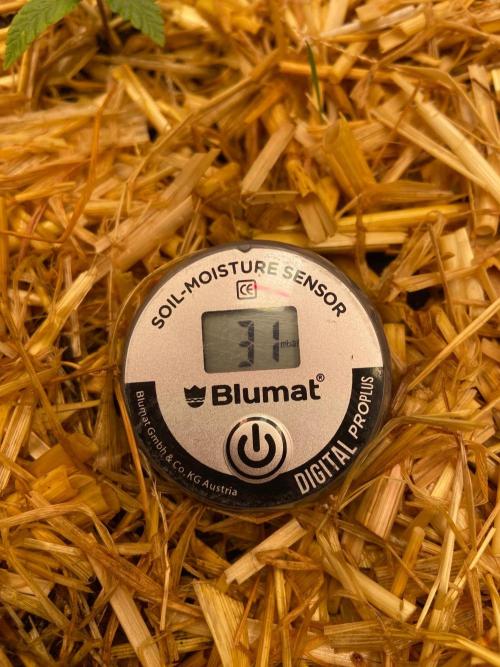
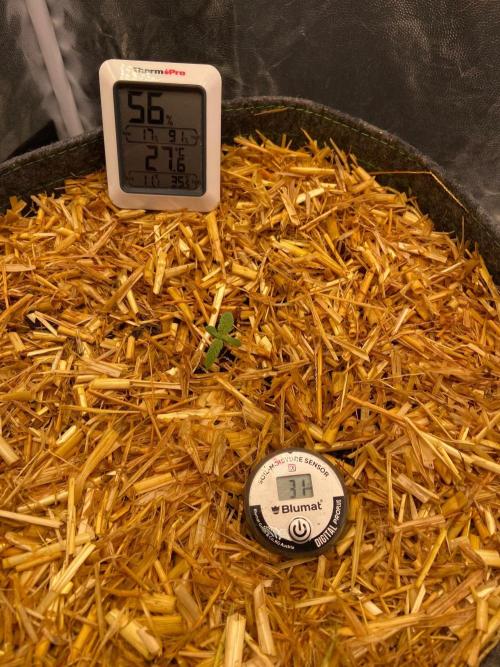
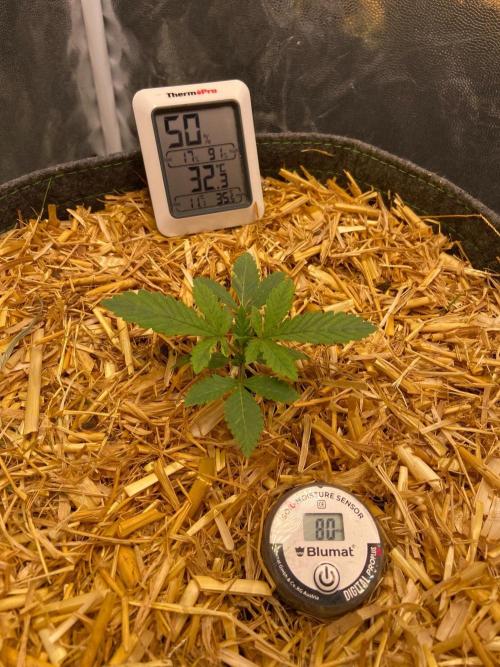
For optimal soil moisture control, I’m using a Blumat digital moisture meter. The sweet spot is between 80 and 130. I’ll explain what this value means later in this run.
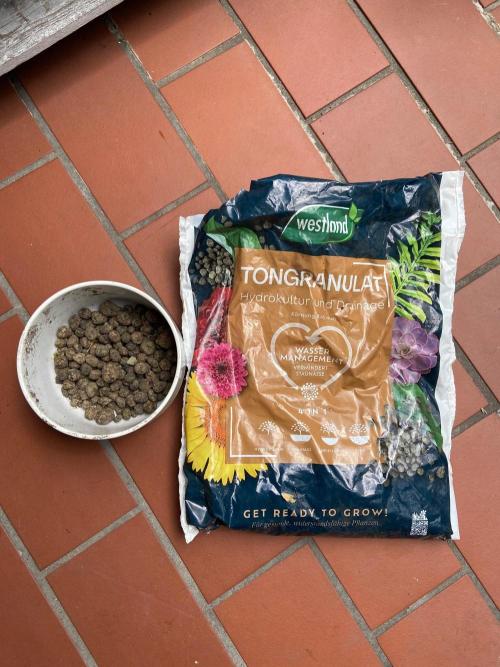
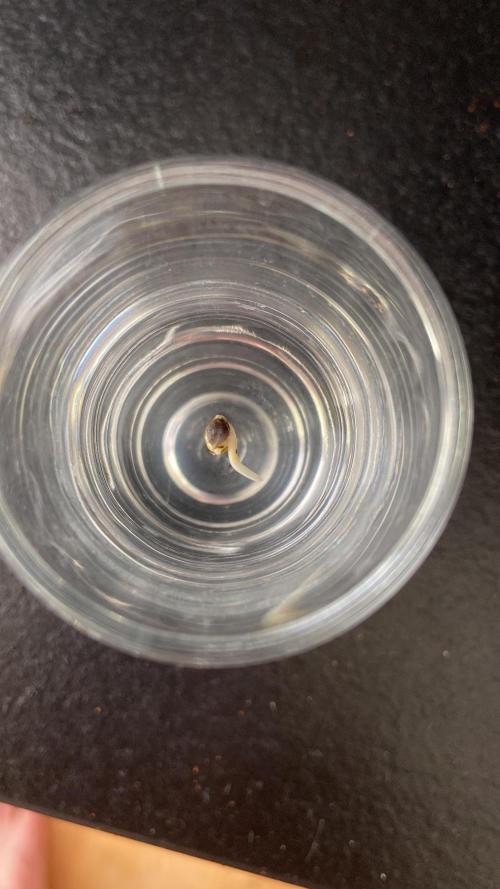
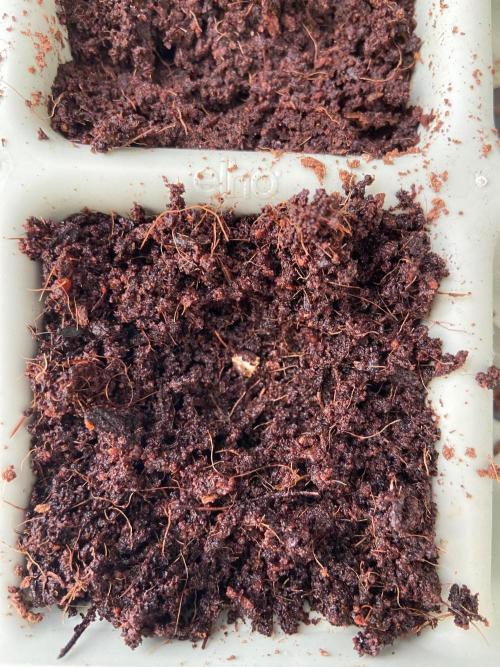
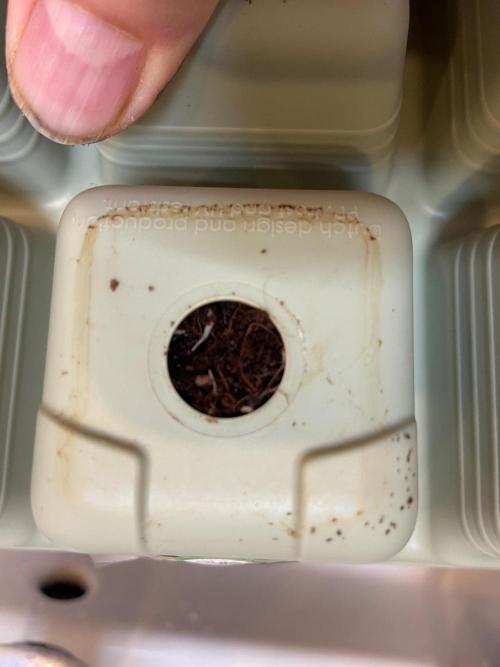
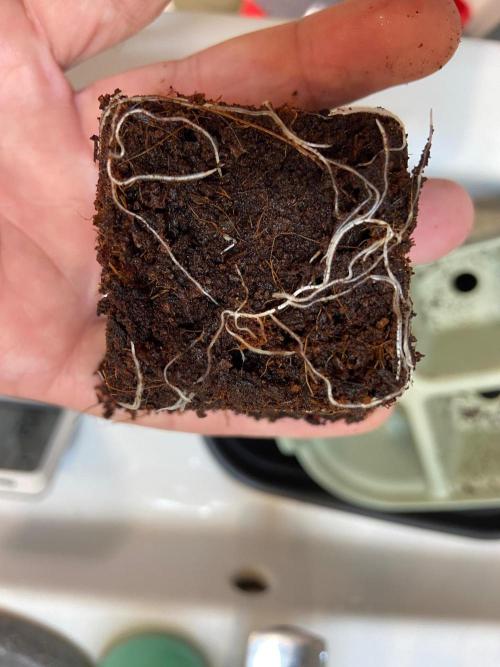
Meanwhile, I’m germinating a Mandarin Punch FEM seed in a glass of water, placed in a dark, warm kitchen cabinet. After three days, the seed cracked open and went straight into a small humidity crib using unamended coco coir pellets. The plan is to let it establish a solid root system over the next week before transplanting it directly into its final pot.
Check out the video to see how I prepare the pot!
6 likes
comments
Share
Used method
Glass Of Water
Germination Method
1
Week 1. Vegetation
2mo ago
1/4
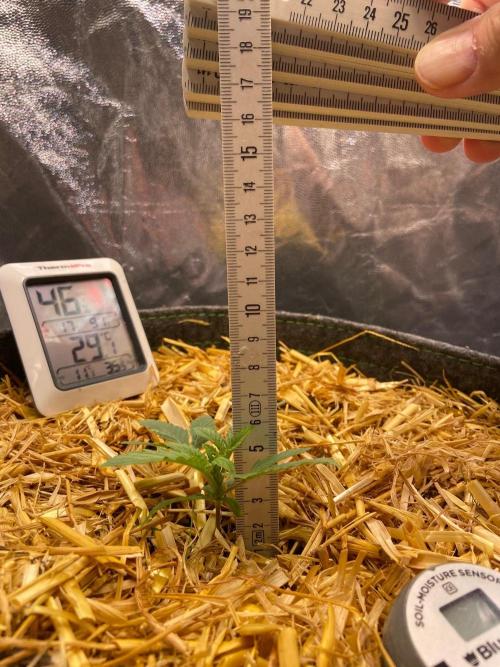
1 cm
Height
18 hrs
Light Schedule
30 °C
Day Air Temp
No Smell
Smell
200 PPM
TDS
85 %
Air Humidity
30 liters
Pot Size
0.1 liters
Watering Volume
40 cm
Lamp Distance
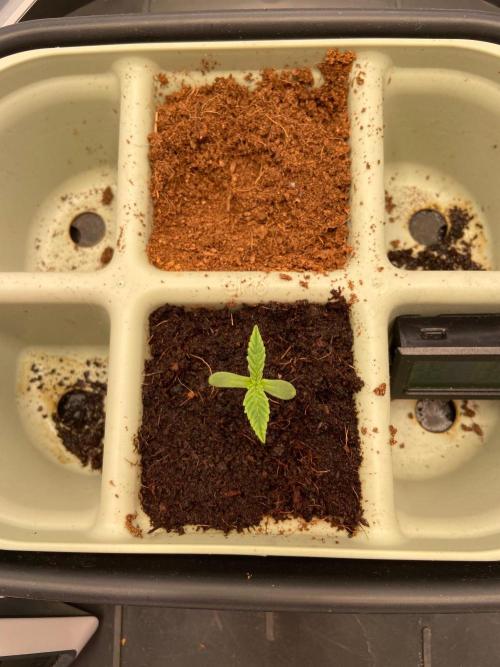
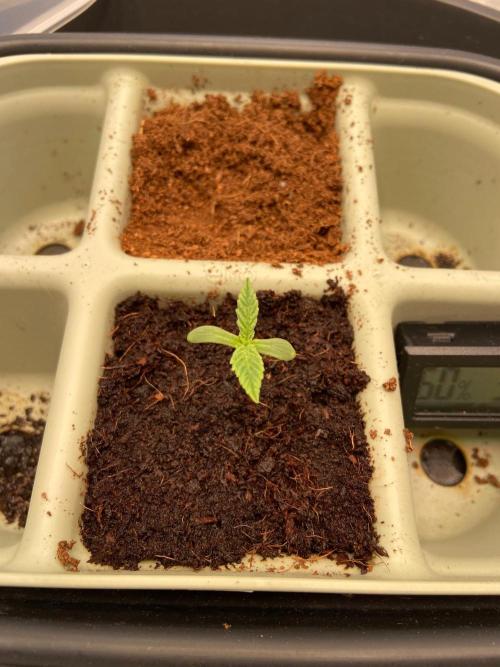
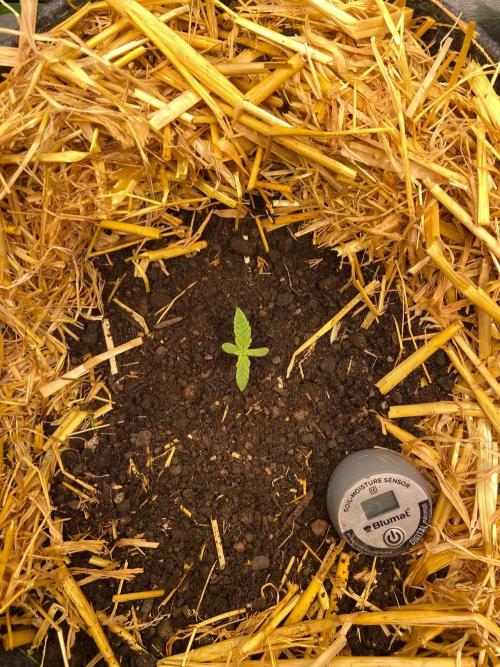
MrMaabra September 7, 2026 — The day has finally come! The little Mandarin Punch has broken through the soil. I’m absolutely stoked!
For week 1, the propagation dome is moving straight into the tent. Hanging my SANlight EVO 1.5 (which draws around 200W at full power) at a 40 cm distance and dimmed down to 10% delivers roughly 200 µmol/m²/s of PPFD right at the canopy level. I’ll start cranking up the intensity from week 2 onwards.
Feeding isn’t necessary at all during the first week. The only focus right now is keeping the substrate moist and dialed in, while maintaining high humidity levels.
9 likes
3 comments
Share
2
Week 2. Vegetation
2mo ago
1/12
3.5 cm
Height
18 hrs
Light Schedule
28 °C
Day Air Temp
No Smell
Smell
60 %
Air Humidity
30 liters
Pot Size
0.5 liters
Watering Volume
40 cm
Lamp Distance
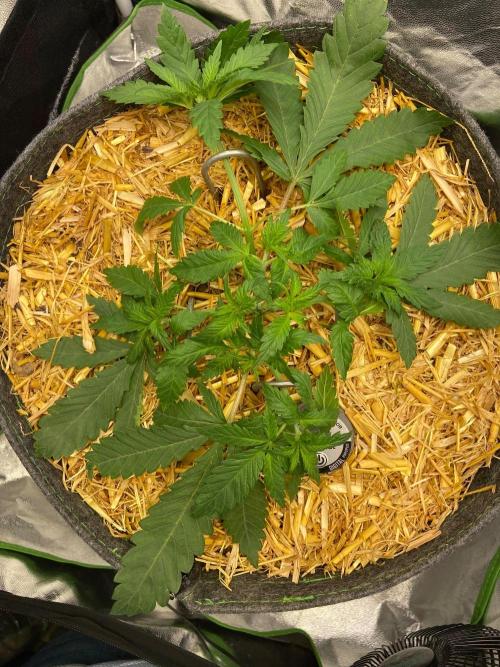
MrMaabra September 14, 2026 — Moving day into the living soil! The roots have nicely punched through the coco pellet, so it’s time for the final transplant. Why no intermediate potting stages? Honestly, because I’m lazy 😁. Besides, if it works for autoflowers, it’ll definitely work for photoperiods too!
I dug a small hole right in the center of the pot, carefully flipped the little Mandarin Punch upside down to slide it out of its starter cell, and gently buried it before giving it a light watering. Throughout this entire grow, I will only be using tap water that has off-gassed for at least 24 hours. Zero bottled nutrients — just the living soil. Thanks to the massive pot volume, there should be plenty of buffer for the microorganisms to feed the plant for the entire run — that’s the whole philosophy behind living soil. No additives, just pure natural growth. Along the way, I’ll occasionally top things off with some homemade worm tea.
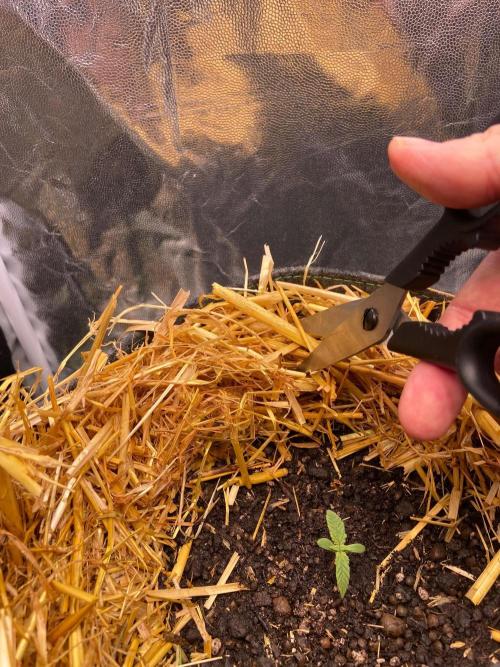
Lastly, I chopped up the straw, nicely covered the top layer, and … Let it grow!
Oh, and I bumped my SANlight up to 15% power at a 40 cm distance. This brings the PPFD to around 300 µmol/m²/s, keeping it right in the sweet spot for week 2. The little lady is doing great and pushing right ahead.
9 likes
comments
Share
3
Week 3. Vegetation
2mo ago
1/5
5 cm
Height
18 hrs
Light Schedule
29 °C
Day Air Temp
No Smell
Smell
55 %
Air Humidity
30 liters
Pot Size
0.5 liters
Watering Volume
40 cm
Lamp Distance
MrMaabra Since September 21st, we’ve been in week 3. The week was pretty uneventful. Growth is steady, and the little lady is developing right on schedule. Watered with settled tap water, no nutrients added.
15 likes
3 comments
Share
4
Week 4. Vegetation
1mo ago
1/9
9 cm
Height
18 hrs
Light Schedule
29 °C
Day Air Temp
No Smell
Smell
26 °C
Night Air Temp
30 liters
Pot Size
0.5 liters
Watering Volume
40 cm
Lamp Distance
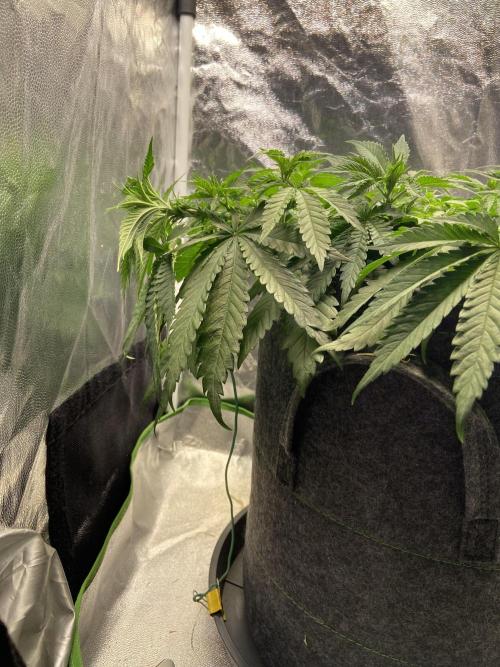
MrMaabra Since September 28th, we’ve been in week 4. As you can see in the first photo, a light, dry spot formed on one of the leaves (bottom left). I couldn't find the cause at first until I checked the light settings—that’s where the mistake was! The lamp was set to 40% (at 200W output), which was too much. So I dialed it down to 30%, and the dry spot stopped spreading. Problem fixed. I’m now watering once a week with 2 liters of stale tap water.
7 likes
1 comment
Share
5
Week 5. Vegetation
1mo ago
1/12
6 cm
Height
18 hrs
Light Schedule
27 °C
Day Air Temp
No Smell
Smell
65 %
Air Humidity
25 °C
Night Air Temp
30 liters
Pot Size
0.5 liters
Watering Volume
40 cm
Lamp Distance
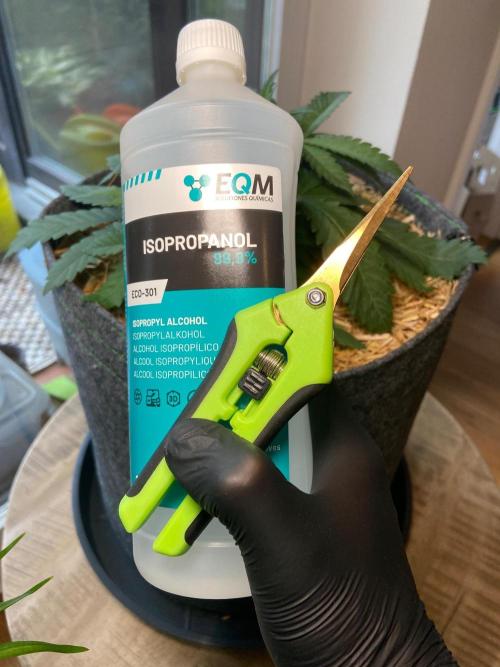
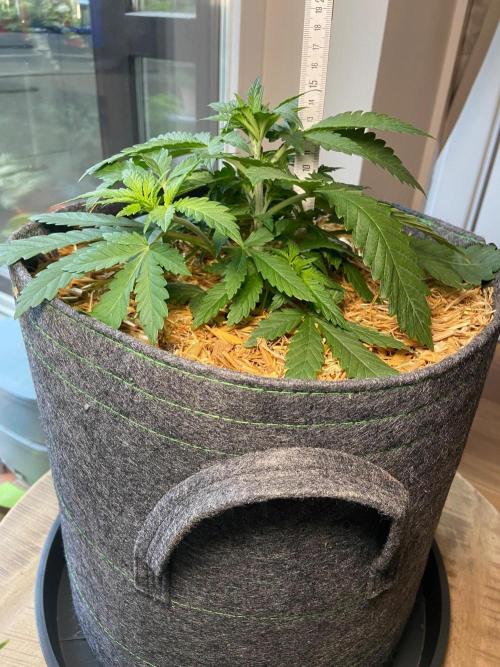
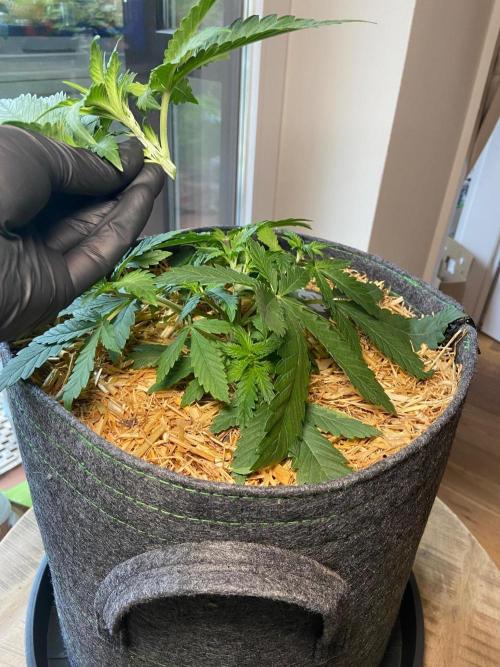
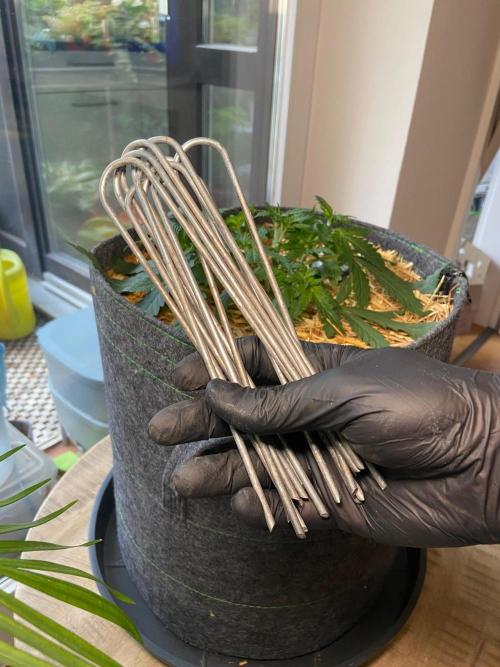
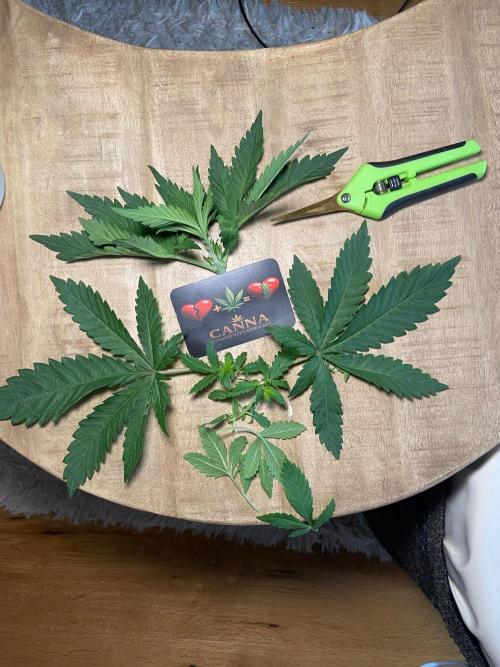
MrMaabra Since October 5th, we’ve been in week 5. And something big was on the agenda—topping. Why am I topping? Because my tent height is limited and I want 8 even mains. The plant is strong enough to be topped now. I’m making the cut above the 4th node. Of course, a clean cut with freshly sanitized scissors. After that, I’ll continue with LST to shape the branches and keep them at the same height. Now, she gets to recover for a few days.
12 likes
9 comments
Share
Used techniques
LST
Technique
Topping
Technique
Defoliation
Technique
6
Week 6. Vegetation
13d ago
1/12
11 cm
Height
18 hrs
Light Schedule
27 °C
Day Air Temp
No Smell
Smell
65 %
Air Humidity
25 °C
Night Air Temp
30 liters
Pot Size
0.5 liters
Watering Volume
40 cm
Lamp Distance
MrMaabra German:
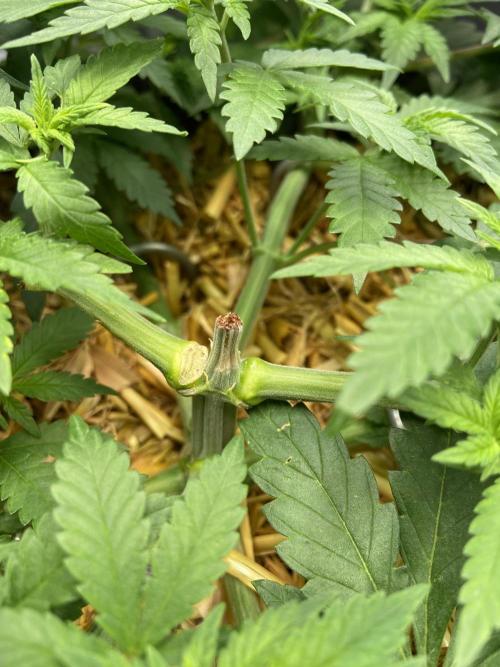
In dieser Woche ging es weiter mit dem LST, um die Triebe auf eine gleichmäßige Höhe zu bekommen. Wie man sieht, habe ich es bei einem Haupttrieb etwas übertrieben und nicht auf den Druck aufgepasst, mit dem Ergebnis, dass ein Trieb eingerissen ist. Ich habe das erst einen Tag später gesehen, daher waren die Ränder bereits braun.
Wichtigste Maßnahme: Haken entfernen, um weiteren Druck rauszunehmen und der Pflanze die Möglichkeit zu schaffen, den Riss selbst zu heilen. Ob das noch gereicht hat, werden die nächsten Tage zeigen. Im Idealfall bleibt der Trieb mit verstärkter Nodie erhalten.
Ansonsten wird mittlerweile 2x pro Woche mit rund 2 Litern gegossen, ohne, dass ein Drain entsteht. Wenn der Bodenfeuchtigkeitsmesser über 130 anzeigt, wird gegossen.
__________
English:
This week, I continued with LST to get the shoots to an even height. As you can see, I went a bit overboard with one of the main shoots and didn't pay enough attention to the pressure, which resulted in a torn shoot. I only noticed it a day later, so the edges had already turned brown.
The most important step was to remove the hooks to release further tension and give the plant a chance to heal the tear on its own. The next few days will show if it was in time. In the ideal scenario, the shoot will survive with a reinforced node.
Other than that, watering is now done twice a week with around 2 liters, without creating any runoff (drain). I water whenever the soil moisture meter reads above 130.
7 likes
comments
Share
Used techniques
LST
Technique
Topping
Technique
Defoliation
Technique
7
Week 7. Vegetation
13d ago
1/11
13 cm
Height
18 hrs
Light Schedule
27 °C
Day Air Temp
No Smell
Smell
65 %
Air Humidity
25 °C
Night Air Temp
30 liters
Pot Size
0.5 liters
Watering Volume
40 cm
Lamp Distance
MrMaabra German:
In dieser Woche habe ich zum ersten Mal ein wenig entlaubt, um eine bessere Luftzirkulation in der Pflanze zu ermöglichen. Ansonsten stand weiterhin LST im Vordergrund, um die Struktur weiter für die Blüte zu formen und vorzubereiten.
Besonders hat mich gefreut, dass der Riss verheilt ist und sichtlich verstärkt wurde. Damit bleibt dieser Trieb erhalten. Und wie ist meine Reaktion darauf? Klar, wieder Druck drauf mit einem Haken! 😁
Wenn alles gut läuft, stelle ich zu Beginn der nächsten Woche auf Blüte um.
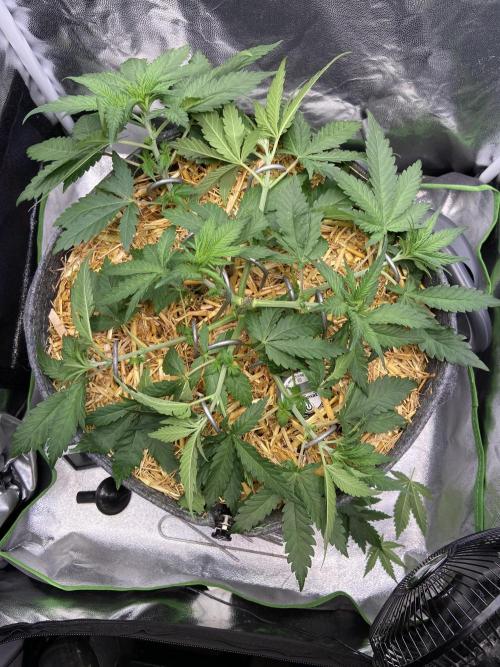
Da die Triebe seit dieser Woche über die Ränder hinausragen, kommen die ersten Clips und gummierter Gartendraht zum Einsatz, um die Triebe weiter nach unten zu binden und alle auf gleicher Höhe zu halten. Und hey, seht Euch diese einheitliche Höhe an - das ist mir wirklich gut gelungen! 😎 (Ja, ja, ich weiß - Eigenlob stinkt.)
__________
English:
This week, I did a little defoliation for the first time to improve airflow through the plant. Other than that, the main focus was still on LST to keep shaping the structure and getting it ready for flowering.
I was especially happy to see that the tear has healed and visually reinforced itself. This means the shoot is saved! And my reaction? Of course, putting pressure right back on it with a hook! 😁
If everything goes well, I will flip her to flower at the beginning of next week.
Since the shoots have started growing past the edges of the pot this week, I'm using LST clips and rubber-coated garden wire for the first time to tie them down further and keep them all at the same height. And hey, look at that even canopy – I really nailed it! 😎 (Yeah, yeah, I know – self-praise stinks.)
8 likes
comments
Share
Used techniques
LST
Technique
Defoliation
Technique
8
Week 8. Flowering
13d ago
1/14
15 cm
Height
12 hrs
Light Schedule
25 °C
Day Air Temp
No Smell
Smell
57 %
Air Humidity
21 °C
Night Air Temp
30 liters
Pot Size
1 liters
Watering Volume
40 cm
Lamp Distance
MrMaabra German:
Wie angekündigt, habe ich auf Blüte umgestellt - 12/12 to bloom. Die kleine Lady ist mittlerweile ein kleines Monster geworden und füllt das Zelt in der Horizontalen komplett aus. Und sie produziert Blattmasse und wächst sehr buschig. Das ist typisch für den hohen Indica-Anteil. Daher dieses Mal mehr entlaubt und weiteres LST angewandt.
Auch außerhalb des Zelts hat sie ein saftiges, tiefes Grün. Ich bin mit dem bisherigen Verlauf des Grows sehr zufrieden. Wenn man bedenkt, dass ich keinen zusätzlichen Dünger verwende und nur mit abgestandenem Leitungswasser gieße, ist das bisher ein perfektes Ergebnis.
Die Biohanferde von Sonnenerde liefert richtig ab und insgesamt für mich ein entspannter Run.
__________
English:
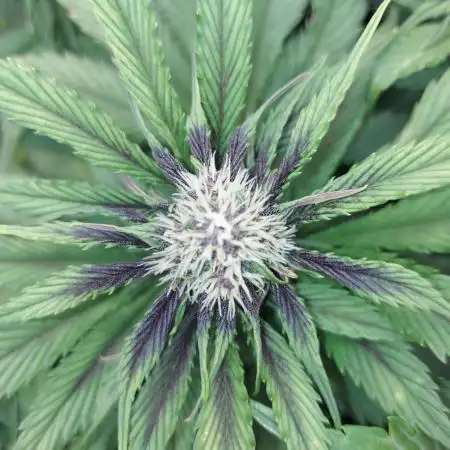
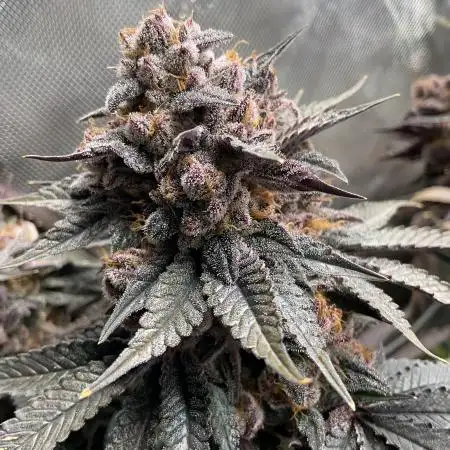
As announced, I have flipped her to flower – 12/12 to bloom. The little lady has turned into a bit of a monster and completely fills the tent horizontally. She is packing on fan leaves and growing very bushy, which is typical for such a high Indica percentage. Because of this, I did some heavier defoliation this time and applied more LST.
Even outside the tent, she shows a lush, deep green color. I am extremely happy with how the grow has been going so far. Considering I don't use any additional nutrients and only water with dechlorinated/stale tap water, the result has been perfect.
The organic hemp soil from Sonnenerde is really delivering, making this a super relaxed run for me.
@MrMaabra, Does the outer pot layer also gets too dry with your Rooties pots? Using the same for the tomatoes plants in the summer and applied some wrapping film in the middle to keep them evenly moist
@Hawii_ReLoaded My fabric pots have a rubber layer in the middle to prevent drying out. There was also a pot variant without this layer. So luckily, I don't have that problem.
@MrMaabra, ahh okay. Seems like you have the living soil pot style. Better choice 😉 I’ve chosen their 60 liter pots for the last two seasons, but will probably do a bed for the tomatoes next year