


Clementine Slush #4











Perlite
Harvest Hero

Indoor
Room Type
Transplantation
weeks 2
4 liters
Pot Size
Start at 2 Week
G
Germination18d ago
Aeromatics How I will run this diary:
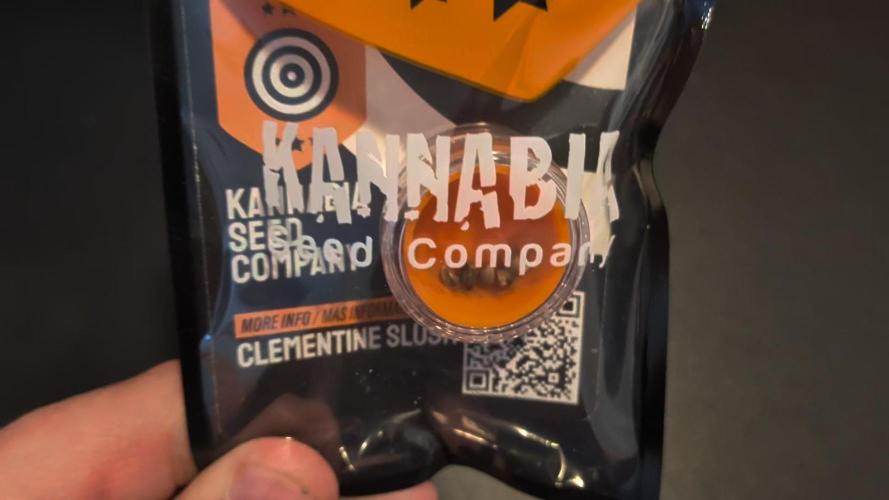
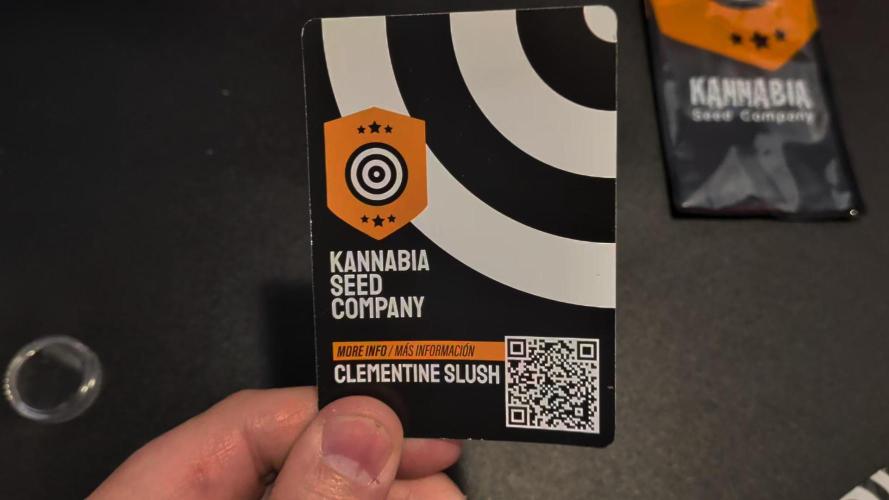
I selected Clementine Slush from Kannabia for this run, a 50/50 hybrid cross between California Orange, Tangie, and Lemon Skunk. A huge thanks to Kannabia for sending me the seeds for this grow!
For this grow journaling process, I will run 5 separate diaries, eventually boiling it down to 4 diaries when I do the final transplant to 5-gallon Autopots. Why 4? Well I only have 4 autopots so I will have to pick the 4 strongest plants to grow.
I like running a diary for each individual strain as well, especially for contests and to feature characteristics of each individual plant, as phenotypes may vary.
The diary comments will be labeled as in two separate parts: Individual Updates (Clementine Slush #1, #2, ect; and then Tent-Wide Updates:)
I’m really looking forward to sharing this run with you all, thanks for tagging along!!
Goals for the Grow:
Keep it simple! Let the amazing genetics shine!
Last 4 x 4 run was very complicated… 4 different autoflowers meant trying to juggle different feeding needs, lighting phases, and harvest times all in one tent. That led to stacked stressors that produced some great results for 2 plants, and less-than-ideal results for others, including a pollination event that was pretty demoralizing.
For this run, we are focusing on keeping the tent, reservoir, and most importantly, the genetics strong and simple!
Key Changes and Learning Moments from Last Grow:
My last run saw swinging PH issues, both in the coco as well as within my reservoir. I have made a few key changes to address this.
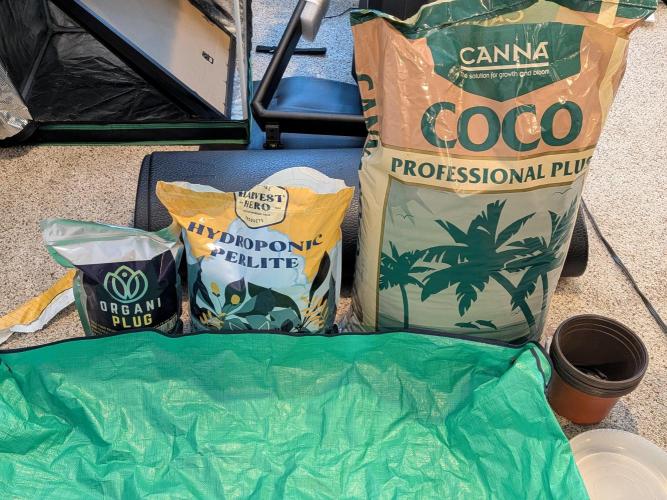
First, I upgraded my Coco Coir to Canna Coco Professional Plus. I saw an immediate difference in the quality when I opened up the bag and started working with it. It was fluffy, a bit larger in consistency, and I think it will really help maintain a consistent PH throughout the grow with my nutrients and reservoir exchanges.
Second, I am going to keep my reservoirs very clean, with ONLY Ventana Plant Science. Last run, I added Mammoth P and Stash Trio directly into the reservoirs a few times throughout the grow. That produced a reservoir environment that swung my PH inputs too far, and the plants suffered because of it. For this run, I am going to keep it simple and consistent. My reservoirs will be removed as a stressor, clean and lovely,
Third, in order to properly use Mammoth P and Stash Trio, I am going to plan on a regimented series of top water root drenches/teas. These teas/drenches will be applied throughout the grow (Stash Base for Veg, Stash Blend at various point, Stash Bloom during early flower), at certain times, and to runoff, to free up my coco and produce a solid rhizosphere for my plants to thrive.
With all of this dialed in, I hope to produce high quality flower that will allow the genetics to shine!
Since I am a single person grower, and I have plenty in my personal stash, I am NOT growing for yield on this run. Instead, I am focused purely on QUALITY over quantity. With 4 photoperiod plants in 5 gallon autopots, I am looking for around 3 oz per plants and an endgame of 12 oz total for this run… if I can push to 4 oz per plant, perfect! 1 LB is more than enough haha!
Grow Preparation:
I cleaned up the room with a solid wipe down with 50/50 alcohol/water and reset everything, including my light with my Grower’s Choice ROI FV 350. This light is made specifically for the vegetation cycle and will be switched out with the FOI FF 650 when I switch to flower.
For my coco, I was very pleased to have a much easier preparation process than my previous runs. Canna Professional Plus comes pre-washed and buffered, so I didn’t need to do a big rinse and buffer process for this round, which was very nice.
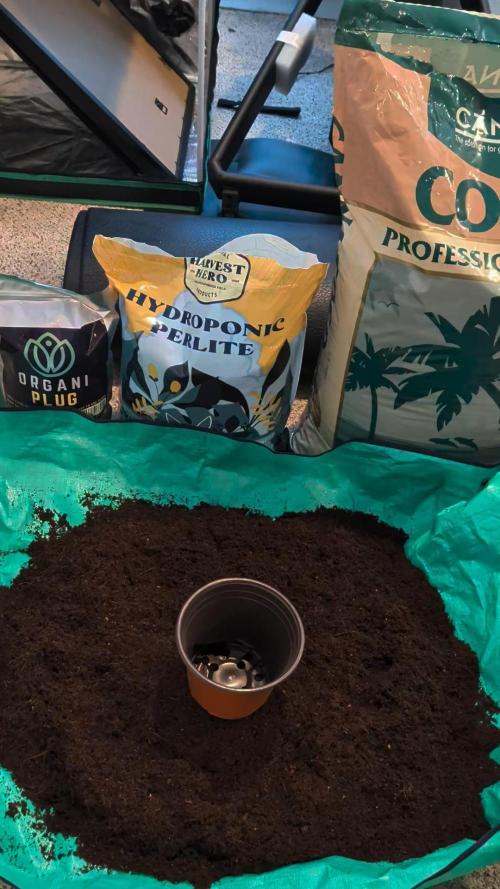
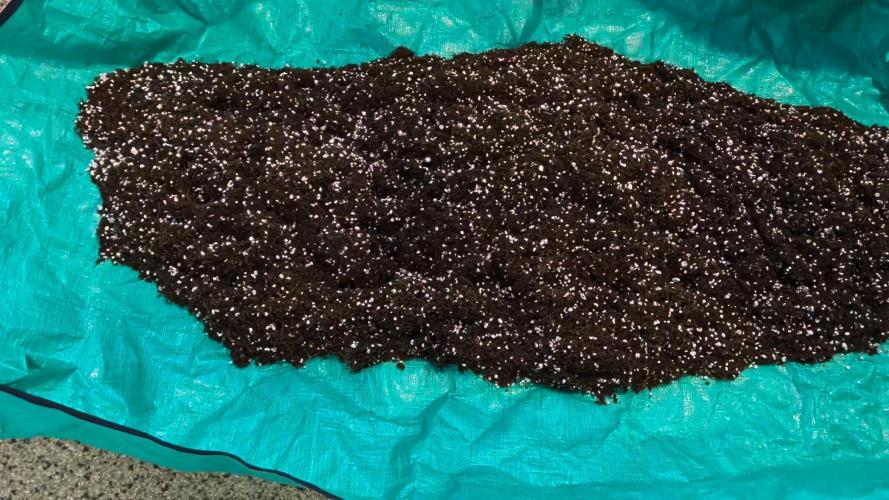
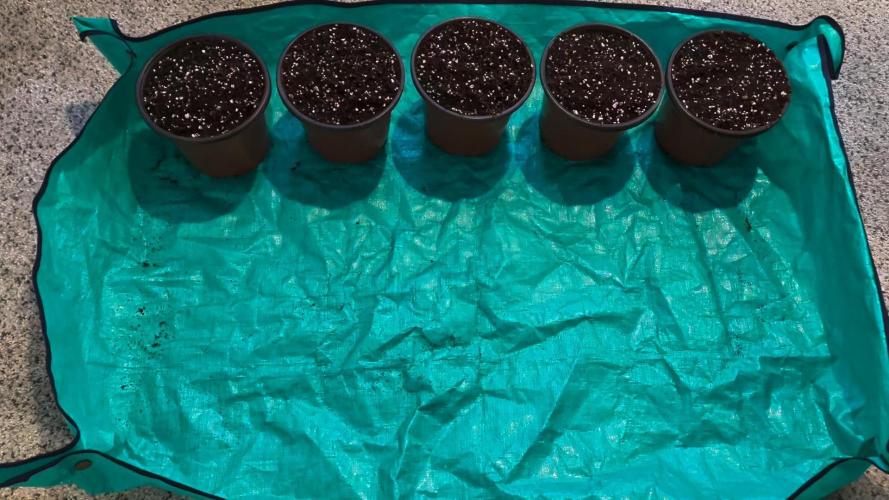
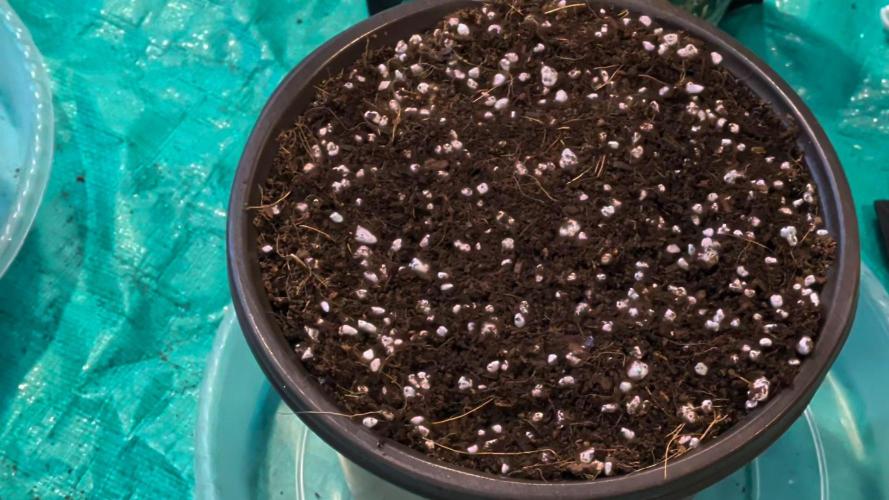
I mixed a ratio of 80/20 Canna Professional Plus with Harvest Hero Perlite and tossed it all together so it was fully integrated into one beautiful medium. I will say, the Canna Coco was absolutely beautiful… huge upgrade!!
To prepare the mixed medium for potting, I added around 500 ml of RO water and Ventana Plant Science solution to moisten up the coco a bit, but not overload or soak it too much. I wanted the coco to hold it’s shape but not let water drip when squeezed.
When it felt ready, I potted up my half liter pots, and I got ready to plant my Clementine Slush Seeds in Organiplugs!
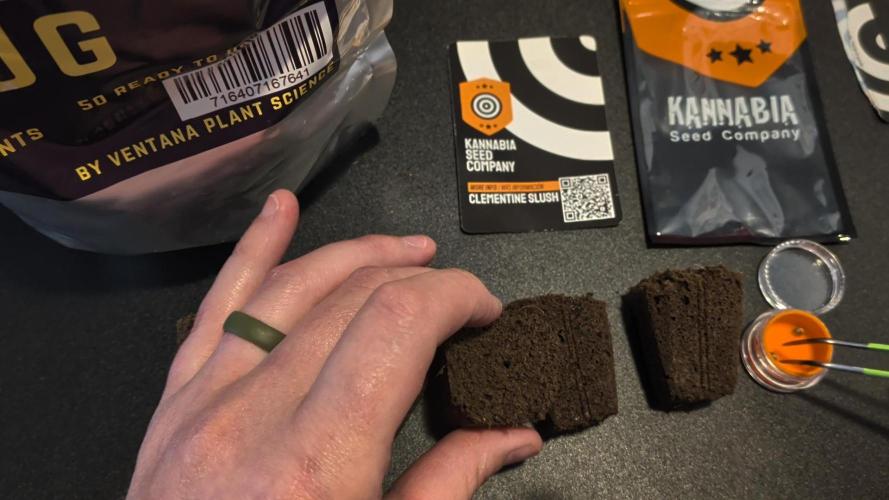
Planting and Placing Clementine Slush in Organiplugs
I love planting seeds in Organiplugs. It takes all the guesswork out of seed readiness, and gives my seeds the perfect environment for germinations.
Previously, I have placed the seeds into the Organiplugs, and then put them into a germination tray, tossed them into a ziplock bag, and put them into a dark, humid environment for a few days until either a taproot or the cotyledons emerge.
For this round, I wanted to try something new!
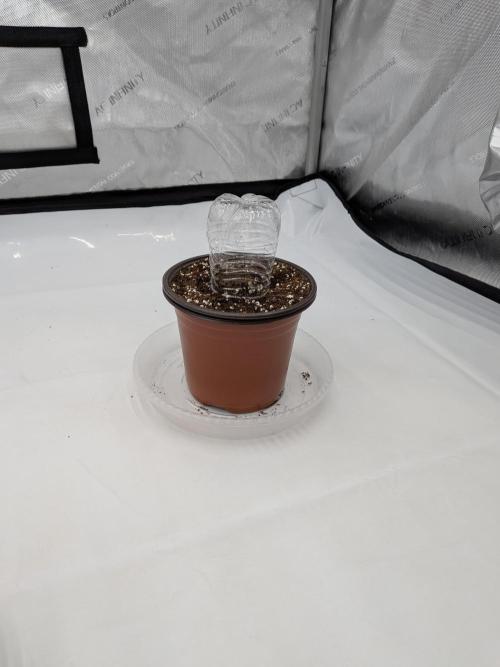
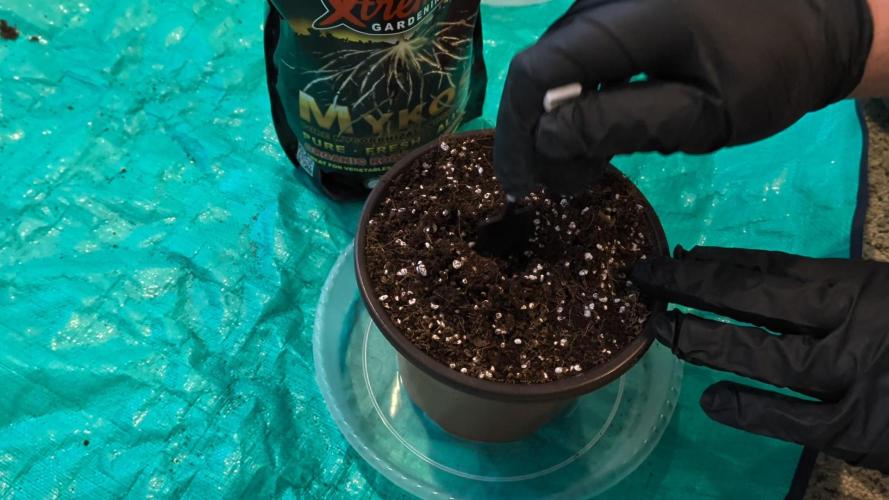
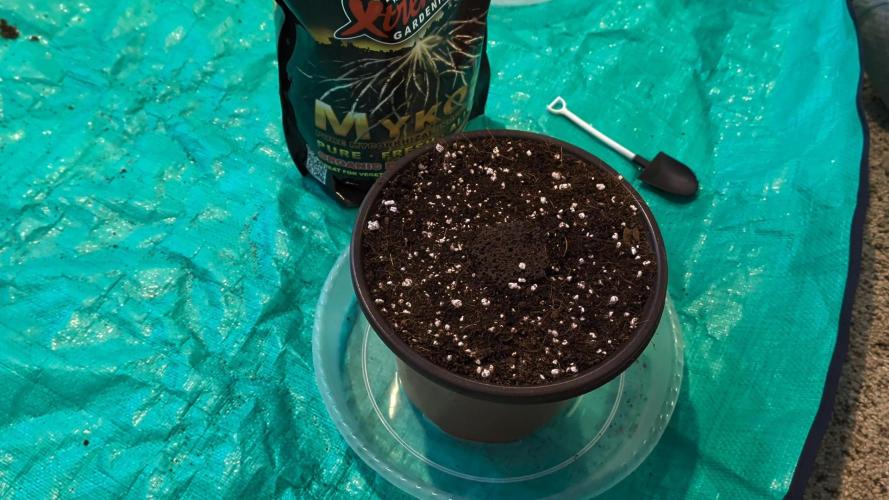
I planted the seeded Organiplugs directly into the prepared Coco and put them into the prepared tent with a half-bottle humidity dome, with the goal of limiting any exposure of the taproot to open oxygen/air. My idea behind this new method is to prevent any possible oxidation of the root, and allow the taproot to hit its growing environment as soon as it emerges from the Organiplug.
Plus, I get to sprinkle Xtreme Mykos in each planting hole before I put the Organiplugs into the coco, allowing for that extra root growth.
I thought this was a bit risky, only because I hadn’t done this method before. But I was excited to see if this new process would work. I know the concept is sound!
Let’s get them in the tent!
Once everything was planted and ready to go, I got the fully ready Clementine slush in my tent and ready to go!
11 likes
2 comments
Share
Used method
Rockwool Cube
Germination Method
1
Week 1. Vegetation13d ago
6.35 cm
Height
25 °C
Day Air Temp
5.6
pH
250 PPM
TDS
78 %
Air Humidity
1.89 liters
Pot Size
Nutrients 1

Support 4-0-0
0.793 mll
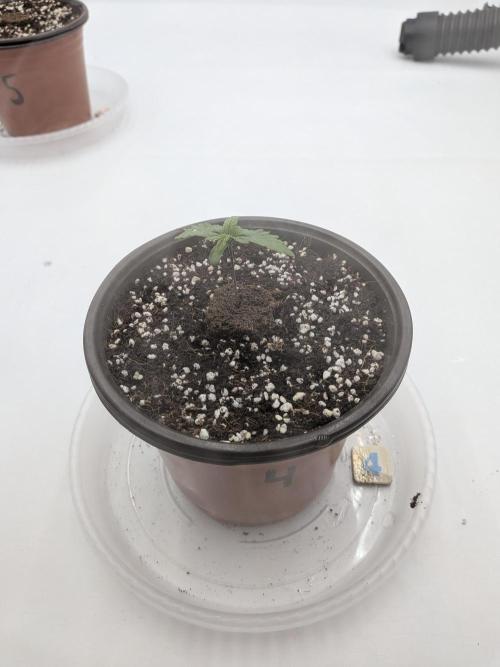
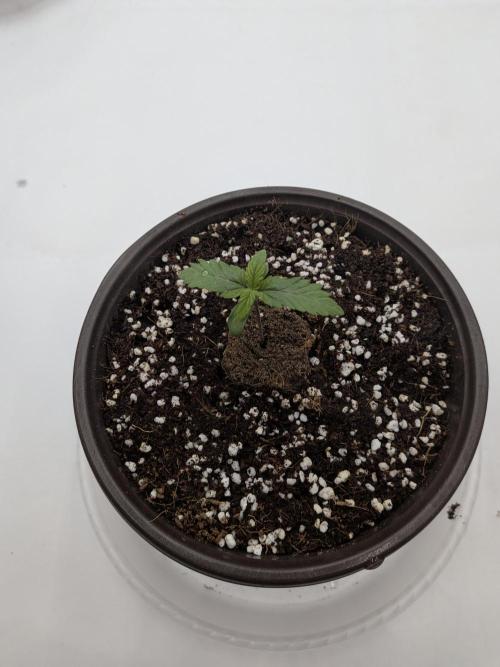
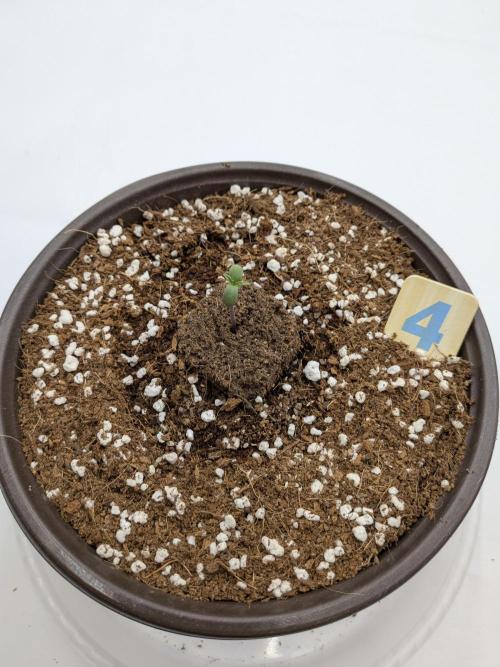
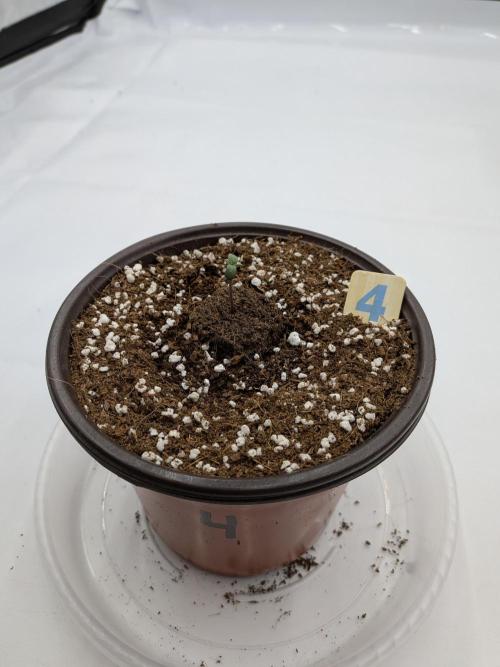
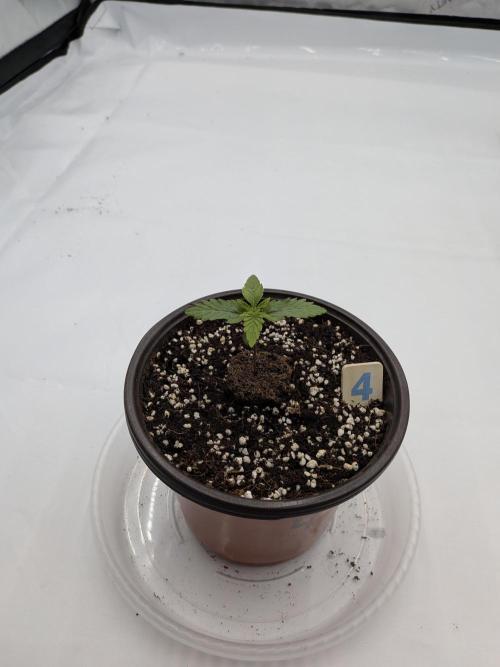
Aeromatics Clementine Slush #4: She is one of the stronger gals of the bunch, a definite keeper! Roots popping out, beautiful early structure. Super exciting that all is going well thus far!
Tent-Wide Update: I am happy and proud to say that all 5 Clementine Slush from Kannabia sprouted. 5/5 is not something I've had for the past few runs, so great work, Kannabia!
I watered on day 3 with 250 ml of RO water mixed with the following recipe:
1 Gallon RO Water
3 ml Ventana Plant Science Support
PH = 5.6
ec = .5
I see a few small roots already popping out of the half-gallon pot, which means our both our germination strategy with Organiplugs as well as the ability to sprinkle with Mykos (my favorite part about using Organiplugs) worked great!
Transplant will occur before day 14, I think, so expect to see a big move between Week 2 and 3 for these beautiful gals!
I am keeping my ppfd at 200 for the 24 hour cycle at this point, but I may increase that and drop the lighting period to 20/4 at some point, I have yet to decide if that is what I want to do. I'll be mulling that over throughout the week, but for now... a great start for Clementine Slush!
9 likes
comments
Share
2
Week 2. Vegetation6d ago
10.16 cm
Height
20 hrs
Light Schedule
25 °C
Day Air Temp
5.6
pH
300 PPM
TDS
78 %
Air Humidity
3.79 liters
Pot Size
50.8 cm
Lamp Distance
Nutrients 2
Support 4-0-0
1.057 mll

Grow 0-1.5-4
0.264 mll
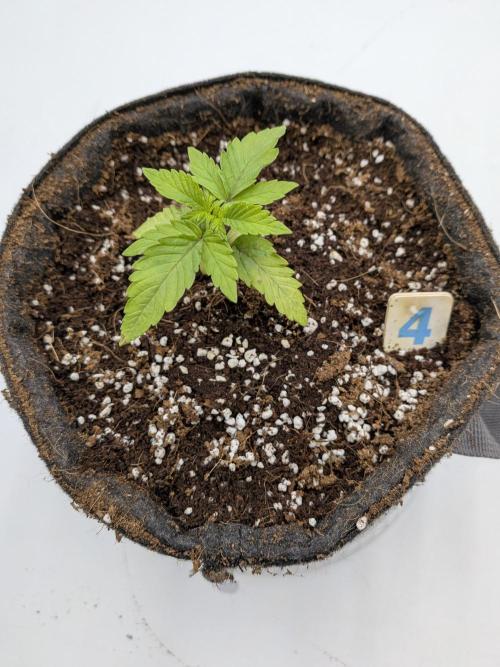
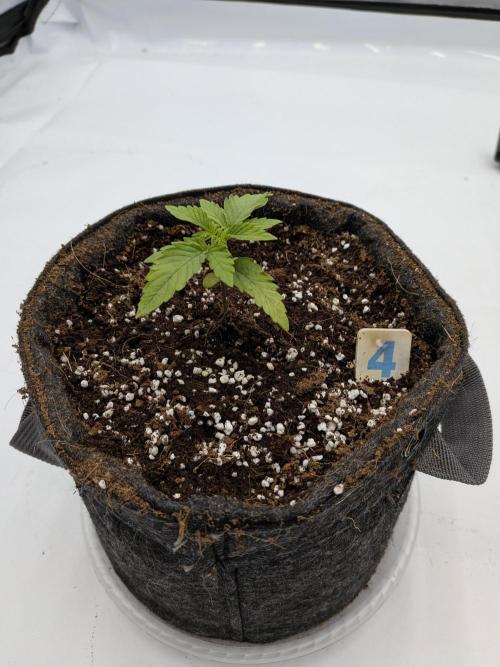
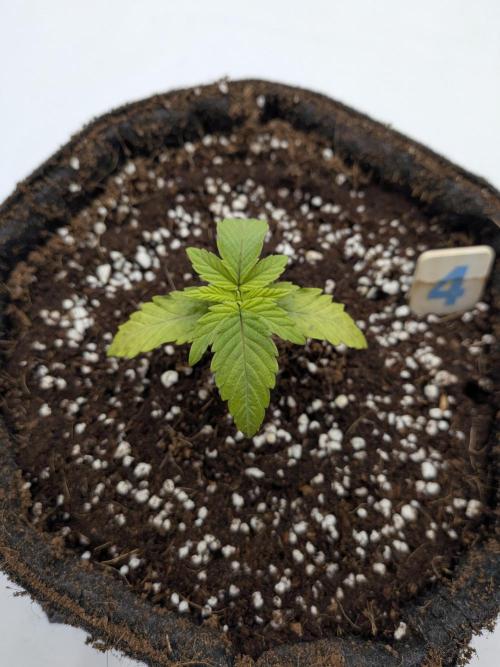
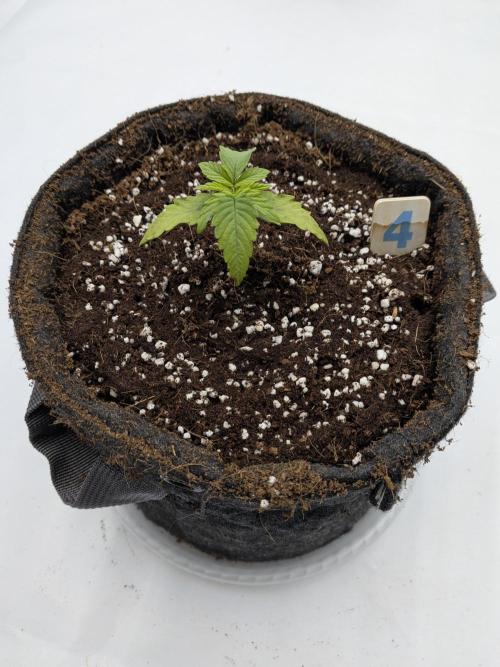
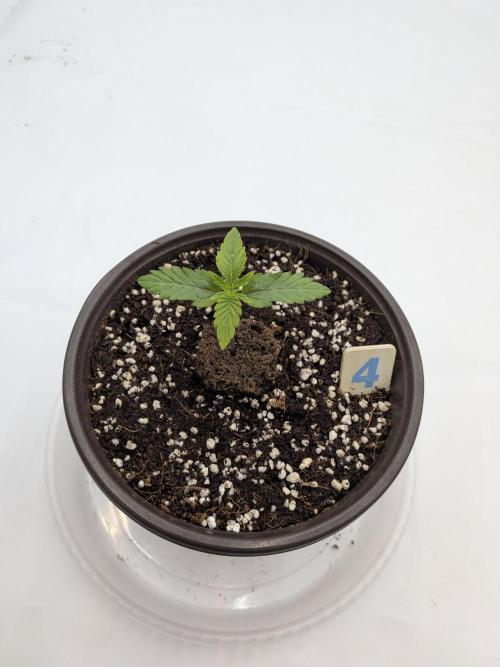
Aeromatics Clementine Slush #4: She was stressed, along with the learning curve with initial coco hydration. I planted some White Widow CBD Auto from ILGM today (diary coming soon), and I took some additional time with the coco hydration process. I can definitely tell I under-hydrated the initial coco for this round. Learning moment gained!
Coco is fully hydrated now and hopefully we are on a positive trajectory!
Full Tent Update: We had a big week for week 2 with a transplant from our .5 gallon to a 1 gallon home. However, we also had some issues that I have been attempting to diagnose throughout the week that I have never had with seedlings before.
Heading into day 10, I noticed a lack of development, a lighter green, and even some yellowing across the tent. It seemed like one of three things, all of which I have tried to adjust.
PPFD: I raised up my PPFD to around 300 when I noticed the plants were on a roll, but this may have been too hot for this seedling stage. I dropped it back down to 240/250, which is where it is now.
Coco Coir Preparation/Saturation: This is my first time using Canna Coco, and I read that it was pre-buffered. Given that, I did less preparation for my coco than I have done previously, and since I have made previous mistakes of over-saturation, I wanted to keep it simple and just lightly water the coco before potting. I think my main mistake was not saturating it enough at the potting stage, and using gloves that prevented me from getting a natural feel for the coco moisture. Additionally, I backed off my Ventana Plant Science Support buffering a bit (only 3 ml/gallon strength), but that may have been too weak for my plants. I think I need to push it a bit more, along with getting the coco more moist at potting.
Weak Water Recipe: Due to the lack of initial strong buffering, I did not compensate in my watering recipes. Since we moved to a gallon pot later in the week, I was able to compensate for this with larger, stronger waters. She wants Calmag!
Transplant: For transplanting, we kept it simple! I prepared a 70/30 batch of coco, moistened it a bit (but not enough... remember for next time!). I made a well in the coco for the .5 gallon pots, and sprinkled in the mykos before planting.
I then watered them in with around 500 ml of water with the following recipe:
1 Gallon RO Water
Ventana Plant Science Support 4 ml
Ventana Plant Science Grow 1 ml
ec: .60
PH: 5.7
The roots were beautiful when transplanted! It also makes me think the plants are focused on developing the root structure first before developing focusing on the above-ground growth... which is A-OK with me!
They are growing well now and I will get back of focusing on a simple, beautiful grow. We will be in 1-gallon pots for the nest 2 weeks before moving to their final 5 gallon homes.
If you have any tips on growing in the first 3 weeks in coco, I'd love to hear them!
They had some transplant shock and recovery from our week 2 issues, but I think we are back in action.
10 likes
comments
Share
Used techniques
Transplantation
Technique
Enjoying this diary? Follow for more updates!
Prefer the old Diary view?
Go back to the old Diary view