ndsgrow Located in Germany.
Hi Growmies,
Welcome to my first grow diary.
For this run, I decided to go with a classic strain rather than a modern hybrid.
4x Hindu Kush fem. from @SensiSeeds
Sensi Seeds offers Hindu Kush in feminized, autoflowering, and regular seed varieties.
Hindu Kush has been part of the @SensiSeeds gene pool since the 1980s. Over the years, the original genetics have been carefully selected and preserved through many generations, without adding genetics from other strains. This has helped create a very stable and consistent line, which @SensiSeeds officially released as Hindu Kush in 1991. 👌🏼
In this grow report, I will document everything in detail: EC levels, climate, training, growth, etc.
The plan is to have a 6-week vegetative period, which I’ll use to top the plants and train them with LST.
🌱 MY GROW SETUP
⛺ TENT
Mars Hydro 100 × 100 × 180 cm
💡 LIGHT
Mars Hydro FC 3000 EVO
🎛️ CONTROLLER
Mars Hydro iControl Controller
Temperature & RH
💨 EXHAUST
Mars Hydro iFresh 6" / 150 mm
Inline Duct Fan • 2025
🌀 AIRFLOW
2 × Mars Hydro M6 Clip Fan 6"
Auto-Oscillating
🌱 POTS
0.75 L → 5 L → 11 L
💧 WATERING
DrainMaster
Hand Watering
🌿 STYLE
Indoor • Controlled Environment
The grow will be updated MULTIPLE TIMES A WEEK and kept up to date. Questions, feedback, and suggestions are always welcome and encouraged.
Enjoy following my grow, and stay high, my friends! 🌱
21 likes
4 comments
Share
Used method
Paper Towel
Germination Method
1
Week 1. Vegetation
24d ago
1/4
6 cm
Height
24 hrs
Light Schedule
24 °C
Day Air Temp
6.0
pH
No Smell
Smell
65 %
Air Humidity
20 °C
Solution Temp
20 °C
Night Air Temp
0.75 liters
Pot Size
60 cm
Lamp Distance
Nutrients 1
Power Roots
1 mll
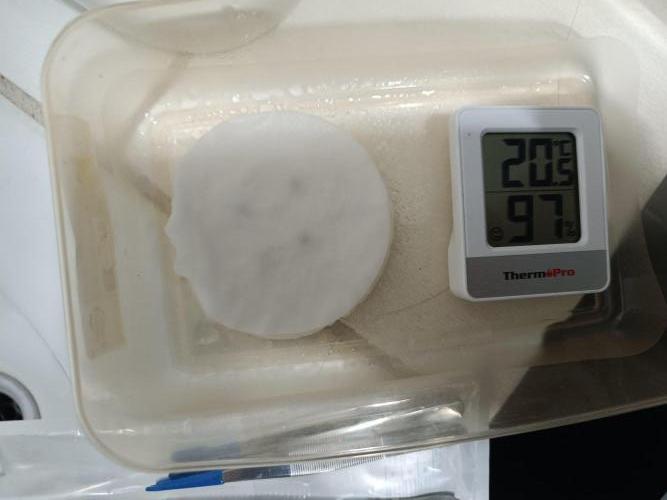
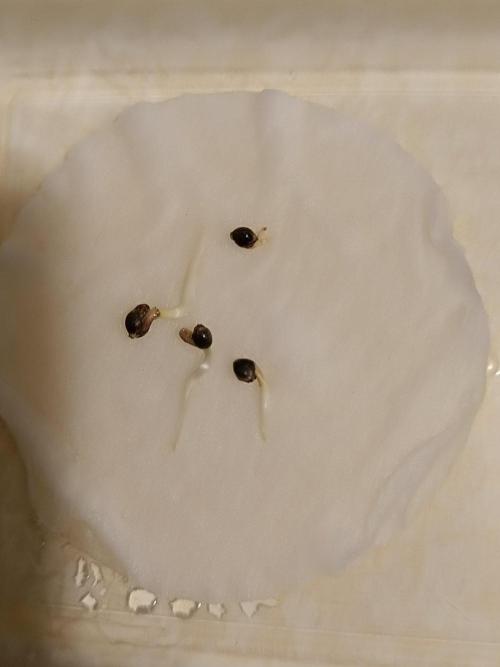
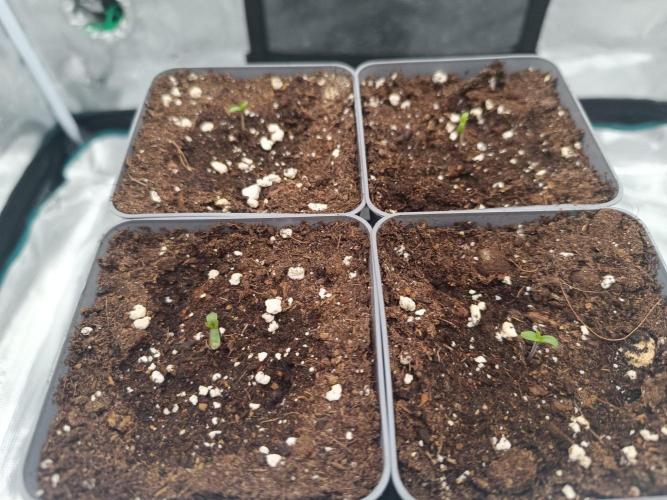
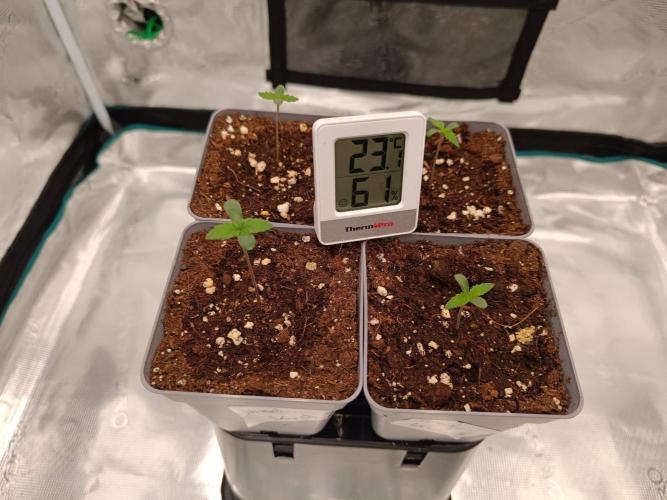
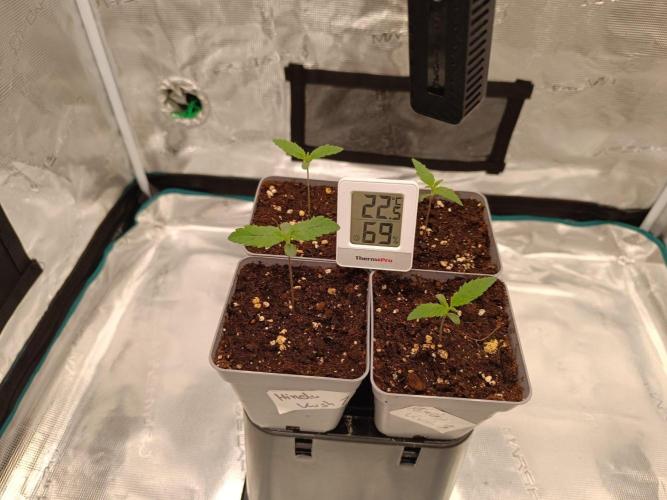
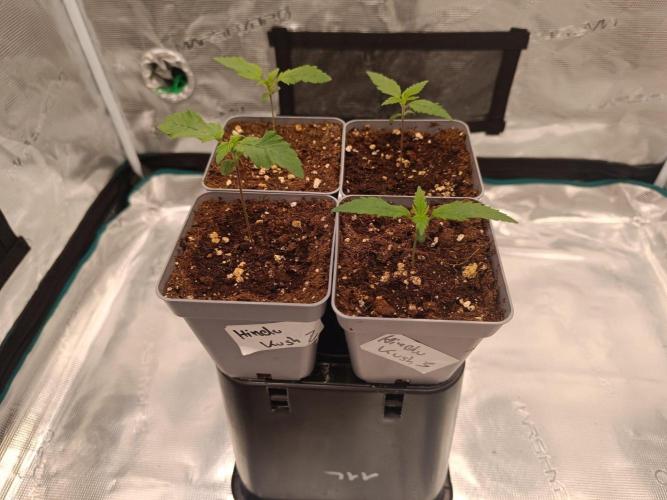
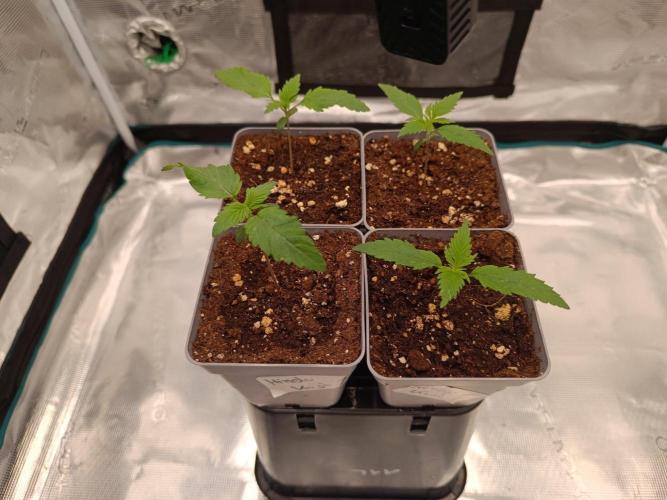
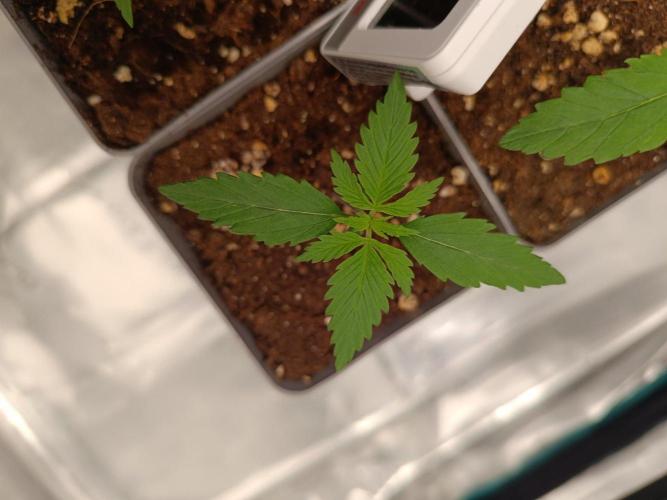
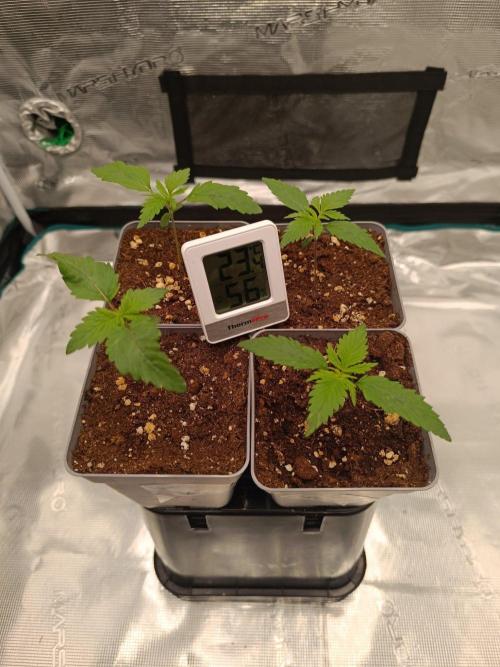
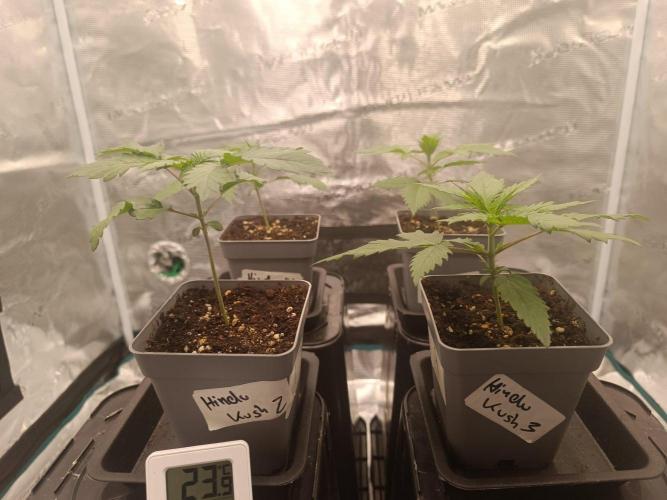
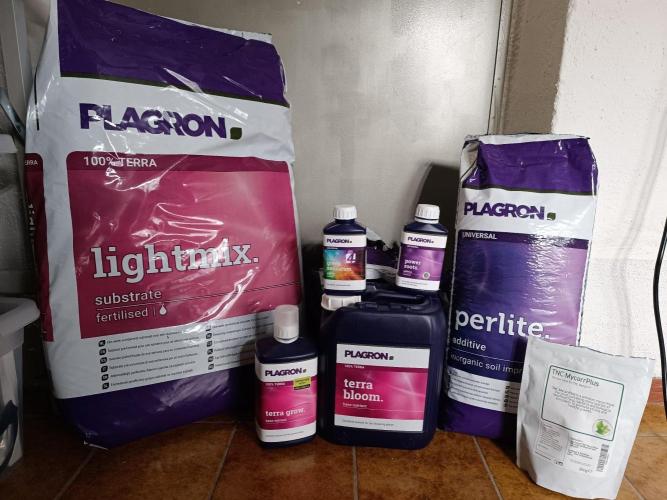
ndsgrow After 48 hours, the paper towel method gave me four nicely developed seedlings. I planted them into @Plagron Light Mix in 0.75 L pots and gave them a light watering with pH-adjusted water.
About 24 hours later, all four had emerged. They also managed to shed their seed shells by themselves, so no help was needed.
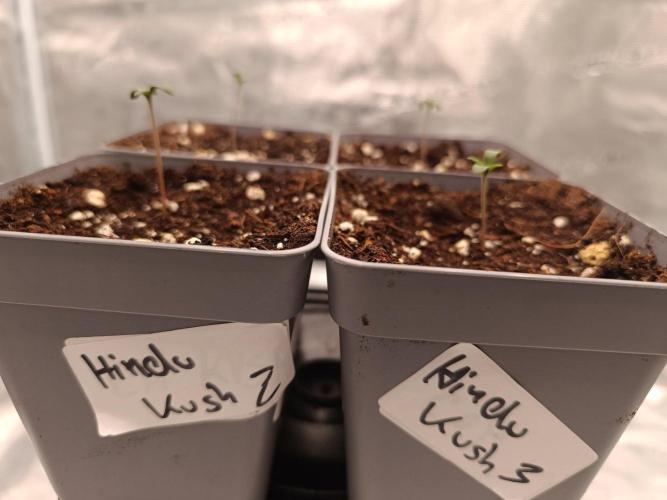
The first set of true leaves is now fully developed, so I’m starting to count the veg days from this point.
For now, I’m watering mainly around the stem to encourage the roots to spread out. I’m also adding @Plagron Power Roots to support early root development.
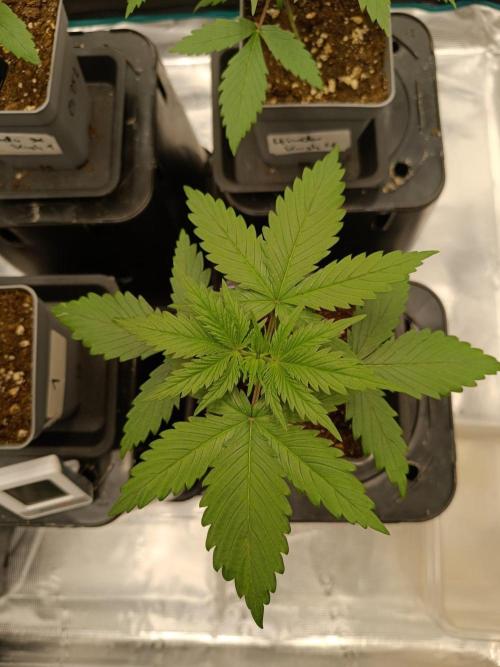
Looking at the pictures chronologically, the growth during the first week is already noticeable. The plants are healthy and starting to push out their second set of true leaves. 🌱
Current conditions:
• PPFD: ~150
• pH: 6.0
• EC: 0.2
• Light distance: 60 cm
• Temperature: 24°C
• RH: ~60–65%
• No humidifier available
So far, everything is looking healthy and they’re off to a great start! 🌱
24 likes
comments
Share
2
Week 2. Vegetation
19d ago
1/5
12 cm
Height
18 hrs
Light Schedule
24 °C
Day Air Temp
6.0
pH
No Smell
Smell
65 %
Air Humidity
20 °C
Solution Temp
20 °C
Night Air Temp
0.75 liters
Pot Size
60 cm
Lamp Distance
Nutrients 1
Power Roots
1 mll
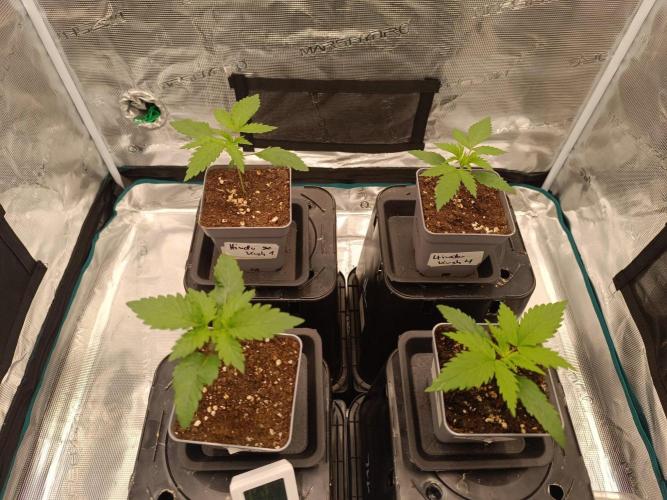
ndsgrow Week 2 of veg is underway, and the plants are really starting to develop. 🌱
This week, I increased the PPFD to around 280 - 300
Watering remains the same: I’m applying water mainly around the outer edge of the pots to encourage the roots to spread and search for moisture. The amount of water is determined by feel and experience.
pH 6.0 + @Plagron Power Roots.
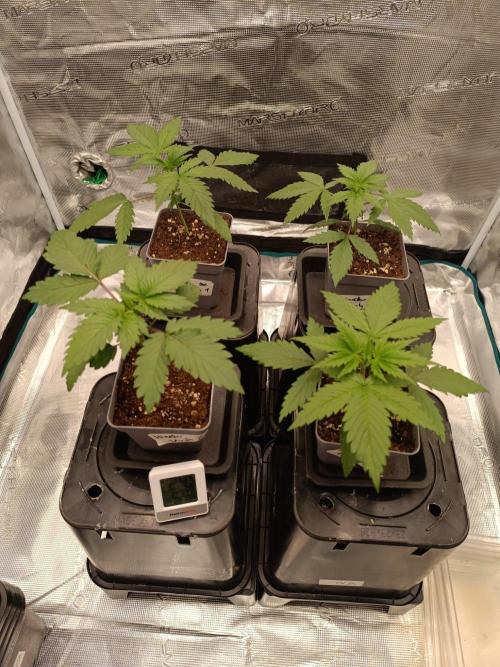
By Veg Day 8, another set of leaves was developing nicely. On Veg Day 10, I spread the plants out a little as they were starting to need more space.
I’m also using the small saucers underneath the smaller pots, which allows me to water from below when needed.
The difference between the beginning and end of Week 2 is already clearly visible.
Current conditions:
• PPFD: ~200–250
• pH: 6.0
• EC: 0.2
• Light distance: 60 cm
• Temperature: 24°C
• RH: ~55–60%
• No humidifier available
Everything is developing nicely. Let’s see what Week 3 brings! 🌱💚
22 likes
4 comments
Share
3
Week 3. Vegetation
11d ago
1/7
18 cm
Height
18 hrs
Light Schedule
24 °C
Day Air Temp
6.0
pH
No Smell
Smell
55 %
Air Humidity
20 °C
Solution Temp
20 °C
Night Air Temp
5 liters
Pot Size
55 cm
Lamp Distance
Nutrients 2
Epsom salt
0.3 mll
Power Roots
1 mll
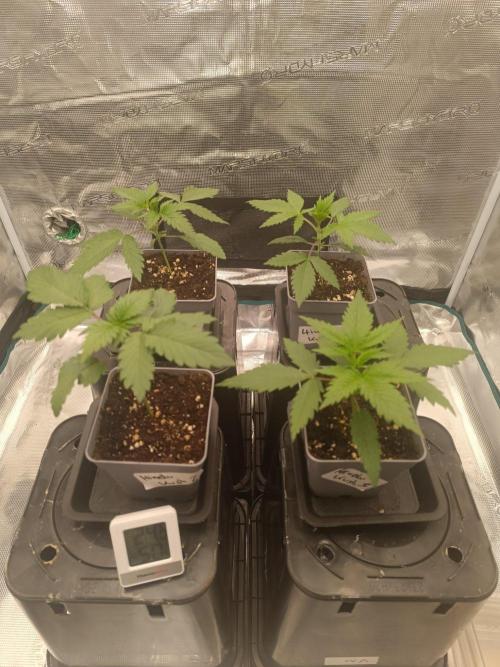
ndsgrow Week 3 of veg and things are starting to pick up! 🌱
Growth has accelerated noticeably. The plants are getting wider and more compact, the fan leaves are getting larger, and the new growth is coming in healthy and strong. The first side branches are developing nicely, and the plants are looking very vigorous overall.
Starting this week, I’m adding 0.3 g/L Epsom Salt to my tap water to maintain the desired CalMag ratio (3:1). The Epsom Salt provides magnesium, an essential component of chlorophyll and photosynthesis.
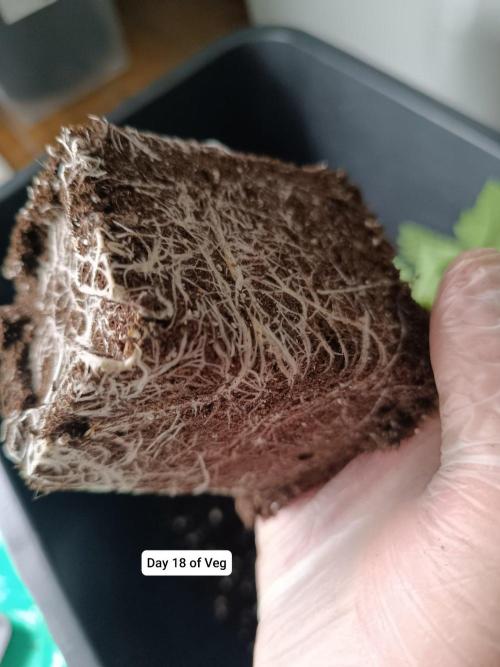
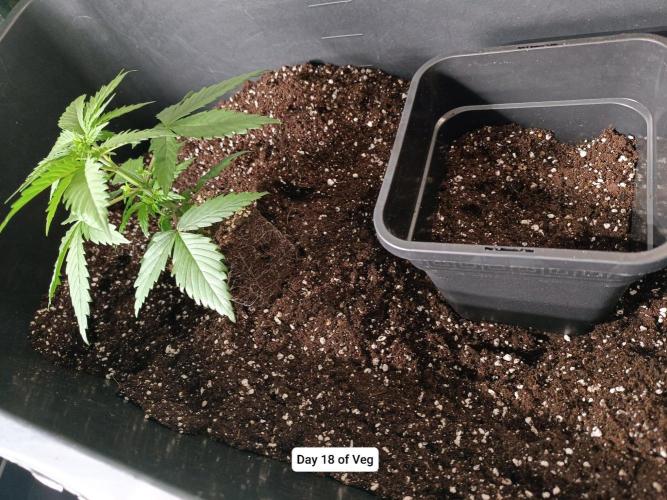
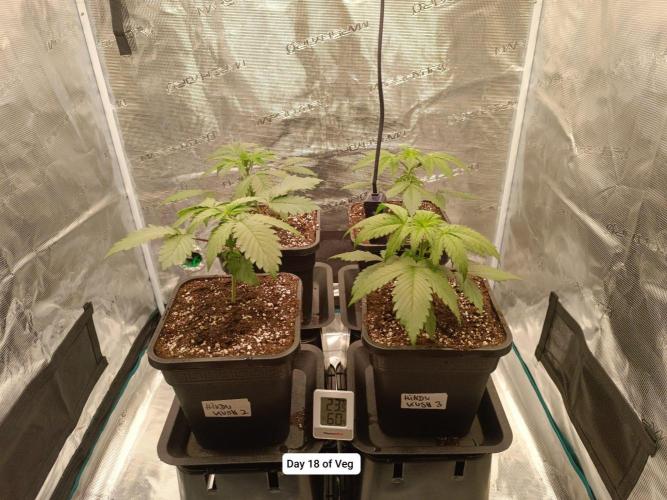
Vegetative Day 18 – Transplant Day 🌱
The 0.75 L pots were fully rooted, so it was time to move the plants into temporary 5 L pots.
I’m also adding and mixing @Plagron Perlite into the Light Mix at approximately 4:1 to improve aeration and drainage.
Mycorrhizal cultures were applied during the transplant as well. Together with @Plagron Power Roots, I’m aiming for rapid root development and a smooth transition into the larger pots.
Watering / Nutrients 💧
• 1.5 L per plant
• 1 ml/L @Plagron Power Roots
• 0.3 g/L Epsom Salt
• pH: 6.0
• EC: 0.4
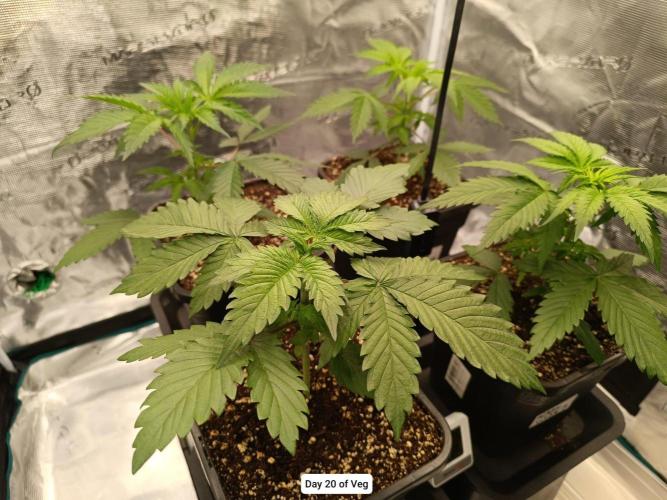
Vegetative Day 20.
The plants showed no signs of transplant stress — fantastic.
That’s why I increased the PPFD to 320–350. They have already developed 4, in some cases even 5, nodes — which means topping will be done in 1–2 days.
From now on, I’ll also note the vegetation day on the pictures, so you can follow the progress even more easily.
Stay tuned for the next updates! 🌱💚
40 likes
16 comments
Share
Used techniques
Transplantation
Technique
4
Week 4. Vegetation
5d ago
1/11
21 cm
Height
18 hrs
Light Schedule
24 °C
Day Air Temp
6.0
pH
No Smell
Smell
55 %
Air Humidity
20 °C
Solution Temp
20 °C
Night Air Temp
5 liters
Pot Size
55 cm
Lamp Distance
Nutrients 2
Epsom salt
0.3 mll
Power Roots
1 mll
ndsgrow 🌱 Week 4 is finally here! 🌱
That means more than half of the vegetative phase is already behind us. Now it’s time to start training! 💪🌿
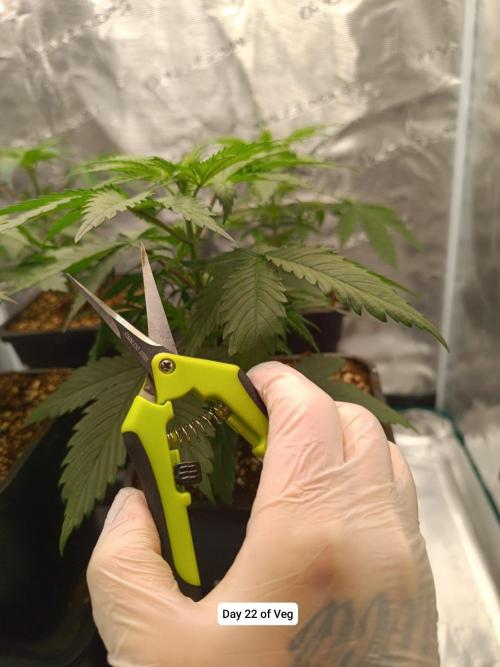
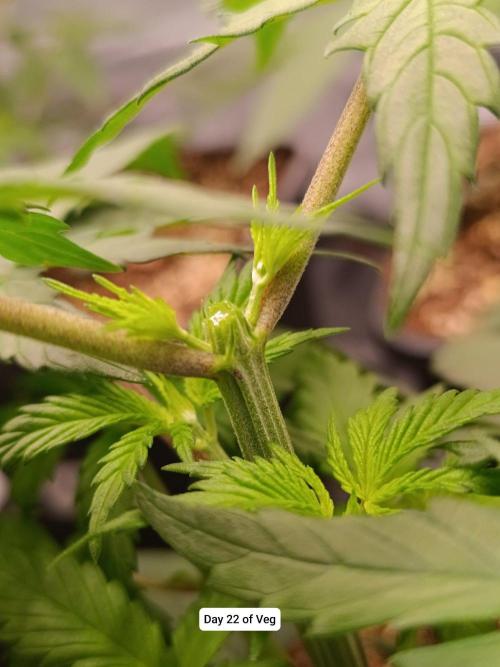
We’re kicking off the new week by topping our four @SensiSeeds Hindu Kush plants. All four ladies were topped above the 4th node.
For now, it’s time to wait and let the side branches push their way upwards. Once they’ve developed enough, we’ll gently spread them out to create a more even canopy and improve light distribution throughout the plants. ☀️🌱
There’s no need for any additional nutrients at the moment. Thanks to the regular potting-up, the plants still have plenty of fresh nutrients available to support their growth.
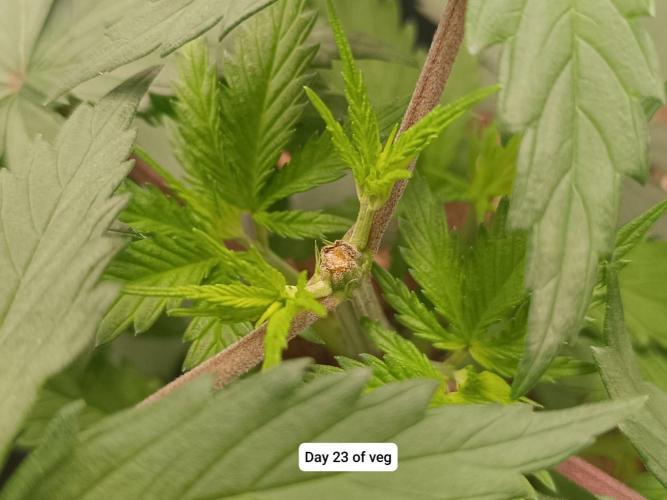
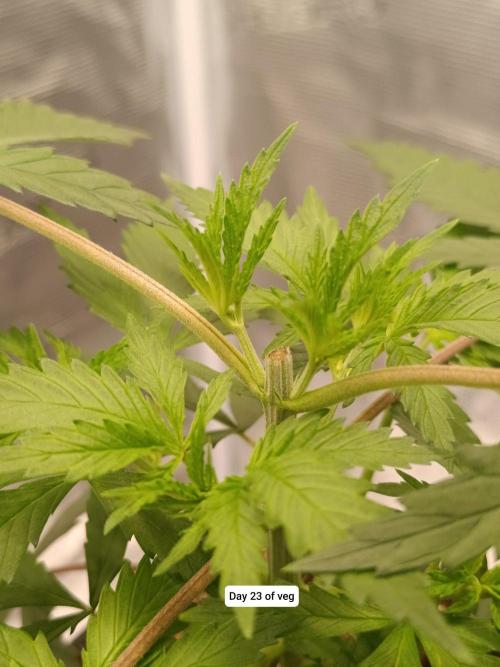
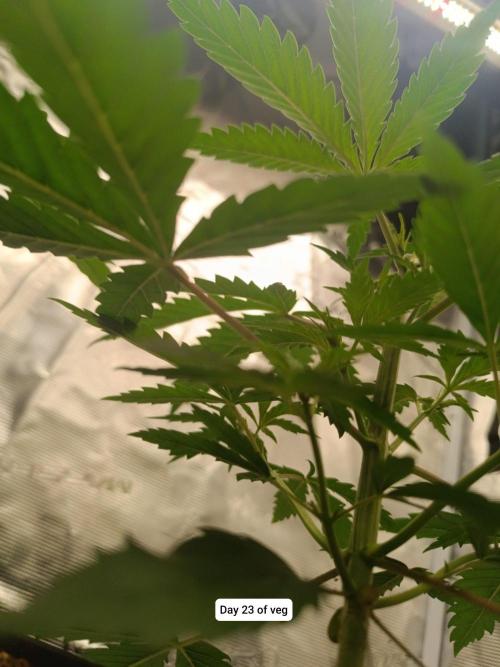
Vegetation Day 23:
Just one day after topping, the wounds have already sealed nicely. The side shoots look extremely sturdy, and I have the feeling that they have already made noticeable progress overnight.
After the watering on Day 18, the pots are slowly starting to dry out and are noticeably lighter. They should be ready for their next watering in 1–2 days.
You can already see some differences between the various phenotypes as well. We’ll take a closer look at those later on.
So far, I’m really enjoying growing the genetics from @SensiSeeds . 🌱
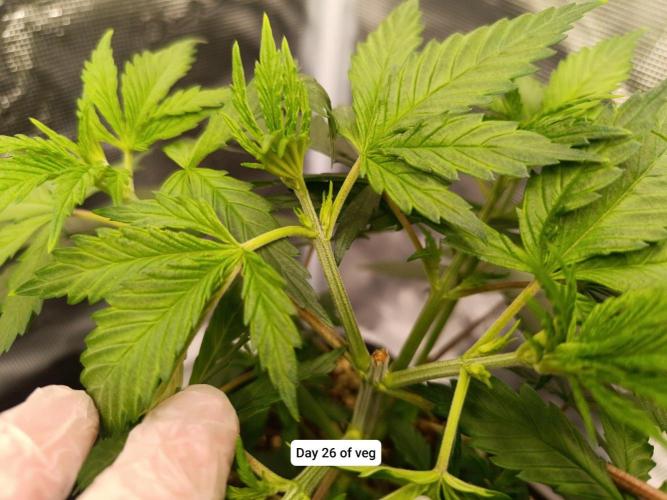
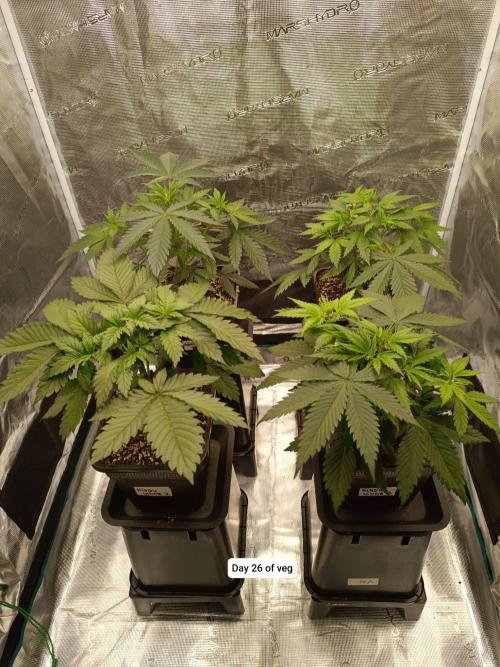
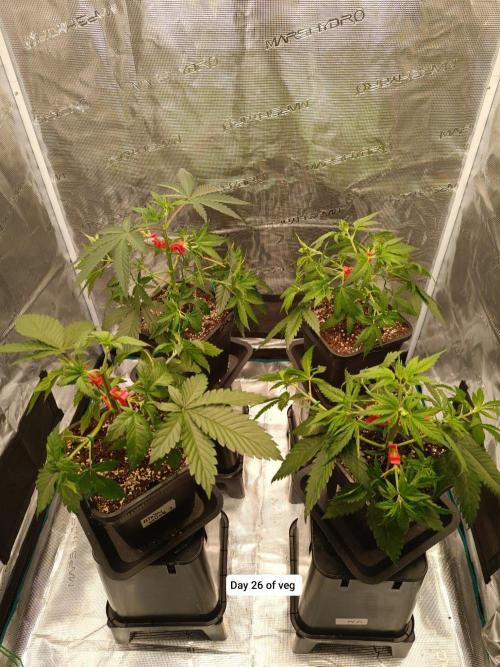
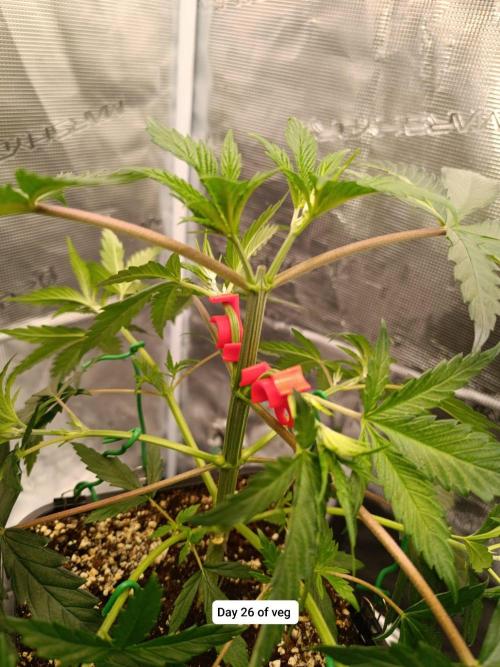
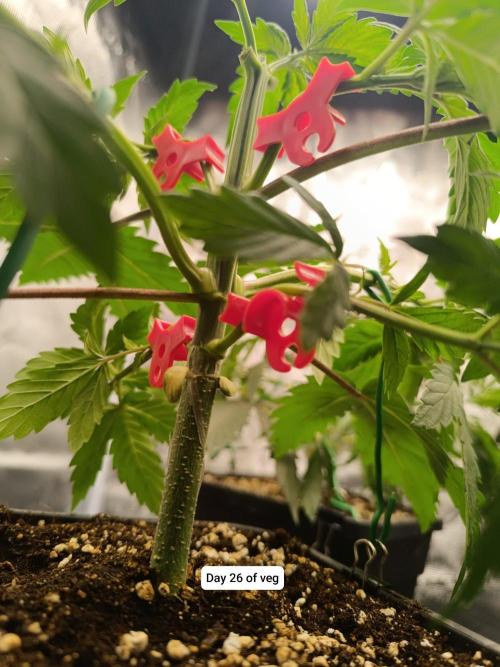
Vegetation Day 26:
The shoots have really started stretching upwards and were ready for some LST. I tied down the longer side branches to the rim of the pots with some wire, while the smaller upper shoots were gently bent into place with LST clips.
I had to remove a few fan leaves that I couldn’t tuck underneath the branches, mainly some of the upper ones. The girls have developed some seriously huge, typical Indica-style fan leaves, which were starting to block out the lower growth.
The ladies look pretty wild right now of. Time to let them chill and recover from the stress, and support them with proper watering. They should be thirsty again in a day or two.
Now we just let them do their thing. 🌱
Watering / Nutrients 💧
• 1,8 - 2 L per plant
• 1 ml/L @Plagron Power Roots
• 0.3 g/L Epsom Salt
• pH: 6.0
• EC: 0.4
Current conditions:
• PPFD: ~350 - 400
• Light distance: 55 cm
• Temperature: 24°C
• RH: ~55–60%
More updates and pictures will follow over the next few days. 📸🌿
Stay tuned! 👀