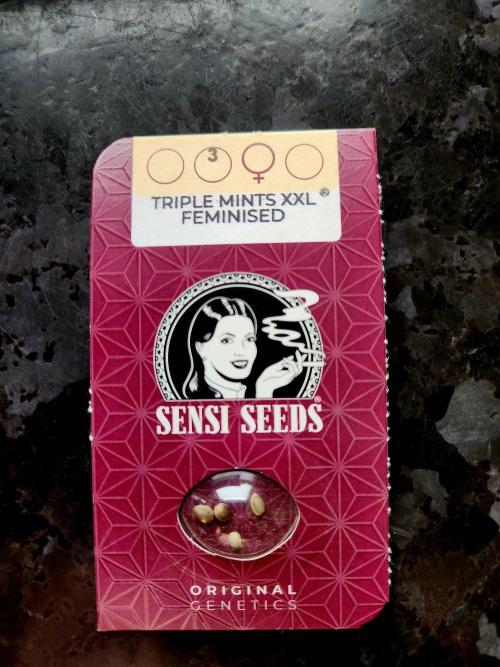
Oldwied A New life is born.
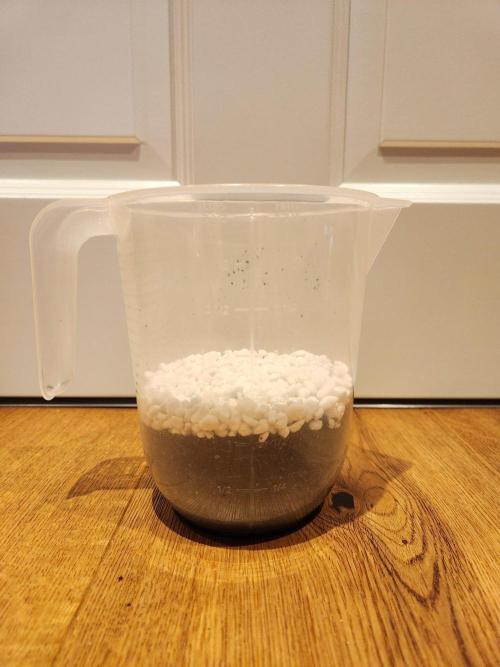
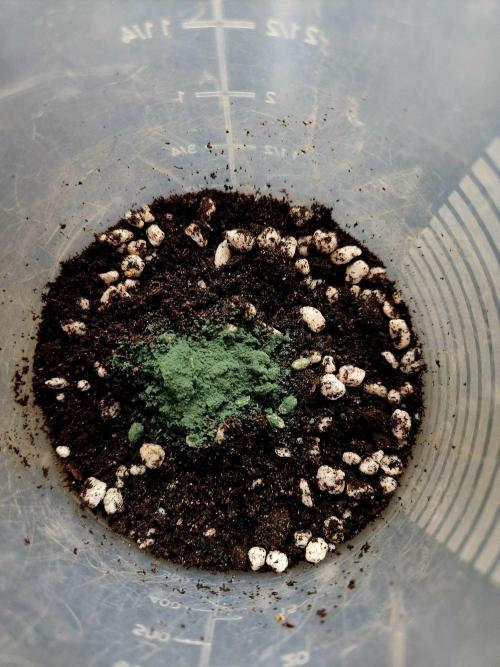
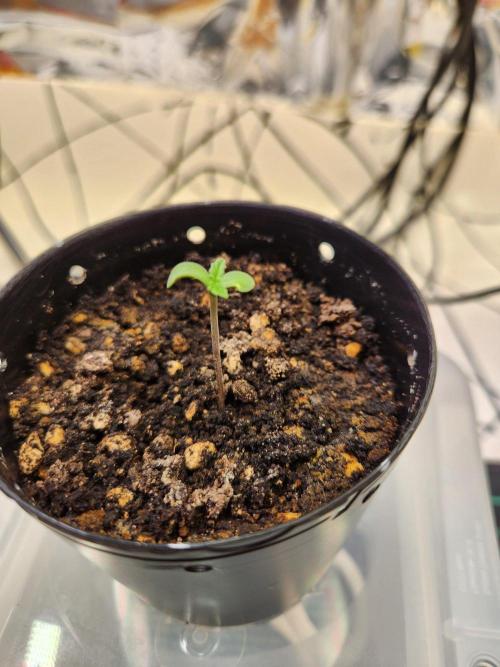
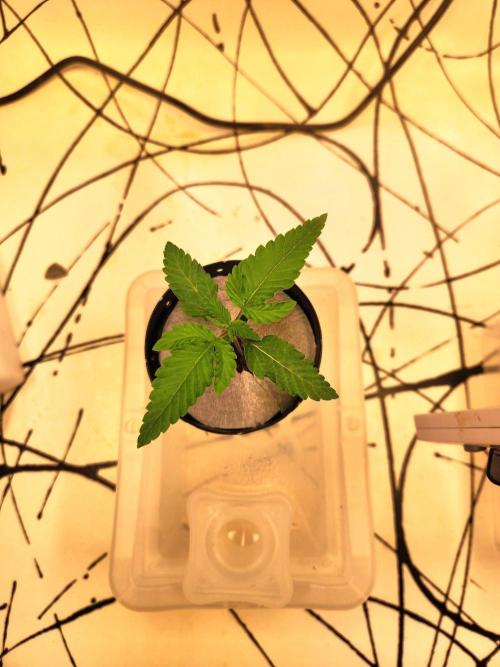
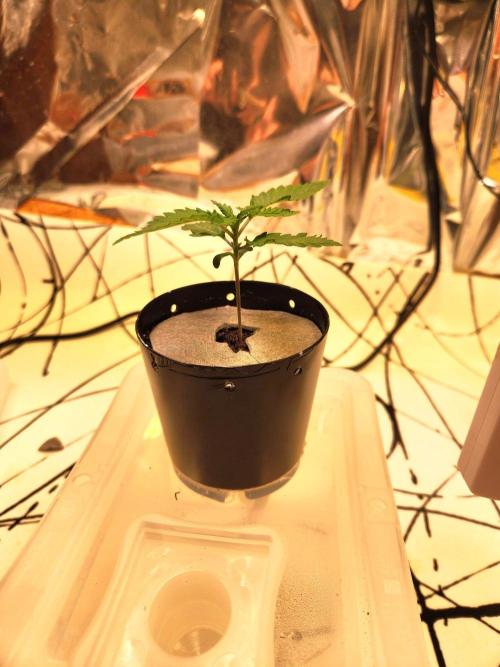
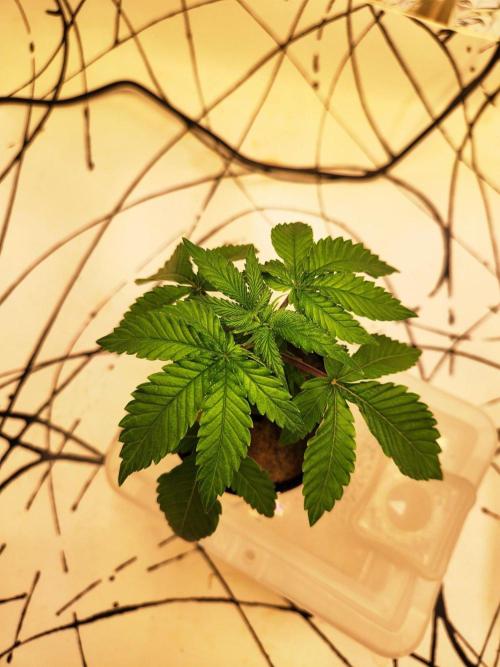
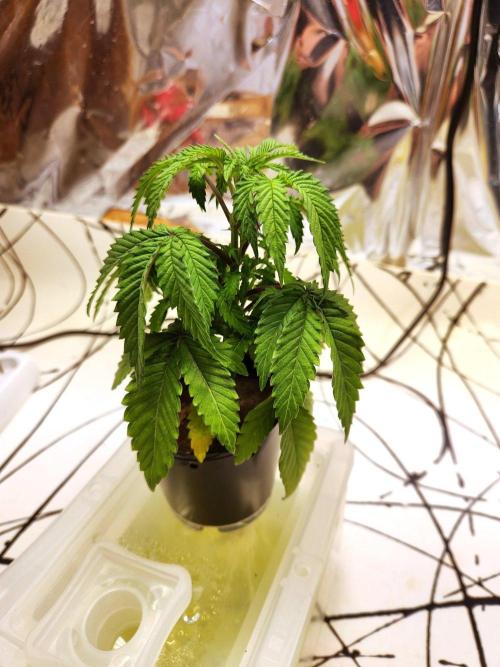
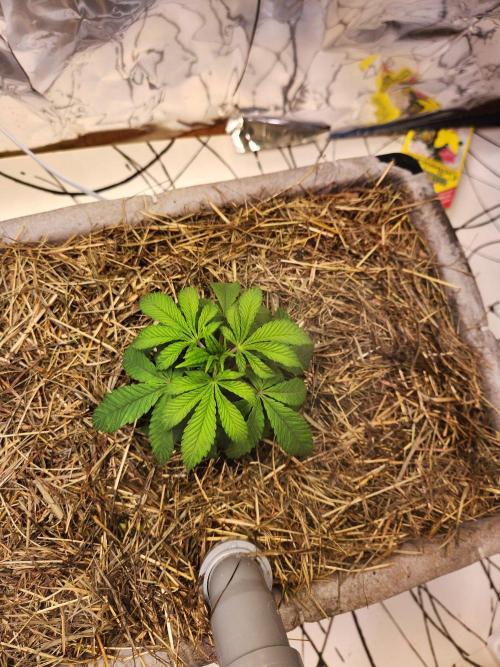
After 16 h in 0,5% H2O2 an 3 days in the soil.
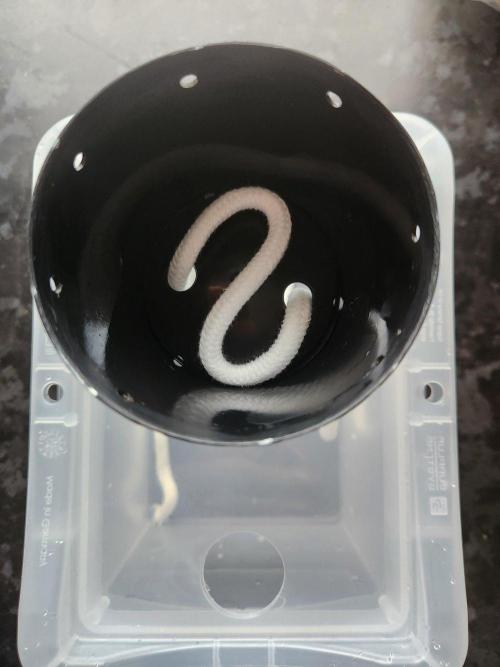
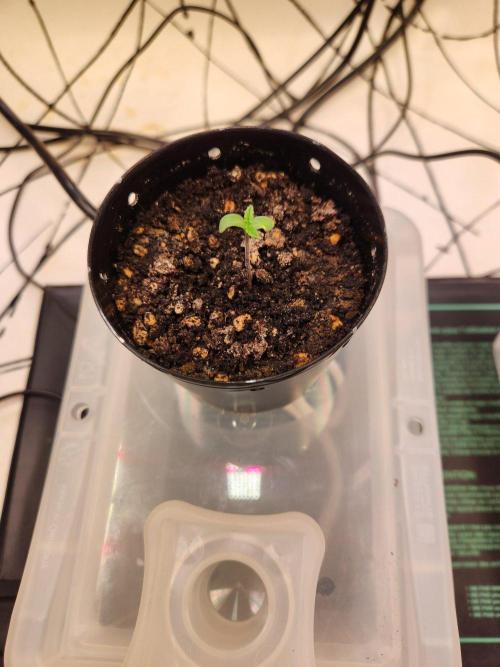
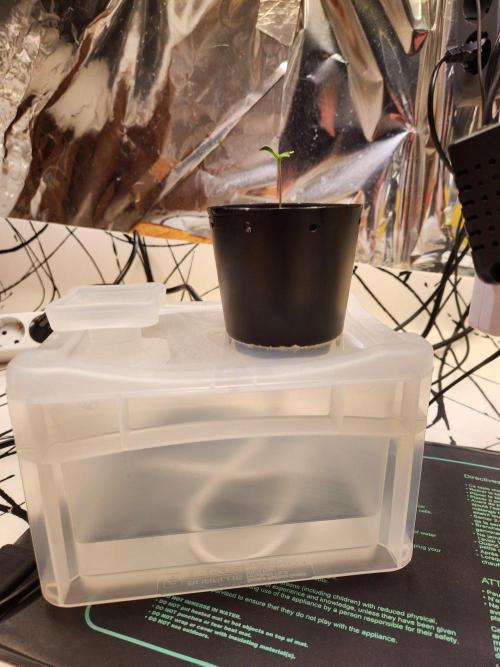
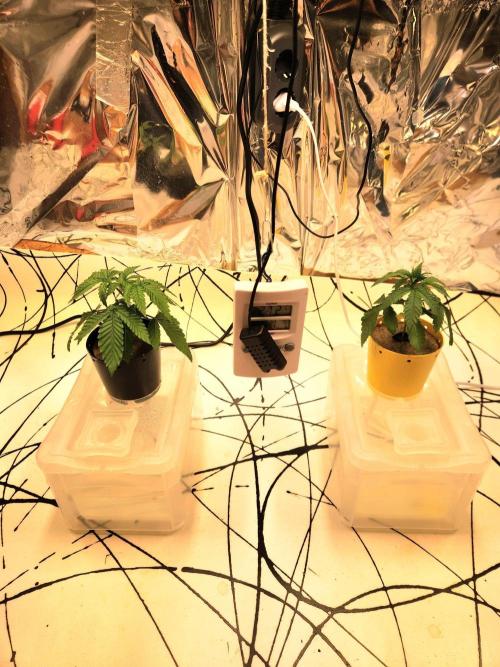
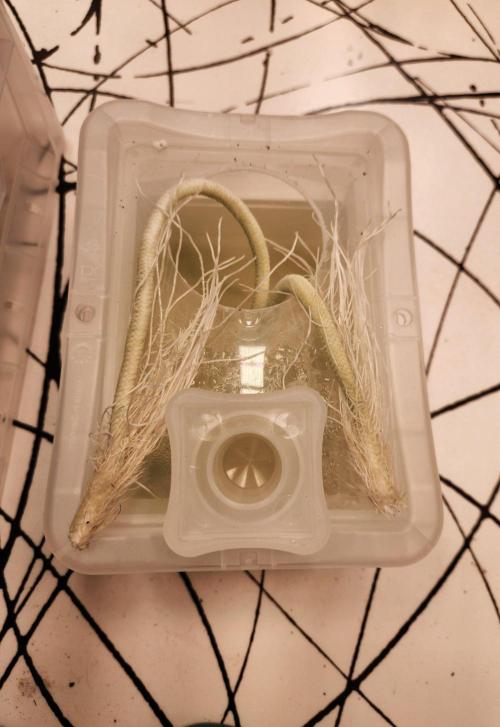
It starts to grow, in my new self watering pot.
Inspired by tantrumrage—thanks, my grow buddy.
8 likes
comments
Share
Used method
Glass Of Water
Germination Method
1
Week 1. Vegetation
1mo ago
1/3
6 cm
Height
18 hrs
Light Schedule
28 °C
Day Air Temp
55 %
Air Humidity
20 °C
Night Air Temp
0.2 liters
Pot Size
35 cm
Lamp Distance
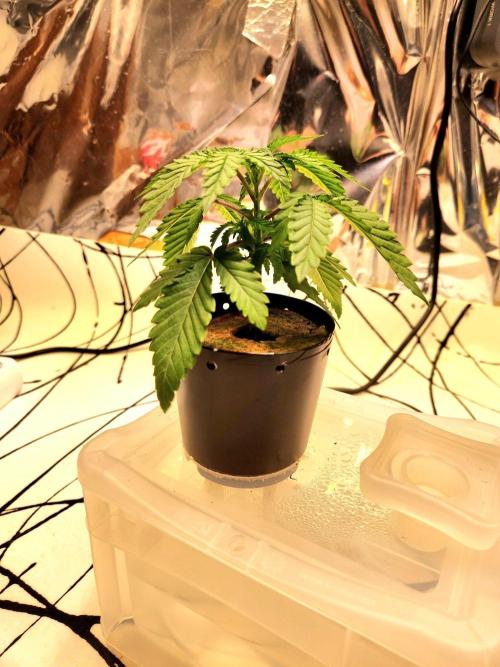
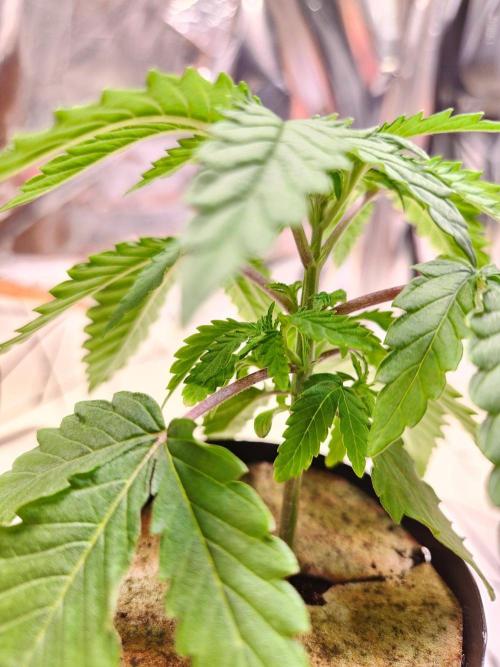
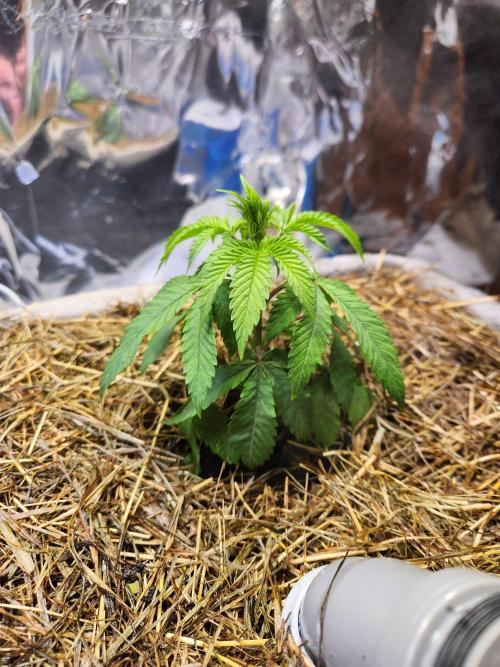
Oldwied The first week is over and the little one is growing and thriving. The self watering pot works.
Light power: 40%
Day 8
Photoshooting
9 likes
comments
Share
2
Week 2. Vegetation
1mo ago
1/11
9 cm
Height
18 hrs
Light Schedule
28 °C
Day Air Temp
55 %
Air Humidity
20 °C
Night Air Temp
0.2 liters
Pot Size
35 cm
Lamp Distance
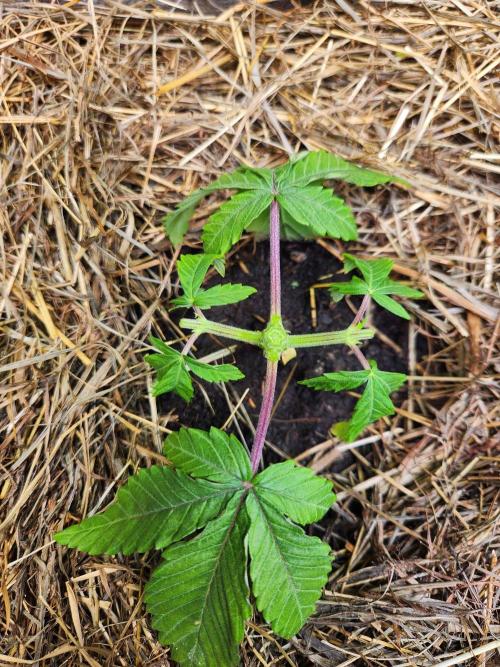
Oldwied Day 15
Fotoshooting
Light Power: 55%
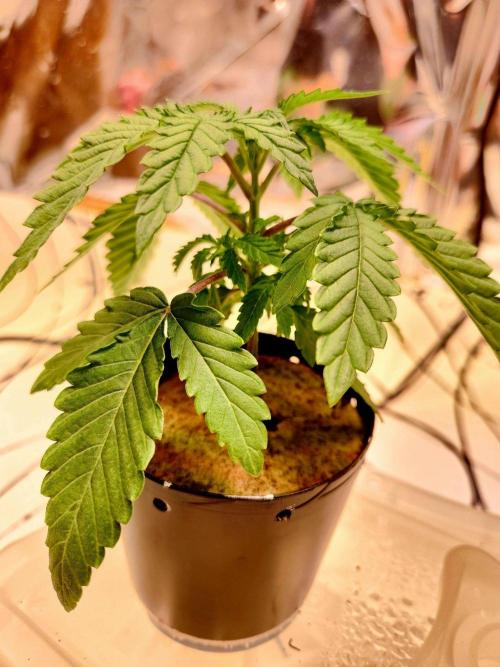
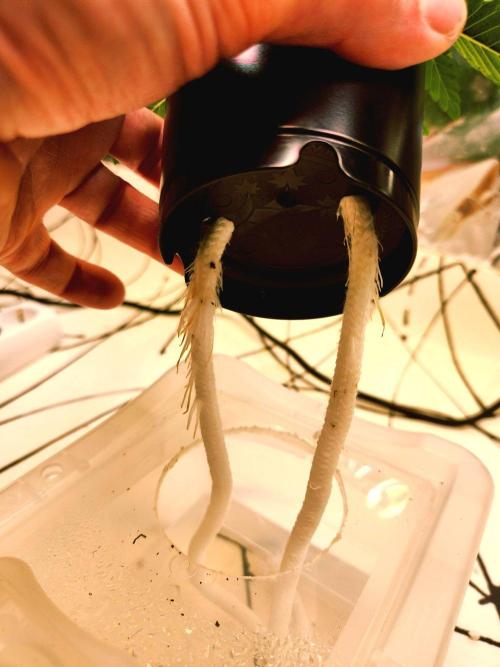
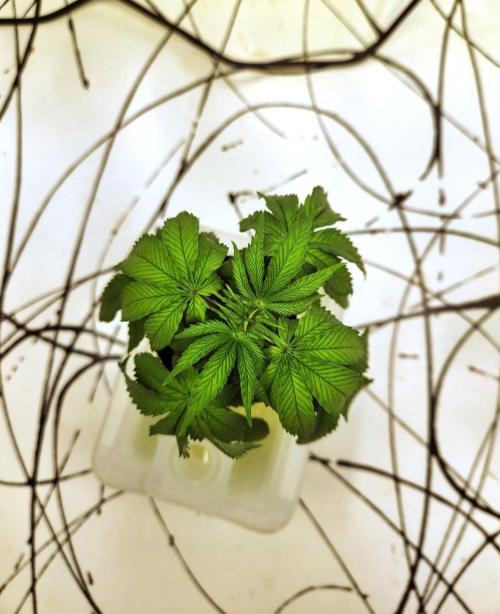
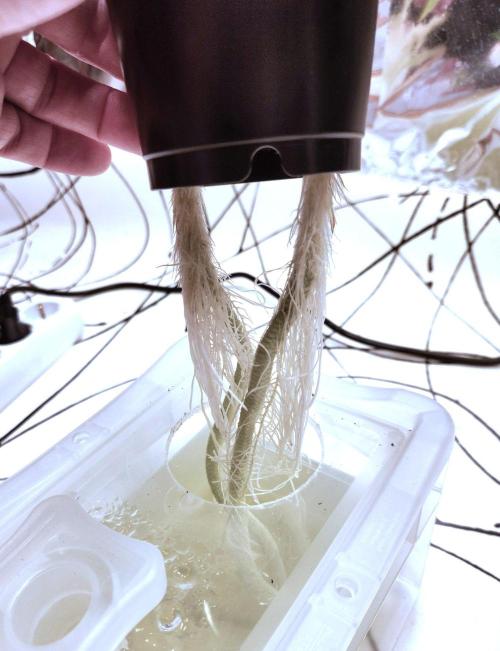
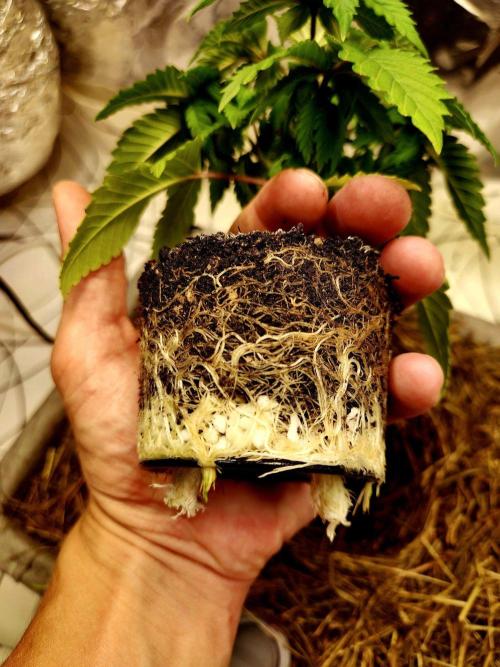
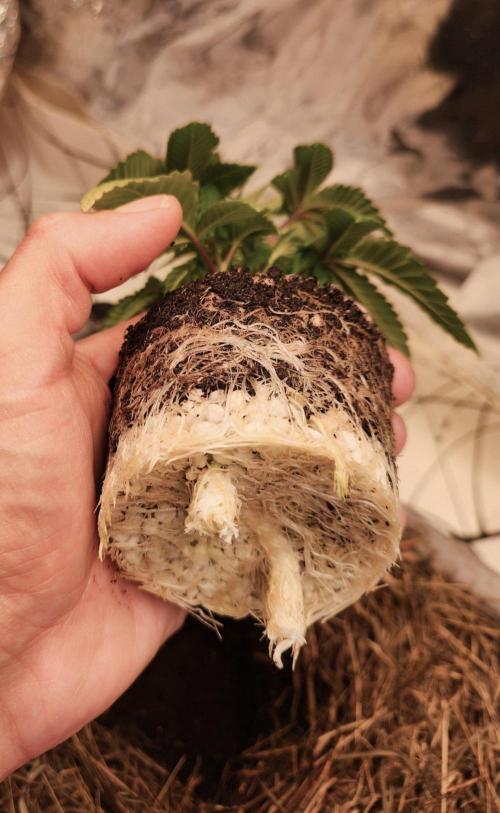
Rapid growth and very short internodes, very bushy —what more could you ask for? The roots are even starting to grow into the container.
But it’ll stay in the small pot for another week. .
Over the course of the week, I increased the light intensity in 5% increments to 55%.
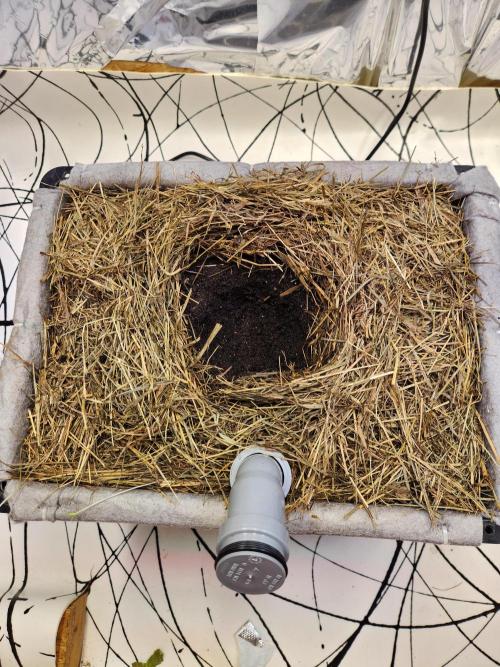
The soil in the final container is prepared.
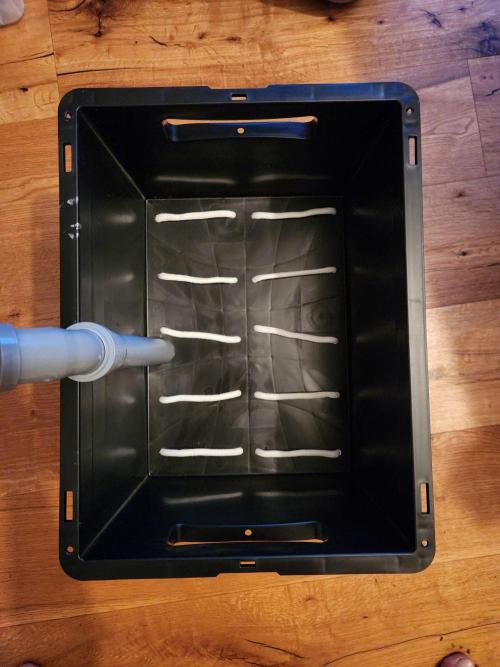
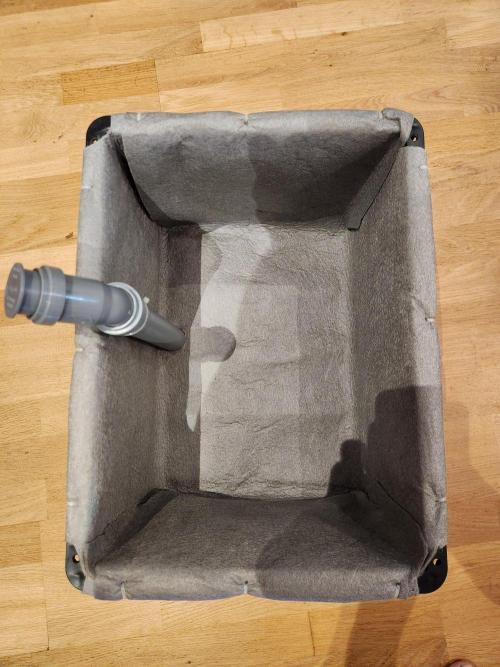
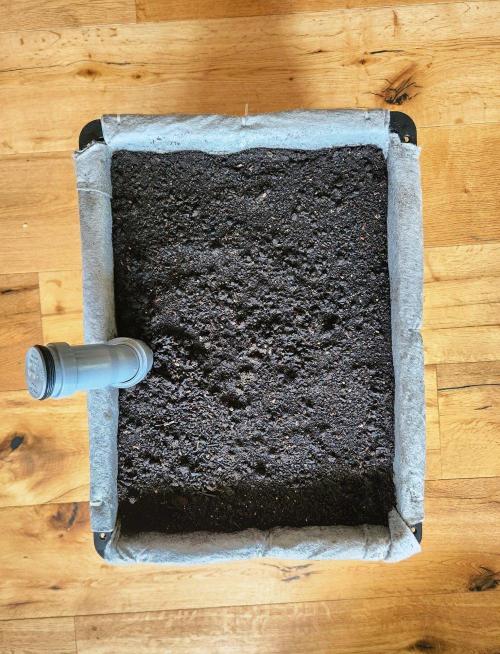
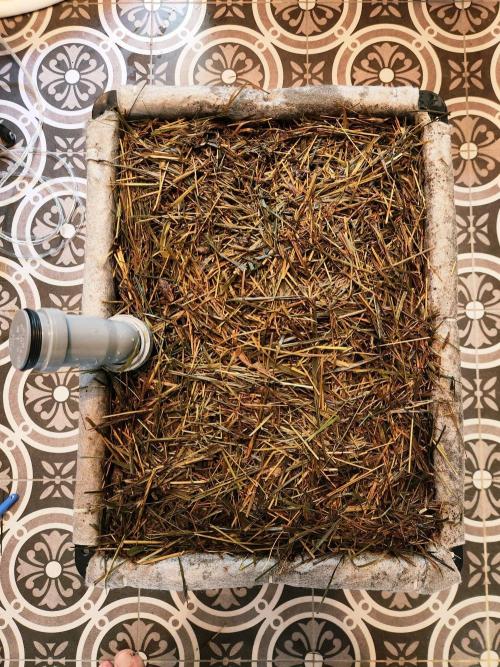
A DIY Eurobox self-watering garden bed consisting of a 10 L tank and a 25 L garden bed.
Layer:
The mulch layer is approx. 5 cm thick.
Hay and rainwater, 72 hours with air bubbles feminized. After 48 hours, 200 mL of compost was added.
I then spread the mulch over the garden bed and watered it with 1 liter of composted hay tea.
Soil:
60 L of sifted used soil [72,2%]
20 L of sifted chicken manure compost [24%]
2 L of Florganics Super Powder [2,4%]
1,2 L of dolomite lime [1,4%]
6–8 L of rainwater
Let it rest for 4 weeks. Occasionally mix the soil by hand to keep it moist.
12 likes
comments
Share
3
Week 3. Vegetation
20d ago
1/10
14 cm
Height
18 hrs
Light Schedule
27 °C
Day Air Temp
50 %
Air Humidity
20 °C
Night Air Temp
0.2 liters
Pot Size
35 cm
Lamp Distance
Oldwied Day 24
Fotoshooting
Light Power: 60%
Since I was away for a week, the plant was on its own. Unfortunately, the humidifier ran out of water, so the humidity was only 40% for two days.
But despite that, the little plant survived. However, it’s showing signs of overwatering and heat stress.
Since the roots had grown quite a bit in the tank by then, I cut them off—along with the excess wick—and planted the little one in its final pot.
Afterward, I added 750 mL of SF nematodes.
13 likes
2 comments
Share
Used techniques
Transplantation
Technique
4
Week 4. Vegetation
14d ago
1/9
5 cm
Height
18 hrs
Light Schedule
27 °C
Day Air Temp
50 %
Air Humidity
20 °C
Night Air Temp
25 liters
Pot Size
35 cm
Lamp Distance
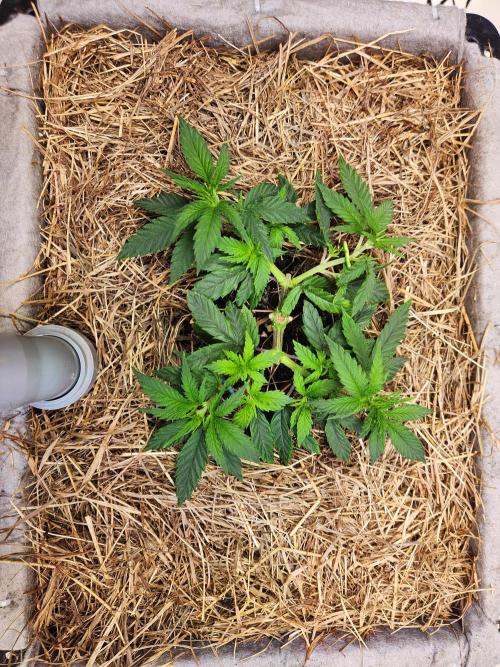
Oldwied Day 25
Fotoshooting
Topping
Day 30
Fotoshooting
LST
Light Power: 60%
In the beginning of the week I topped the girl above the 2nd node. (The upper internodes did not grow uniformly.)
Since the side shoots were already well developed, the plant was topped twice.
The lush green is returning, and the little one has weathered the stress well.
8 likes
comments
Share
Used techniques
Topping
Technique
LST
Technique
Main-Lining
Technique
5
Week 5. Vegetation
8d ago
1/5
5 cm
Height
18 hrs
Light Schedule
27 °C
Day Air Temp
50 %
Air Humidity
20 °C
Night Air Temp
25 liters
Pot Size
35 cm
Lamp Distance
Oldwied Day 37
Fotoshooting
LST
Light Power: 60%
Let it grow.
10 likes
1 comment
Share
Used techniques
LST
Technique
Manifolding
Technique
6
Week 6. Vegetation
3d ago
1/5
7 cm
Height
18 hrs
Light Schedule
25 °C
Day Air Temp
No Smell
Smell
50 %
Air Humidity
20 °C
Night Air Temp
25 liters
Pot Size
45 cm
Lamp Distance
Oldwied Day 43
Photoshoot
LST
Topping
Light Power: 55%
2nd SF nematode prevention with 750 mL suspension.
The little girl looks healthy.
LST and the 2nd topping. The final canopy structure has been created.