


Likes
136
Share


@Kitties_and_Colas
Follow
~_~_~_~_~_~_~_~_~_~_~_~_~_~_~_~_~_~_~_~_~_~_~_~_~_~_~_~_~_~_~_~_~_~_~_~_~_~_~_~_~_~_~_~_~_~_~_~_~_~_~_~_~_~_~_~_~_~_~_~_~_~_~_~_~_~_~_~_~_~_~_~_~_~_~_~_~_~_~_~_~_~_~_
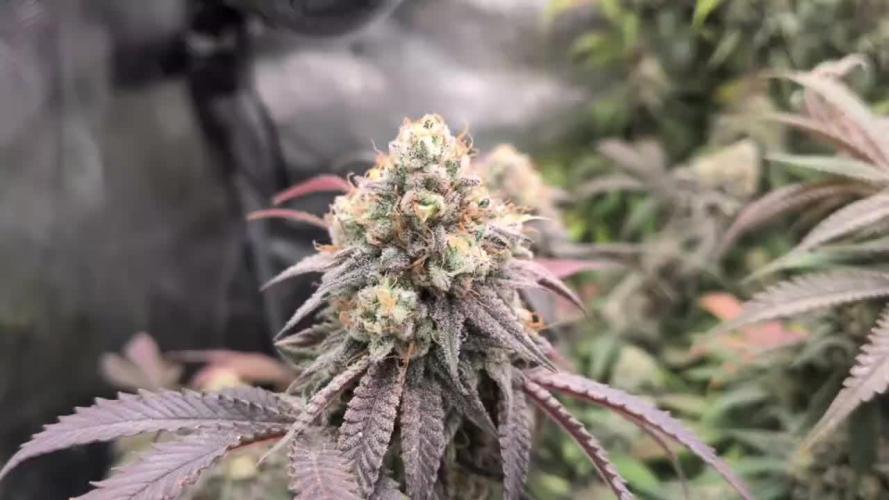
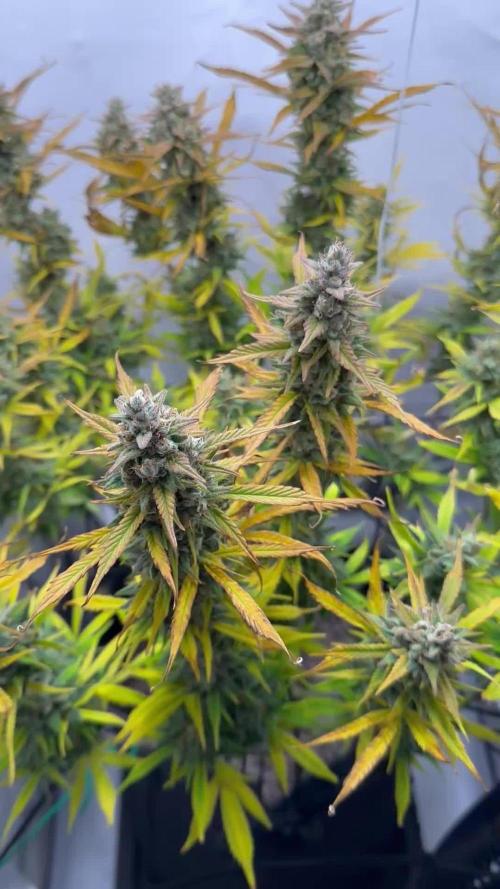
We're getting close! These buds are getting absolutely caked under the MarsHydro..you can tell these plants are going to be killer...I haven't pulled the glass out to inspect this week but last week we were only about 20% cloudy, probably 2 more weeks if I had to guess..flushing these seems to be tricky, we've been using water only for approximately 12 days and their color refuses to fade, some are still a little glossy..I think we're going to start watering these every other day with a gallon each until they're finished, harvesting anything that dark has never been good. We have a few plants lined up to flower the day these come down (White Widow likely) ..every Banger clone taken in week 2-3 of flower are growing and of good size now, we'd like to put a few outside this summer ... Not too much else to report, its been an awesome week, thanks for dropping by and happy harvests everyone!! ❤️💡🌱😽💨
⚡Mars Hydro/SP-3000⚡ Specifications ⚙️:
Diodes: Samsung LM301B / Osram 660nm (960 total!)
Driver: Meanwell 300watt 🔌 (300W±5% @AC120V-277V)
PPF: 824umol/S ☢️
PPE: 2.8 µmol/j 〰️〰️
Lifespan: 50k+ hrs ⌛
Weight: 10.1 lbs (4.6kg)
Veg Coverage: 3 x 5 ft 🌱
Flowering Coverage: 2 x 4 ft 🌼
-The SP-3000 uses an aluminum heatsink (no fan) and the driver can be placed outside the tent 🌡️⬇️
-IP65 waterproof ratings, tolerant to high humidity grow environments 💦 ..
-Up to 15 can be daisy-chained together and all controlled from a single light! 💡~💡~💡~💡~💡
~_~_~_~_~_~_~_~_~_~_~_~_~_~_~_~_~_~_~_~_~_~_~_~_~_~_~_~_~_~_~_~_~_~_~_~_~_~_~_~_~_~_~_~_~_~_~_~_~_~_~_~_~_~_~_~_~_~_~_~_~_~_~_~_~_~_~_~_~_~_~_~_~_~_~_~_~_~_~_~_~_~_~_

Likes
3
Share


Likes
52
Share


Processing
Likes
73
Share


@Fibro_Witch
Follow
Blue Shark is still doing great, it's not the tallest, but definitely has the best deep green color and the largest leaves. Got a handful of the Coast of Maine fertilizer around the base watered in with some lime water. Bugs are looking for snacks so I used a bit of neem oil spray and put up a sticky trap. I've had so many bugs this year it's crazy. The cucumber beetles are out in full force and fornicating whenever I catch sight of them, and I've never had them as a pest before! Also, please forgive my slurring speech in the video, it's been a long week and my brain is completely addled😜

Likes
11
Share


@BudBeezy
Follow
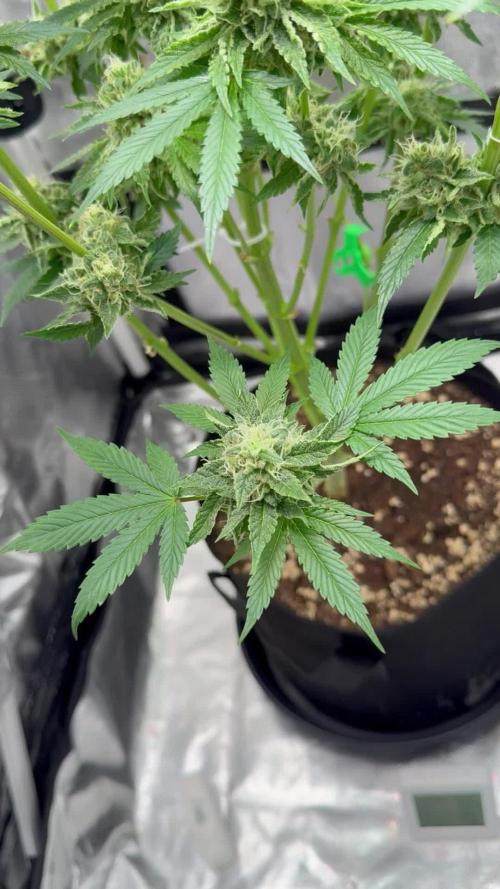
The plant has doubled in size within this week. This week it was watered every 2 days with approx. 150 ml with collected rainwater.
The weather was really good again this week. The daily temperatures fluctuated between 18 and 27 degrees.
As roots were visible at the bottom of the pot, I thought it would be a good time to repot at the end of the week. As you can see from the pictures, the roots are not yet perfectly formed. As I have now taken the plant out of its pot anyway, it has been given a new home. The pot size has increased from 0.6l to 4l. It is now big enough for the pre-fertilized soil.
N 210 mg/L - P 240 mg/L - K 270 mg/L - Mg 70 mg/L - S 150mg/L
Likes
9
Share


@Krissci
Follow
Buds are fully formed..
They are thirsty bitches so 1-2 more weeks before flush/chop
Beautiful smeel everytime I open the tent


Likes
6
Share

@Thedibber
Follow
Last week or so for these girls. Incredible amount of frost on them and they smell ripe 👌
Likes
241
Share


@Tropicannibis_Todd
Follow
💩Holy Crap We Are Back At It And Loving It💩
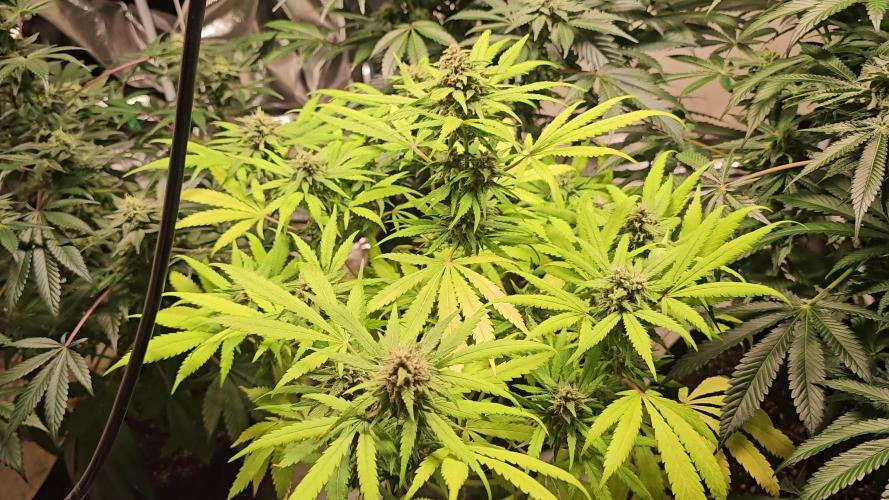
Growmies we are at DAY 28 and she's just killing💀it👌
👉We are in the Preflower stretch 👈
Today we moved our feeding to Bloom Booster and Bloom nutrients 👈
So Shit , I gave them just a tad to much nutes on the last feeding 👈 But I have since fixed it
So I'm starting to pull her over and do some low stress training 🙃 and some defolation 😳
Lights being readjusted and chart updated .........👍rain water to be used entire growth👈
👉I used NutriNPK for nutrients for my grows and welcome anyone to give them a try .👈
👉 www.nutrinpk.com 👈
NutriNPK Cal MAG 14-0-14
NutriNPK Grow 28-14-14
NutriNPK Bloom 8-20-30
NutriNPK Bloom Booster 0-52-34
I GOT MULTIPLE DIARIES ON THE GO 😱 please check them out 😎
👉THANKS FOR TAKING THE TIME TO GO OVER MY DIARIES 👈
Likes
11
Share


@GirlGoneWeed
Follow
Here we begin, the germination method I use is: soak the seeds for 14h than paper towel, in the dark with a heat mat under it for around. 3-5 days.
After taproots come out, I’ll plant them into organic recycled live soil and under the humidity fome they go.
I keep temperatures around 24-26C humidity high at 70-80%, spray water every day in the am and at night, tap water nothing fancy.
Now we wait for them to take off.


Likes
5
Share

@GoodTimesOrganics
Follow
Welcome Back!💚
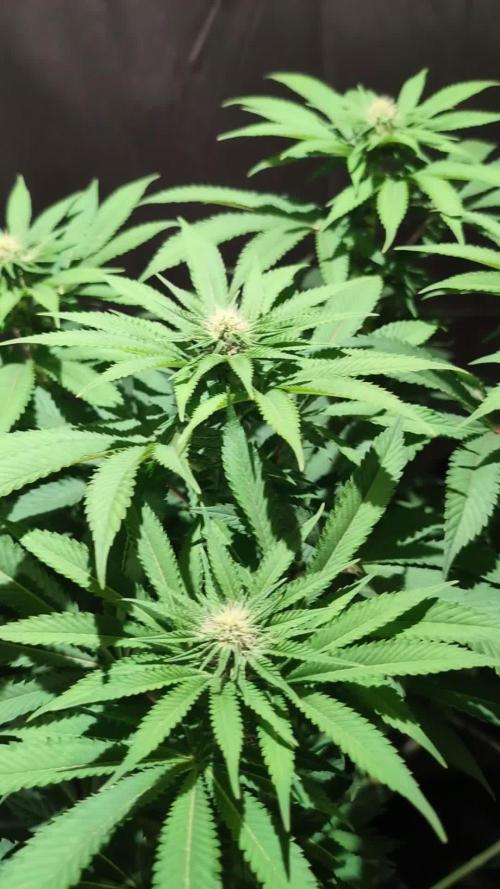
Die Sleepy Joe befindet sich nun in der dritten Blütewoche und sie hat nochmal was an höhe zugelegt.
Die Blatgrösse hat dennoch nochmal ordentlich zugenommen, und daher habe ich nochmal viel Laubwerk rausgenommen.
Die Blüte nimmt allmählich an Fahrt auf und die Pistilen bilden sich immer weiter aus.
Der Geruch ist im Gegensatz zu den anderen Pflanzen sehr Grün, also so richtig, wie wenn im Garten der Rasen gemäht wird.
Die Umgebungsgegebenheiten sind weiterhin optimal:
—————
🌞 Temp: 23, 2
🌚 Temp: 18°C bis 19°C
💦 RH: 43%
💨 VPD: 1,28 kPa 🧐
😎 PPFD: 830 mqm
—————
Grüne Grüße 🥦

Likes
59
Share


@DaGrowQueen
Follow
This strain has easily become one of my top 10 favorites over the past year, to smoke and grow.

Likes
9
Share


@TeaTime
Follow
This cultivation I lost a little bit the size that could reach . 😓
The light stayed too much close of the plant .

Likes
52
Share

@SmallGrowz
Follow
Peace Growmie👋🏼💚 die 8. Blütewoche ist rum. Die Stigmen färben sich weiter orange und die Endgröße der Buds ist erreicht. Dünger habe ich reduziert, weniger calmag und green sensatiom nur am Anfang der Woche minimal, danach gar nicht mehr. Bislang sind noch keine bernsteinfarbenen Trichome zu sehen. Ich habe sie noch einmal entlaubt und nun darf sie noch 1-2 Wochen reifen bevor ich sie ernte✂️💚


Processing
Likes
6
Share


@Thckaos
Follow
03-08-20 No se cambia la solución con nutrientes aún. Empezamos la tercera semana y aún tenemos solución con 1.89 ms y un PH 5 que corregimos a 5.8.
04-08-20 se rectifica el PH de 4.5 a 5.5. Se calibra la sonda de ph.
La conductividad es de 1.95 ms. Cuando suba de 2.1 ms cambiaré la solución.
Se baja la luz a 70 cm
05-08-20 el PH vuelve a bajar a 4.8 y la conductividad llega a 2.1 ms. Se procede hacer un lavado de raíces bajando la conductividad a 0.2 ms PH 6.5 y una nueva solución con nutrientes que pondré en los datos principales.

Likes
18
Share


@Dr_Green_Thumb87
Follow
Cal Mag Issue occured, today i start feeding CalMag the first time.

