
Likes
Comments
Share


@BADKUSS
Follow
Hello everyone,
here is another week of past ... After the small incident last week the plants have recovered well, as you can see in the photos they do not bloom at the same speed despite the same genetics so I adapt feeling fertilizer inputs, it seems to work well ...
here, now place to photos


Likes
18
Share


@ljack494
Follow
Well well well, what do we have here what a good crop so far. The discolored plant had some calcium deficiency so I upped calmag plus 2tps look like it did the trick so everything is good now!
Likes
91
Share


@FrontRowAG_BrianG
Follow
START OF WEEK 6 Day 35
—I AM NOT SPONSORED BY ANY OF THE PRODUCTS USED IN THIS DIARY—
⭐️Nutrients Used This Week⭐️
Front Row AG Part A 4.2g per gallon
Front Row AG Part B 2.8g per gallon
Front Row AG Phoszyme. 4g per gallon
Front Row AG SI .5ml per gallon
Front Row AG Triologic 1ml per gallon
Front Row AG CleanUp .2g per gallon
The room is running smooth this week. Pretty much set it and forget it. Tuck some leaves back under the net every night and refill the water reservoir every couple of days is all my duties right now.
This Super Lemon Haze is incredible. Every single node on every plant was topped at the start of the week. It must have been 100 nodes I topped. 2 days later the net went down.
I’m hoping to get one amazing pheno, so clones were taken from all plants in a hope for the lemon holy grail. HOLY TRINITY = SHARP LEMON SMELL/ROCK HARD CRYSTALLY BUDS/ SUPER LEMON TASTE
These nutrients are superb! No burning of the leaves and they completely dissolve in water. I actually spoke to Front Row over the phone about mixing instructions. Polite and well knowledgeable group of guys to say the least. Got my EC issues figured out and all is well.
Thanks for stopping by and see you next week!

Likes
Comments
Share

@_dragon_
Follow
Görsel olarak hoş renkleri ve güzel bir hoş kokusu var onu denemek için heyecanlıyım

Processing
Likes
12
Share


@NutsInGuts
Follow
19.08.2020 - water with plain water
21.08.2020 - nutrient feeding.
23.08.2020 - started lst/nutrient feeding and recharge watering


Likes
45
Share


@PotCasso
Follow
Week 2 of Flower: HLG Diablo at 70% 20in from canopy.
Watered in at 800ml top dressed 2tbs bloom, 1tbs bloom2, 3 tbs barley a recharge day and a silica day. I also watered in a kelp tea. Really loving the HLG 350 Diablo, morphology and growth are just fantastic.


Likes
3
Share


@JuanPablo5280
Follow
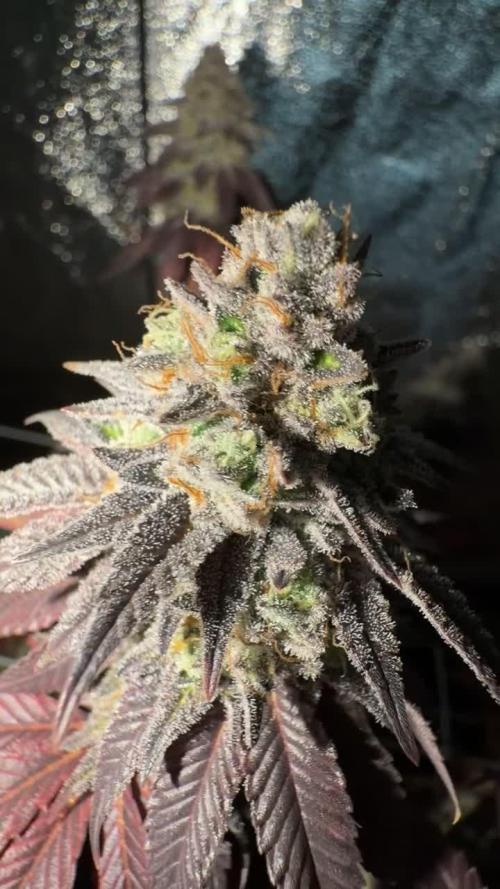
Shes Starting to smell reallllly good! I shouldn't have too much larf if i had more room to spread her out in early flower she would be producing alot more.
Likes
22
Share


@Weedbadk
Follow
Día 1 y todas germinaron súper rápido 3 días
Día 5 desde puesta en sustrato
Ya todas están arriba
Estoy solo pulverizando el sustrato
Temperatura 23c humedad 75%
Likes
12
Share


@chrisss
Follow
Day 57) nothing
Day 58 ) Fed ph”d recharged water, half a gallon
Day 59) nothing
Day 60) Fed calmag and bloom , lotta calmag cuz I see cal def
Day 61) nothing
Day 62) flush with 2 gallons of phd water
Day 63)

Likes
39
Share


@Roberts
Follow
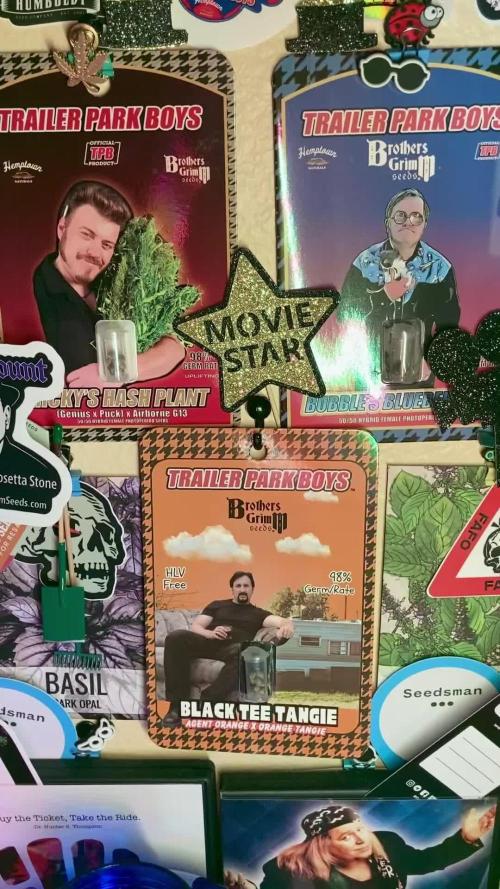
I am dropping Bubble Gum OG Autoflower from Ganja Farmer. The seed was scuffed and dropped in water. I will be growing her under Spider Farmer G5000/UVR40 lights. She will be in Athena blended line nutrition. Thank you Spider Farmer, Athena, and Ganja Farmer. 🤜🏻🤛🏻🌱🌱🌱
Thank you grow diaries community for the likes, follows, comments, and subscriptions on my YouTube channel. I greatly appreciate all the support. 🌱🌱
🌱https://youtube.com/channel/UCAhN7yRzWLpcaRHhMIQ7X4g


Likes
29
Share


@Caertner
Follow
Endlich fertig! Nach nur 18 Wochen kann Bonzai geerntet werden.
Ihr werdet es vermutlich auch so machen: ganze Pflanze trocknen... aber diesmal werde ich sie inkl. Wurzel "welken" lassen!
Nächster Eintrag: Harvest!
Wunderschöne Farben! Sehr herbstlich :)

Likes
4
Share


@Sadom
Follow
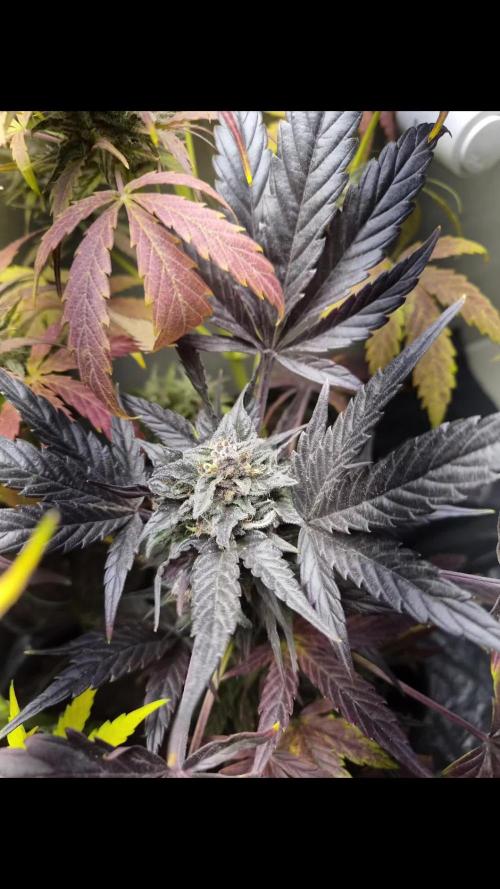
27.07.: Zu Beginn von Woche 6 habe ich mich dazu entschieden die G41 an dem Großteil der Triebe zu topen. Dadurch erhoffe ich mir einen buschigeren Wuchs mit mehr Trieben und mehr Zeit für die PBB in Größe aufzuholen. An den Schnittstellen, wo die Pflanze getopt wurde ist an einigen Stellen ein roter fast blutähnlicher Saft ausgetreten. Ich hab vorher noch nie gehört oder gesehen, dass das passieren kann und weiß auch nicht woher das kommt. Die PBB brauche ich nur kaum zu trainieren, da benötigt die G41 mehr Zuwendung. Da die Pflanzen größer und die Töpfe mit der Zeit immer trockener werden, verlängere ich die Gießzeit auf 5 min.
28.07.: Heute sind mir zum ersten Mal die Stempelhaare an der PBB aufgefallen. Sie ist also schon bereit für die Blüte. Ich denke, das liegt daran, dass die PBB eine fast flowering Sorte ist. Sie muss aber noch warten, bis sie ihren Platz vollständig ausgefüllt hat.
30.07.: Beide sind gut gewachsen. Die PBB konnte gut gegenüber der G41 an Höhe aufholen. Jetzt sind sie fast gleich groß. Ansonsten gibt es nicht viel zu machen oder bemerken.
01.08.: Zum Ende von Woche 6 habe ich das Scrog Netz installiert. Die kommende Woche werde ich die Triebe immer wieder unter das Netz stecken, damit niedrigere Triebe aufholen können und ein möglichst einheitlicher Wuchs entsteht. Bei der G41 gefällt mir die Anzahl der Triebe schon sehr gut, bei der PBB ist noch Luft nach oben. Ich befürchte allerdings, dass bei der PBB nicht mehr sonderlich viel passieren wird. Nächstes Update ist dann in Woche 7.


Likes
11
Share


@Nookandplant42o
Follow
Hello, thanks for the , wait for a busy week but always paying attention, I bought new batteries for the ph and ppm devices despite being simple, it was since last season with the same battery, with oscillation. But everything was calm, it was resolved We have this amnesia, taken a mini wool cube to a big grodan, with roots already formed, it is inside a 5-liter , great performance with a non-spaced watering, but without much watering, Nutrition ph ppm in the daily, air humidity at 50% 23°C, foliar application after lights close at 200ppm foliage, not much runoff to hold a safe zone.


Likes
6
Share

@CalGonJim
Follow
2/2 12am Hotel is looking great, got a great feeling about this.
2/3 1:31M BILLY MAY'S VERSION OF STRANGERS IN THE NIGHT....THE GREATEST SONG FOR STONER EARS...SO MOVING.
Likes
12
Share

@MrGrowDiarie
Follow
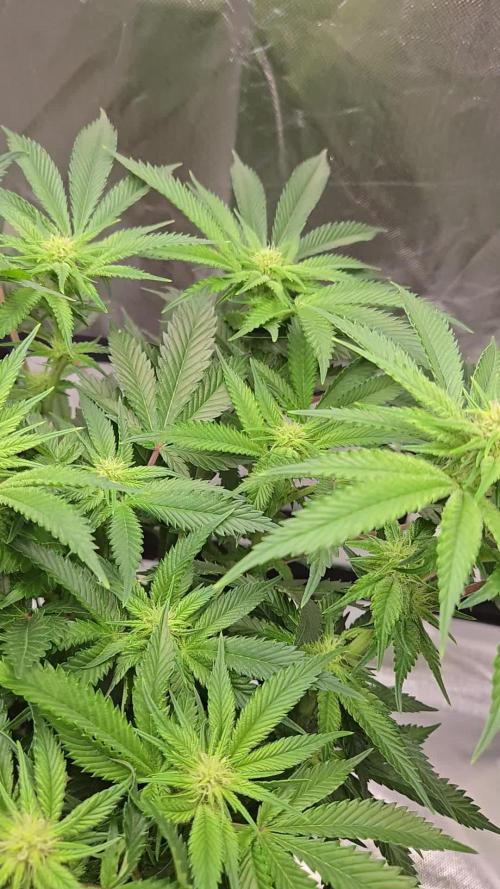
Day 91
he leaves look incredibly healthy, displaying a bright, lime-green color, especially near the top, which is a common and often desirable trait when a plant is thriving under intense light. The leaves are praying (pointing up toward the light), which signals that the plant is extremely happy with its light intensity and environment. The foliage remains dense, maximizing light capture for the flowers below