
Likes
Comments
Share


@Hempy_The_Kid
Follow
08/10/22 watered with Recharge.
Welcome to motel 6
More ladybug porno. Now have yellow ladybugs
8/14/22 this plant is a magnet for ladybugs 🐞

Likes
1
Share

@Provokateur
Follow
Day 20 of flower, had to switch to a closed loop with an ac in the lung room due to high humidity and temps.


Likes
9
Share


@Krissci
Follow
Day 1 repotted
Day 3-4 topped once, but left 4 main stems instead of 2..
Day 6 - topped twice 8* nodes now

Processing
Likes
12
Share


@HylianGrass
Follow
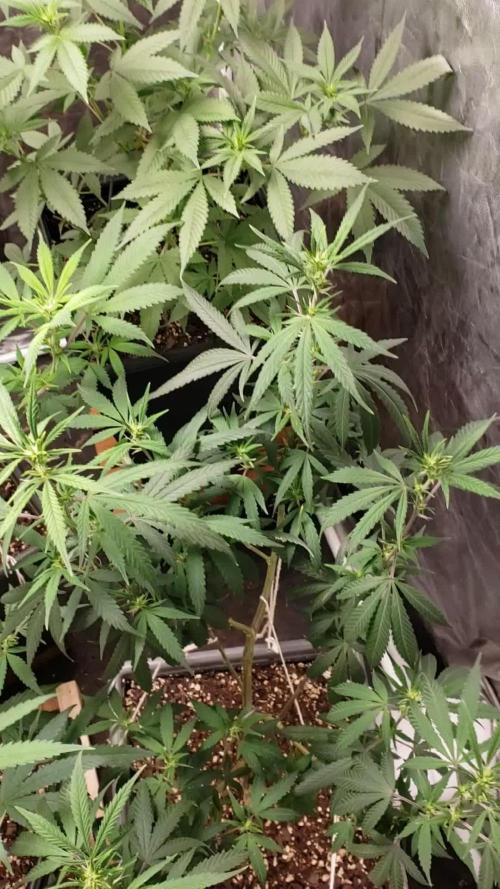
Starting week 7 . Nice purple pistils have shown themselves and the flower are starting to take form. The plants have loved the vodoo juice since the roots have developed more than they used to and the water has never been so clean , and finally the conditions of the growbox are optimal. The plants give a nice citrus and pine smell to the room i am using 80% flowering nutes and removing the b1supermax i am also making sure the plant are going to uptake all the full bloom solution from next week by triggering even more the plant with a. 12/12 light schedule week


Likes
2
Share


@KeemBboomin
Follow
Now that you are all caught up, we are in week three a flower. I just gave them a top dress feet of Gaia green just blown because I still have just a little bit up all purpose in there but other than that I look at them every morning, give a big smile and turn on their favorite Mosark album
Likes
2
Share


@Ninjabuds
Follow
The Bubble OG plants are looking awesome! My tallest one is stacking up with super dense buds. It's crazy to think that the other one is almost ready to chop – the colors are so vibrant. And then there's that short and squat one with the purple leaves. It's definitely the oddball of the bunch, but I kind of like it.
The past few weeks have been so beautiful, watching the plants grow and change. It's amazing how something so small and fragile can turn into something so strong and vibrant. Now that they're getting ready to bloom, it feels a little bittersweet. I'm so excited to see the finished product, but I'll definitely miss having them around while they're growing.
Likes
9
Share


@my420experiment
Follow
Learning a ton as I go.
Started low stress training using rubberized wire poked down into the soil.
Spent a lot of time just tucking the fan leaves down.
I'm an idiot when it comes to watering.
I dont think I'm getting enough down to the bottom of the pot, but dont want to over water.
I'll just continue with what I'm doing.

Likes
176
Share


@DevilsBud
Follow
Week 2 Veg phase
Day 8 Veg phase
This morning the leaves where twisting not sure in the beginning what was happening. pH is 6.5 my humidity in the tent in around 63 to 69 % . And i have the marshydro 1000 on 70% . At distance off 40cm from the plants . I will wait and see.
Day 9 Veg phase
Have bin letting the soil dry up . And today start giving them 2ml per liter In a 5 liter sprayerbottle and added the following nutrients
4Liter Filtered water with pH of 6.5
8ml of the nutrients below :
Advanced Nutrients pH Perfect Bloom
Advanced Nutrients pH Perfect grow
Advanced Nutrients pH Perfect micro
Advanced Nutrients B-52
Advanced Nutrients Voodoo Juice
Advanced Nutrients Rhino Skin
Day 10 Veg phase
Everything looking good besides the waving leaves . 3 part of leaves are slowly coming out 👍. Giving them around 0.3 L per plant per 24 hours
Day 11 Veg Phase
They are growing very nicely in good tempo . Going to be Adding some Biobizz calmag 1ML per 1Liter in the mix today
Day 12 Veg Phase
Everything going good nothing to tell
😎😎
Day 13 Veg Phase
The New leaves are coming out nicely
Day 14 Veg Phase
It was a perfect week for the 2 Cookies Gelato on to week 3 of Veg 👌👌

Likes
17
Share


@ButterfliesLittleFarm
Follow
Hello Diary.
Finished and the fifth week of flowering, a total of the eighth week, Purple Punch looks wonderful. another week or two and there will be a harvest. The flowers themselves are well filled, and are hard to the touch, and the scent is amazing.
As you can see in the photos, the shape of the plant is beautiful, as if I was doing some LST, but I just did defoliation from the lower branches.
The leaves are a beautiful healthy green color, here and there some leaves have become more yellowish with a slight purple tinge, which are the first signs that the harvest is approaching.
Watering is every three days, I stopped adding nutrients, I only regulate p.H of water to values between 6.0 and 6.5.
Conditions on the Farm are satisfactory, the temperature is around 25 degrees while the humidity is below 40%.
Here's what it looked like last week:
17/03/2021 - Day 50.
Watering. I prepared a total of 7 liters of water, adjusted the p.H to 6.3 and watered all three plants on the farm evenly.
Temp / Humidity on the farm - 24.5 degrees and 38% humidity.
20/03/2021 - Day 53.
Watering. The procedure is the same as three days ago.
Temp / Humidity on the farm - 25.1 degrees and 34% humidity.
23/03/2021 - Day 56.
Watering and photography. As for watering, the same procedure as three days ago, after which I photographed Watermelon and her roommates, two Purple Punch.
Now I have to water and wait for the right moment. I check with a microscope the development of trichomes but they are still transparent. That’s it for this week, see you soon.
Likes
101
Share

@DevilsBud
Follow
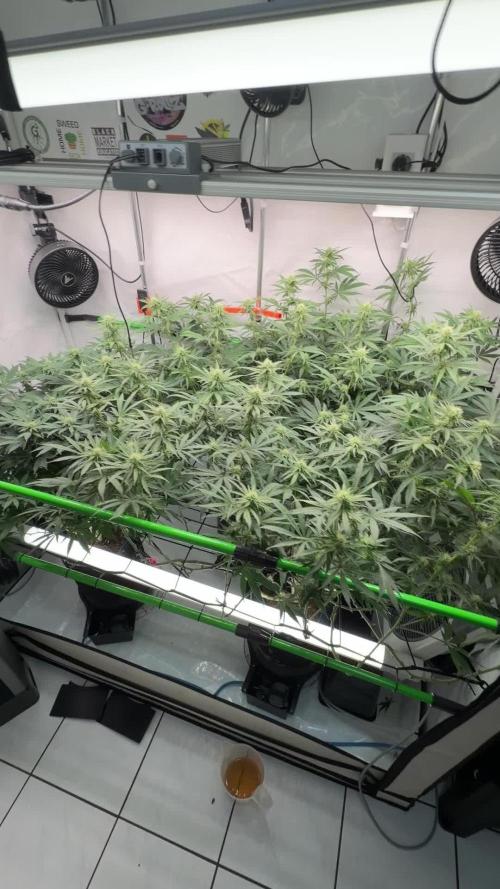
Week 2 of veg Afghani Gold
Start of new week everything going as planned i will be bumping up the nutrients and by end of the week will be transplanting to 8 L fabric pots.
Posting pic of progress Tru the week see you next week
23/9/21 transplant complete mix some Easy Boost Organic Nutrition with my Plagron batmix work great last time also made video
Happy growings Growmies thanks for popping by 🤘🏻
visit www.marshydro.eu
for your best gear and use the PROMO CODE: DEVILSBUD
Fully marshydro supported Setup:
Marshydro GT100X100X180
Marshydro Ts 1000 LED lamp
soil :Plagron batmix
Nutrients :Advanced Nutrients
Advanced Nutrients pH Perfect Bloom
Advanced Nutrients pH Perfect grow
Advanced Nutrients pH Perfect micro
Advanced Nutrients B-52
Advanced Nutrients Voodoo Juice
Advanced Nutrients Rhino Skin
Advanced Nutrients Big bud
Advanced Nutrients Bud candy
Advanced Nutrients Overdrive
Advanced Nutrients flawless finish
Advanced Nutrients Sensizym
BioBizz - Calmag
Mars Hydro tent handy info
Lock All Light Inside: MARS HYDRO Grow Tent Interior is made of diamond mylar. Non-toxic to the environment, no harm to plants. High-quality 1680D canvas being double stitched, (ALL OTHERS BRAND grow tent is 601D canvas) which is tear-proof for perfect light locking, No light leaks or rips at all.
Durability Grow Tent :Stable Metal corner adapters and poles are the trustful supporters of the tent. No rusting nor paint-falling. Quick easy tool-free installation. Carries strong heavy-duty SBS zippers, double layer lining to create a light-proof seal.
Easy Observation of your Plants: Special peek👀 window made by double layers of cloths. Observe the growing conditions of your plants without opening the tent and avoid disturbing plants. The peek window also serves to dissipate heat and ventilate air.
Removable Tray Keep Clean: The package includes a removable waterproof floor tray to hold soil and fallen leaves. The tray can be taken out easily to wash. Removable and water-proof cleaning easy.
Good Ventilation&Fast Assembly: Circular double-sleeved vent holes with adjustable nylon strap for air circulation by exhaust fan, ducting, carbon filter, or reflector. Better allows proper light, heat, and airflow. Quick tool-free installation. Reinforced by a sturdy metal frame to ensure security and stability, supports up to 140lb. Perfectly safeguard your plants to thrive even in winter.

Processing
Likes
23
Share


@Cannibalgardens
Follow
So this week saw lots of frost and leaves praying all day now . The buds are starting to stack nice and smells are strong of fruit and skunk . I've done my contest shots for Christmas entries on both the picture and video strain reviews . Wish me luck 🍀😃.. this is still water only with microbes added in every two weeks now .. may add a bloom next week one time ..
Likes
8
Share


@TightNugs
Follow
Flipped to 12/12 today with final trim b4 stretch.2 clones taken and both rooted in 7 days in the cloner.
Happy growing Nugz 🤞🏴🍁
🍁🍁🍁
Breeder-Mystery photoperiod
🍁🍁🍁
Light-Voost VST 120
https://voost.com/
Discount Code-TightNugs over £200
🍁🍁🍁
Seedbanks-Garden of green,Expert seeds
Likes
17
Share


@The_Doctor_Green
Follow
En esta semana transplante a una maceta de 18 litros definitivamente. La planta en si no ha desarrollado muchas raíces por lo que supongo que quedo pequeña por ese motivo, en los próximos días regare con micorrizas para ver si mejora.


Likes
2
Share
@The_Doctor_Green
Follow
Hola a todos! Perdon por la demora pero ando muy ocupado.
Estas hermosuras comenzaron l a floracion, y vienen bien por el momento.
He regado en baja dosis de fertilizantes.
Regue con un ph de 6.4.
Aun no he medido drenaje.


Likes
6
Share


@CanadianFillmore
Follow
Chop chop, down comes LSD. A steady favorite in my garden, this girl is frosty, sticky, has dense buds and an amazing fruity sweet aroma.
Will update in 6-7 days with the dry weight and smoke report.

Processing
Likes
62
Share


@DudeGrowsWeed
Follow
Happy New Year!!!
Over the past week I did some HST bending on my photos and cut down 2 of the 3 Blackberry’s. The branches are starting to recover and straighten out after the HST now. I still have some issues with pale leaves and a few spots here and there. I’m going to try adding some Dolomite Lime with the next watering and think that should help with the paleness. I’m also going to up the amount of CalMag and Mammoth P to see if that helps with the spotting. I’m not sure if I should see the spotted leaves recover or if the spots will remain. I suspect the spots will remain on the existing leaves regardless of what I do at this point, but hopefully no new spotting will develop.
The lights went off before I was done taking pics, so some pics will look a little different. The pics with the lights on I had to color correct, they still look a little more on the yellow side than in reality, but much closer to reality than the pre-color corrected versions. Once the lights went off I turned the flash on for my camera, those pics did not need any color correction. You can see the differences in the pics of all plants, the first 2 are color corrected with the lights on, the last 2 are taken with a flash and no color correction. Also all close up pics of the Critical+ are with the lights off and flash on.
I read several books on cannabis over the past few days, some good, some not so much. One that I liked was “Marijuana Cultivation Reconsidered: The Science and Techniques For Huge Indoor Yields” by Read Spear. This book is available on Amzon’s Kindle Unlimited service, which costs $9.99/month, but they offer a free 30 day trial (which is what I’m using at the moment). Reed’s book is broken down into 3 sections, the first and third go fairly deep into the science behind growing, he does a pretty good job at breaking it down in easy to understand terms, but I had to read several sections 2 or 3 times to really get it (or just move on with as much understanding as I could digest). The second section is the nuts and bolts of growing. Most was a review but there were several topics he touched on I hadn’t thought of in a while. And again its well written. He also offers the section only in a separate book called “Small Spaces, Big Yields”. If you are not interested in going deeper into the science behind growing, “Small Spaces, Big Yields” is what I would recommend (if interested in reading books on cannabis).
I took some notes while reading and I’m going to add some of these notes in my dairy updates over the next few weeks. This week I’m going to include a note on electrical, this should be a fairly basic concept, but it is super important IMO…
“Electrical Items In a sealed grow room or in a tent, you will have water pooling on the floor from time to time. There is no avoiding this. Mop it up when you see it, and never put your electrical gear directly on the floor. Never. Not even for a moment. In fact, let me stress this point in bold capital letters. ALL ELECTRICAL GEAR MUST BE MOUNTED SECURELY ON A WALL OR TENT POLE.”
-Read Spear
I’ll add more did bits like this in my diaries over the upcoming weeks.
If anyone has any good book recommendations please let me know in the comments. I’m looking for books that might not be as popular as the ones by Jorge Cervantes or Ed Rosenthal (I’ve read those). I did just order “True Living Organics” by The Rev which I’m looking forward to reading. But I’m looking for more. I really want to step it up and learn as much as possible. Your comments, feedback and recommendations are very much appreciated!
Until next time, Happy Growing! Stay Positive! And have an amazing 2019!!!


Likes
10
Share


@teabee
Follow
Overall pretty happy with the grow, had a little mold issues but humidity was way to high for a while.

Likes
39
Share


@J_diaz420
Follow
El día 19 de floración se hace poda de brotes bajos y una pequeña defoliación de hojas de abanico 👍