
Likes
Comments
Share


@organicman
Follow
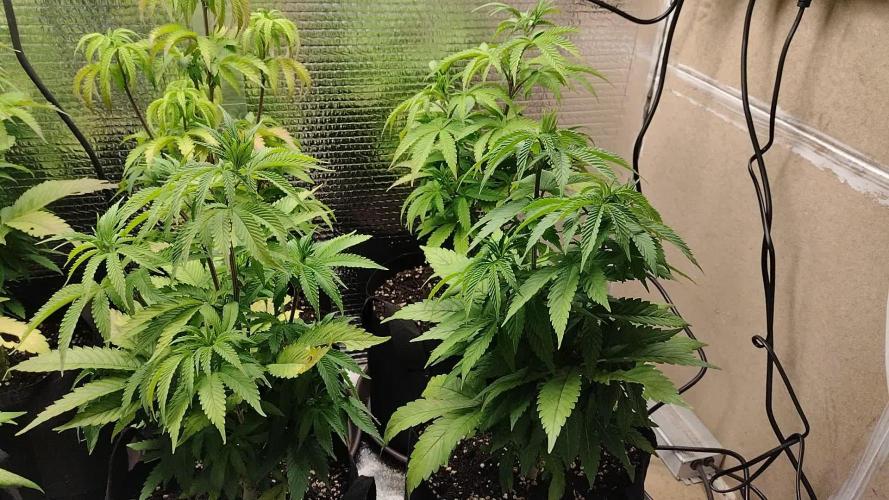
changed individual heights due to post seeding of 4 plants
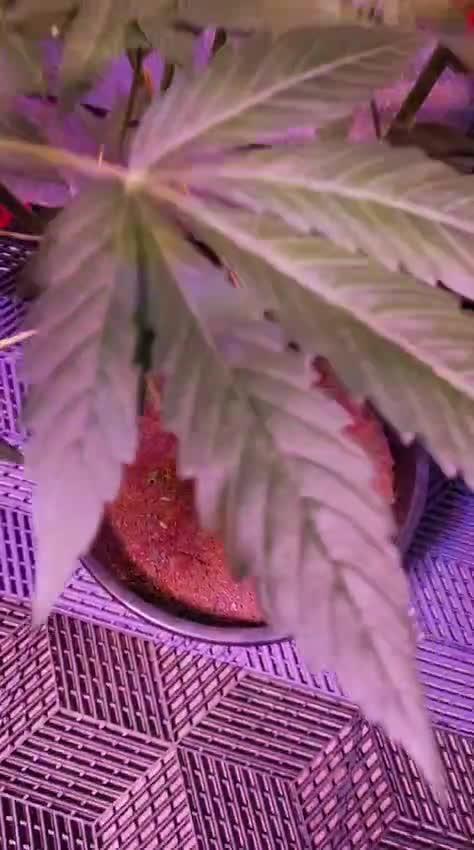
ob1 has lock out (looks like react to little pots and/or not enough lux->lux:12000=>15000 / shows cal+mag-defi->lil xtra calmag+teaspoon of epsom salt top dressing)
ob2 is phyllotaxic
new strawberry pie 2 is phyllotaxic
bg4-th is a cripple
hb2 is tiny
____________________________________________
light- and watering schedule: see photos
now:
16 plants
3 x Auto Orange Bud > Dutch Passion (early80's)
3 x Haze Berry Automatic > Royal Queen Seeds (2018)
2 x Auto Euforia > Dutch Passion (late 90's)
2 x Auto Bubblegum > TH Seeds (late 80's)
2 x Original Auto BubbleGum > Fast Buds Company (late 80's)
1 x Strawberry Pie Auto > Fast Buds Company
1 x Gorilla Cookies Auto Seed Stockers (2015)
2 x Auto White Widow x Big Bud > Female Seeds
setup + strategy:
18 seeds
3 x Auto Orange Bud > Dutch Passion (early80's)
3 x Haze Berry Automatic > Royal Queen Seeds (2018)
3 x Auto Euforia > Dutch Passion (late 90's)
2 x Auto Bubblegum > TH Seeds (late 80's)
2 x Original Auto BubbleGum > Fast Buds Company (late 80's)
2 x Strawberry Pie Auto > Fast Buds Company
1 x Gorilla Cookies Auto Seed Stockers (2015)
2 x Auto White Widow x Big Bud > Female Seeds
setup:
18 x gronest 2 liter
60 cm x 120 cm x 180 cm (2 x 4) growtent
4 l humidifier
25 watt axial fan
15 watt clip fan
ro-filter
bath room with a 50 watts room fan (-> carbon filter not necessary)
...and a lot of odds and ends.
grow strategy:
max yield by stressing with:
1. tiny shoes (2 l fabric pots standing on 3 plastic rings (4 cm) for max oxygen)
2. tiny growspace (18plants on 0.72 sqm)
3. many strains (8 strains)
4. annoying neighbourhood (mixing old - i.e. bubblegum (late 80's) - with young- i.e. hazeberry (2018) - genetics)
5. no stress by light or food or water
6. unintentionally too much food
plus:
- no lst - no hst - just leaf tucking
- positioning bigger strains (euphoria, orange bud, haze berry) or just bigger phenos on less intense light spots (end of tent + edges)
- music-rotation: 24 hrs reggae (for sativas) - 24 hrs classicals (because it's scientifically proofed) - 24 hrs traditionals from the hindukush region (for the indicas)
max efficiency (min electricity - max yield):
- light: 23 h on - 1 h off
- keeping the distance of 18" (45 cm) and dimming to the right par (lux) - value depending on growing stages (see sheet: beginning 185 par ( 10000 lux/100 watt )/end 340 par ( 18000 lux/175 watt )) => ends up in approx. 170 watts in average over max 15 weeks
temperatur management:
- using approx. max. half of what the lamp can do keeps temperature low:
my tsl 2000 is pulling max. 360 watts of the wall - i need only 175 watts, results in less temperature than using a 175 watts lamp
- adjusting the temperature by using a humidifier outside of tent:
blown in humidity is soaking degrees and is transported out by fan, works much better than doing the same with pure air
summer extreme: no humidifier: 36°C / 35 rh - with humidifier: 29°C / 65 rh
works for 1-2 weeks of real hot summer days, no mould, no signs of stress in two summers
germination:
seeding in waterglass
spraying "basic"-water: ro-water (22 ppm) + calmag to 180 ppm every 4 - 8 hours until sprouted
man versus fungus gnat:
5 days before seeding i'm running the tent with "basic"-watered pots as if there were plants inside - led on, fans on, humidifier on. Fungus gnats coming with the soil might take the chance to come out now for breeding. i'm waiting with a 9 mm rifle. in the past i found 6 gnats in 2 of 8 x 50 l biobizz lightmix bags coming out of the soil. i could eliminate every single gnat successfully ;)
rotating harvest:
the little ones will be harvested completely when ready. at this point only the top branches of the big ones will be cut...and the new (basic-watered) pots of the new grow will move into the tent. 2-3 weeks later the secod half of the big ones will be cut and the second half of the new grow will move in...
nutes:
biobizz / soil: biobizz lightmix
bloom,grow,topmax,activera,algamic
+ aminopower instead of bio heaven (too expensive)
individual feeding schedule/once a week:
veg: 200 - 600 ppm
bloom: 600 - 900 ppm
water:
ro-water with:
veg: 100-150 ppm calmag
bloom: 150 ppm calmag


Likes
4
Share

@Beastmaster
Follow
21st oct. Week 9. Just about to change to 12 12 and start them flowering, going to take 8 clones as well.

Processing
Likes
3
Share


@EvilAbed
Follow
It was getting quite hot in the tent, however after adding a fan just in 2 minutes temperature dropped to 27.
Also now i realize LST was too early, some of the small leaves are damaged, however plant overall looks very healthy and strong.
Added supporting structure with bamboo sticks for LST and used softer material for it. Plant looks quite even for now.
Likes
14
Share


@Posterboy
Follow
First week of flower. One of these will end up herming out with nanners over a month later. Can you guess which one?
Feeding is all organic. Once I'm in flower I switched to dry amendments and compost teas and cut out the big bloom. I will also add silica next week as a one time boost.
Likes
10
Share

@Prof_Weed
Follow
Did a good defol this week and immediately she starts to pray, very cool.
Buds are swelling up every day and there is a nice fresh smell in the tent.
I will bring it to the end, i think 4 more weeks to go..


Likes
Comments
Share

@Borberad
Follow
Blütewoche 3
Die volle Blüte
Die Blüte ist in vollem Gange! Die Pflanze hat sich kräftig gestreckt und entwickelt schöne Blütenstände. An Tag 18 wurde gelollipoppt. Das DLI wurde sukzessive auf 40-45 angehoben. Der Düngeplan bleibt unverändert.
* Zustand der Pflanze: Kräftiger Blütestretch, wunderschöne Blütenstände sichtbar.
* Wichtige Ereignisse: Anhebung des DLI.
* Düngung & Messwerte:
* Gießwasser: pH ca. 6,3. Leitwert 1,3 mS.
* Drain: Wir stellen sicher, dass der pH-Wert nicht unter 5,5 und nicht über 6,8 liegt und der Leitwert die +/- 500 myS Abweichung einhält.
* Anpassungen: keine


Likes
46
Share


@PureMedicin
Follow
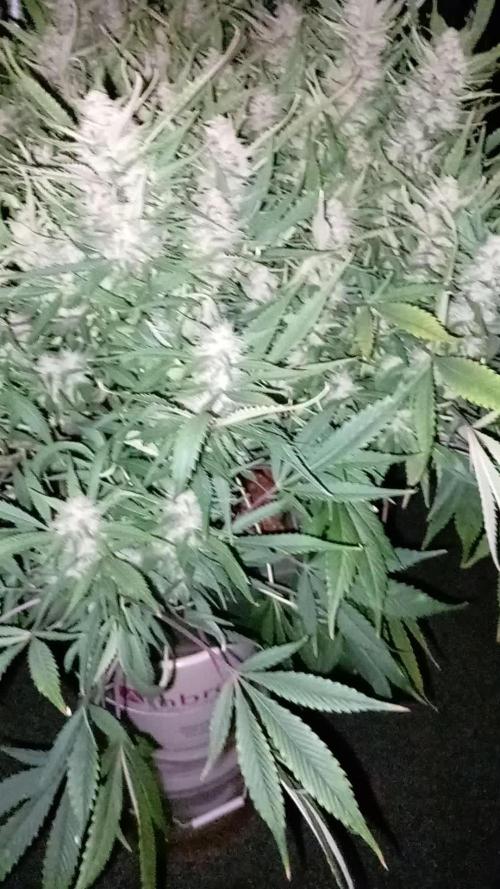
Coming along Very nicely and i already harvested one blueberry 1 week too early but still a very strong smoke and pretty aggressive to the throat. Amasing strain from AMS every seed were pretty amasing one standing out tho and its very frosty.

Likes
9
Share

@World_Breeders
Follow
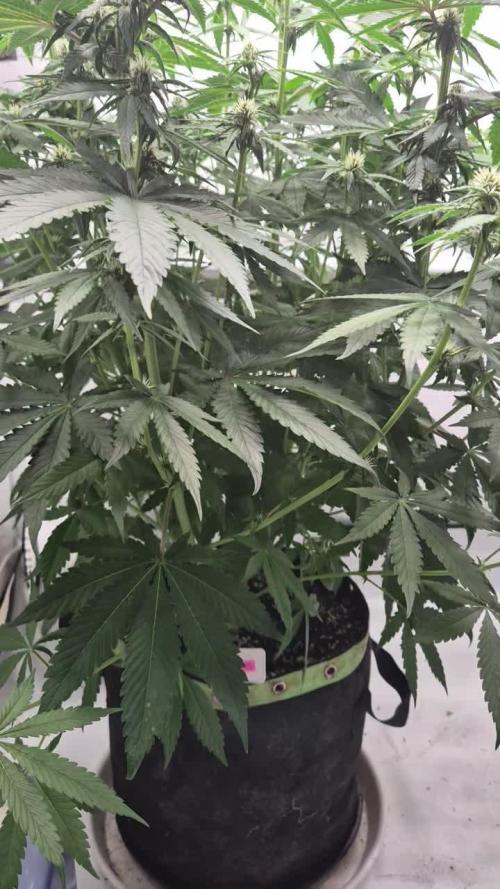
Week 2 Flowering
Pilot #1 continues its transition into the flowering cycle with remarkable vigor, entering week two of bloom with a clear and sustained stretch response. The plant has expanded significantly compared to the previous week, developing a wider canopy and increasing the number of active flowering sites across the entire structure.
The training applied during vegetative growth is now showing its full effect. Branches remain well distributed, creating an open architecture that allows excellent light penetration throughout the canopy. Multiple tops are developing simultaneously, with strong lateral branching contributing to a balanced and highly productive structure.
Flower formation is becoming increasingly visible, with pistil production intensifying at every primary and secondary flowering site. Internodal spacing remains favorable, providing enough room for future flower stacking while maintaining a compact and efficient canopy.
The plant exhibits outstanding vigor and uniformity, with healthy foliage and continuous vegetative activity still present during the stretch phase. Stem strength is excellent, supporting the rapid growth of new flowering shoots and demonstrating a strong capacity to sustain future flower development.
At this stage, Pilot #1 stands out for its efficient canopy management, extensive branching, and high number of developing bud sites. Its combination of structure, vigor, and floral initiation suggests excellent production potential as flowering progresses over the coming weeks. 🌱🔥
Seed: World Breeders
Grower: Piperoots
Likes
36
Share


@TerpTurtle
Follow
Major stretching this week!
starting to fro up with pre flowers & have been selectively defoliating as usual about every to every other day during the time spent with
bought 3 scorg nets like a noob. taking 1 down
Likes
5
Share


@Motorman
Follow
July 28 - August 4
No stopping this girl. She only grew 1/2" this week but those buds keep getting bigger. Finally some smell from the plant. Trichomes extremely clear and short!

Likes
11
Share


@Zurbena
Follow
We moved on to the second week.
The root has already reached the end of the pot.
I am amazed by the root development.
I did not expect such a big root and I think it could have been transplanted a little earlier.
On the twelfth day, he moved to a 22.7 L pot.

Likes
3
Share


@Frenchgeneneticsfarm
Follow
J'avais entendu parler de ce breeders 🧢 il était compliqué de se procurer les graines en France 😞 et puis, j'ai réussi à en avoir 👊via les Etats Unis 🙏👊 j'ai gardé des clones, et croisé le phéno#1 donc celui en vidéo avec un pollen ♂️ Space Runtz de TikiMadman 🔥 et j'ai créé en fin d'année 2021 un CROSS : MAC 🍔 & Cheese 🧀 ♀️Capulator X Grand Daddy Purp original ♂️. Je présenterai un journal de ce strains.
Pour le moment, je reste concentré sur le challenge inhousegenetics"Oneworldoneplant" pour lequel je suis sélectionné avec mon amis @pierrougrow_u21. Que la force soit avec nous 🤘💪J'espère que ce journal, c'est le premier 😉 vous aura plus 🤞 Bonne journée à tous 🔥👊
Djé de French Genetics Farm🇨🇵🌱💚

Likes
2
Share


@AbbyCat
Follow
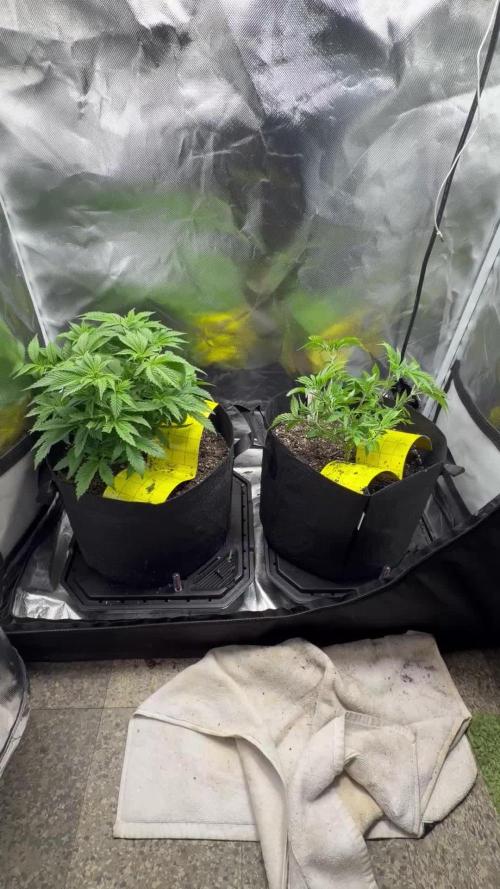
April 22nd
No changes to nut's, temp, or humidity, but we did have to raise the lights with the growth.
I may have mixed up a couple of my Green Crack grow's images but I did the exact same with both grows with amazing results both times, so if you see three then four plants it is due to my well intentioned intent to post each of these as I did them but forgot. LOL
Likes
10
Share


@blueberrykk
Follow
Second time growing Glookies from Barney's. Never had any issues. Top quality!

Likes
11
Share


@TheThiccBud
Follow
sooooo... I have now harvested the plants and they looks so pretty 😍😌 I'm really proud of myself to have produced such THICC BUDS!!! 😅😍 and the smell is so awsome 😵 this strain is a 11 from 10 👌 a realy big Thanks to Royal Queen Seeds for this 2 awsome strains 💪 A detailed rating comes after drying with a detailed score board 😄
Likes
11
Share


@TheBulldozerSicily
Follow
Settimana 12
Lunedì 12/12/2022
8 lt demineralizzata 800ml rubinetto ec 305
Aggiungiamo 20 ml APT 9 ml enzimi ¾ cucchiaino silicate 8 g megabud 4 ml calmagpro
ottendo Ec 2096 Ph 6.2
Martedi 13/12/2022
8 lt demineralizzata 800ml rubinetto ec 305
Aggiungiamo 20 ml APT 9 ml enzimi ¾ cucchiaino silicate 8 g megabud
ottendo Ec 1844 Ph 6.3
Giovedi 15/12/2022
15 lt acqua demineralizzata Aggiungo 30 ml Flaschclean (ec 179) 1 lt per pianta.
Domenica 18/12 raccogliamo.
Likes
15
Share


@Professor_Daank
Follow
Holy shit we boomin'. I actually had to super crop (i think that's what i did) bc one red poison was getting so tall. I had to pull her to 90 degrees... she's already back reaching for the light - I'm not sure what impact this has on my grow, but I think it will be a positive one. She was going to be insanely tall if I hadn't done this.

