


Likes
5
Share

@Jbjibman
Follow
Hype1 still needs a few more days although it is smelling really good, colas are beautiful and there are a few amber trichomes. Topping went perfectly fine :)
SL is still growing very nice, no signs of flowering yet.
WC is still drying in the tent. No snap yet.
Don't worry keep growing ✌️


Likes
12
Share


@Fat_Olsh_Farms
Follow
Will definitely be running 420 fastbuds plants again soon.
Smoke is amazing. Tastes like strawberries and cream and nice energizing high. Would definitely recommend.

Likes
4
Share

@RBG
Follow
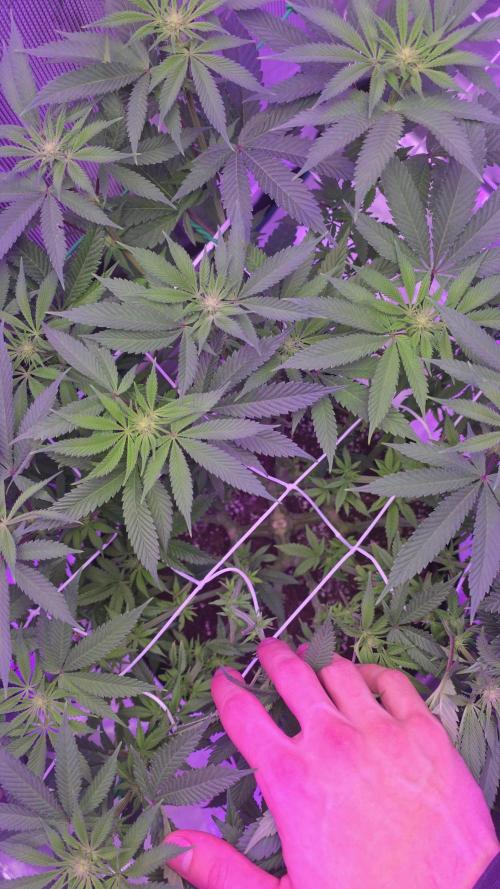
Week 10
Day 1
Lovely stretch! Ive finally got a picture of the mutation im talking about, check it out, they're everywhere on the plant
Also too no smell yet, very veg heavy.
E.c 1.8-2 and ph 5.8-6
Day 5
Starting to smell, a bit musky? Not sure, full defoilation, unfortunately couldn't do it while I was sick so doing it now, only a weekish late but she needed thining put on her lower half
Processing
Likes
13
Share


@Crazy_zx10r
Follow
About a day into week 3 . Growing very strong and fast. Transplanted into the 5gal bags at night . Over week 3 they exploded. They wanted the room .. the 5gal bags made that happen. Amazing results with just foxfarm ocean forest soil.

Likes
51
Share


@felixthegrower
Follow
Well, it was my first diary here, and I'm really happy to had found this amazing community that is so eager to help!
It gave me the opportunity to win the first giveaway in my life 😂 And it was from RQS! These seeds are in my new grow diary, and I really thankful for all the gift received! A special thank to Pol from the RQS staff!
A special thanks to everyone who watched me grow here, and I hope to contribute with the community more and more!
Likes
44
Share


@Prototype0181
Follow
It's been fun to see the 2 different pheno's develop of this strain, but now the Indica dominant one isn't going up anymore. I hope in the stretch phase she catches up with the rest. Switched to 12/12 on the 10th of november


Processing
Likes
7
Share


@Kushizlez
Follow
(Days 21-28)
(Day 23) I like the amount of stretch I’m seeing on practically all the plants. I'm going to lower the light at the end of the week to stop the stretch. The more stretch they get in veg the less I have to lollipop or prune down the road. Makes lst easier too. I’m going to try topping this week. Last time I topped at the 7-10th nodes and didn’t get the best horizontal growth. This round I’m ready to give everything 3 or more toppings, stay on top of training and defoliate much less.
This soil looks insane. I should have added a thicker layer of oats because it’s starting to look proper.
(Day 24) Got my stuff from the hydro store today and amended my soil again. Next visit I will be grabbing a P booster like bat guano before I enter flower. Today, I got the 2gal pots, some primo worm castings, 5-2-4 insect frass, 0-0-22 langbenite, 1-0-3 alfalfa meal and an exhale co2 bag. Guy at the store said it gets his 4x4 tent 1000ppm+. It takes a few weeks at least for it to start putting out any amount of co2. I got the room sealed and two fans bowing.
I fed a compost tea with a little bit of each dry amendment, BSO dry compost, boogie brew base and worm castings aerated for 24h. I diluted it to about 850ppm which still might be a little high.
(Day 25) Opened a bottle of EM1 that was improperly stored and it exploded all over me and part of the tent. I wiped off the plants but there is still specks here and there. Cleaned it off and sprayed with method1 pps.
(Day 26) Topped 9/15 plants. Will do the rest next week once I see a little more growth. 5 of the bbb’s I started 6 days after everything else so they are still quite behind. I’m going to push the transplant another few days until they recover. Going to start lst after transplant.
(Day 28) Transplanting into 1.6gal pots that I thought were 2gals tonight... Depending on how many females I get, they will be going into either 3, 7 or 10 gallon fabric pots. Growth is looking solid so far, zkittlez and the 3 WW’s are leading the pack in terms of growth speed and cotes are yellowing out. I’m pretty sure what I have is a zkittlez bagseed but there is also a strong chance it could have been from some shitty Canadian biker weed. I accidentally misplaced the seed so it’s possible it got mixed up and I germinated the wrong one. Judging by the rapid growth I’d say that’s a fair bet. Biker weed is notoriously fast growing. Either way it won’t be hard to tell once they’re in flower. The white widow is probably going to be a breeze. I’ve heard that’s why it’s so popular too. It’s just a hardy rookie strain with good resistance, decent quality and above average yield. A sure investment. The blackberries are lagging behind but I’m sure they will blow the others away in terms of quality. One of the tunas looks great and the other is a stubby runt. The stubby runt I currently have in flower is killing it right now so I’m not writing it off yet. Can’t wait to see if the tuna god produces some nostalgic smells. Tuna strains are still super popular on the Canadian black market.
I plucked the first set of leaves that were starting to appear on each plant. These branches almost always turn to larf and they're so small I can't that stressing the plants out at all this early. If anything, the zkittlez and white widows need to slow down a bit anyway.
I’ve been doing a shit ton of research over the past year into what causes weed and cigarettes to have black ashes/poor fire holding capacity. Smoking black weed drives me crazy because it’s all the legal and black market have nowadays. The cigar industry has numerous studies on the cause of ash color and burn rate and apparently it has to do with the ratio of mineral content in the soil/water. Soil/water that is high in phosphorus, magnesium, chlorine and other heavy metals will burn poorly and reduce to flaky black ashes. Whereas soil that has higher levels of potassium and calcium carbonate have thick uniform white ashes with no streaks. Calcium carbonate (wood ash, biochar) can also prevent heavy metals in the soil making them unavailable to the plant. I’m discontinuing my “Organic cal mag” as it is full of chlorine which I did not realize when buying it. I’m going to be pretty cheesed if that stuff ruined the burn of my current flowering crop. My dog also found and destroyed my Alaskan fish fertilizer so that’s being discontinued for now too.
Likes
10
Share


@Urunascar
Follow
Siento que me pase de electroconductividad muchas veces en la etapa de transición (reforzando con calcio soluble) y se formaron esas hojas en forma de garra y bien finitas, ahora empezaron a quedar amarillas las puntas también entonces estoy casi que descartando la teoría del golpe de calor extremo, están engordando un poco más y empiezan a tener peso, puse una cuerda más de contención, voy a dar el último riego de esta semana como en la tabla seguido de trichoderma
Processing
Likes
4
Share


@Grow_of_Leisch
Follow
-Bagseed from Breeder (Friend)-
•Cherry Cream
Genetics:
•Ice Cream Man (mother)
x
•Cherry Wine (CBD) (father)
Ratio 1:1


Likes
6
Share


@HUMO_Cultiva
Follow
We start the first week before sprouted! We are excited to look the grow on RDWC!!

Likes
6
Share


@Xpie77
Follow
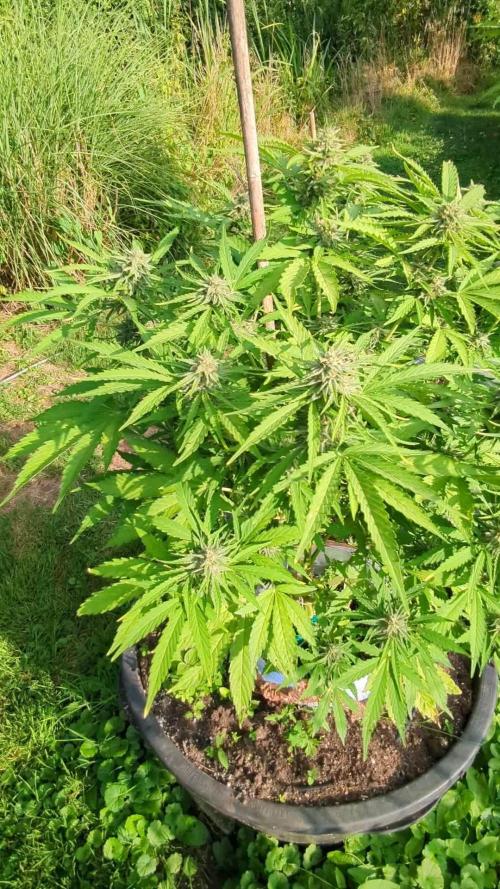
This was a 1 plant going from outside to in. Didn't know what to do but she ended like Crazy 😧 😧 😧 😧

Likes
22
Share


@Theknifeman
Follow
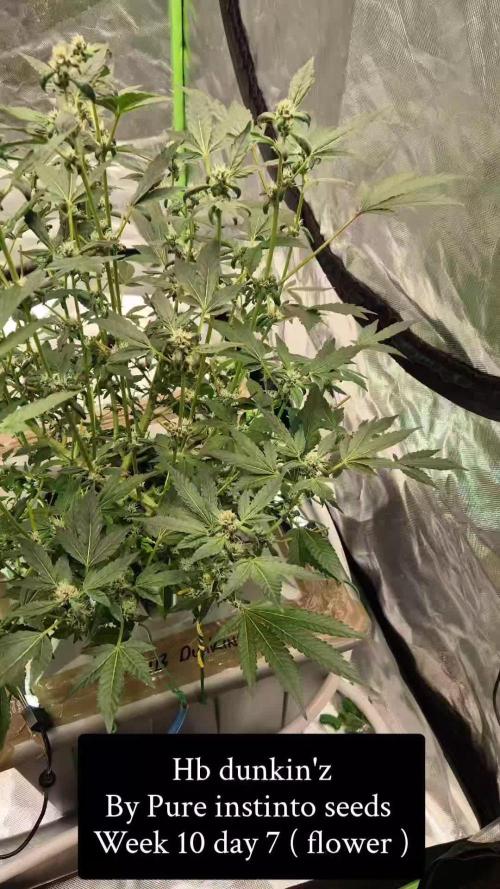
Man, it is getting close, on a couple! Just a few cloudy trichomes showing. Going to hit them with Bud Candy this week then start flushing.
2 are at least 2 weeks behind but starting to fill out more.
The midget...lol...she's still at least 4 wks and a mystery.
If you're looking for a strain that doesn't overpower with smell, this is it. Hardly noticeable at all.

Likes
5
Share


@DieGrowerAG
Follow
29.09.2024 Honey Cream Indoor
1/2 grew with out complications so I toopt her and trains her lower leaves out to create a even canapé. The other had to much water an the leaves start curling so I just let her recover and then I can top her as well and start training her leaves out l.
Likes
1
Share

@GrowHero420
Follow
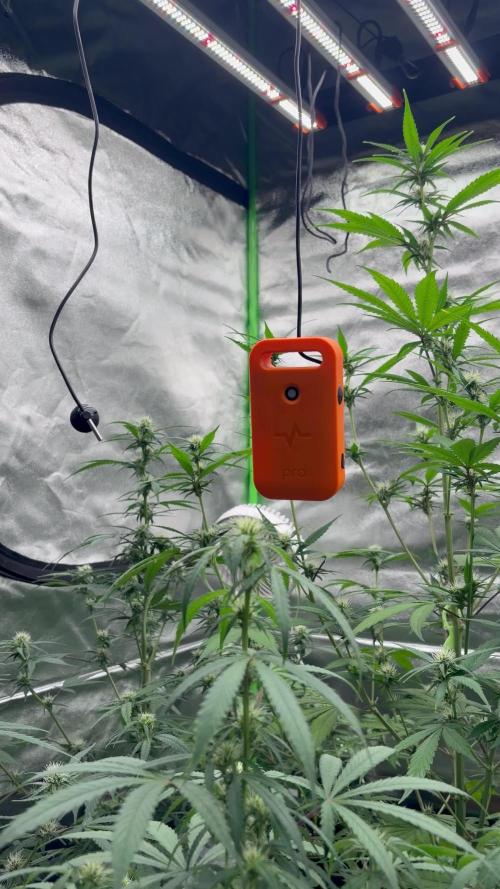
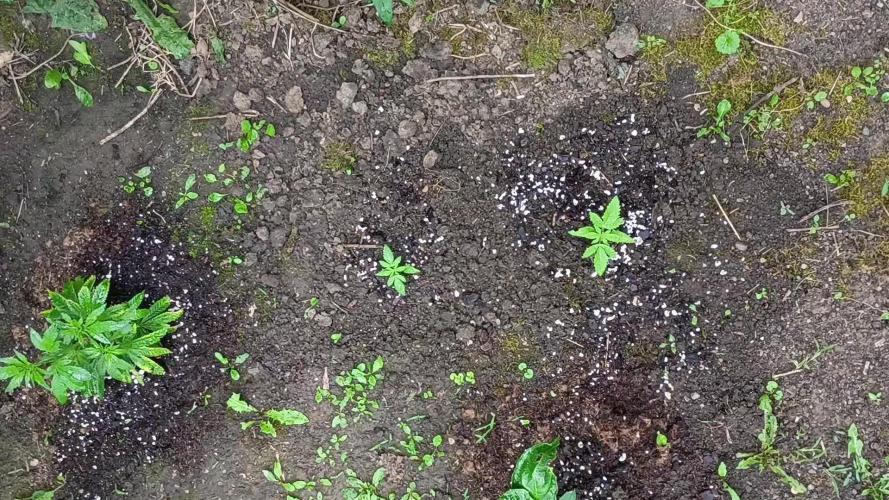
Lots of rain 🌧️ equals amazing growth and amazing plants.Dailing in the right nutrients is a key 🗝️ factor right now.
