


Likes
3
Share


@Cysolja
Follow
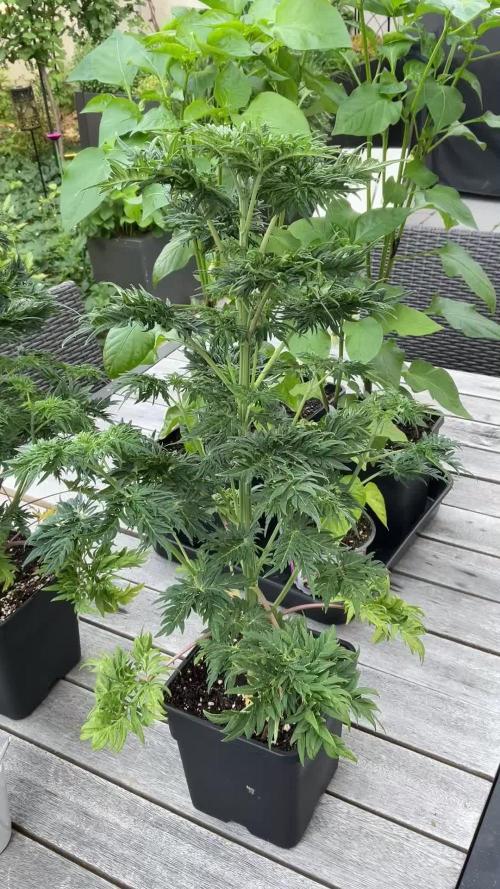
Since topping her last week she has become really bushy and is loving her grow sack at the minute will be flipping to 12-12 at the end of this week. Loads of new bud sites growing up to the net so excited to see how she flowers!

Likes
5
Share


@jonjay
Follow
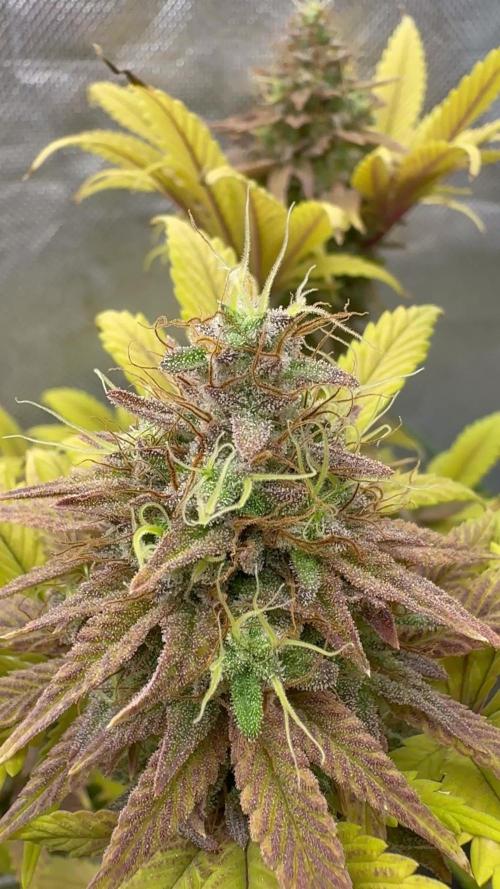
Last watering, mostly cloudy, some amber. nutrients mostly depleted. harvest in a few days when soil is dry. 45%RH, 70F.

Likes
4
Share


@eldruida_lamota
Follow
Que pasa familia, vamos con la segunda semana de floración de estas Tropicana poison F1 de Sweetseeds.
Vamos al lío , las 3 plantas seleccionadas fueron trasplantadas a su maceta definitiva, ya superaron el shock por el trasplante, estas semanas las paremos todas a floración.
El ph se controla en 6.2 , la temperatura la tenemos entre 20/22 grados y la humedad ronda el 50%.
El ciclo de floración 12h de luz, el foco está al 100% de potencia.
Las jodidas estiraron demasiado, veremos como acaban, no me gustan tan altas.
Hasta aquí todo, Buenos humos 💨💨💨

Likes
26
Share


@CannaBoy7
Follow
#myseed.ge
#soil-N1
#mysun.ge
#GROWROOM
#MYSEED-GROWROOM
The second LST and Defoliation

Likes
20
Share

@Tower84
Follow
🇩🇪 Woche 6 – Mentha de Croco (Terpyz) 🌱🔥
Die beiden Mentha de Croco entwickeln sich weiterhin hervorragend und legen in Woche 6 nochmal ordentlich an Größe zu 🚀🌿
Mit aktuell 47 cm und 40 cm wirken beide Pflanzen kräftig, vital und sehr gesund. Die Farbe ist sattgrün und gleichmäßig – genau so, wie man es sehen will 💚✨
Die tägliche Gewöhnung an Outdoor-Bedingungen läuft weiterhin problemlos ☀️🌬️ Tagsüber genießen sie frische Luft und Sonne, abends kommen sie noch zurück ins Zelt. Die Pflanzen reagieren darauf extrem robust und zeigen keinerlei Stresssymptome 💪
Nächsten Samstag ist es endlich soweit: der finale Umzug in die 30L Endtöpfe steht an ?🔥
Verwendet wird Bio Hanferde von Sonnenerde – eine starke Grundlage für die kommende Outdoor-Phase 🌱🌍
Besonders spannend: In einem der Töpfe wurde mit Klee als Gründüngung gearbeitet 🍀
Dieser wird seit zwei Wochen konsequent zurückgeschnitten und direkt als Mulchschicht verwendet. Dadurch bleibt die Oberfläche geschützt und das Bodenleben wird zusätzlich gefüttert – Living Soil Vibes pur 🔬🌿
Insgesamt laufen beide Pflanzen absolut stabil und sind bereit für den nächsten Wachstumsschub draußen 🌳☀️
---
🇬🇧 Week 6 – Mentha de Croco (Terpyz) 🌱🔥
The two Mentha de Croco plants continue to thrive and made another impressive jump in week 6 🚀🌿
At 47 cm and 40 cm tall, both plants look strong, vigorous, and very healthy. The color is rich green and perfectly even – exactly what you want to see 💚✨
The daily transition to outdoor conditions is still going smoothly ☀️🌬️ During the day they enjoy sunlight and fresh air, while evenings are still spent inside the tent. The plants handle this routine extremely well with zero signs of stress 💪
Next Saturday is finally the big day: moving into their final 30L outdoor pots ?🔥
They’ll be transplanted into Bio Hanferde by Sonnenerde, providing a strong organic foundation for the outdoor season 🌱🌍
One of the pots has also been prepared with clover as a green manure cover crop 🍀
For the past two weeks, the clover has been consistently chopped and dropped as mulch, helping protect the soil surface and continuously feed the microbial life – pure living soil vibes 🔬🌿
Overall, both plants are looking incredibly stable and ready for the next burst of outdoor growth.

Likes
42
Share


@AsNoriu
Follow
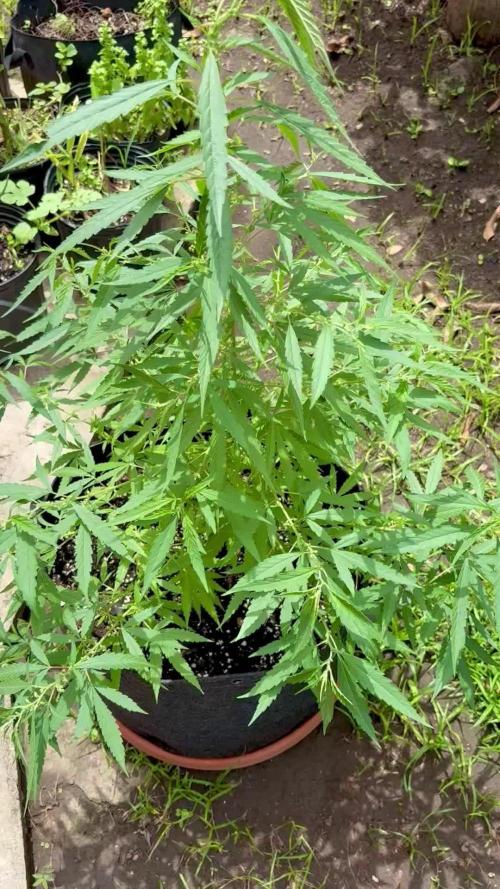
Day approx 30 since seed touched soil. They are good, on last day before holidays i visited them, all are growing, a bit overstretched, but the lack of good light on such low level is blocked by surrounding, they should be better when i will return.
One month of holidays ;)))))
Happy Growing !!!

Likes
9
Share


@Canadamade420
Follow
Her buds are getting huge. The trichomes are everywhere now and the smell is amazing. I had to add a lot of string just to support the branches. This strain is growing so incredible, I love it. I wish I had more of this strain. It was my only seed for now.
Very happy (10/10)

Likes
141
Share


@Le_Duc_Du_Bud
Follow
Début de la 4ème semaine de floraison
17/11 - Days 36 : pousse très bien , très belle couleurs.
18/11 - Days 37 : début de carence (PK) sur la 2eme northen lights.
19/11 - Days 38 : défoliation légère sur les 3eme northen lights, Arrosage 1 litres/plant + ActivVera 2ml + Sugar Babe 2ml + Bloom 3ml + BioBizz CalMag 1ml -> Pour aider la carence .
20/11 - Days 39 : bonne odeur aussi saute au nez , aucun problème.
21/11 - Days 40 : RAS
22/11 - Days 41 : RAS
23/11 - Days 42 : Arrosage 1 litres/plant + Sugar Babe 2ml + Bloom 3ml + BioBizz CalMag 1ml + Booster 3ml
Heureux plus de signe de carence .
Par contre température base à cause du climat actuelle.
Fin de la 4eme semaine de floraison.

Likes
4
Share


@SEGA_Y_Griega
Follow
13.3.23 verschüttetes sauberes Wasser 150 (ppm) hervorragende Entwicklung im Moment
Do-Si-Dos-OG-Cannabis-Samen sind ein weiteres von der US-Westküste inspiriertes Meisterwerk. Es war nur eine Frage der Zeit, bis Girl Scout Cookies mit unserer Colorado Ghost OG kombiniert wurde, die beide das Rückgrat unseres Strain-Sortiments bilden, um diesen potenten, indicadominanten Hybriden zu kreieren, der nach nur 60 bis 65 Tagen Blütezeit erntereif ist. Gönn deinem Körper und Geist eine entspannende, stimmungsaufhellende Behandlung mit diesem Raucherlebnis par excellence, das mit dem Geschmack von süßem Gebäck und vollmundigen, sahnigen Aromen deinem Gaumen schmeichelt.
Alle schriftlichen und visuellen Materialien sind nur für Informations- und Bildungszwecke bestimmt.
Diese Woche habe ich mich entschieden, ein großes Zelt Mars Hydro 120•120 zu installieren, für eins und eine Lampe mit großer Reichweite FC E4800. Ich habe die Klimaanlage eingerichtet, jetzt liegt die Temperatur bei etwa 24, ich habe zwei Lüfter installiert, um den Secret Jardin Monkey Fan 20w zu blasen, ich wollte sie schon lange kaufen. Die Heizung funktioniert auch! Hoffe es wird bald wärmer 😅


Likes
9
Share


@Fullbustero
Follow
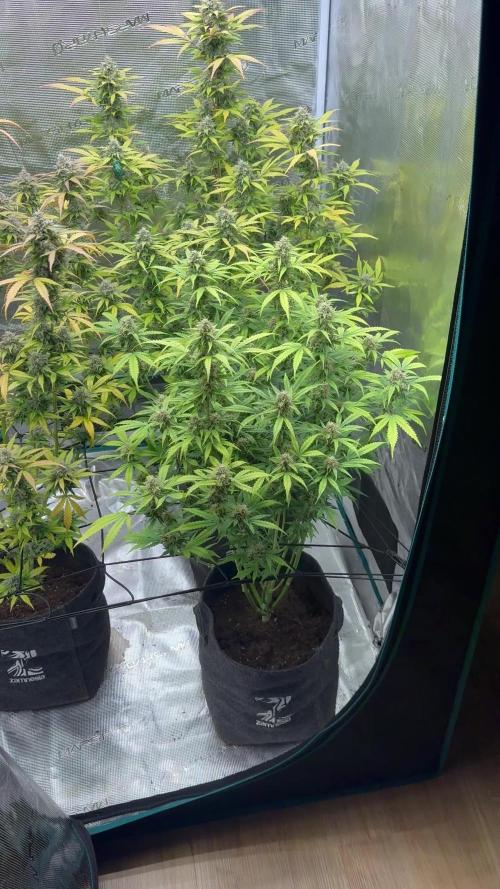
This week seems kinda no improvement. I have this feeling but i cant expplain why.


Likes
8
Share

@Organic473
Follow
This guy and all his bloom. I will harvest now and save the pollen the… blueberry skunk has been pollinated so many times already via pre flowers… when I do start flowing his her I am interested to see how those seeds will turn out.
This skunk male is a champion!

Likes
20
Share


@Boomdrawfyah
Follow
Dia 76 desde la germinación y 48 dias después del trasplante se empieza a notar la robustez de las plantas ya miden bastante alto casi 2 M , y estan bastante ensanchadas, lo único que se puede notar la 1051 , sus ramas crecen muy rectas hacia arriba ,la white noise crece con las hojas un poco onduladas aunque no afecta a la planta. Pronto las amarraremos y ataremos con una estructura para que esten más cogidas y distribuidas las ramas y mas seguras contra viento y lluvias que empiezarán en septiembre

Likes
8
Share


@GrowingABushWithButch
Follow
It's week 01 Day 02 Of 12/12 For My 02 Kombucha Cream By atlasseed . And For My Snow White & SpliffStrawberry By Spliff Seeds Amsterdam . So Yesterday All 4 Lady's Received there Transition Feed. And Prep For Flower. The Kombucha Cream 3-Part And Snow White. Received 4ml Of Emerald Harvest Nutrients Grow, Micro,Bloom,6ml of Emerald Goddess, 4ml Of King Kola, 4ml of Honey Chome And 4ml of Quad.AG Products Fulonic. pH at 6.3 ppm at 766. On Runoff. My Kombucha Cream 3-Part as a pH of 6.5 and ppm at 932. My Snow White as a pH of 6.4 and ppm is at 723. The Kombucha 2-Part and SpliffStrawberry Received 5ml of Emerald Harvest Cali Pro Grow A&B,6ml Emerald Goddess, 4ml King Kola,4ml Honey Chome And 4ml Of Quad.AG Fulonic. I pH the Kombucha Cream 2-Part at 6.2 Ppm at 613. On Runoff pH is at 6.3 ppm is at 833. My SpliffStrawberry I pH at 6.5 the pH was a little low on my last feed. Ppm is at 613 l. On Runoff pH is at 6.0 ppm is at 756. I like a pH of 6.2 in Flower I will work on getting the pH at 6.2 on the next few feeds.The Plants are really Loving Life Very happy and Perky This Morning.
Happy Growing Growmies 🤘🏻


Likes
459
Share


@Ju_Bps
Follow
Hello my friends 👨🌾👩🌾,
This 5th flowering week was good, Buds bump much this week 🌲 and continue to along. And sweet orange 🍊 pistil.
I just spray an insecticide in the box, not really on the plants, because lot of flyers.... Since look a bit better.
💦 1 Watering this week 1.8l/plant .
Water + Terra Flores + Canna Boost + pk 13-14
PH@6
Lamp @100%
Thanks community for follow, likes, comments, always a pleasure 👩🌾👨🌾❤️🌲
See you next week 👊👊
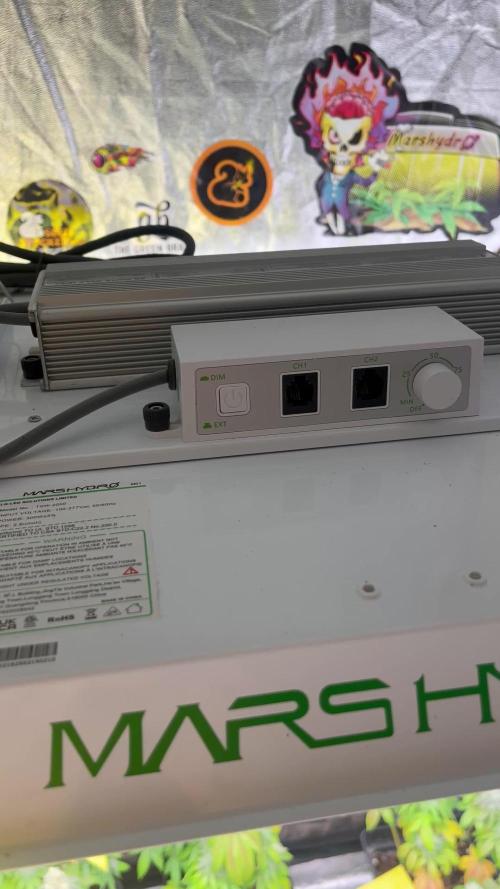
Mars Hydro - TS 1000
https://www.mars-hydro.com/ts-1000-led-grow-light
Mars Hydro - FC3000
https://www.mars-hydro.com/fc-3000-samsung-lm301b-led-grow-light
Mars Hydro - SP3000
https://www.mars-hydro.com/sp-3000-samsung-lm301b-greenhouse-led-grow-light
The High Chameleon - Vannila T
https://www.thehighchameleon.com/shop/vanilla-t-5

Processing
Likes
29
Share


@Reaper
Follow
ph meter is broken. i use ghe liquid to read ph lol
ph goes down every night. 650ppm is still too high for this strain, drinks a liter everyday
i need a bluelab ph/ec meter
2 Februari:
the buds start to appear on the hydro plant with thc everywhere lol
Likes
14
Share


@BruWeed
Follow
Todo su desarrollo fue perfecto, no tuve ningún problema con nada, la planta se fue formando sola de manera perfecta. Me sorprende los pesados que son los cogollos y lo lleno de resina que están, en un mes aproximadamente pretendo ya probarlo para ver que onda el pegue.
Solo tuve un problema que fue culpa mía por el tema de la humedad ya que una pequeña parte de la planta fue afectada por moho, pude solucionarlo rápido y sin ningún inconveniente alguno.
Como ya dije más arriba recomiendo el banco de semillas de BSF SEED, las mejores plantas que tuve fueron gracias a sus semillas de muy buena calidad.

Likes
11
Share
@eldruida_lamota
Follow
Que pasa familia, vamos con la octava semana de floración de estas Fishy Zoap feminizadas de Seedstockers.
Vamos al lío ,se trasplantaron en macetas de 7 litros definitivamente.
El ph se controla en 6.0 , la temperatura la tenemos entre 24/20 grados y la humedad ronda el 50%.
El ciclo de floración puse 12h de luz, el foco está al 100% de potencia.
De momento está yendo todo bien están madurando ya, tienen un aroma fuerte , y han tricomado por el momento de lujo.
Comentar de nuevo que el estrés hídrico fue superado sin problemas, esperemos que no surja nada más.
Gracias Agrobeta por el envío de la Gold series para esta temporada, se vienen cositas .
- os dejo por aquí un CÓDIGO: Eldruida
Descuento para la tienda de MARS HYDRO.
https://www.mars-hydro.com
Hasta aquí todo, Buenos humos 💨💨💨