
Likes
Comments
Share


@Sup3rNov4
Follow
She is looking fantastic the buds started putting on size yesterday last couple weeks me things can’t wait to try her


Likes
26
Share


@UkDank420
Follow
Shinning silver haze start of week 8 really starting to stink now :) can’t wait to taste it growing really well with no problems will definitely grow this strain again :)

Likes
11
Share


@adam_pawloski87
Follow
Such an amazing flower, really great especially a phenomenal hash producer yall will be super satisfied with this one!! She’s a shorty but Make sure you top 4 to 6 times or even more to have all them gooey bud producing heads , Dirtyblonde is absolutely an amazing plant!!


Likes
7
Share

@GoodTimesOrganics
Follow
Hi liebe Community and Welcome Back! 💚
Woche 8 im Vergleichsgrow!
Bio Tabs NL. vs. Weedefix (Stuttgart/ Germany)
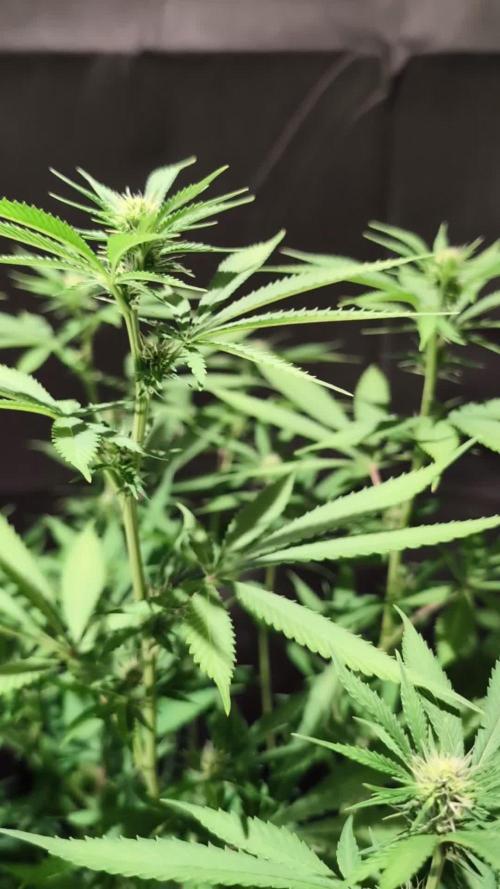
Hier im Weedefix Grow haben wir nun nach 59 Tagen des Einpflanzens eine Höhe von 110cm erreicht.
Blütetag: 14 (BW2)
Nach der zweiten Blütewoche, lässt sich eine sehr ähnliche Performance der beiden Düngersysteme beobachten, außer dass bei Weedefix die Blätter nach wie vor eher heller sind.
Der Stretch bei dieser Pflanze verläuft sehr homogen und alle Triebe sind im Schnitt 110cm hoch.
Es bleibt spannend!
Diese Woche, habe ich einmal mit Wasser und 5ml Wachstum (Ferment mit Melasse und Hefeextrakten) gegossen.
Ansonsten nur Wasser.
Und es zeichnet sich weiterhin ein stärker werdendes Aroma ab.
Die Bedingungen im Growschrank sind für den Anfang in Ordnung, auch wenn es aktuell schwül ist!
—————
🌞 Temp: 26
🌚 Temp: 18°C bis 19°C
💨 RH: 64%
VPD: 0,78 kPa
💡ppfd: 630 mpm
—————

Likes
20
Share


@Luv2Grow
Follow
Day 64 - Starting week 10 and she is getting sticky and stinky. I did a pretty decent defoliation tonight, just to try and get some of the undergrowth going. The way she’s going, she might only have 2-3 weeks left but I have plenty of meds right now so I’m not in any sort of rush. I see ZERO signs of any sort of nute burns so I’m really starting to like the new nutes and so easy to mix.
Day 65 - Looking great right right now and went ahead and lowered the lights a bit, they’re now about 12” above the canopy. I had 3 other grows going on but for the second time in a couple months the wife left the tent open this morning and didn’t check before she left the room and one of our cats was in there and they destroyed my 3 little ones but left this and my Sour Raspberry Kush alone so deciding what to start next. She’s good on water until the weekend sometime.
Day 66 - Ended up having to give her about a gallon and a half of water tonight, she ended up drinking up what was left I guess. The lights being about 12” away seem to be doing her good and not bothering her at all.
Day 68 - Man oh man, she is frosty as hell and smells really sweet. By the looks of trichs and pistils, I’m probably gonna give her two more weeks until she gets chopped. If she needs longer, I’ll give her more time but I think 2 weeks should be plenty. She drank a ton of water so she might need more either Sunday or Monday.
Day 69 - She’s definitely ready for some more water but gonna hold off for another day, just to let her dry up a bit more. I’m gonna do another defoliation tomorrow as well and she should be good to go till the end.
Day 70 - She was ready for water today and gave her another feeding of nutes. This will be the last one and next watering I’ll flush with the Sledgehammer and she’ll just get water until she’s done. She is so damn frosty and sweet smelling, she’s gonna be a pain in the ass to trim.

Processing
Likes
9
Share


@Bakeryguy420
Follow
Gelato what a fucking beautiful plant she is becoming :)! Shit literally looks like some mephisto genetics frosty as fuck. Shit wish I had another tent I'll run the rest of my gelato seeds this shit is prob going be my fan favorite :) but fast buds still has plenty more for me to grow. Tbh every fast buds I grown I haven't been disappointed:).
Looking to harvest this one in next 4 weeks or so so excited:)! Easily 4 zips calling it now ! :)
Likes
15
Share


@I_Identify_As_A_Dan
Follow
Week 6 for Gelato 41
Besides the sad injury she suffered from her accident (losing a main top branch), shes really starting to take off at a rapid pace wouldn't say its the same plant from the week before.
Shes definitely a bushy girl, the bottom branches have fully caught up to the tops. Going to start training her a bit size ways now as she clearly favours getting bushier.
Also gave her some outdoor sun for 3 days in a row as we had some cloudy days to start hardening off her leaves, but not fully transitioning fully outdoors just yet.


Likes
30
Share


@DrewbieDoobieNoobie
Follow
I can see the finish line. I started the flush this week 5/2/19 nothing but Harvested Rain Water 25 PPM filled both 5 gallon pots nice and slow to saturate the coco until I had runoff. I checked the drip pan PPM was 1986 I'm sure the residue from the other feedings were still in the pan from weeks past.
I collect a clean sample of runoff today 5/5/19 with a 5 gallon flush on each pot and check that. 1100 ppm I used the Flawless Finish on the 5 gallons to clean out most of the salts let the plants slowly eat up the reserves in the fan leaves. I am seeing the yellow fade of autumn now. will let dry out for 2 more days and Flush again with the Flawless Finish on 5/7/19 PPM 390 I am seeing the fade to yellow on the shorter one the tall one is still green but the PPM on both are at 390. another 2 day dry out last flush 5 gallons of R/O WATER. on 5/9/19 The time-lapse files got corrupted 😥 but I shot a live video of some close ups. Cut of the SCROG and wow are they sticky. the smell is really strong now. Thanks for all the support and advice on this grow. I have to have patience for the chop, all most there.

Likes
35
Share


@SantaStone
Follow
Hello friends! 👋
Thank you to everyone who stops by and shows interest in this beautiful Biscotti Mintz!😎
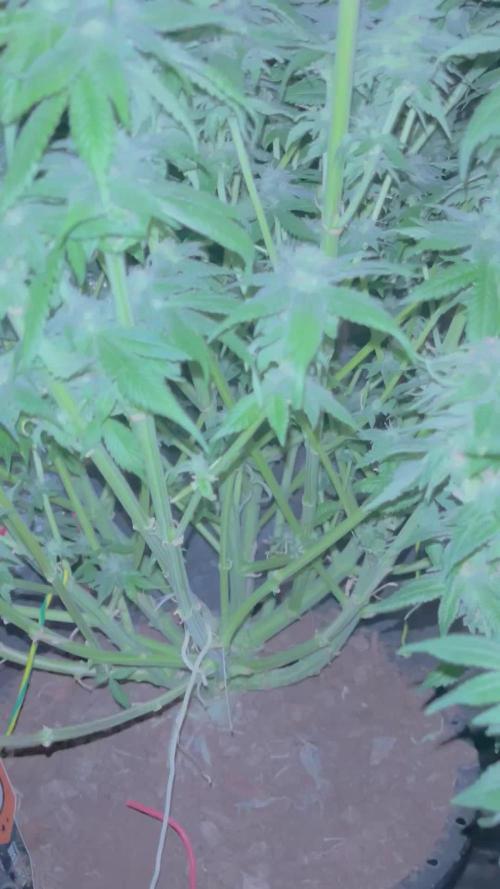
🌿So week 4 of flowering has come to an end. The second stage of the big, long-awaited defoliation.
-80% of leaves and extra branches were removed.
-We remove Bud Factor X from the diet for one week, because it artificially causes stress in the plant to produce oils. We'll add it again in a week.
-A humidifier has been installed. It is necessary to achieve humidity +- 85% for about 5 days, while recovering from defoliation.
-No problems or deficiencies were found in the plant.
See you later! 👋🤙
Перевести страницу

Likes
15
Share

@Rangaku
Follow
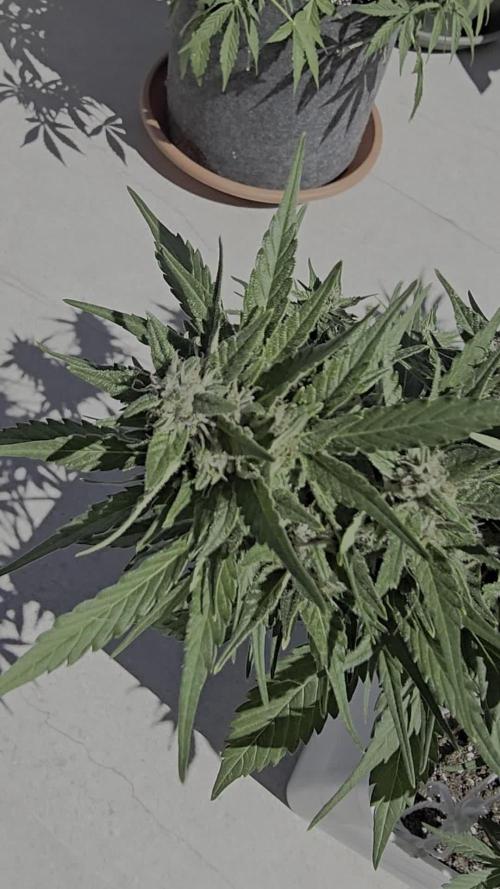
She’s the queen of the tent, sweet smelling sticky and chunking up nicely . Needs a defol this week . Feeeding her up now and looking for her to stack on the weight


Processing
Likes
20
Share


@CanadianFillmore
Follow
Starting week 3 with good growth on all three plants but plant 3 is doing the best, she has the longest branches and I've tried them downwards. I also trimmed-off the lowest leaves and branch/future bud sights. The girls look good and I look forward to another week of progress.


Likes
6
Share

@Sobreruedas
Follow
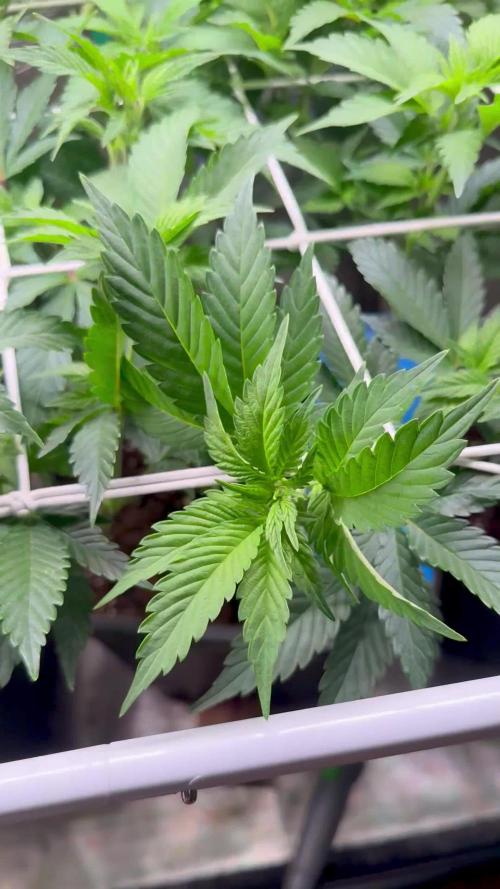
This week I focused only on bending and tucking the branches under the scrog net, trying to fill the entire space as evenly as possible.
No other changes were made — just guiding the growth and keeping the canopy level.
If everything continues like this, I might flip to flower next week 🌿💪

Likes
19
Share

@adam_pawloski87
Follow
What a fun run this was ! These Ogreberrys finished up from 81 days to 102 days with nice hints of gassy , sour purple , sweetness and glistening with frost! These ladies will cure up for a month an will be ready to test out ! So much fun , I highly recommend this strain if your looking for some oooy gooohy resiny grape smelling nugs !
Likes
1
Share

@Rogel
Follow
Subo tarde pero subo las dos maravillas que han salido en menos dos meses y poquitos días que llevan, la london cheese le quedan 15 días para cortar, así que en el próximo riego, el domingo comenzaré a realizar el lavado de raíces. Para la magnum le queda aún un mes y algo más seguramente pero tiene un perfil espectacular para ser una auto. Son mis primeo lst, las próximas que ponga después de estas practicare una apical. Si tenéis algún consejo os lo agradezco

