


Likes
Comments
Share


@AsNoriu
Follow
Night 87 since seed touched soil. In total darkness, after work i came to check huge rain damage - found bud rot. #1 goes down.
Day 94. Last two girls are down, this summer adventure is over !
If early spring, in theory you can have two auto harvests easy, even in UK ...
Happy Growing !!!

Likes
15
Share


@Tckfui
Follow
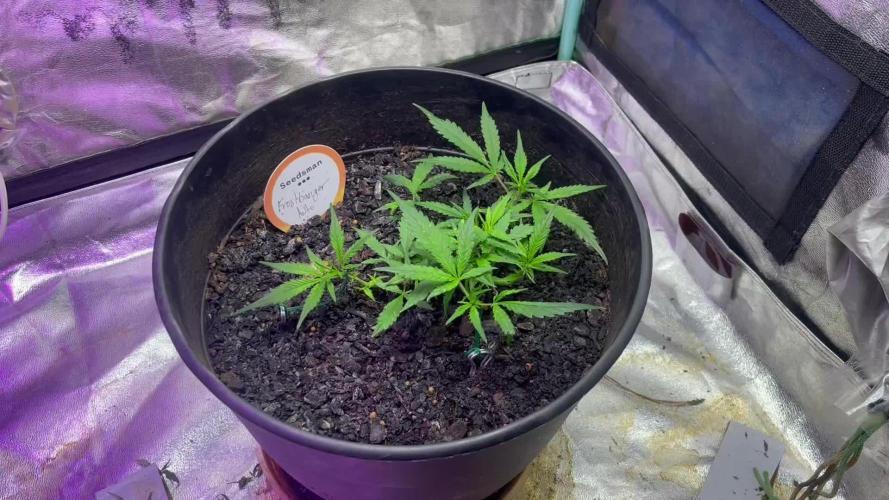
Ph was way too low the last 2 weeks but ignored it, since super soil. A few plants are very not happy about it
So I drained the reservoire and cleaned everything out amd PhD the water to 6.8 with some sodium bicarbonate 🤞



Likes
10
Share


@greenAF
Follow
MW6Bar Controller Level 8(520w)
UVA Bars 365-370nm (54w) 10min on 50min off and 10min at the beginning of the night.
IR 730nm (26w) 10min at start of night.
Front Left Koosh The Magic Dragon #4
Front Right Tricho Jordan #5
Back Left Tricho Jordan #5
PPFD 1025-1275
6.5 pH
Feed EC
Tricho 1EC (Fade formula) Taper down to 0 by day 62
KMD 3 Switching to fade around D60
Sub EC
0-3 TJ
5-5.5 KMD
Dryback Target: 60-70%
Likes
15
Share

@NuclearPyro
Follow
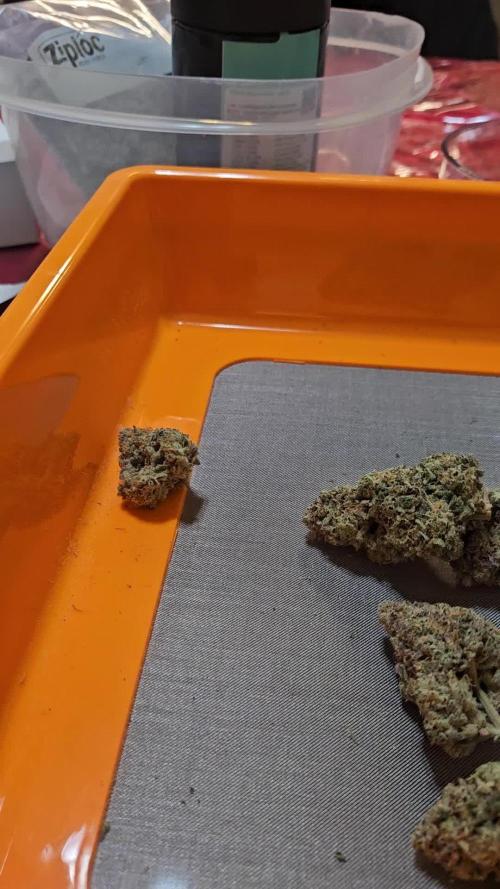
Made tons of mistakes but next grow will be on point. I want to experiment with some variables that I saw and try new techniques at the same time apply old school techniques. Maybe have a good fusion of both. I wanna get into the 30% range
Likes
12
Share


@Mattheous
Follow
Jour 101 flo+53 :
Bon on arrive à la fin , je pense laisser encore 10jours pour les ambre au maximum et je vous dis ce que Ça donne mais ça a l air impressionnant


Processing
Likes
17
Share


@CANATURTLE
Follow
broke my old phone, couple days late to post for this week, next week will com,e earlier but as you can see its much much different after the 14 day gap.
buds are stretching towards hps but fattening more under LED so food for thought; id go LED grows personally, although the coverage is a bit harder to maintain; hps breaks down more frequent ive already been through 2 bulbs; quite the hassle.

Likes
5
Share


@Terpio1500
Follow
This plant is getting really big it looks lovely through out about to start feeding a little lighter do when the buds come in the smell is beautiful it’s smells gassy & stinky.
Week 5 check out my other grows (Jungle Verde, The New)
& follow my IG @therealterpio
Likes
33
Share


@Ju_Bps
Follow
Hello my friends,
All's good this little week :)
I'll cut the plant,
See you for harvest :)


Likes
92
Share


@Roberts
Follow
Apple Fritter is doing well. I did some root pruning early in week. I slightly increased nutrition. Will be a few weeks till I change the lighting. She is growing in a New Level Hydro bucket, under the Spider Farmer SE5000 light at 60 percent. Thank you New Level Hydro, Spider Farmer, and Amsterdam Marijuana Seeds. 💪🌱🤜🤛🌱💪
Http://amsterdammarijuanaseeds.com
Thank you grow diaries community for the 👇likes👇, follows, comments, and subscriptions on my YouTube channel👇. ❄️🌱🍻 Happy Growing 🌱🌱🌱
https://youtube.com/channel/UCAhN7yRzWLpcaRHhMIQ7X4g
SE5000
https://amzn.to/3qFpAML
Spider Farmer Official Website Links:
US&Worldwide: https://www.spider-farmer.com
UK: https://spiderfarmer.co.uk
CA: https://spiderfarmer.ca
EU: https://spiderfarmer.eu
AU: https://spiderfarmer.com.au
Coupon Code: saveurcash
Www.newlevelhydro.com
Www.hygrozyme.com

Likes
3
Share


@coolesrat
Follow
I got the purple pheno at last !! So glad actually... that it is actually changing colour and with so many more weeks left for it to continuously transition.
Totally what I’m looking for in future breeding projects.
Black amnesia haze fast: for its rooting and overall vigorous performance. Creating good yields each run
And this one I’m still waiting to see how she goes!
Way more grows in the future!


Likes
8
Share


@STAYINGONMYMAINCBATORUNTWO
Follow
I made some extract and then made some gummies I’ve added the outcome in all running diaries
She’s doing amazingly although I’d like her to be a little taller in that corner, hopefully during transition she shoots up to canopy level but all in all no complaints! I’ve turned them to 12-12 yesterday so awaiting bloom to activate! I’m using bud blood on this girl and all the other back row plants and bud ignitor on my front row plants to see what has the best outcome to start bloom!

Likes
40
Share


@MrJones
Follow
47th Parallel Crowly's Comet
🔹⊱╮🔹╰⊰🔹 GROW Started 03.10.24 INFORMATION 🔹╰⊰´🔹⊱╮🔹
🌞Environment - Maintaining 80F and 65%Humidity
🌾Training - Nothing this week, just letting the seedlings veg out.
⚱️3-Gallon 📊6.2 PH
💧 Feeding - Using Horti Grow 8-11-21, Bloom 5-15-26, Late Bloom 0-24-26, Cal 12-0-0
🌞Medic Grow Smart 8 760 Watts
🕷️ IPM - CannControl from Mammoth and Mosquito Bits as needed
🔹⊱╮🔹╰⊰🔹 PLANT UPDATES 🔹╰⊰´🔹⊱╮🔹
📝 Notes - These girls are killing it; they are ready to push into flower!
📝Fertigation injects fertilizers into an irrigation system to supply dissolved nutrients to crops.
🗓️04.20.24 Today I flipped the ladies into flower, Ihave let them veg out as much as I feel the grow space can hendel, I am sure there will be a bit of pruning and duper cropping in the near future, these girls will grow un touched other then the 2x daily fertigation but switching out the Horti-Grow with the Horti-Bloom, feeding at Hort-Bloom @ 2.7 GRMS Per Gal and Horti-Cal @ 2.5 GRMS Per Gal.
🗓️04.21.24 Today fed with Hort-Bloom @ 2.7 GRMS Per Gal, and Horti-Cal @ 2.5 GRMS Per Gal.
🗓️04.22.24 Today fed with Hort-Bloom @ 2.7 GRMS Per Gal, and Horti-Cal @ 2.5 GRMS Per Gal.
🗓️04.23.24 Today fed with Hort-Bloom @ 2.7 GRMS Per Gal, and Horti-Cal @ 2.5 GRMS Per Gal.
🗓️04.24.24 Today fed with Hort-Bloom @ 2.7 GRMS Per Gal, and Horti-Cal @ 2.5 GRMS Per Gal.
🗓️04.25.24 Today fed with Hort-Bloom @ 2.7 GRMS Per Gal, and Horti-Cal @ 2.5 GRMS Per Gal.
🗓️04.26.24Today fed with Hort-Bloom @ 2.7 GRMS Per Gal, and Horti-Cal @ 2.5 GRMS Per Gal.
╰⊰🔹╰⊰´🔹⊱╮🔹╰⊰🔹╰⊰🔹STRAIN INFORMATION🔹⊱╮🔹╰⊰🔹╰⊰🔹╰⊰🔹⊱╮
Crowley's Comet / https://www.47thgenetics.com/product-page/crowley-s-comet-10-fem-birdseeds
It's everyone's favorite piece of space rock, Crowley's Comet! The culmination of reversing our Matterhorn cut off Mr. Crowley to Intergalactic Runtz, and the results were out of this world (I had to do it). These ladies were slow to start, but once they hit their stride, they put any worries we had to rest. Compact, short-framed, and robust. They pack beautifully boulder-like flowers that reek of garlic and sickly sweet cotton candy. Dark green to a mosaic of purples, yellows, and silvers. Frost production is off the charts, the internode spacing is tight, and they certainly will impress in their last few weeks of flower. This is one of our favorite crosses in the new fem lineup. If you're looking for your hype fix, here you go.
Yield: Heavy to XL
Flower Time: 63 days
Feeding Schedule: Heavy
Likes
13
Share


@Robeeriegenetics
Follow
First week of flowering in the bag, trying out a new deep voice in my videos does it sound sexy? Let me know in the comments. seeing a little bit of stress on the leaves, but nothing major. The new developing growth is green so everything seems to be going well. I’m gonna give it another week and then I’ll defoliate. So far so good. having a little trouble reversing the wrath rock, candy icy cuts. but I’m not worried. I have backups of the mothers and I have backups of those backups so I’ll definitely still be able to take another shot after seeing the results from this grow ….
Likes
3
Share


@Ultra-Violet
Follow
Stress is a powerful driver of gene expression. It alters how cells read DNA through epigenetic mechanisms without changing the actual genetic code.
CALLING ALL MEN! CALLING ALL BROTHERS!
Processing
Likes
20
Share


@No_Clout
Follow
Still looking smaller than usual but I think it could be down to the genetics I’m not sure, I saw a little brownish/orange burn spot on the tips of Grapey Walter #2, it dosent look like nute burn but not to sure it’s an issue at the moment.
Did the first bit of LST of these girls tonight and hopefully they will respond well and start bushing out letting the dident branches catch up.

Processing
Likes
6
Share


@ladyjane
Follow
6/29 - 4 days after I gave everyone the compost tea, the Jack Herers have sprung back to life! The compost tea was a literal life saver. Just a few days later and her leaves have smoothed out, there's virtually none of that glossy, dark green, twisted and gnarled growth. They are looking great!
6/30 - Top dressed all with Uprising Grow and Uprising Foundation
7/1 - Today I did a little selective defoliation on the Jacks. They are looking stronger and stronger each day.
7/2 - Today was feeding day. Gave them a dose of their regular nutrients. They are very happy!
7/3 - Added some red wigglers today! I ordered some Red Wigglers from Uncle Jim's Worm Farm and they arrived today. I added about 10 to each pot then moistened the soil a bit with just RO water pH to 6.6. I can't wait to watch them do their thing!

Likes
37
Share


@GrownwithLED
Follow
In week 6 my HOMEBOX growtent has filled up so much, that I need to defoliate the plants. I take them out one by one and take off all lower branches (that dont get enough light) and all leaves of the lower part of the plant. I also take off most of the bigger fan-leaves of the top part of each plant, so the light can penetrate deeper into the canopy. I also add stakes and a plant-holder-ring to each pot, so the bigger plants are supported for better growth. You can see the difference in the BEFORE AND AFTER pics above. Two PURPS-plants from BC-BUD-Depot turned out to be male and have been discarded. Into one of the empty spots I put a small plant of BLUE MINT from Mountain High Seeds as replacement. The other spot stays empty. I simply put a tray into the open spot, so the water is not in the light and no algea grows in my autopot system. The watering via the Flexitank-reservoir works very well. Once a week I fill the reservoir with water mixed with BIO NOVA nutrients, following the SOIL-CULTIVATION schedule of BIO NOVA. Since the EC of my tap water is very high (comes out with EC=1,0 already) I can only add a lower amount of nutrients, therefore I use the BIO NOVA schedule at HALF strength. My babies LOVE the light from the EVO4-120 LED-fixtures from SANlight, they THRIVE under it! At this stage my two lamps are dimmed to 80% (=two green lights are ON, on the dimmer at side of lamp) and hang at a distance of 30 cm from the top of the plants. Now after the defoliation the airflow through the tent is much better and the light can also get to the lower parts of the plant. This way the flowering can continue with an enhanced grow of the buds.


Likes
4
Share


@Kiqogrowing
Follow
Just dropped my Seeds into these Jiffys. Once they Sprout I will sperate the other photoperiodic plants into their own tent
