


Likes
120
Share

@Hologram
Follow
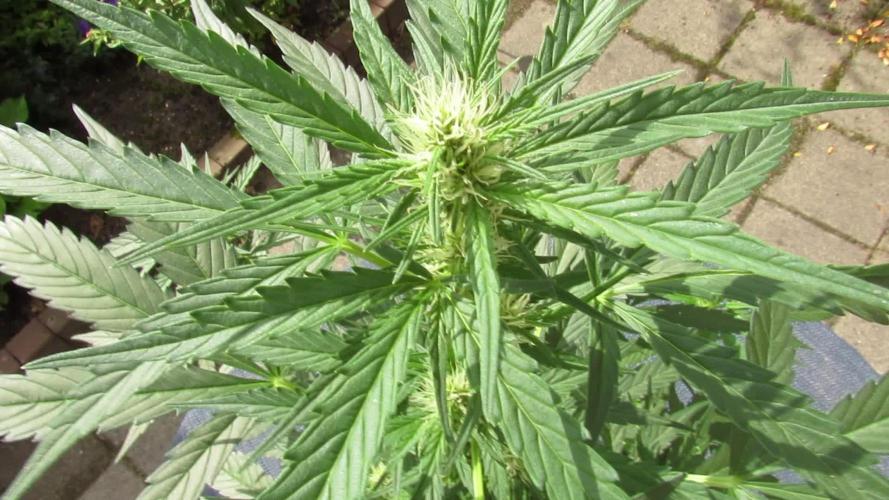
OK, im doing an update now becouse my breakup cake is going tranny!!(hermie)
I already have noiticed she was not growing as strong .. but u can blame that on anything , especially when growing outdoor..
but this morning i saw that she was g(r)oing 'bananas'!😢
I have put her aside from the rest (in the back of garden) but think gonna have to terminate her asap!..(and i will, right after this post👍)
The weed she will give will be filled with seeds and those seeds will be hermies too, so wothless..
and if i dont throw her away quick she can infect the rest.
So goodbye breakup cake..😢
who wants to eat a cake when they are breaking up anyway..😒 (just hiding my pain with lame humour 😳)
happy growing for all ✊

Likes
6
Share


Likes
11
Share


@Original_Growers
Follow
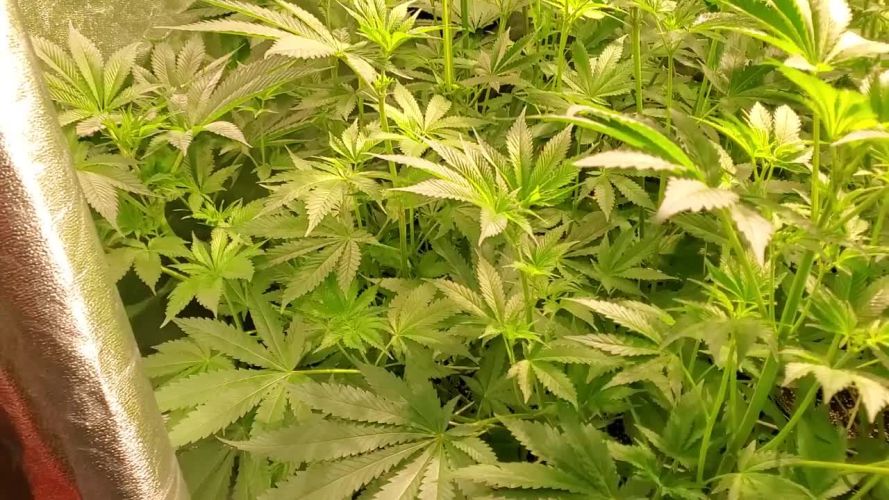
Day 21 of flowerig going great. Gelato strain was too much bushy, so we had to defoliate it. Now all the works are done, only have to wait buds to get fat 😁.


Likes
15
Share


@GrapevineGrower2
Follow
As the Ganja Farmer Seed's TKO is ripening and getting closer to harvest, I'm continuing to lower ppm levels while managing bucket water levels and ph. We're exactly at day 56 of flower (5/5/23) on Cinco de Mayo. The TKO reflects a flowering time of 60-65 days, so no more nutrients at this point. I'll continue to monitor Trichomes through next week (i.e., week 9 of flower). Once I see more amber (approximately 20-25%), I will begin a 2-3 day flush with straight RO water. At that point, she is ready to come down.
The last bucket change end of week 7 strictly following GH's recommended dosage. That bucket change out brought an end to the ph swings she was beginning to experience. After the change out, the balance between water consumption, nutrient uptake, and ph is spot on. Specifically, while plant is up taking water, ph and ppm have maintained stability.
She's looking and smelling incredible. There is a learning curve with DWC - no lie - but I've enjoyed the experience. She is an aggressive grower and challenging for maintenance.
All in all, great genetics. Gratitude and thanks to Ganja Farmer Seeds! Peace.


Likes
Comments
Share


@MrStarOn3
Follow
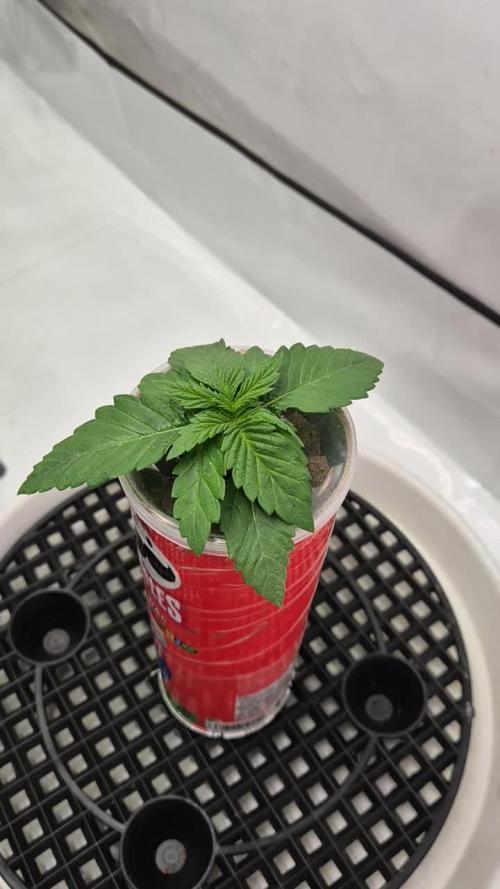
At the end of week 3 I topped one of the strawberry cough they are all looking good and starting to veg I’m all caught up with the grow diary’s and will add at the end of every week. I’m in Australia and did start a little late into the season but hope to get a decent grow in they will be at my brothers once transplanted and he has a few aswel that I will add into the grow log nothing but sun and water only use a little thrive that’s from Bunnings that I get from my pops shed. They will be in a nicer cleaner soil when transplanted into veggie beds and will have chicken poo as a nutrient source first time ever using chicken poo so see how it goes. Will keep the grow log updated and hopefully everything goes all well for the travel and transplant for the plants in the next few days
Likes
9
Share


@FreakShow
Follow
She's growing super fast and stress free.
Showing some sex already second week but not yet flowering.
Waiting for some massive last stretch 😍😍😍

Likes
4
Share


@eldruida_lamota
Follow
Vamos familia, actualizamos la tercera semana de floración de estas Thunder Banana de Seedstockers, salieron las 3 de 3, 100% ratio éxito.
Aplicamos varios productos de Agrobeta, que son increíbles para aportar una buena alimentación a las plantas.
Temperatura y humedad dentro de los rangos correctos dentro de la etapa de floración.
La tierra utilizada es al mix top crop, por cambiar.
De 3 ejemplares seleccioné los 2 mejores para completar el indoor, cambié el fotoperiodo a 12/12 y también apliqué una poda de bajos, se ven bien sanas las plantas, tienen un buen color progresan a muy buen ritmo por el momento, las flores están empezando a formarse.
Agrobeta:
https://www.agrobeta.com/agrobetatiendaonline/36-abonos-canamo
Hasta aquí todo, Buenos humos 💨💨💨.

Likes
4
Share

@Borberad
Follow
Die gute gewöhnt sich so langsam an Mario aber ob sie wirklich Freunde werden wird sich noch zeigen. Bisher wurde von oben gegossen. An Tag 8 gabs erstmals Wasser von unten (Osmosewasser *Leitwert 30myS und pH 6,3) An Tag 12 wurde getoppt.
Likes
Comments
Share


@MumboJump
Follow
The buds of the Lemon Og Candy have some awesome orange hairs and the smell is really starting to spread. Now I know why it has candy in the name.
Further decreasing humidity. Good that its cold and dry outside.
Also stopped watering for the last 6 days to further decrease humidity.
Then I gave 15L into the big pot and 3L into the small one.

Likes
45
Share


@BodyByVio
Follow
Beautiful flower full of trichomes. Smell and test fantastic. Very fast flowering. She was done on day 49 but I cut her down few days later.
I love the strain, the only thing that I will like this strain to have is a better yield. Beast quality buds I ever grew.

Likes
4
Share


@Tmasm
Follow
Saudações
Iniciar diários fast buds
Encomenda chegou dentro do prazo, muito discreto.
Dia 16/11/2023
Selecção de 5 sepas, colocando em papel toalha
Dia 17/11/2023
Mantido em papel toalha
Dia 18/11/2023
Colocando em vaso final, com um cúpula para manter umidade alta.
Agora é esperar que corra tudo bem
Não se esqueça de ver novidades em https://2fast4buds.com
Likes
4
Share


@KhaVigga
Follow
now im start to using many kind of sugar till harvest, beer-fpj-molasses-coconut water...

Likes
2
Share


@sunshinegroww
Follow
Removed bottom set of 🍁 very happy indeed and outgrowing the rest im praying not turning to little boy hopefully is just big 🙄but anyway super happy id say just about to get feed 🏝️
Likes
23
Share


@SkunkyDog
Follow
Hallo zusammen 🤙.
Sie wächst sehr schön und macht keine Probleme.
Rabattcode für den BIOTABS-Webshop https://biotabs.nl/en/shop/ GDBT420, damit erhalten Sie 15 Prozent
Processing
Likes
36
Share


@Yayayatoure
Follow
She started popping pistils. She just got into preflowering let's see how she does.
Day 40 flushed her with ph balanced water to remove the salt build up
Day 42: Had an accident today tho she recovering and she's totally droopy.
Day 44: Thank God She has started stretching again
Likes
16
Share

@JohnnyBlaz3
Follow
😍 look at the ridges on the leaves. Each ridge so distinct and healthy looking i love it. We are about 10 days into flower now and just starting to see the lady parts coming out. The folair and root microbes seem to be making a difference, she is growing very quickly. Hope to have some flowers forming for the next update!
Processing
Likes
2
Share


@krst97
Follow
17/06 - Starting week
The plant is increasingly purple shades and the flowers are growing well. The trauma caused by supercropping did not negatively affect the health of the plant.
19/06
Feeding:
Only Water 0.5L
23/06
Feeding:
Bloom Complex (7.5ml/1.5L)
SuperVit
pH 6.4 EC 1160
23/06 - End week


Likes
5
Share


@MMorrelo
Follow
sorry for not uploading photos instead of that i post video! plants are doing great seems like on plant number one male flowers dont appear there was only one male flower which i caught on time on week 6