


Likes
Comments
Share


@BlueGrass
Follow
Day 41: WATER: 900ppm Diluted to 400ppm / PH: 6.6 RUNNOF: 480ppm / PH: 6.0
Day 43: Did a bit of training using some bending clips I found on Aliexpress. Also raised the PPFD to 600. Plants are looking good, almost time to flip.
Day 45. Almost flipping. Im starting to do some time lapses for the flowering stage, today I posted a test. Gonna fflipe them on day 49.


Likes
27
Share


@eldruida_lamota
Follow
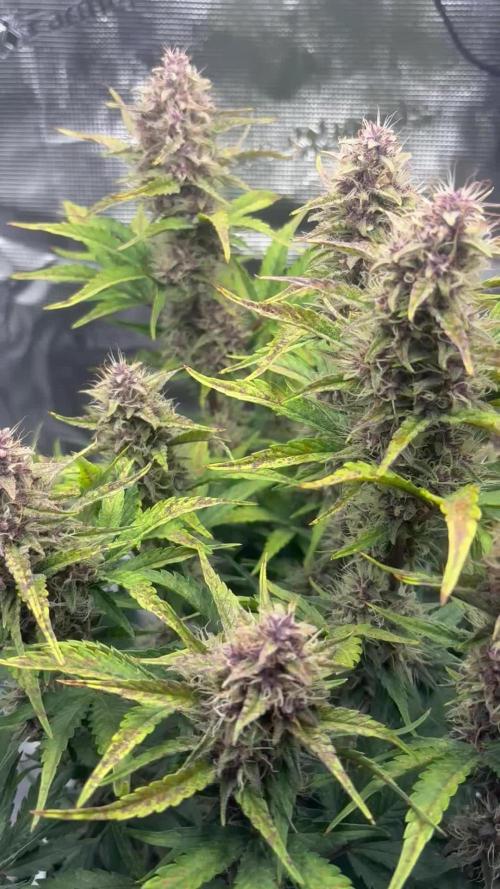
Vamos actualizar la novena semana de floración de estas Biscotti de RoyalQueenSeeds.
Un SOG que acabará con buen pie, se marcan un color increíble y las flores van madurando poco a poco , así que a estar atentos.
La humedad es perfecta, la temperatura la e podido corregir y ya la tenemos 22 grados.
Primera semana solo con agua.
Estoy controlando el ph está alrededor de 6- 6,5. Normalmente riego cada 48 horas y más o menos cada planta está tragando 0.8 litro de agua en cada riego.
Vamos viendo cómo progresan estas últimas semanas.
Mars hydro:
Code discount: EL420
https://www.mars-hydro.com/
Agrobeta:
https://www.agrobeta.com/agrobetatiendaonline/36-abonos-canamo
Hasta aquí todo. Buenos humos 💨💨

Likes
99
Share


@Natrona
Follow
2025 Plagron / Zamnesia Eternity Grow Runtz Auto
Week 11 Flower 7
Runtz Automatic is in her last week; March 17 had her wet trim and was put in the dark for 2 days before getting the chop on March 20.
Runtz fade and nutrient usage apparent in the leaves combined with a check of her trichomes were an indication of readiness. The older pistils are turning orange brown and water consumption is slowing down.
Many leaves were fully yellow and fell off when I touched them. Her leaves look pretty with lime greens, pinky purples in the bud formation. The buds are dense and covered in trichomes supported nicely with her stems. Through the microscope, the trichomes are mostly milky with some amber as well.
She was harvested on day 74 from germination. As part of the flushing process, I topped the pot with ice, then watered with ph 6.5-6.7 water for 3 days. Then I put Runtz Auto in the dark for 2 days still in her pot. She will hang to dry in a darkened room. Temps are 71-72and 50% humidity.
This week the gals were fed on March 17 & 19. Pics were taken on the 17th.
Bloom Juice 120 ml
Royal Rush 0 ml
Power bud 15 ml
Green sensation
15ml
Cal Mag
20ml
Recharge 5ml
Ppm ranged from 676-777
Ph 6.5
Temp 68
Your likes and comments are appreciated. Thanks for stopping by.
Growers love 💚🌿
💫Natrona💫

Likes
5
Share


Likes
7
Share


@Thigh
Follow
Shes getting bigger 😄 weather is also slowly gettin better👨🏽🌾 she is a little bit younger as my Zkittelz plant, but i think she is a Little Bit Slower as the Zkittelz. Maybe too much Stress.
Likes
2
Share


@fabialien
Follow
Lunes 26 de Agosto 2024, segunda semana de vida de estas preciosas, siguen en giffy, próximamente trasplantar a macetita de cartón, iremos a Walmart a comprar sustratito para ese trasplante.


Likes
3
Share


@Nookandplant42o
Follow
It's drinking a lot of water, obviously because of its huge size, smaller doses of nutrients to go little by little, the shape of the tall buds, they're much more resinous with this update, I'm hoping for more time with this one due to its size and little light.

Likes
16
Share


@bsplayerone
Follow
Well decided to plant the northern lights auto, this one’s a fast mover. Only soaked 18 hours before the tail popped. Only using fox farms ocean to start the first few weeks.
Processing
Likes
1
Share


@ho99o9
Follow
This strain was overall awesome. It had absolutely wonderful colors while growing with a great sweet very good sent. Definitely will grow this again awesome all the way around. Haven't problems with this strain Thanks Fastbuds:)
Likes
11
Share


@WoodsonCult
Follow
Plants doing well, my humidifier can’t keep up for more than 10 hours now so if I forget to fill it up before work or bed I’m fucked and some of the leaves get destroyed. Overall doing well, been LST the past couple weeks with fim last week. Just added the scrog net today in hope of more LST and I hen canopy support in the future. Might do 2 scrog layers

Likes
9
Share

@MrsHinduGod
Follow
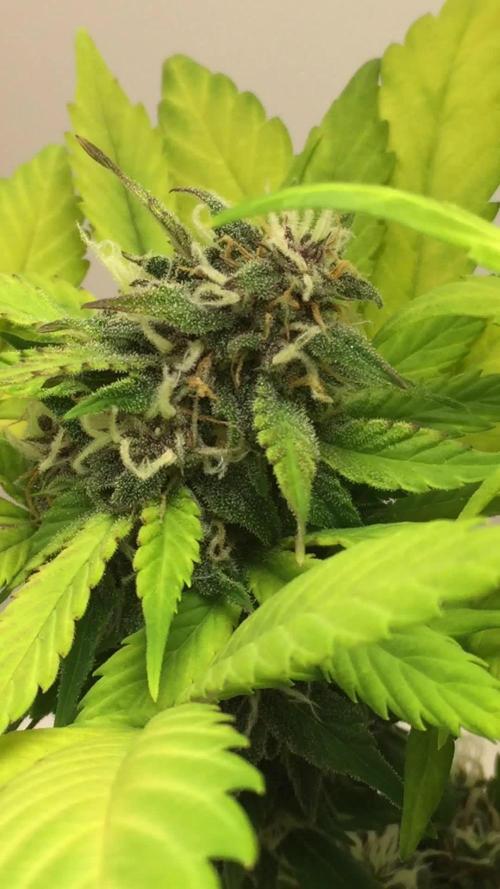
wow look at dat!! da plant has such a nice fade going on!!!! da plant is using da stored nutrients dat are in da leaves!!! love da breaking down of da chlorophyll it is very very beautiful!!! da plant is drinking less now!!! top watering has been done during dis week with one butt chugging at da end of da week!!!!
Likes
18
Share


@BobtheBUDbuilder
Follow
-Day 84
Chopped down La Chem1 and TD2. They are drying. They were just starting to amber and GC2 potential needs more room. In the end i am going for yield and starting with 6 i knew a few might have to go early as intended. Last week feedings in ppm were the following. 1200, 700, 900, 800, Since its mainly just three plants a few of those days is double dose of same feed. Added tarantula, it might be late but worth a shot. GC1 is slight foxtail due to the heater blowing heat up under it. They lower leaves of the entire canopy was going brown due to excessive heat and bad circulation. I have since pointed my fans upwards pushing air through the canopy, and so far no complaints. New grower and lots to learn. Also learned that GC2 is a super auto. Being late to the game means late finish with huge yields as predicted. Cleaned trays and started some new seedlings for some outdoor stuff. Happy 420
Day 85
Worked on spreading out GC2, The lower cannopy has already responded in a single day. GC1 still has clear on it but its super dank sticky and smells like melon pie and skunk. Minor trim on TD1 and La Chem 1, Got about 1.5oz of la chem and 2oz of td. will weight it offical later.


Likes
14
Share


@ao_grows1978
Follow
Well, not the biggest yield from my little mainline...28g of keeper buds and 28 grams of trim and little buds for RSO. The smell from the buds is hard to pinpoint. A little pine, a little sweet, a little chicken soup. Very much on the earthy side and affects are smooth and sedating. 100% some chill, social smoke or great for anxiety.
Likes
290
Share


@Ferenc
Follow
Crazy week.
Weather has changed went to be more rainy and colder.
Some days were even close to 6 celsius degrees in the night.
We have got more like cloudy some days with some hours of sun but nothing significantly strong light.
She does well, getting dense and the smell is very strong!!!!!!
Like sweet and citrus and like absolutely I feel in my mouth tho....very very very nice!!!!!!
Looking also good maturing she is quite big so i surrounded her from one side with rubbis bag to not be be able to see by my neighbours... obviously not a tomato plant even if she is placed between.... 🤪
She will make it more rain less sun but she is okay.
I also checked the trichomes nice maturing they look milky but apparently they need to mature and the pistils are white anyways I go after the trichomes I think she grew more a bit as well. I am happy ;)

Likes
4
Share


Likes
16
Share


@Jacks_Pot
Follow
Welcome to my new grow report!
After a few rounds with two strains, this time it will be just one strain. I’m hoping that using a single variety will give me more uniform plants (in height).
I chose Frozen Black Cherry from Anesia Seeds, an indica-dominant strain.
On 03/12/25, five seeds were sown in 0.4-liter pots. These were filled with seed-starting soil and watered with Rhizotonic (EC 0.76 – pH 6.0 – 21°C).
They were then placed on a heat mat set to 27°C using a thermostat. I never pre-germinate, so I simply put the seed straight into the moist, warm soil.
On 05/12/25, one had already popped up, and the next day all five were above ground.
Temperatures fluctuated between 20.9 and 26.0°C, and humidity stayed between 40 and 80%.


Processing
Likes
16
Share


Likes
20
Share


@bhanga_garden
Follow
Green House Seeds - Franco's Lemon Cheese! I'm super excited about this one! I'll be documenting the process with this log.
Started soaking the seed this afternoon, I'll let it soak for about 20 hours and then it will go straight into the soil! I have the light on and set to stay on for 24 hours. This way the soil will be nice and warm when I plant the seeds tomorrow. I'll taper off the 24hrs on light cycle around the second or third week of veg depending on how they are coming along.
Seed has sprouted! YAY! I have a camera in my tent right now catching a time-lapse of her coming out of the soil! I will possibly post it tonight!

Likes
8
Share


@sellem
Follow
24/03 watered AGAIN after 2 days with 1.5L 5.9 PH 1.5 EC, 5ml/L of Terra Bloom.
So far im really happy with plagron. Just one bottle for grow and one for bloom and the plants look healthy and show no signs of deficencies. really happy with the product. Moreso than biobizz, where i used Grow, bloom, calmag, activera and topmax and still fought deficencies here and there.
I also am conflicted about the trellis net. I like what it does but i think my tent is too full with plants or too small to really enjoy it growing-wise. I cant move the plants and its hard to reach them during watering. So i removed it again. its an on/off relationship with us :D
I also did some more defoliation, PROMISE ITS THE LAST TIME. i took out the plants of the tent for it to better reach the insides of them and made some nice videos of their progress so far.
ALSO: Tent smells really good and overwhelming when i open it! sadly, it escapes pretty fast so ill put "normal" smell on here. but its decent!
Watered again on
27/03, 1.5l 5ml/L Terra Bloom 1ml/L Green Sensation, 5.8 PH 1.7 EC
29/03, 1.5l 5ml/L Terra Bloom 1ml/L Green Sensation, 5.7 PH 1.7 EC