


Likes
Comments
Share


@Ieiogrow94
Follow
Eccoci qui...
Settimana prossima si tagliaaaaa!!!!
Finalemente siamo arrivati alla fine con questa piccola mi sono divertito è stato bellissimo coltivarla outdoor, è venuta bassa ma molto molto compatta!!!
Grazie a tutti per il supporto

Likes
72
Share


@HighFromHome
Follow
Pleased with how this plant is doing. Lots of stretch this week and looks like she's still got more in her. Still been training the tops where i want them but the branches are getting stiff now so that's nearly it.
The cooling fan on my grow light is really noisy and the loudest thing of my setup by far. So i have changed it for a much higher quality one and it's amazing! Night and day difference for noise and performance too! See before and after videos.
I have a feeling i might run out of space in the middle with the 4 buds. Also that the outside ones are too close but we will see. Any comments welcome or suggestions. As i keep saying, all a learning process to get better each time. I am already planning my next grow which will either be do si dos auto or gorilla zkittlez auto both from Barney's Farm.
Have a possible weeks fishing trip on 7th Aug. So has it not finished by then I will buy a water pump and set it on a timer. As i expect i will be flushing around then so just ph water through the pump.
Thanks for looking
P.s. Planted 2 more outdoors today - 1 went with the other 5 and 1 in its own spot. See last photo of the now 6 outdoors!

Likes
17
Share


@Naujas
Follow
wow wow !!!! 404 gr ! from the suitcase!!!!!!!258 gr of wet dried buds!!!!!!! I am impressed with the result, and I don't really believe that I will ever be able to improve it :) It was a truly amazing journey with FastBuds Gorilla cookies auto, my house is filled with a wonderful sweet smell, the buds look really full and very very shiny :) I also collected a lot of sugar leaves from which I will make bubble hash:) the girl coped with high temperatures and high humidity throughout her growth, which is why I was afraid of rot, but everything went well!!!! She is amazing. smoke review and dry weight will be up very soon, good luck to everyone :)!!!


Likes
20
Share

@HandsomeTerpz
Follow
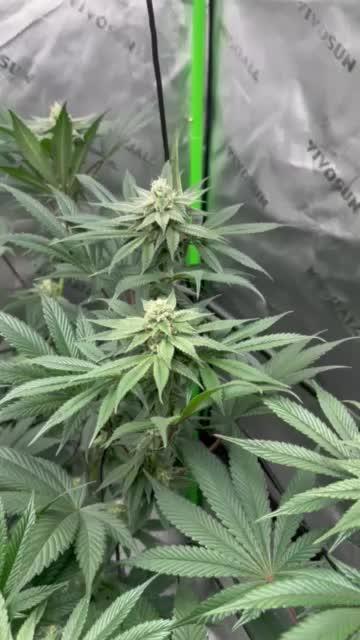
Black Mamba is absolutely thriving! 🐍🔥
She’s growing beautifully and developing an exceptionally intense aroma 🌿✨ Week 10 is done and things are getting seriously exciting. I can’t wait to see how she finishes up!
Get ready for the official release 🚀
Everything grown with Bio Tabs seriously amazing nutrients for super easy handling and strong, healthy plants 💪🌱
Stay tuned… this one’s going to be special. 😎🔥
Likes
37
Share


@TheIceCreamParlour
Follow
Day 63 - 28 of Flower
Changes this week include adding a 4th Maxibright 315w lamp and Agro bulb. I wanted to run 4 but originally could only afford to buy 3. These retail at £250 each per kit so theres now £1000 just in lighting. A huge improvement to overall light spread around the plants and more light penetrating the canopy to the lower bud sights. I've also spent the weekend insulating my space for 2 reasons. Obviously temperature fluctuations being one. I found the temps were anywhere between 17 and 31 degrees throughout a 24 hour cycle and wanted to get a more consistent day and night temperature. With the extra light it needs to be cooler too. 2nd reason was humidity. With the great British weather being as damp as it is the night time humidity has been over 75% some days which now we are deep into flower could quickly lead to bud rot. Insulating the space and running my exterior AC unit has now got that figure to below 56% at all times. I'm very happy with that.
Feeding ratio remains unchanged this week. I'm going to continue running the PK13/14 for at least another 7 days or untill the buds finish fattening out. Still feeding 6 litres every other day.
No further training at this point just pulling a few colas out of the way of the fan and one main cola from directly under a lamp as it was burning. Also stretch has now finished which is a massive relief as I've no headspace left in the tent at all.
I didn't have time to take many photos of the buds in the dark but the ones I have put on show just how frosty these stardawgs get! Really living up to their name considering they are only half way through predicted flower time.
The only further upgrade I would like at this point is a proper co2 with digital regulator. I have however read that they dont benefit much from extra co2 from this point onwards?? What is everyone's thoughts on that? Obviously I have my natural co2 generator and will leave it in untill the end of the grow.
I realise I really underestimated the size of these plants and 6 sativa dominant species is a stupid idea. The tent is just too packed so on the next run I'll opt for less and go with a scrog.
Thanks for checking in! I cant wait to see how the next week plays out.

Likes
20
Share


@GrowinHome
Follow
They get a 100 ml every 5 days. I'm going to keep giving 100ml per plant untill they need it every other day.
Day 26 I removed the first 2 nodes so the plants can focus on the top growth.

Likes
Comments
Share


@DawgPoundFarms
Follow
Combined the cop of water and paper towel method then planted the sprouts in root root cubes
Likes
62
Share


@Biglskin
Follow
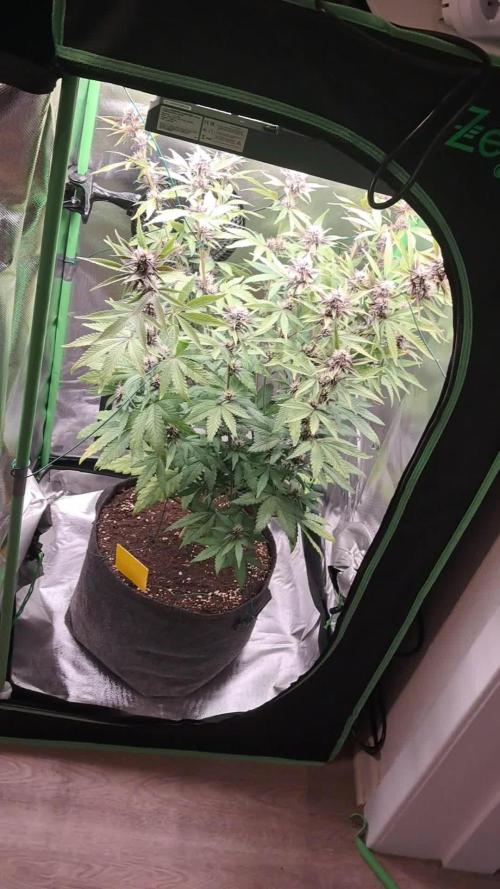
Day 49 flower-
Discovered loads of adult fungus gnats around the sour kosher#1.. thinking that’s why it’s been showing signs of stress and some yellowing and curling on fan leaves around the top colas.
Put down a bunch of sticky traps and going to let them dry out for now.
Smell is so strong from the blue gelato 41, gassy cake smell. The sour kosher #2 looks and smells incredible, has been healthy and green this whole grow with great bud formation/production! I’d love to keep this pheno but can I take a cutting late flower? Or maybe I’ll just re veg it.
24k#1 is still massively behind on bud development, coming like a true sativa. I may well end up having to harvest this one later than all the rest.
Still having problems with the 24k#2 top fan leaves turning very yellow and crispy.. but the bud production actually looks really good and frosty. Only 3 weeks to go so I’m sure it will make it, lots of green leaves still left lower on the plant.
Trying to keep the dog out my room but there is still husky hairs throughout the whole grow 🙄 unstoppable.
Can’t wait to get these drying and taste the final product!


Likes
27
Share


@Smokepurple137
Follow
Stretching really well in 2nd week don't think I will veg them too long, maybe another 2-3weeks, been able to top 2 of them so far. I will be topping all of them just the once. Growing slightly quicker than the last barney's seeds I used. All looking very healthy.
Likes
3
Share


@Mr_nugs_lover_David
Follow
On August 19th I decide to apply supercroping technique to get much more sunlight penetration in the whole canopy, let's see how she turns out, she's pretty big to be planted late in the season,looks fenomenal and very healthy,I also applied a defoliation now that we are in second week to get that the light gets to every single flower site. 🌸💚❤️💛

Likes
1
Share

@Cmftrblynmb
Follow
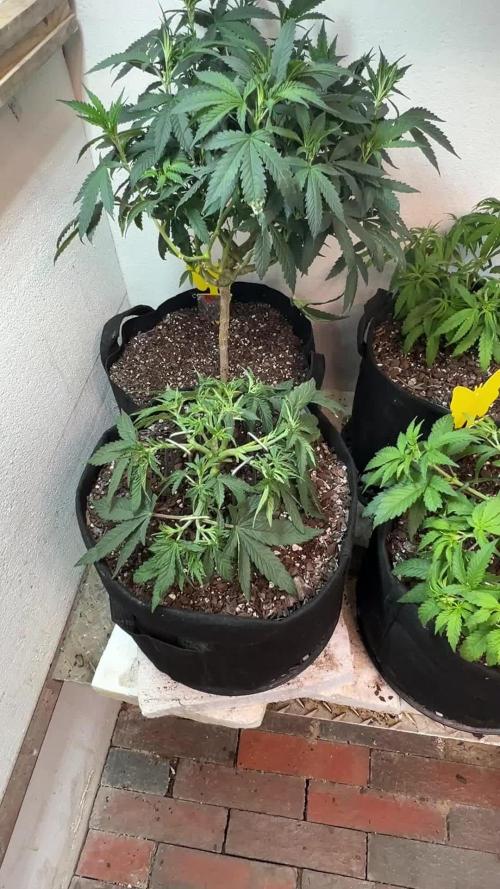
Five plants were showing deficiencies last weekend, but had just watered so I waited until Wednesday to feed 2 tsp/gal Grow Big.

Likes
2
Share


@OGTrauma
Follow
After 14 days of burying the popped seeds these were the results using the bac germination method, but on a substrate experiment the, interesting results shows that on the 28 seeds, up to 14 days the decimation was ambient factors, nowadays 9 are thriving on light mix unlikely coco coir that damped off way more , i can't say coco is bad as the freebie i received shall be very welcomed if is not as good to germinate , is more gtg to to clone some interesting black roses pheno and the good karma part will be present on the next run, just with prone cuts tried to be converted to side plants. There is a slight chance that there can be more or less plantlings with the course of the weeks as some had grown but didn't drop of the shell . Heat was oven like at some moments and had a negative influence, as i fight 30c at peak hour temperatures trying to keep them fresh with the humidifier at 75% ambient, and 26c average . There is a reduced chance that some plants can still damp off but , i just need 8 as i intend to use 7 or 11lt plastic pots , buts that no reason to treat them bad, the weather is fortituous and i can't control it more , so I MUST STATE, THESE SMALL CREATURES EAT BETTER THAN ME. they will be feeded with biobizz, bac, atami, and top crop, the products i use to keep my hair fabulous. shoutout to tanu mapu because they will be a repeater when i need to provide myself with quality soil.
Likes
3
Share


@Marmotaaaas
Follow
Abri mas los brazos asi llega uniforme a todo vamos de maravilla a mi parecer sin problemas alguno estan sanas y firmes ya en proceso de engorde de la flor

Likes
11
Share


@Eddjack
Follow
Procede molto bene . È sana e forte, non so se allenarla in qualche modo o lasciarla crescere così. Per ora la ho travasata in un vaso rotondo da 5 litri. Aspettiamo e vediamo se tagliare .

Likes
18
Share


@BufoAlvarez
Follow
Did first nutrient feeding w fox farms nutes. Very little. Things were going perfect then I woke up this am to slight curling again. I changed light distance and put in my other light as well so I’m now in need of ac unit or another fan bc it’s getting hotter, 85. Or I figure I could run my exhaust fan 24/7 and take it off my humidity switch but then I got to possibly get another humidifier bc the exhaust fan takes the humidity out of the room. Idk but the girls all in all are looking good to me.
started lst on 6/30
using grow big and big bloom now

Likes
8
Share


@EhCndGrower
Follow
Day 140 decided to water everyone one more time with nutrients. Added some Overdrive to the mix for all my outdoor gals. Some probably need it more than others as I think come next week I might be able to harvest a few of my plants. Plus it is like super hot the past few days and have a little breeze pushing a lovely weed scented breeze out front of the house. Hopefully I don’t attract the wrong type of people to visiting my backyard 😱
Day 141 wow on the overdrive kicking in on everyone outside. Noticeable plumping of my buds when I went to take today’s pictures. Also added a few more doweling into the ground to help support her as she gets plumber, and because it was a little breezy last night
Day 144 they just got huge and fat overnight. Plus a first for me, a little walk around my beauty
Likes
25
Share


@DrGanj
Follow
Started flush now. I'm adding Nature Delight Active Sugar Boost as it's been recommended to boost terpene production. No idea if it will work this late into flower but trying anyway as apparently it has no need to be flushed and is fully organic.
Likes
31
Share


@Hempface86
Follow
All right, we are finally here on day 76 so over two and a half months of veg, we have her flipped... I've yet to set up my inline fan and carbon filter. I was going to buy another tent, but i'm gonna hold off until I move because then I'll have more room for a bigger tent .. i'm still up in the air as to what seed I'm poppin next, but it will be from Kannabia Seeds ... and Herbies purple haze auto from a sponsored grow.. Just not worth the time and to spend that much time and energy on something, when they are hit and miss .. i will say I definitely hit more than i've missed.But I don't like missing at all .. with that being said, I hope everyone is doing well next week will be her first flower week. I didn't want to start it this week as tonight is her first flip night.. Hope everyone is doing well. God bless happy Easter and happy growing 🙏
