
Likes
Comments
Share


@jojopfoh
Follow
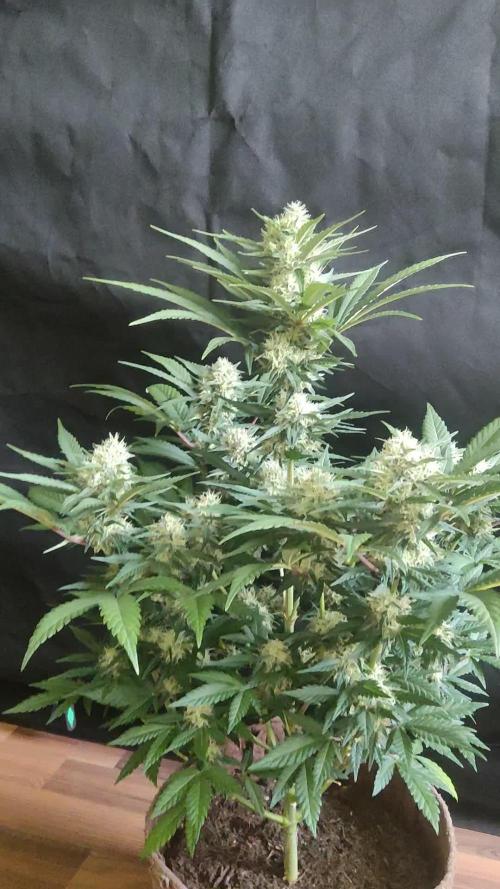
The stretch is finally over and now she is starting to stack. The bud formation is beautiful and there are so many bud sites. The colas are ging to be huge

Likes
3
Share

@Phytosopher
Follow
I’ve been adding other components such as tannins and surfactants (among others) to improve the recipe (which I won’t disclose out of respect for my research). What’s incredible is that the aromas have developed significantly—they retain their distinct edges, although the main pillar of the cross is still “mint/toothpaste/sweet.” However, the sweet notes in one phenotype are already beginning to shift toward aromas more like hops/mint/pine/resin/honey.
The bulking phase is progressing well, with no nutrient burn or deficiencies.
Micro-irrigation is key.
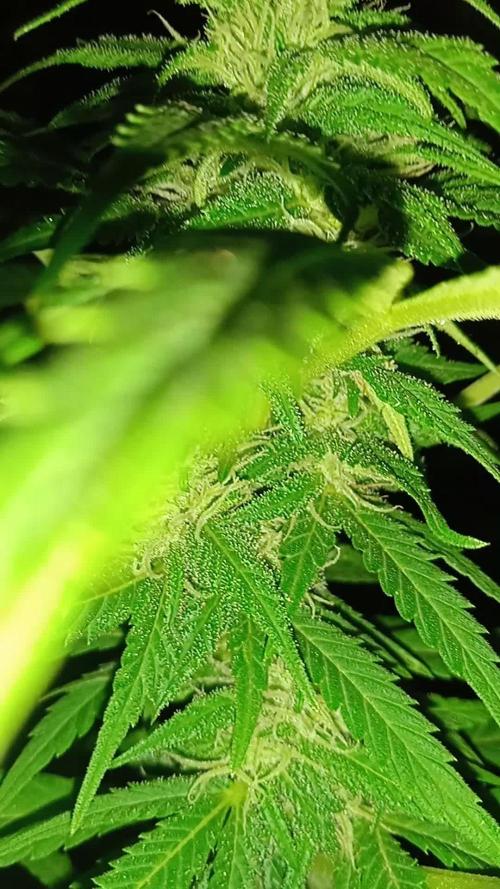
Trichomes are developing as they should—some more than others due to differences in flowering time. That’s the fun of working with crosses that maintain some variability despite their similarities in an F1 generation.
I’ve photographed the 7 phenotypes—the photos didn’t turn out very well, but still, enjoy.


Likes
84
Share


@PEAKYPLANTERS
Follow
What's up people?
PART OF MY SECOND CULTIVE IS ALREADY READY .... Gel AUTO WAS FASTER BUT WITH POOR COLLECTIONS
TWO WAYS TO BEND YOU DIFFERENT
GEL AND OG 1 BENDS IN THE THIRD WEEK
OG 2 FOLDED TO THE FOURTH WEEK ... THIS FACT Yes THAT THE BRANCHING WAS ALREADY MORE COMPACT FOR OG2, ADAPTED TO THE LIGHT AND WITH GREATER RESULTS ...
GOOD !!
MY PURPOSE HAS BEEN THAT OF COMING IN CONFIDENCE WITH THEIR STRUCTURE AND UNDERSTANDING WHAT IS RIGHT OR WRONG FOR THEM WITH THE HOPE OF PULLING A FUCKING KILO OUT OF MY BOX
I HOMAGE THIS BEAUTIFUL PLANT BRINGING IT THERE WHERE IT WAS BORN AND GROW FOR CENTURIES ..
EXCELLENT FUN IN HIS COMPANY
HIGHT GOOD BUT LAST LASTING
A STRONG KISS TO ALL MY SUPPORTERS
HAPPY AND ABUNDANT HARVEST


Likes
14
Share


@DrBud420
Follow
31.05
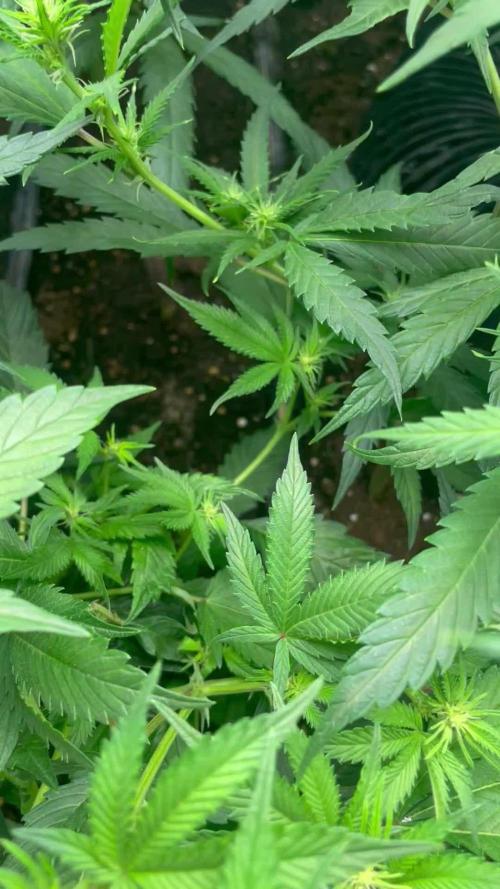
yesterday was the end of the fifth week for the plants, some were transplanted yesterday, some today, and some not yet, but most of them were transplanted and topped for the first time... I was late with the topping because I didn't want to top before transplanting.. I topped most of the plants between the sixth and seventh nodes instead of between the fifth and sixth, some I even topped between the seventh and the eighth, but what's up... the weather normalized for a day and immediately started with severe heat... in the sun now it will be 40+ degrees C, until the other day it was 15, this is definitely not normal...the pictures and video are from yesterday, in the next update I will post pictures from the site
Stay high ‘n’ keep growing!!!

Likes
11
Share


@Chow_13
Follow
Aug 19 - Temp(High/Low) 29/17 Rain(mm) 0.0
Aug 20 - Temp(High/Low) 30/18 Rain(mm) 0.0
Aug 21 - Temp(High/Low) 29/19 Rain(mm) 8.9
Aug 22 - Temp(High/Low) 27/20 Rain(mm) 0.8
Aug 23 - Temp(High/Low) 24/19 Rain(mm) 0.0
Aug 24 - Temp(High/Low) 28/17 Rain(mm) 0.0
Aug 25 - Temp(High/Low) 24/18 Rain(mm) 0.0
This week she is starting to show some purple. Buds are looking nice. Its been hot and humid all week.
Likes
7
Share


@Meksi2790
Follow
nice and clean down below so the energy can focus on the top maintaining the same temperatures will start lowering next week to start bringing out the purple

Likes
2
Share


@Autower
Follow
Fast bud unknown mix 3 coming along nicely with some fat colas forming gonna be a nice Christmas this year thanks to the fast bud collection on the go. Happy growing
Likes
124
Share


@Legendaryseedthumb
Follow
Day 9: they are all looking super healthy and ready to explode! I’ll just veg these fast. Let them grow a node or two more then top them all and wait some days then switch to 12/12.
I’m having 9 plants in the same tent.

Likes
2
Share


@Saintvicious
Follow
Looks like a lot of top sights. Afraid stretching too much. Hopefully it fills in.
Likes
18
Share


@THcHunteR23
Follow
Rien à dire rien à faire juste admirer la croissance jusqu’à la fleuraison

Likes
3
Share


@Andres
Follow
my other tent was small. She went through stress twice because of my dog. He dug up the roots but she survived. looks strong and healthy.


Likes
26
Share


@BlumenBot
Follow
12/6 - Flush feeding with a little RAW Kelp. Also installed a small fan inside the plant to help move air through that thick thick canopy!!!
12/11 - Flushing and testing a new fan

Likes
5
Share


@AlienCannaKing
Follow
They look very healthy and the trichomes are looking to become great! Hope some good big buds time will tell. Its my first grow, any tip or advice is welcome!

Likes
3
Share

@carlitospiratahaze
Follow
Aquí está la pequeña banana tirando como puede de manera que pelea por el espacio de iluminación contra las amnesia.
Una locura este híbrido entre tantas sativas!
E de decir que me gusta 😊
Seguimos subiendo poco a poco la ec este riego en el día de hoy 30/3/26 le e metido un pequeño chute de 70l con un ph6,4
Estamos alimentando a la pequeña con 1800ec
Y parece aceptarlos bastante bien!!

Processing
Likes
10
Share


@yaron
Follow
Hi guys!its getting kind of boring but again a rainy day.They need sunlight bad,the coming days the sun will shine so we will see what happens.
Cheers!
Finally we have sunshine!The smallest one,a gg,just will not grow i dont know whats wrong with her and she is already in flower.
The rest is doing fine i think.
Cheers!
Likes
89
Share


@Nebula420
Follow
I really enjoyed growing this one. Sweets Seeds genetics at the highest level.I think this is one of the best strain from Sweet Seeds.
I advise to everyone. Thanks to everyone who follows my grow reports, and Sweet Seeds for nice genetics.😍0