Likes
18
Share

@All_our_small_plants
Follow
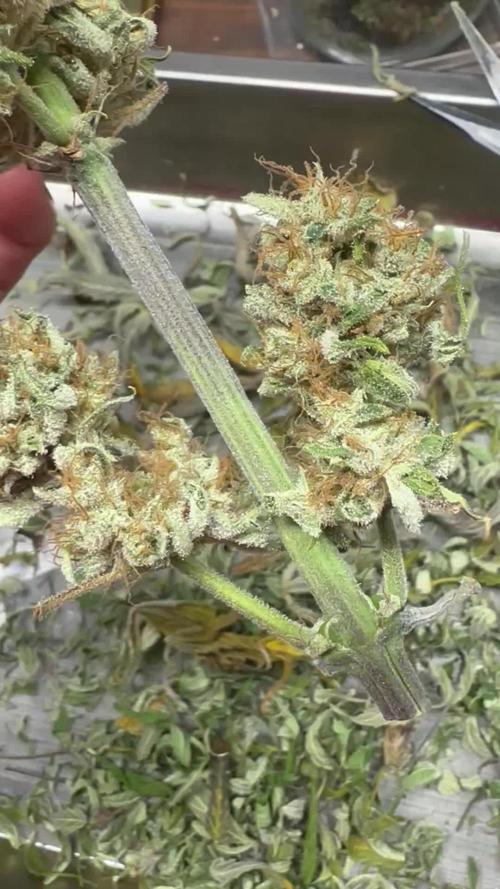
Tag 92, heute haben wir uns entschieden sie zu Ernten, sie hat ja auch sehr lange gebraucht. Wir haben 239 Gramm Nassgewicht und diese hängen nun im Zelt um zu trocknen. Wir sind schon sehr auf die Wirkung und Geschmack gespannt.
Danke nochmal an @Zamnesia und @Patricia_Zamnesia die uns diese Sorte zu verfügung gestellt haben.
Likes
7
Share


@hooolian
Follow
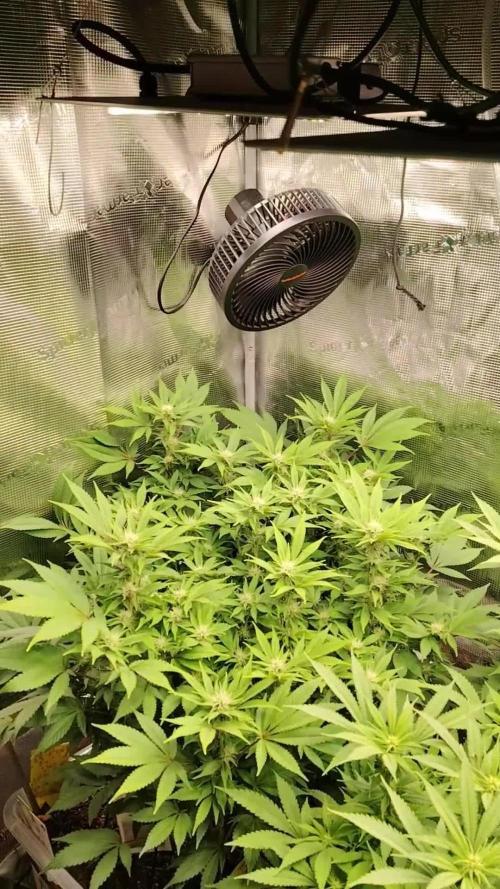
12/02/22: The colas are heaving with heavy buds and more orange sites are springing up. On the full dose of nutrients now for the last few weeks. I had to use more cable ties today to keep the colas from falling over like in previous weeks. good strong smell. great environment for flower. defoliated again mostly near the bases.

Likes
1
Share


Likes
33
Share


@Viridios
Follow
The time has come to start my flush,wil be doing a week to a week and half of pure water flush. The smell coming from the plants are beautiful..very sweet fruity flavors..
!!! 💚💚
Lady's now slipping into there sexy purple outfits..😁😁💚

Likes
21
Share


@Wrongholn519
Follow
I've had to make a few changes this week in order to maximize my environment. At this point in flower the goal is to raise pH of my water and lower temperatures inside my tent.... high temps can help burn off terpene profiles.
Overall she has been looking pretty light and I've decided to feed her with Advanced Nutrients pH perfect bloom. Planting in a 3 gal bucket just doesn't cut it if your planning on growing in super soil/ organic soil. Since I've fed with AN, I've also increased the CaMg dose.. she really enjoyed the nutes. I will probably feed once or twice more depending on how long she wants to grow. I'm anticipating 90+ days to harvest at this point.
Compared to the runtz, Blackberry and cheese auto, the trichome production started pretty slow with the mimosa cake. It's starting to stack on now and the smell has intensified 10 fold in the last week.
Process/ Environment changes:
- Turned back down my exhaust fan.. it was turned up way too high and my carbon filter couldn't keep up with amount of air bieng pushed thru it... the smell in/outside my house was unbearable...
- I Harvested my cheese auto (see videos), so I turned down one of my TS1000 lights, which decreased the temperatures inside my tent.
- Like I mentioned earlier, I fed with AN bloom nutes to help keep her healthy.
- I've been taking off more fan leaves and bottom larf, bit by bit every day
I'm on auto pilot at this point. I included photos of my outdoor grow space.. I plan know replicating this grow outdoors this summer.
I also bought a rosin press, and I plan on smashing nugs for days when all these plants are ready ☮️
Likes
11
Share


@Madman2020
Follow
Generative steering
Day 30 sprayed with Jas
Day 31 noticed spider mites
Likes
6
Share

@HowtoBubatz
Follow
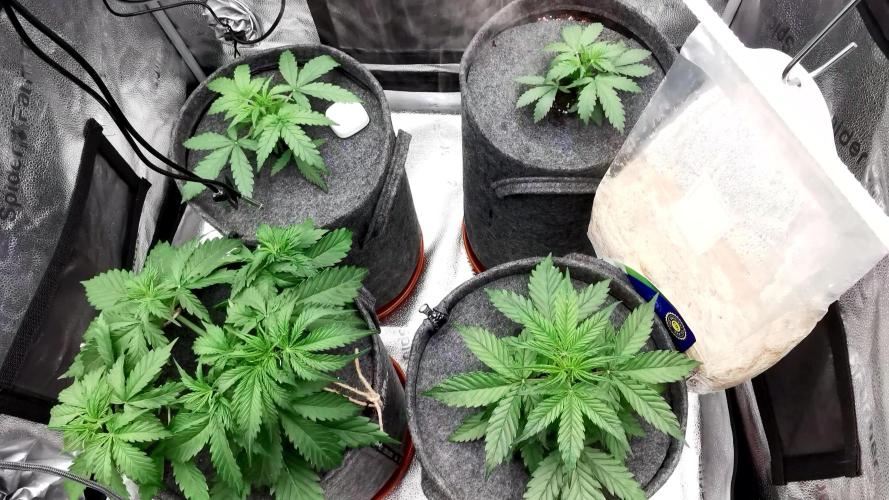
The three Bruce Banner Autos are each showing their own character this week 😅.
#1 is still the champ – so vigorous that I started some LST to open her up. She reacted perfectly and is already taking up a good part of the tent.💪🔥
#2 finally seems to have found her rhythm and is starting to grow more steadily.
#3 is still very small with barely any progress compared to her sisters.🐌
They are all growing in their 90×90 tent equipped with the full AC Infinity setup (AI controller, fans, filters) and running under a Spider Farmer SE5000. Conditions are very stable thanks to the climate control: temps around 26–27 °C and humidity steady.🌡️💧
This week they only got RO water + CalMag (Advanced Nutrients). Their first Orgatrex feeding was already given last week.🌿
Overall: Bruce Banner #1 is leading the way, #2 is on the right track now, and #3 still lags behind. Curious to see how they will behave as they move closer to the first signs of flower.👀✨
Likes
Comments
Share


@goody3shoes
Follow
Been SUPER busy and have had a hard time keeping up with everything. The video was from a few days ago, I don't think I was watering enough. Shes growing nonetheless, and ill be starting liquid nutes this week

Likes
22
Share


@GR0WER
Follow
New week starts
__________
🌞26.04
It's a first day of pre-flowering period today. I've changed schedule to 12/12hrs and turned on third 100w lamp. (This is not entirely correct, because I'm using one and a half 200W lamp. There was no room for two of them and I was forced to cut one of them in a half)
My babies started to grow dramatically fast after flushing two days ago and i decided to do one more particial defoliation procedure. Now a yong branches they grew has more light and space wich should help them to produce more flowers.
Spraiyed all four with 'Sea Weed' and prepared to feel a strong smell after a few days (if You know what I mean 😉).
I'll flush them with 'FloraKleen' solution tomorrow to outwash saults, then start to feed them in a 'Pre-flowering' mode.
🌞27.04
Nothing today except 'SeaWeed' spraying. I decided to not flush my plants today, because the soil is still too wet. I'll do this procedure tomorrow in the morning (when the lights will turns on).
Girls are growing dramatically fast now, especially 'Hulk Berry' wich was the smallest. It dobled its volume in one night!
🌞28.04
I flushed my plants with 45 litres of 'GHE FloraKleen' solution in 3ml/l retio.
It was a success!
Drenage EC fall from 1.9 to 0.9 (from 1850ppm to 800). Now I'll wait four or five days before watering to soil dry.
Also, I spraiyed them with 'GHE Sea Weed' as usual.
'RG'#1 leaves already toching my box wall, but I am afraid to defoliate it once more to pervent male flowers developing because of a big stress on pre-flowering period.
🌞29.04
All four plants are growing faster then ever after "GHE FloraKleen" flushing. Their leaves became 1.5 times wider in one night! Even 'HB' miniature leaves are spredding out in size.
I spraiyed them with 'G.H. Protect' today.
🌞30.04
My plants crones are too thyck. They're asking for one more defoliation, literally. I'm still afreid to do this. Maybe I will do this a few days laiter when I'll water them. Till then I'm only bending big leaves under the top of a branches.
'G.H.Protect' spraing and that's all for today.
🌞01.05
Nothing for today. Even no spraying.
My grow box is in the 'stealth' mode (hidden in the wardrobe-looking shell) so there will be no photo today. It's too difficult to open it, ecpesially there is no sense to do this just to take a picture. I'll water my plants tomorrow, so there will be an update.
🌞02.05
No watering today, the soil still too wet.
I made one more defoliation instead. Almost half of a crones were cutted (big old leaves and some lowest branches). I think it's a good thing, because there were alot of new branches and no light reaching them. Now light goes toll the very bottom of my plants, forcing small yong leaves to grow quicker.
___________
Week ends.

Likes
25
Share


@FabioFobia
Follow
Ho trovato una cima con un principio di muffa, sono abbastanza sicuro di aver pulito bene...avevo intenzione di chiudere con 10 settimane sperimentando un flushing leggero ma più lungo, ma visto il rischio muffa non mi spingerò oltre 9 settimane e 3 giorni.
Per il resto le 2 gorilla girl hanno aumentato il volume dei loro fiori ed ottenuto copiose concentrazioni di tricomi....
Ci vediamo al raccolto!!!!
Likes
9
Share


@b_C6969
Follow
Day 74
Harvest time!
She didn't have the best start at life, lost a major limb/side stem early on (my fault, too aggressive with LST), and got a bit stunted from stress I think.
Flushed twice (once was to get her out of being stunted, it worked).
Probably could have left it another couple of days as some of the lower buds were still maturing, not many though, and i needed to get her out of there so I could turn the extractor fan down to bring the humidity up for the young plants. I'm really happy with the result, especially after the small disaster that was Zkittlez (which im pretty sure was actually CBD lemon as its not potent at all).
Not a big yield, would have been a lot bigger had she not lost a limb. I'm not too worried though, quality over quantity right? im pretty certain this is the best stuff i've grown so far, 5th times the charm huh? Trichomes are about 80-90% milky and 10-20% amber, first plant i've actually let get amber, so yeah, finally grew something right lol.
No nutes for about 2-3 weeks before chop, and yeah 2 flushes, so im hoping it'll have a nice taste.
Oh, and i didn't water for 3-5 days before harvest, which could explain why she's so light (not a lot of water weight), visually looks similar to the harvest, size-wise, yet a good 60grams lighter, will be interesting to see what the dry weight is. I'm gonna throw out a guess of 38gms.
Even though she has a great smell, its not very stinky while drying, nor was it in the tent. you have to touch the buds to get any scent, pretty handy tbh.
Currently drying in my wardrobe with a fan blowing underneath (not touching the buds) for airflow.
Happy!
EDIT: not the best trim job, im not very well at the moment so just wanted to get it done. plenty of trim that im going to use to make pain relief balms/lotions


Likes
31
Share


@GreenHouseLab
Follow
Finally moved her to the new set up which is a 7 gallon square bucket with compartment lid which make verifying pH or topping up reservoir much easier. From here on she should explode with proper nutrients and care.
GHL

Likes
19
Share


@adam_pawloski87
Follow
What a fun run this was ! These Ogreberrys finished up from 81 days to 102 days with nice hints of gassy , sour purple , sweetness and glistening with frost! These ladies will cure up for a month an will be ready to test out ! So much fun , I highly recommend this strain if your looking for some oooy gooohy resiny grape smelling nugs !

Likes
12
Share

@Brujha77
Follow
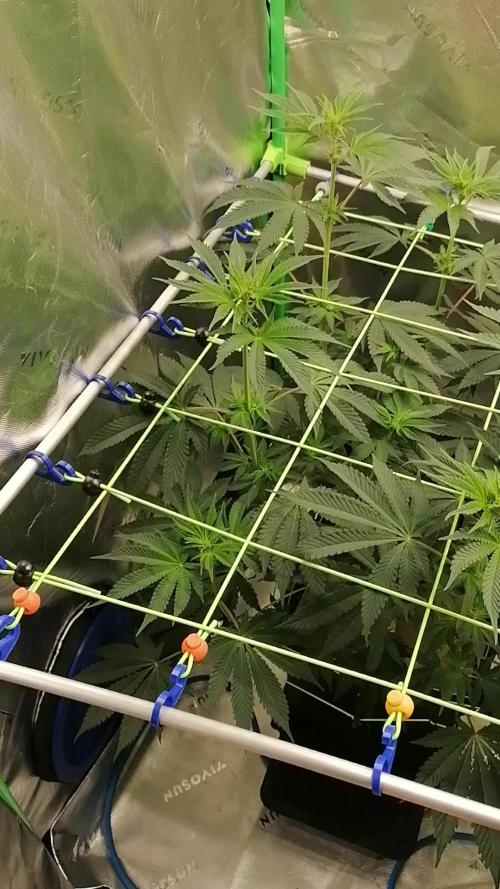
Beginn Woche 3 Blüte.
Entwickeln sich gerade alle 3 recht gut.
Heute gab es wieder 20ml Green Bull 🥀💪
Likes
14
Share


@LokalGrenz
Follow
Jan 13th ordered a Dehumidifier today should be here Monday need to get the humidity down for flower I can only get it down to 57% so Hopefully it will work
One of the amnesia haze plants have some type of deficiency not sure have brown spots on leaves
Got humidity some decent control but I’m sure amnesia haze 1 is dealing with PH issues the PH meter is cheap and I’m sure it’s been off a bit so I’m going to look for new one this week


Likes
Comments
Share