


Likes
Comments
Share


@Ambz_1990
Follow
Got 6 autos going at 3 different stages, kulled the rs11 as it was very bad genetics, cheese, sweet critical, Orion f1. Watermelon z, white widow and northern lights


Likes
15
Share


@Dunk_Junk
Follow
Looking absolutely gorgeous this week.
Incredibly stinky!
Incredibly sticky!
Really fat buds.
And she's done. Will be chopped in 24h.

Likes
41
Share


@Compassionate_Gardener
Follow
The end is in sight! This round with 8 plants in 4 pots (=2 GIRLS IN A CUP) of BANANA KRUMBLE (=Banana Punch x OG-Kush) from GREENHOUSE SEEDS is now in week 15 since germination. They are now flowering since 9 weeks and are starting to fade, that means they start to get ripe. All big fan-leaves are now red or yellow colored and start to wilt away. This is a sign the plant will be ready to harvest soon. In the pics and the VIDEO you can clearly see the purple/reddish coloration of the top-buds and the THICK LAYER of TRICHOMES they have. It is AMAZING to see and I cant wait to try this strain after its harvested and dried. All main- and sidebranches have developed into HUGE COLAS and the bud-structure is very compact...in one word: DANK! The aroma of the BANANA KRUMBLE is sweet and fruity (reminds me of ripe bananas with a hint of cinnamon!) and overwhelmingly STRONG! Every time I open the tent a THICK CLOUD of SWEEY SMELL greets me, its ASTOUNDING!
My 3 SANlight LED-lamps still hang at 40 cm distance from the top of the plants. The two Q4W-Gen.2 fixtures on the outside are running at 100% (=3 green lights on dimmer ON) and the Q3WL-Gen.2 in the center is dimmed to 80% (=two green lights on dimmer ON).
The HUGE size and compact bud structure shows that the plants LOVE the SPECTRUM and the INTENSITY of the SANlight LEDs.
Since I use BIOTABS-nutrients I do NOT NEED TO FLUSH the plants! They only got tab-water all the time, therefore it makes no sense to give them more water of it now. All the nutrients in the soil and the plants should be used up by now (that why the plants start to wilt!) and that ensures a smooth smoke later. When you smoke unflushed weed any nutrients left in the plant matter (especially phosphorus (=P)) will create a harsh feeling in your throat and make you cough, therefore its normally of the UTMOST importance to flush your weed before harvesting.
Now its only one more week and harvest time is here...yipppiiie
Likes
Comments
Share

@grimm420
Follow
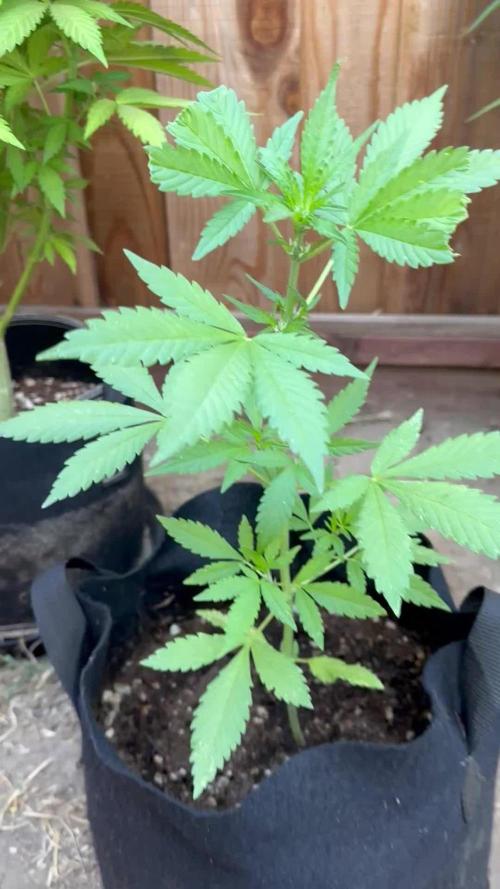
Decided to fim because I was kinda sad with my Slime Machine yield, always had more success with topping and fimming. Gave her a bit of Flower Girl Fertilizer. So far it’s looking great! Looking forward to buying a greenhouse to control all the pests eating my poor plants 😭 I see a lot of mites.
Likes
141
Share


@Eyeduno
Follow
One thing after another with This grow lol first a fan went on me and then a light blew just annoying things really


Likes
2
Share


@Mytrichomedgarden
Follow
Estoy en la ultima semana todo salio genial vamos por ese secado y curado
Likes
14
Share


@Salokin
Follow
Hi Growmies,
The buds are slowly stopping to stretch on this one. She was defoliated quite a bit as I was worried about aircirculation on her side of the box, another aspect speaking for a scrog in this box. Next week she will get some PK 13/14 to real kick off the fattening and ripening stage.

Likes
22
Share


@Fatnastyz
Follow
9-3
Everyone got a little light burn, she didn't seem to mind. Light still adjusted. 😱
Growin good!
9-6
Whats growin on!
This girl is!
500 ml water, with HP connect.

Processing
Likes
5
Share


@Mr_nugs_lover_David
Follow
She's looking very healthy and strong so far, let's see how big this lady gets.

Likes
8
Share


@sellem
Follow
Welcome to week 9! Starting off with a nice photoshoot
Watered 3 plants on 08/04 with 1.5L 5.8 PH 1.7 EC. 2nd time for LCC "Cara" that she has to wait a day longer for watering. Oh well!
Watered LCC "Cara" on 09/04, 1.5L 5.7 PH 1.8 EC
No Watering on 10/04, but some nice colorful photos!
Watered all on 13/04, 1.5L, 5.7 PH , 1.7 EC.
Nutes all around the same, 5ml/L Plagron Terra Bloom and 1ml/L green sensation.
one BPP is showing awesome purpling, very deep and saturated, and one LCC really got that Fall color scheme going now. Very happy with how its going! Trichomes are still mostly clear/cloudy. Judging by my last batch of BPPs, i'd give them anywhere from between 1-3 weeks. dont know how ill manage harvest yet, either all at once, when some are more amber and some are still a tad early, or individually. I got finals coming up so probably depending on how i find the time for it.
Likes
6
Share


@420medic
Follow
What a stretch from the last week, week and a half... Both of the gelato and forbidden runtz are 3 feet tall!! The vigor and structure look great, I let these 2 go as a normal plant with no training and they have proven themselves to be great plants.
Likes
12
Share


@Lonelygrass
Follow
first strain runtz start 11/03 indoor, now outdoor guerrilla... hope for a good season
second strain watermelon zkittlez, hope for better wheater (actually indoor).
sicilianguerilla
Likes
18
Share


@DBQush
Follow
Dear diary,
Week 7 has brought us closer to flower. Despite some variations in their development, they continue to progress steadily.
🍀🍀🍀🍀🍀🍀🍀🍀🍀🍀
⏰ Day 46:
Provided a feeding session with a nutrient strength of 1.64ms and a pH level of 5.7. After tying down the tops yesterday, the plants exhibited upward growth again.
To maintain uniformity, I re-tied down G.C #2, allowing the other plants to catch up in length.
⏰ Day 47:
During the evening feeding session, I administered a feeding with a nutrient strength of 1.67ms and adjusted the pH to 5.6.
This also is the day that marks the final topping session, bringing the total number of tops to 16 for each plant. The plants have responded well to the previous training, and I'm eager to observe their continued growth with the mainlining technique.
⏰ Day 48:
I provided the plants with a feeding containing a nutrient strength of 1.67ms and a pH level of 5.7.
⏰ Day 49:
During the evening feeding session, I maintained a nutrient strength of 1.67ms and adjusted the pH to 5.6.
Additionally, I removed another set of fan leaves to optimize light distribution among the tops.
⏰ Day 50:
The plants received a feeding with a nutrient solution at a strength of 1.64ms and a pH level of 5.8
⏰ Day 51:
During the evening feeding session I provided the plants with a nutrient solution at a strength of 1.64ms and adjusted the pH to 5.8.
⏰ Day 52:
Administered a feeding with a nutrient solution at a strength of 1.64ms and adjusted the pH to 5.8.
To ensure optimal light exposure for all the tops, I removed the last set of old fan leaves and did some more low-stress training on G.C #2 and minor adjustments on #3 to align their heights more closely with the other plants in the tent.


Likes
29
Share


@GreenHouseLab
Follow
It’ll take me 30 min to trim this whole plant just the way I like it. Most likely be the first one to come down also need to get her ready.
Likes
6
Share


@SecretC8keSociety
Follow
This week going good ,nothing going wrong. I just have to control the humidity. The RH% has been below 60-70% for vegetative. And right now I am using 3 humidifiers to ⬆️ that. And it’s dry out here and weather is bipolar . Good thing I am growing indoors :)
Likes
18
Share


@VI_Cannabis
Follow
June 28 - They are doing great, We switched to the recommended amount of nutrients for flowering, Also 2 air stones I ordered have come in so now those are on 24/7 with the nutrient water in a 5 gallon bucket.
June 29 - Still just growing away, I am still feeding roughly 3L per plant of nutrient water every 24-36hr depending on how dry they feel.
June 30 - Totally forgot to take pictures/videos today. I gave them there daily watering and they are still just growing away. They are in flower now I believe!
July 1 - Awesome to see this amount of progression. Tons of hairs and a decently even canopy. There is a small smell coming from in the room!
July 2 - Again I forgot to take pictures, But as always they are still just growing away. so far so good!
July 3 - Tons of growth and they are starting to become uneven. I don't have a ton of time so I think I will leave them for another week before doing some LST or HST. Tons of colas forming, lots of hairs and they are starting to have a heavier smell! So far so good!
July 4 - Same thing as yesterday, still growing away, Ive turned the lights up to 100% now and I have removed the SF-1000 as I needed it for another project! (be sure to check out my other diary's which I will be uploading today!


Likes
145
Share


@Roberts
Follow
Niagara auto grew really well. Minor issues along the way. She produced a lot of flower, and has a great smell. It was a 109 day grow which is kinda up there, but has a lot of flower. The Viparspectra P4000 light worked great 👍. She is hanging to dry, waiting to be processed. Will be back with a final weight, and smoke report hopefully In a few weeks. Thank you Viparspectra, and Doctors Choice. 🤜🤛🌱🌱🌱
There is a harvest video on my YouTube channel. The site won't let me upload it. Link to channel below. Or link to harvest video here: https://youtu.be/H87nSZgsqhg
Thank you grow diaries community for the likes, follows, comments, and subscriptions on my YouTube channel. 🍻🌱👍 Happy Growing 🌱
https://youtube.com/channel/UCAhN7yRzWLpcaRHhMIQ7X4g

Processing
Likes
25
Share


@SybDarret
Follow
I'm kinda late on the update, week 11 finished on sunday 4, now is feb 9th.
Last time i gave them nutrients was on sunday jan 28th and i'm flushing them since that date.
My intention was to take them down this sunday (11) but I will not be at home that day, maybe I'll cut them on monday 12th.
Maybe on monday i will add week 12 and then when the drying is done I'll update the harvest.
So far it seems like taller plant needs more time, as far as you guys have told me, seems like smaller is ready, but because of time I think I will cut them together.
Also my intention es to create a video to participate on 2F4B contest, i forgot to record the harvesting of LSD25 so this strain is my chance.😀