Processing
Likes
8
Share


@weed_gastro
Follow
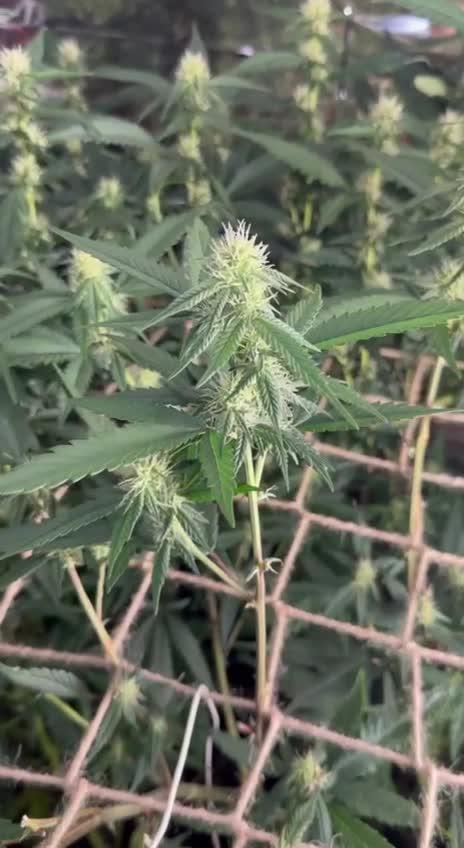
I was away for a week, gave them plenty of water when I left, and came home for this!! I gave them water for the last time I guess, and in a few days harvest is coming :) the smell is awesome, fruity as hell.


Likes
28
Share


@Ferinky
Follow
En esta actualización se incluyen 2 semanas ya que por trabajo me fue imposible añadir la semana anterior.
El día 15 de Agosto recibió la segunda pulverización de Bacillus Thuringiensis para prevenir el ataque de las orugas.
Sigo alternando riego de agua un día con riego de Ascophillum Nodosum al día siguiente. He dejado de regar con Cannazym.
Se aprecia una carencia de nitrógeno.


Likes
4
Share


@Notsoaveragegrows
Follow
I split the stem at the top cola’s and trimmed off all the excess leaves. Swapped out a light to one that barely fits my tent and running at 50% and below.


Likes
64
Share


@DogDoctorOfficial
Follow
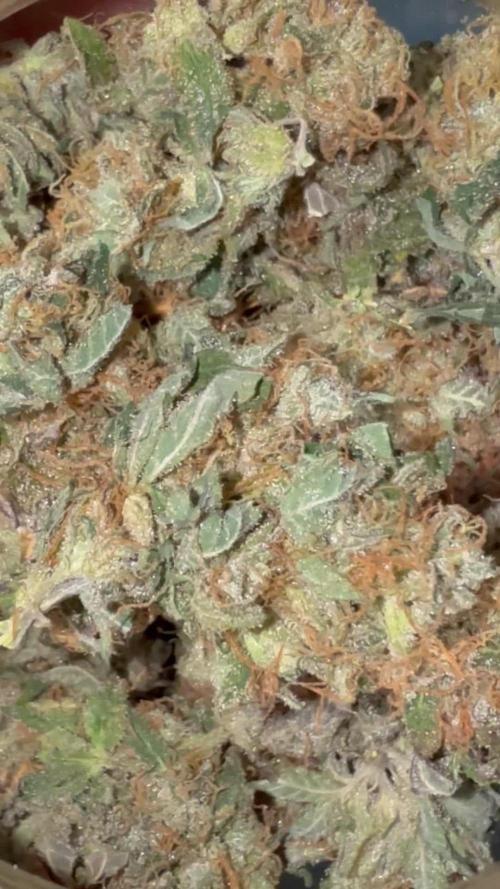
Super easy growing, almost no maintenance, she just needs love and attention, and she will shine for you

Likes
37
Share


@D33jW
Follow
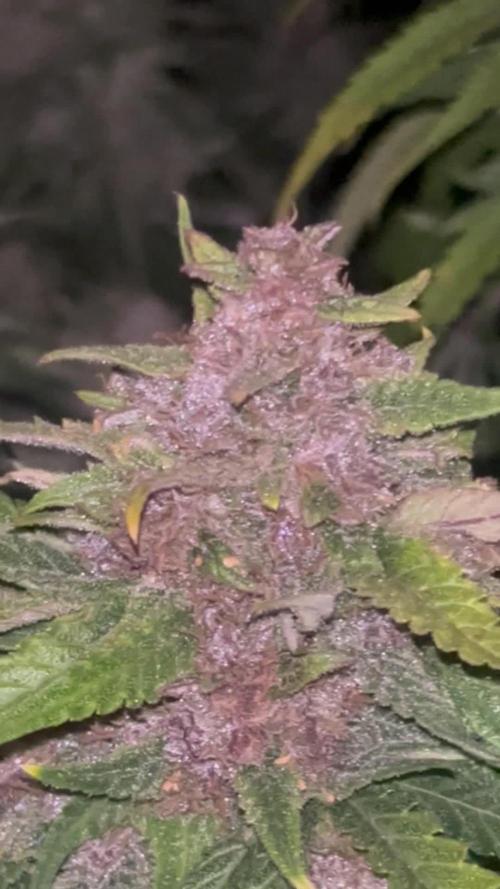
FLOWEEK: 8 - 57FLO
Light: 11/13
RH: max 55%
TEMP: 24C
PPFD: 750
RH maximum 55% target is 45%
Cold in night just 17C
Last week to harvest I will make some flush..


Likes
11
Share


@MadeInGermany
Follow
Info:
Unfortunately, I had to find out that my account is used for fake pages in social media.
I am only active here on growdiaries.
I am not on facebook instagram twitter etc All accounts except this one are fake.
Flowering day 54
since time change
to 12/12 h.
Hi everyone :-) .
We are slowly getting closer to the end :-).
The lady puts her full energy into the flowers.
The leaves are beginning to fall.
I poured 3 times this week with 1.2 l each.
The trichomes were checked and the leaves were also checked for animals.
everything is great 👍.
The tent was cleaned and the electronics checked as well.
I wish you a lot of fun with this update.
Stay healthy 🙏🏻
You can buy this Strain at :
https://www.amsterdamgenetics.com/product/kosher-tangie-kush/
Type:
Kosher Tangie Kush
☝️🏼
Genetics:
Kosher Kush
X
Tangie
👍
Vega lamp:
2 x Todogrow Led
Quantum Board 100 W
💡
Bloom Lamp :
2 x Todogrow Led
Cxb 3590 COB 3500 K 205W
💡💡☝️🏼
Soil :
Canna Coco Professional +
☝️🏼
Fertilizer:
Green House Powder Feeding
☝️🏼🌱
Water:
Osmosis water mixed with normal water (24 hours stale that the chlorine evaporates) to 0.2 EC. Add Cal / Mag to 0.4 Ec Ph with Organic Ph - to 5.5 - 5.8 .

Processing
Likes
3
Share


@Barcelona_Farmers710
Follow
Mientras yo me divertía en la spannabis las niñas se ponian cada vez mas resinosas farmers!! Solo basta ver la shining haze para darse cuenta que el mammoth p es brutal!!👌🏻
Likes
2
Share


@Alexiselkof2
Follow
Está semana mejoro un poco el clima y hubo ataque de mosca blanca por humedad y encontré una sorpresa más que fue una pequeña araña
Likes
9
Share


@TricoGhost
Follow
Para ser la primera vez que cultivo no puedo quejarme, pero si alguien me pudiese ayudar

Likes
3
Share


@Scrubbyjimbob
Follow
My 3 week estimate last week might be a little long. Thinking 1 more week maybe. It's going cloudy pretty quick. We'll see how the week goes.
Tried to clean up a little more between branches today but the canopy is pretty ridiculous for only 3 plants(really two and a half since #2 got a little stunted from the early root rot). I really should have been more aggressive skirting out the lesser undergrowth. I left it because it managed to stretch to canopy level but it's really choked up some areas. Buds are basically laying on one another when you get deeper in. Gonna be plenty of fluff for extracts.
Likes
10
Share


@I_roll_my_own_420
Follow
Another week is gone. I have done some defoliation to make airflow better and give as much light to the bottom nugs as possible. Plants are tough, smell beautiful and buds are getting some size already. Cheers!

Processing
Likes
11
Share


@bastiBLond
Follow
Solo pequeños cambios no muy notorios, espero que ya vaya tomando mas velocidad a medida que termina la semana.

Likes
14
Share


@Terpyboyz
Follow
Hi everyone 👊🏻 thanks for checking in 😏, so we have started flowering this week on the bigger tent using the 2 Lumii 720w LEDs, we might or might not run into some hight issues well see…
And we have the other 1.2 tent set up for the clones there under 1 Lumii 720w led delivered until I can another one sorted few weeks 🤙🏻 get them under that for a few weeks then get them flowering as well. Keep eyes open for progress 👌🏻


Processing
Likes
7
Share


@IAmTheMoravianGrower
Follow
Hi, Royal Gorilla is all right. I did LST and topping a few times at the week.
29.5.2019
CalMag – 0.4ml/l
Fish Mix – 2ml/l
Bio Heaven – 2ml/l
RootJuice – 4ml/l
2.6.2019
RootJuice – 4ml/l
Processing
Likes
4
Share