





Likes
22
Share

@Brotanical
Follow
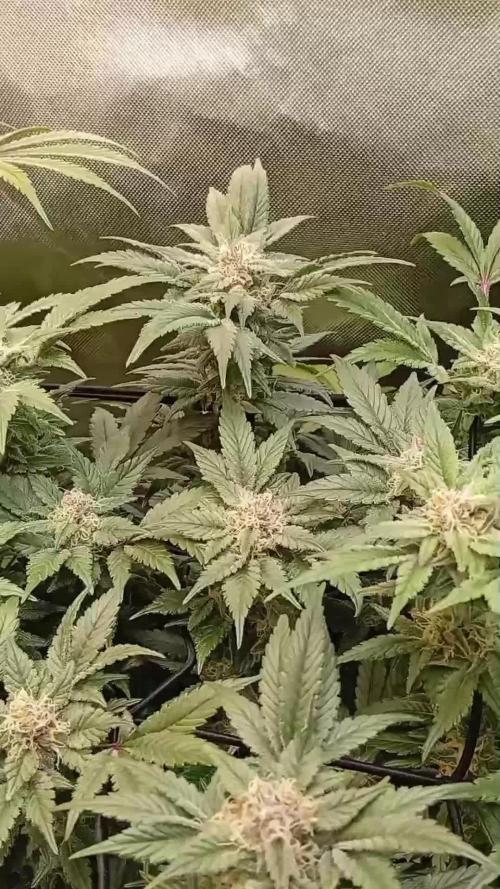
🌱(BT 40) 🌱Es sind verschiedene phenos zum Vorschein gekommen aber sie entwickeln sich bisher super 👍
Es gibt keine großen Veränderungen in den zusätzen☕ es geht weiter mit @Hesi_Official Dünger und die rlf Passt auch wieder wie gewünscht mit der ich zwischenzeitlich etwas zu kämpfen hatte aber das ließ sich gut gegensteuern mit der Infrarotmatte 👍
AKF von @VIVOSUN hält auch stand ohne zicken
Bis dato
Links die XS 1500 pro mit 36 cm Abstand und 85% Leistung derzeit✅
Rechts die M100 Pro von Wizard of Bloom mit 31cm Abstand und 100% Leistung ✅
Mir persönlich gefällt Spektrum und Vitalität sowie Performance unter der M100 etwas besser der Wuchs ist bedeutend kompakter und die Blüten gehen fast bis zur Erde das ist echt Wahnsinn 👍✅☣️
Die Research Reihe von @SensiSeeds läuft bisher ohne große Probleme und es ist eine Freude zuzusehen 😁

Likes
2
Share


@Doctor_Smoke
Follow
this plant is in Fox Farms Ocean Forest soil and will get straight de chlorinated tap water til week two veg.
Likes
22
Share


@HappySkunk
Follow
This week I need to focus on keeping the heat down. I got a Spider Farmer 2000 last week and woah it brought the temperature up by a lot, so much so that I have to keep the tent open.
Overall I’m really happy with this experience and I feel like I’m learning something new every day.
TIMELINE:
05/14: The heat got up to 32c the other day and my plant seem to have suffered some heat stress. I’m sure she’ll recover as she seems to be pretty resilient, this one. I also watered her with some nute-free water today - and I put in some other plants to keep her company under the light. They won’t stay in there forever, but for now I think it looks pretty cute with a bunch of plants in there.
05/15: More growth! Two of her leaves got really fucked up due to the heat stress. I re-adjusted the lights so they’re now a bit further away from her.
05/16: I feel like she’s looking a bit off - light green leaves with darker edges? I might just be a paranoid parent. There’s so many ways to fuck up.
05/17: I set up my exhaust fan yesterday, but today I’m noticing a strange sound coming from it - I hope it’s not a defect fan, but just a loose screw. My plant is still looking somewhat pathetic after those hot days in the tent, but she’s growing and I’m making sure that she’s not getting too hot today. She was also fed with nutes.
05/18: Ordered a humidifier - it’s a bit late seeing as she’ll probably go into flower soon and will need lower humidity, but at least I’ll be ready for the next grow. My plant has some white tips and I’m not sure if it’s from the heat earlier this week or if it’s nute burn. I guess time will tell - right now I’m not too worried.
05/19: Got the humidifier set up! So now I’m pretty happy about my grow tent. My lady is looking good to me - very bushy.
05/20: Pictures are getting less and less flattering the bigger she grows - she’s become a freaking bush 🙈🤣 I love her tho. It’s also my birthday! So yay!
Likes
18
Share


@Staffedition
Follow
Привет друзья. Моей растихе сегодня 80 дней.
Растение хорошими темпами приходит в себя.
Через неделю буду переводить на цвет.
Начал применять LST технику на 19 дне и продалжаю применять её через день, а 18 августа добавил ДЕФОЛИЗАЦИЮ
С 20.08 ДЕФОЛИЗАЦИЮ делаю каждые 3,4 дня
С 20.08 LST технику делаю каждые 4.6 дней
На сегодняшний день влажность 54%
5.09.2023 заметил высокий Ph 7.9
С 48 дня Ph не ниже 5.8
На сегодняшний день Ph 6.0
Начал кормить с 60 дня Canna Terra Vega
PPM 550
Погладитель влажности хорошо справляется со своей задачей. Рекомендую
Всем мира и добра!
Не забудь поставить лайк❤️, если понравилась как прошла неделя
И читайте наш TELEGRAM: https://t.me/smail_seeds
#Smail_Seeds 😀
Likes
1
Share

@Crazy_Doofus
Follow
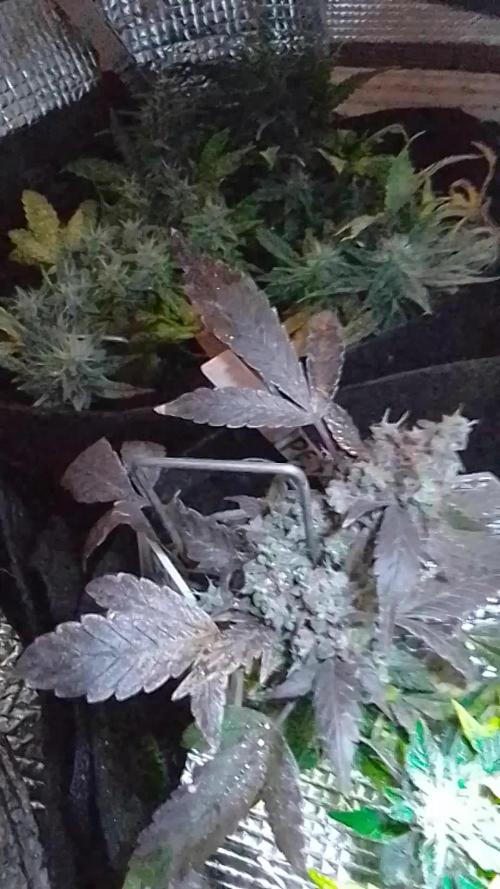
Gaining, will be 5gr dry I presume
Turned purple
Aside the cost per seed, this pot hold 2 plants, so let's see how much per pot I can produce
25/01 Trichomes just started a bit of amber, gonna wait another day
Likes
4
Share

@Stonerapaisana
Follow
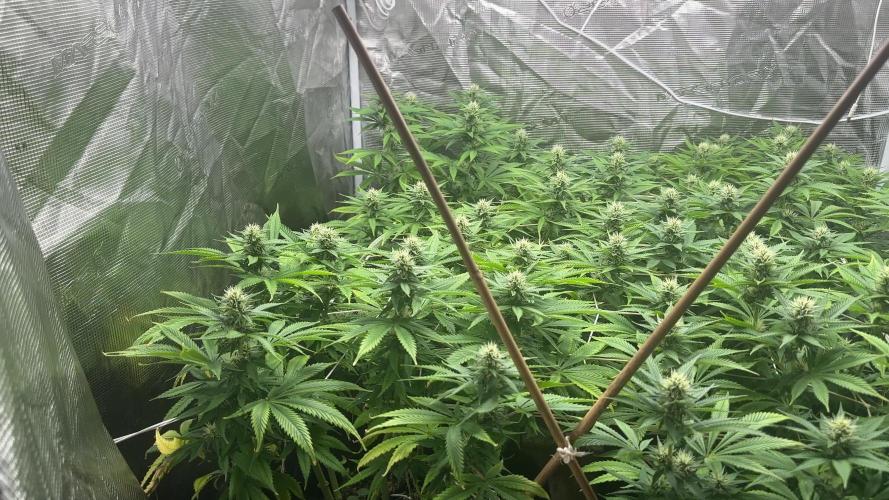
11/08/2025 - Tenho regado apenas com agua mineral com ph 6.2, para não saturar mais com nutrientes. Luz tá a 100%. Agora a ver a acontecer :D
14/08/2025 - Agua e só agua xD

Likes
7
Share


@stonermamba13
Follow
2nd week of 12-12, last massive defoliations and LST before the bloom.
I’ll attend about 10 days and pre flower for others stress.
Let’s do it, let’s flowering!

Likes
22
Share


@Green_Mountains
Follow
A great week!! Chloe grew 8 inches!! Sofie grew 6!! I fed them yesterday and moved them into the flowering tent!!
Looking forward to another great week... hoping they adapt to the new environment!
Also, I can't believe they started flowering so early!! Unbelievable!!
Otherwise, steady as she goes!

Likes
19
Share


@MadeInGermany
Follow
Welcome to Garden Of Green Cup 🏆
Flowering day 44
since time change
to 12 / 12 h
Hey guys :-)
The buds are becoming incredibly beautiful and smelling better and better ☺️.
Today there was again the full load of food and will be slowly driven down as soon as it comes to an end :-)
Was watered 3 times a week with 1.2 l each (nutrients see table above)
Otherwise everything was cleaned.
Have fun and stay healthy 💚💚💚
👇🏼👇🏼👇🏼👇🏼👇🏼👇🏼👇🏼👇🏼👇🏼👇🏼👇🏼👇🏼
You can buy this Nutrients at :
https://greenbuzzliquids.com/en/shop/
With the discount code: Made_in_Germany you get a discount of 15% on all products from an order value of 100 euros.
👇🏼👇🏼👇🏼👇🏼👇🏼👇🏼👇🏼👇🏼👇🏼👇🏼👇🏼👇🏼
You can buy this strain at :
https://gardenofgreenseedbank.com/candyland/
Water 💧 💧💧
Osmosis water mixed with normal water (24 hours stale that the chlorine evaporates) to 0.2 EC. Add Cal / Mag to 0.4 Ec Ph with Organic Ph - to 5.8 - 6.5
MadeInGermany


Likes
8
Share


@GreenForce
Follow
Hey Growers,
Day 1 of Week 10
Two ladys harvested today you can see in fotos how they look in my opinion Amazing Hahah (but im the father lol).
Purple one its like a mix of exótic fruits
The orange one its like a a cream of a fruit.
Both seens very sweet!!
Soon i Will share strains!!
The another two ladys more sativas i think , looks like they need around more 10 days lets us see.
The taller one smeels like gasy citrus, And the another one its a mix of strwaberry And another touch that I dont discover yet.
Thank you all.
Nice week 4 everybody!!
_GrF_

Likes
13
Share


@Robeeriegenetics
Follow
Added nutrients to top off reservoirs everything looks good …I am content so far with testing will be dropping light schedule to 11 on 13 off to accelerate bud development hopefully shortening flowering time
Likes
1
Share

@Mrdub
Follow
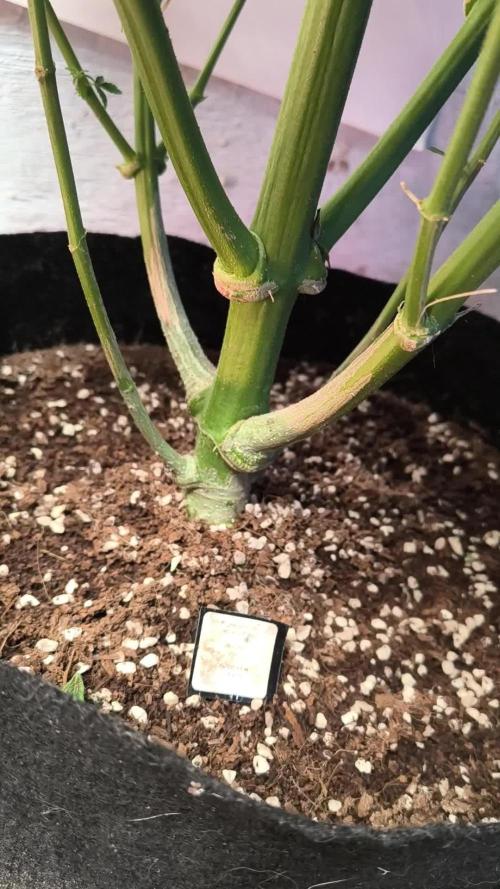
This girl is stacking nicely looks like she's gonna need another round of defoliating starting to get sweet smell to her trichomes really starting to get heavy even covering fan leaves pistols starting to turn she drinks a gallon of water every other day gonna cut the nutes down in a week running 6.2 pH lights at 100 percent looks like adding the little bit of extra calmag worked cause she has no spots not a lot of burnt tips nice thick stalk and knuckles under canopy lighting is rocking as you can tell by the fat little colas at the bottom really loving this under canopy light so here's to another week of growing lfg

Likes
7
Share


@iLoveGoodWeed
Follow
The buds are spread everywhere and they are nice and frosty in next 2 weeks she will get fat.

Likes
7
Share


@BushDoctor740
Follow
Day 15 and things are rolling right along.Ive just been giving ph water until the pots are dry.Noticing a lot of growth last few days and they are looking good.Ive decided to go from the 24 hour straight to 20 hours on 4 off light schedule.I have never really noticed much of a difference with auto flower from 18/6,20/4,and 24 hours on the light schedule.I think it is best for the equipment to give them a short rest time.I do like the consistency of the environment with 24 hours during the winter time though :)
Likes
6
Share

@Northern_Ent
Follow
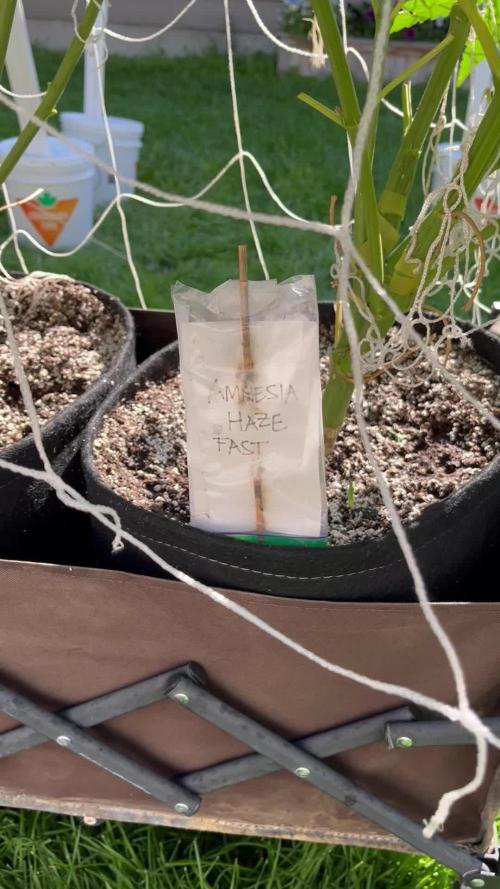
Aug 15: Amnesia Haze Fast is looking good. Late start and heavy hail damage near the end of veg stage has made her smaller but she is healthy and flowering strongly. Plagron nutrients are working great.
Here at 53 N latitude the sunlight, particularly UV light drops quickly starting in mid-August. I have UV lights from AC Infinity that are setup on days with no chance of rain. Easy to do and seems to help a lot.

Likes
5
Share

@Ibgrowing
Follow
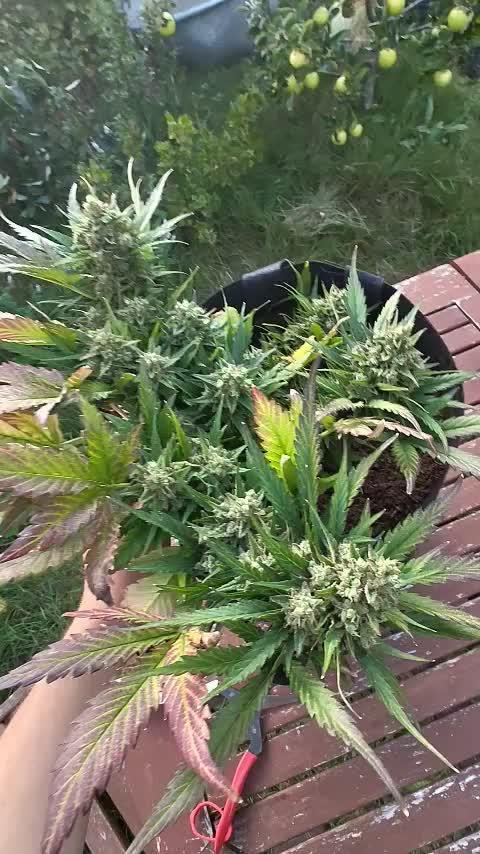
I have harvested my ladies. The buds are nice and thick. I'll definitly do an update on the drying and curing. I have already done some wet trimming as you can see by the two pictures, first round was just a rough trim, second one a bit more precise.
They are now drying in my garage on a washing line.
Processing
Likes
6
Share


@StickyFruits
Follow
7day - One of the bushes turned out to be a hermaphrodite, removed it away. Planty began to drink a lot, watering every other day for 1.7-1.8 liters
8day - added PK 13/14 atami 0.7ml/l +Canna bio flower 2ml/l +Bud ignitor 2ml/l -900ppm 1.8 litres and made defoliation
10day -added PK 13/14 atami 1ml/l +Canna bio flower 3ml/l +Bud ignitor 2ml/l +Rhino skin 1ml/l -950ppm 1.8 litres
12 day added PK 13/14 atami 1.1ml/l +Canna bio flower 3ml/l +Bud ignitor 2ml/l +Rhino skin 1ml/l -1000ppm 1.8 litres
14 day - pure water . 6.8PH 200ppm
2 litres/plant


Likes
7
Share

