Likes
Comments
Share
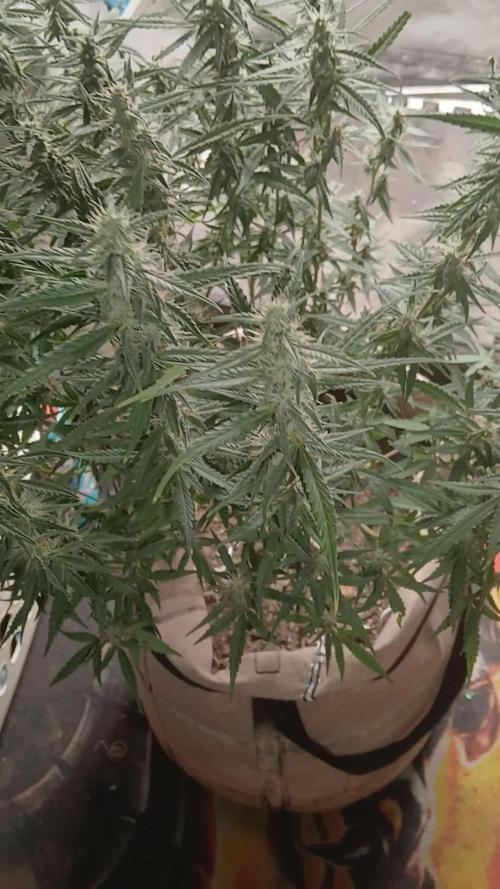
Grow Journal Week 5: Bloom Phase Progress 🌼 Hello dear growers and growerettes, I’m thrilled to share the fifth week of the bloom phase in our grow journal! Here are all the details for Week 5: Weekly Progress It's been a typical week of development for the plants. Not much has happened aside from the usual growth. However, I had to reset my watering system due to an error, which involved removing the mulch layer. Since then, I've been closely monitoring to ensure the watering remains consistent. Watering and Control Systems After resetting the watering system due to an error, everything seems to be back on track. I'm observing the system closely to ensure its consistent performance. Challenges This week, the defoliation process has been particularly challenging, even though it usually goes smoothly. There are just too many fan leaves with trichomes this time. Goals and Expectations I am curious to see how the plants will continue to develop over the next two weeks, as this period will give me a good indication of what to expect at harvest. Thank you for following along, and stay tuned for more updates! 🌿✨
Likes
24
Share
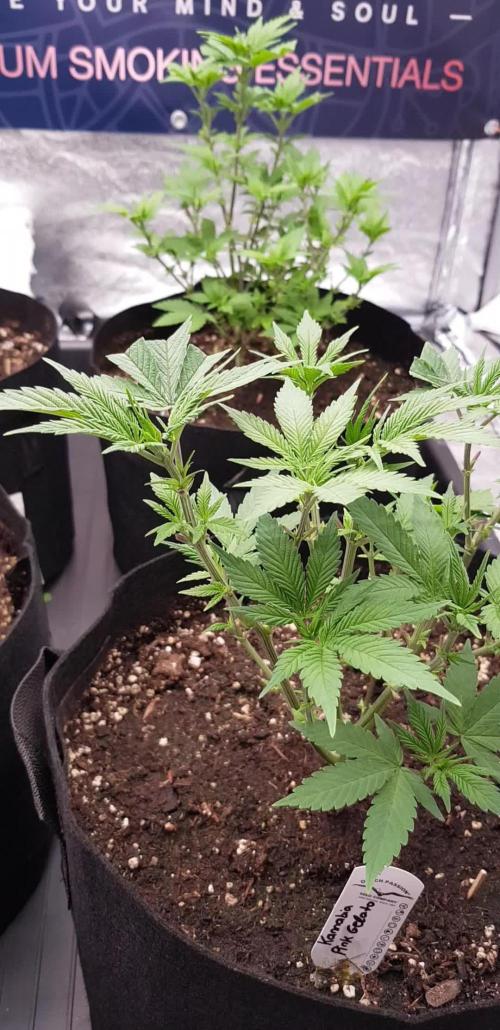
Started the first few weeks spreading the plant out by hand a few times a day, After transplanting from a 3 gallon pot to a 7 & as the center started to bush I went further into training and tied branches around the pot with soft garden tie. Foliar feed a lite blend of Rhino skin & Flower kiss with a fine mist a few times a week as well as spinning the pots to promote even growth, vigor and IPM Eyeing up to cut a few more clones to take before flip + cleanup lower canopy / defoliation🌱 BuildASoil 3.0 soil is organic input only.
Likes
7
Share
Likes
8
Share
Make a pull to get the same amount of light. 💪
Likes
42
Share
@xs8
Follow
Week 10 started, I'm a little bit worried about the leaves which are turning yellow, is this normally because the plants are approaching their final weeks or could be something else? I'm also wondering when to start to flush, any idea? 😁 🌱🍁🍂
Likes
9
Share
Ladies and gentlemen, i'm happy to be growing this girl.Using the growdots so hopefully we have good results with a lot less effort .. i'd like to think Herbies Seeds for making this grow possible.. I've always been a fan of purple haze, so i'm hoping she is true to what I remember and love.. I hope everybody out there is doing good as you could tell this little lady is happy and she's starting to get going now.. I hope everybody is well.God bless and happy growing ✌️
Likes
22
Share
@NanoLeaf
Follow
End of Week 12 (Fifth week of flower) The ladies are smelling reDANKulous and are so frosty and sticky I can't remove fan leaves without getting my hands sticky. Next level terpene profiles. I did a final increase in CO2 to 1500ppm. The main top-sites are taking shape. I have been keeping a cooler average temperature - and also keeping the relative humidity lower. Pest Report: None
Likes
12
Share
So I harvested 1 Grlato Cake seed 🙃22 Gelato cake × Dosi-punch, & 18 Gelato cake × Lamb's Bread. Already germinating the gelato × dosi mix. Excited to start the next diary
Processing
Likes
29
Share
@Grey_Wolf
Follow
GINGER NUT Cookies Week 2 of Life 9th Jan 2020 Hi folks well my Creation is doing well and has her first set of true leaves , plus a new set is just showing thru now . Hopefully I get a few answers for the Grow question I posted as I'd love to hear from experienced Growers , their thoughts. Last week I posted the first song from my List of Great Aussie music Videos , it Was Tones and I performing Dance Monkey and I hope you enjoyed it. This week it's Gotye with somebody that i used to know ........Enjoy the tunes I'll be back next week https://www.youtube.com/watch?v=8UVNT4wvIGY
Likes
20
Share
Hey folks, I'm finally back at it again. It took me a while for a couple of reasons: 1) I usually only grow in the winter. 2) I completely revamped my grow room after the issues I ran into with the last setup. 3) It took me a while to brainstorm exactly what I wanted to do. I bought these seeds from D.C. Seeds and was very pleased with the experience. I'm very happy to give business to a fellow American and Veteran. I've only ever purchased seeds from the UK in the past and that experience has been "dodgy" to say the least (not the vendors fault, but the transit). I've only ever grown photo's, but chose to go with all auto's moving forward. After calculating the intensity of my current light, with it being on a 20/4 rotation I'm very close to hitting 40 moles per day, at least directly under the light. It doesn't quite cover my 2' x 5' trellis. I'll eventually upgrade my light, but auto's should get me the best bang for my buck with this light. Also, I spent a pretty penny building this new grow room. The other obvious reason for growing auto's is their shorter seed to harvest time. I've got a small grow area, and never plan on expanding. Theoretically, auto's will allow me to produce the most out of my room. A few things about my grow room: 1) I lined the whole closet with 1/2" plywood and put that piece of ply the air intake/outtake/power as the divider between each side of the closet 2) The grow room itself has ply on all wall surfaces so I could mount stuff to it and paint it 3) The other side of the closet is my storage/prep/power distribution/etc. area. Maybe I'll take a pic one of these days 4) My last grow my carbon filter/fan was venting into the other side of the closet. This created a headache for a number of reasons. I tapped a 4" hole through the floor and am now venting into my crawl space below the house. 5) I moved to bubbleponics to speed up my grows even more. I will be removing the drip system once the roots hit the water in the res. 6) The larger res. will hopefully make my life much easier. Late in the last grow I could only fit 3 gallons of water in the bucket and that sucker was pounding down at least a gallon a day. That required too much micro-managing for me (both ph and refills). 7) I no longer have a fixed trellis with chicken wire. The trellis is held in place by dowels that I can pull out by hand. The short sides of the trellis have hinges on the bottom, so I can fold it and pull it out easy-mode. Lastly, I'll be using string for the trellis so come harvest all I have to do is cut the string instead of dealing with trying not to destroy buds pulling them through chicken wire (it takes forever). 8) I built a light diffuser on the other side of the air intake 9) My res. is on a motorcycle lift I'm using a drill to move up and down I have now started using Jack's as my primary nutes. They tell you the full break-down of each macro and micro nute, giving me more control and understanding. I think House & Garden is a good product, but when stuff goes bad it's more difficult to troubleshoot when you have no idea what each piece of their full lineup contains. I'm assuming it's kind of a proprietary type thing, which I understand, but knowledge is power. I am still using their Drip Clean (while the bubbler is going) and Roots Excelurator Silver, both excellent products. I'm still using Hydroguard, and will FOREVER. I'm a true believer now of why Hydroguard is necessary for any hydro application, IMO. I also purchased water soluble fulvic acid, but have decided not to use it for this grow....or at least while the bubbler is going (I'll elaborate below). Ok...now that all that is out of the way.... I really wanted to use my well water instead of R/O to make my life easier. Soooo....I filled up my res., and put two seeds in the system immediately. Nothing happened after 1 1/2 weeks. I finally opened up the cubes and saw that the beans had popped, but it looked like maybe I drowned them, or they ddin't grow straight up or something. For round two, I didn't change the water out, and decided to soak the beans for 24 hours in R/O water first. I had the exact same problem. I'm still not really sure what happend, but I suspect it was the well water. My PPMs were sitting at ~500 with the well water, which was probably too spicy for the beans just starting. Also, my well water is questionable (even though it's at 165ppm), but I won't elaborate further....it's a long ass story and I've spent an absurd amount of money on it. Lastly, I did put the Fulvic acid in, and it was very messy. I really want to avoid having to clean my res. Once the roots get big it will be a real pain in the ass to clean. I'm leaning towards not using the Fulvic acid this grow just to see how things go. I had 10 beans total of the Sour Apple and have already ruined 4. So here's hoping third times the charm. So, I went back to my tried and true method: 0) R/O water for everything. Ditching the well water idea. 1) Soak beans in R/O water for 24 hours 2) Paper towel method between plates on a heating mat 3) Once the roots pop, I place them pointed down in the hole of the rockwool cube 4) Hand water once a day by dipping the cube in the pre-mix of 1/4 strength Jack's and everything else I've listed above. This put my PPMs at 300...a way more reasonable value for starts. It's been exactly 7 days since I followed the above. It's probably hard to see but the cotyledons came up, and multiple roots have come out the bottom of the cubes....way faster than I've ever seen since I started growing. That means even though I'm doing my old process this already shaved at least a week off of when I'd normally put it in my bucket in the past.
Likes
17
Share
Hallo zusammen 🤙. So das war es habe sie abgeschnitten am 86 Tag. Sie riecht sehr stark nach Blumen und süß irgendwie 🤤.
Likes
1
Share
Likes
9
Share
@CanOli95
Follow
I harvested a week earlier , because I spotted some minor bud rot in lower branches. I don't know why, bud I could not see any sign of bud rot in the bigger buds. I just found them , because I found some twisted sugar leaves, which is in most causes a bullet proof sign. The plant overall seemed to be in a pretty good condition, with minor nitrogen deficiency and some potassium/phosphorus. The last to, I should have added a small amount more, to make the buds a bit more dense, but the current state is ok. Although , it was a complete outdoor grow, pushing bud density would probably have gotten to a more a more bud rot state. This plant is really easy to grow, she almost runs for itself and does need little to no care. I chose a big pot , 25 liters , added 12 liter of light Mix and filled the rest with Coco and perlite. After that, I barely added nutrients and just waited for signs of deficiency, which barely occurred. Aroma: The aroma ist very sweet and some kind of fruity, but not generic , it is outstanding in its own kind of way. You're definitely missing lemon scents, but I think it's more of orange . There are no signs of earthy , peppery or stinky smells. Just pure sweet fruit. Unfortunately it means, I can not smell " cookies". But I thing this also happens to a lot of " cookie" strains and is often exaggerated, if claimed. I hung her up in my whine fridge , 16°C and 60% rlf for the first few days. After that, I turned rlf down to about 52%. She smells exactly like she did outdoors. Her smell does not hit you in the face. But if you smell it, it is really pleasant and calming. The smoking test be added , after I tested it for a few days. Overall in growing this variety, I rate this strain 8/10. I would would give this strain more stars, if I could really smell cherry and cookies. Unfortunately, the cherry smell combines more with the overall fruity smell, which makes it hard to isolate it. I can definitely recommend this strain to beginners, if they seek a user friendly hybrid with a guaranteed nice (bag)-appeal and reliable sweet, but not kushy aroma. A pro grower will definitely hit bigger scales, if grown indoors and preferably in Coco / hydro. I hope you enjoyed my conclusion and take it consideration, when you plan to buy some beans. Happy grow to all of you 🤝🌱
Likes
128
Share
@PapaNugs
Follow
Another good week. Been trying to water with my mix a couple times a week. Otherwise I've been using the blumats. There has been twice though I overwatered with those and flooded slightly. Still trying to adjust them just right
Likes
18
Share
Tastes like lemonade with a power kick to it of something else dank! She smokes great she’s a bit dry to the touch but I think that was down to that high heat phase I had to deal with! But great smoke has me energetic at first then KAPOW kick ass time! Firstly the colors omg so amazing purple from the get go and when the buds develop and dried they’re even more vivid, with hints of pink and orange coming through! Through the grow I had some rust looking spots come up on the lower leaves! Couldn’t identify the problem even fed her with cal mag and kept an eye on PH but no clear findings?! Later down the line I had the heat rise to 34-36 and made her foxtail a little but still got very dense buds out of her mainly the size of a jam jar! The main cola was a little bigger but very leafy had to do a mega wet trim! But will trim again after a few days of curing! Will definitely be growing again! She would of been a bigger beast if I topped her! And if the heat didn’t kick in then she would of developed better too! Fastbuds have amazing genetics I’ll be sure to be doing up a few more! She tastes like lemonade and that’s straight After dry (5days brown bags at 20c humidity 40%) I can tell some more fruits are to come through during cure as I tasted some tropical burst kick in at some point so excited to see what the result is in a month!
Likes
47
Share
Everything is going great. I transplanted to final pots. 5 gallons. Turned on the 400w mh and getting excited. No complaints, no problems.
Likes
85
Share
Start of day 70 ...... Dec 18 Start of week 10 ........ 44 DAYS INTO FLOWERING ( SMELLING GREAT ) !!!!!!! Check out the full grow video on latest weekly update Super Exceptional Growth Daily Still adjusting LST when needed and leaf tucking....... Water Only when needed but its drinking more every otherday and adjusting lights when needed...... Rain Water Only ....... ( DAY 26 AND BOTH NL 1 & NL 2 SHOWED PREFLOWERS ) ( DAY 49 AND RESIN PRODUCTION HAS STARTED ) ( DAY 57 , EQUIPMENT FAILURE , main FAN , over heated😡 tripped breaker , reset light timers , lost a DAY, REPLACED new Main Fan 😁 back up running 👌) ( DAY 70 AND IT SHOWS A SLIGHT DEFICIENCIE MAYBE A CAL/MAG GETTING CLOSE TO END OF LIFE ) IM ALSO DOING VERY LITTLE, SLIGHT DEFOLIATION ( DAY 70 DID ITS FINAL FLUSHING TODAY TO GET RID OF ANY BUILDUP ) ( DAY 75 AND ALL IS GOOD , THERE FATTING UP ) I hope you enjoy my growlog...
Likes
27
Share
3/25/2023 Week 6- Day 1 of Veg (Day 52 overall) Added my first between changes SILICA Top offs. Was worried that when you add it to pre mixed Nutes that it can make the whole thing turn into a gummy looking substance. I was ready to drain the system and start it over for the week if needed, but no issues adding it to the tank. the Silica going into the Res didn't gummy the system up, it did drop my PH by quit a bit causing me to have to bring it back in balance. 36 Gallons in the Tank Silica Add .5mil/Gal = 18Mil I topped some that needed to be topped, I defoliated some that needs to be defoliated. Since I have moved into Week 6 I have increased the light intensity up to just over 500 maxing it out for Veg Cycle. Next increase will be Week 1 of Flower. 3/26/2023 Week 6- Day 2 of Veg (Day 53 overall) All conditions looked great. Other than me not putting one of the humidifiers back right which means it didn't work last night so Humidity was lower than I like. But got the Humidifier back on it's stand correctly and it is now pumping away. With that I decided to give the plants a day off from any stresses, no topping, no FIMing, no Defoliation for today. Just some good old soaking up the light rays and the ability to get all the Nutes they would like.. 3/27/2023 Week 6- Day 3 of Veg (Day 54 overall) Looking kind of Bushy today, so I defoliated some, and topped some. 3/28/2023 Week 6- Day 4 of Veg (Day 55 overall) PH was a little lower than I like 5.74 so I added a few Mil of PH UP and brought it back up to 5.94. Not much else at this stage, just I topped a little and I defoliated a little. 3/29/2023 Week 6- Day 5 of Veg (Day 56 overall) Topped a little, Defoliated a little Watched them grow!! 3/30/2023 Week 6- Day 6 of Veg (Day 57 Overall) Main action today was breaking down my old tent and setting up a new tent and getting my second RDWC system setup and ready for clones. I Topped a little, I Defoliated some and started taking a good look at what I would like to take for clones in the coming days. I have a few bottom branches that look every promising for my clone material on each. 3/31/2023 Week 6- Day 7 of Veg (Day 58 overall) #3 is at 16" Tall #2 is at 13" Tall
Likes
52
Share
Ne Obliviscaris. Humidity Day 40-45%, Night 60-65% Internodes are very close together. was hitting 450umol at seedling level making it absorb more than it can use, reduced to 280-300umol @18 hours as expected vertical growth increased. During the 18 hours of daylight the first 9 is highly saturated in blue, 5000 kelvin, the 9 hours thereafter are closer to 3000 kelvin. Last 9 hours dosed 280nm. Height is too far to cause damage. UVB light is not detected by plants in the same way other wavelength/colours are. UV cannot be measured using umol as it doesn't drive photosynthesis. The plant has tiny little sensors that get set off to even little amounts, dimer salt bridges, the UV decays these salt bridges, which initiate response. You don't need large/long exposure doses for the plant to recognize UV is present. What's an enzyme? Think of it like a multiplier, you can add an enzyme to any particular biological process to vastly increase its proficiency at a particular process. Cannabis plants take blue/violet light and use it to create an enzyme called "photolayse". This allows the plant to repair UV damage done to the plant using a process called excision repair, this repairs the damage at a much much faster rate than it could by itself. Repairing 100% damage. The key is the plant needs time to build a reserve of the repair enzymes before using it. This is replicated in nature as, by midday UV levels peak, the generally cooler mornings allow lifetime to build up. The problem I encountered was dosing with 280nm lights on or 1 hour after the lights were on. Photomorphogenesis, the plant plans for the future of its growth, if the wavelength is not present during growth then how can it plan accordingly? The very presence of UV changes parameters with which the plant will grow, light itself dictates the growth pattern of the plant. Not only that it can dramatically alter the regular terpene profile of a strain in unexpected ways. Gran daddy purple grown using 280nm can triple already high terpene linalool. Linalool is terpene best known for lavender, largely responsible for its beautiful smell. Trouble sleeping you say? Having tried Durban poison from a dispensary and reading about its levels of tetrahydrocannabivarin. I've always wanted to taste the difference UV would make to such an already stand-out strain such as Durban.