


Likes
Comments
Share


@Cheeba_Inu
Follow
As of day 28, the NYC Diesel is growing vigorously and seems healthy. The post LST branching I was hoping for a week ago has occured so I am happy with the width and evenness of the canopy as well. I am regularly removing and tucking foliage which is helping with how dense this plant is (lots of branching with minimal internodal spacing).
I feel like it is on the cusp of flowering, so I am preparing to change up the nutrients over the next week. I will continue with the LST if there continues to be quite a bit of stretch.
Day 29: Switched to GH Flora for nutrients. Starting low and will dial it up.
Thanks for reading!


Likes
15
Share


@AloeLover
Follow
She's in a small tent, do you think I should flip the switch? Every time I take some bottom leaves off more come back LOL. What do you think?😎

Likes
6
Share


@Santi_nf
Follow
3 semana en flora de las autos las demás están empezando a florecer algunas más rápidas que otras pero todo muy parejito

Tutti Candy · Zmoothiez

Critical Widow · Pev Seeds

Sweet Skunk Fast Version® · Sweet Seeds
Skywalker OG Runtz XL Auto · Sweet Seeds

Cheese Berry · 00seeds

Hard Diesel · Gea Seeds

Scrambler Haze · Blimburn Seeds
AK · Gea Seeds
Cachalote · Gea Seeds
Gealato Kush · Gea Seeds
Gorilla Glue #4 · Gea Seeds
Somango · Gea Seeds
Likes
7
Share


@Mr_nugs_lover_David
Follow
Beautiful pair of phenos of Badaz og cheese very excited about what strain is gonna offer me in terms of quality buds, so excited to see what is every of this 2 phenos gonna be like, I really hope that both of them have the exact terpenes profile and the same potency! Let's keep on working! We'll the ladies have been Transplanted on February 2nd after 17 days since planted, they were very big and the pot was completely conquered by strong roots as you can see, now both of them are in their new 11l pot home let's see how they keep developing! 💛❤️💚🔝💎


Likes
54
Share


@Ironlungs
Follow
I wasn’t expecting these to stretch as much as they did, but they seem to come to a halt and are now focusing on bud sites. The Diamond OG has larger tops with smaller popcorn sized coming up the stem and started to frost later than the Cherry Gum. The Cherry Gum has smaller tops with more buds up the whole stalk and started frosting up right after the switch to flower.
Likes
25
Share


@Silverback_Guerilla
Follow
10/23:
I fed today with One, sweet & sticky, signal, superthrive, silica, and a little ca/mg.
10/27:
Fed today with one, signal, sweet & sticky, silica, beastie bloomz, kangeroots, and humic acid.

Likes
43
Share

@Natrona
Follow
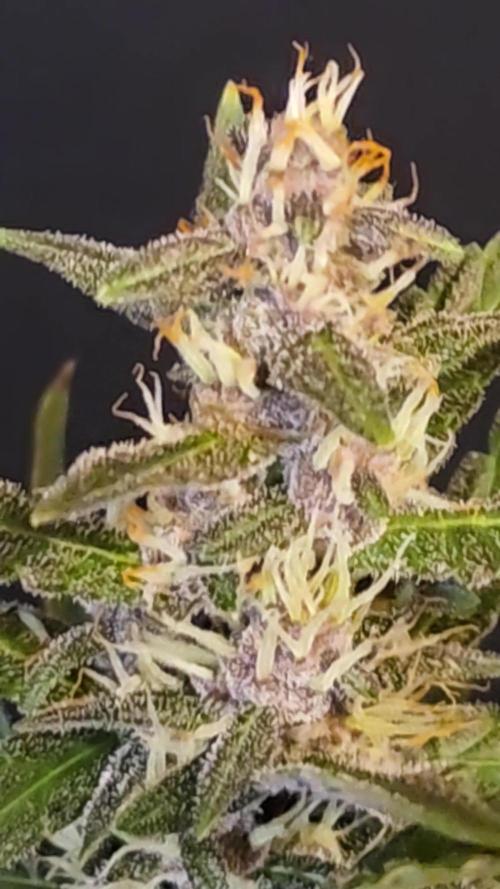
Apricot Auto FastBuds
This week I had to increase watering on Apricot #1 4.5 liters and #2 3 liters.
Since NYC Diesel leaves look so dark green with some clawing and all the gals in the tent are receiving the same nutrients as NYC Diesel, I determined I ‘ve overfertilized. The apricots don’t show dark leaves but to be cautious I gave them Calmag the first time and the second flush 1 gallon PH 6.15 water. I defoliated some large fans that were damaged by low cal mag. Only one of the Apricot is showing colors as Fastbuds describes. Purples in the buds with orange pistils.
Stay green, growers love 💚🌿
💫Natrona💫


Likes
12
Share


@VeeDro203
Follow
We are having good progress. Took clones of weekend at Garry's and Miami Miami 2 and Purple Marmalade 1

Likes
17
Share

@foxbberg
Follow
Day 22:
Drain EC 3 feet high and risin'😅( average 3.3 to be exact...)
dunno how much whatever-salt is building up in that pots, but it obviuosly doesn't bother the ladies.
Dark green colour, very few 'claws', no signs of tipp-burn, new foliage appears in a juicy green and turns dark in an instant, leafs point upwards.......
looks like they're happy😊.
Planns for this week:
- Install the scrog-net
- Obsereve plants/soil ( when do i have to feed nutrients again?)
otherwise there will be no changes......
Thoughts:
These bushy babies will be kind of a challlenge to create this scrog the way i'm used to (basically bending the 4 main main colas to the corners of the tent, upper branches to the walls and spaces between the pants, lower branches to the very center).
Now these ladies make so many branches, so close togehter and so equal in length, underneath huge fanleafs..... i'd love to have them in a 100 square meter canna-crib....but in a tent...????? I really hate doin' things without having them planned - but in this case i guess i will have to install the net, start weaving and see what's happening😯
Day 23
Let's keep it positive...... indoor-climate of 64% rh is perfect for my health💪😁!!! ......but in my tent it's killing the vpd😖.
at a lousy 24 degrees C, i'm readin' about 60-64 % rh wich results in about 0.7 to 0.8 kPa.*
More figures? Here come the crazyones👻!:
pH 5.5; EC 4.2😨
but thats only drain from plant 3....... average was 6.1/3.6
The girls busy produce roots, shoots and leafs....... still very green, still not unhealthy.......few claws, no tipp-burn.
Basically a comfortable place to be: It's not bad yet - no work but watering - and it can only get better!!!😁
*VPD issue solved:
The sensor hung too close to a fanleaf - didn‘t expect this thing beeing so sensitive 😅.
Day 24
Climbed new hights this morning: Plant 1 had an EC of 3.8 - the others didn't climb any higher than yesterday.
So maybe we've reached the climax..... 😇
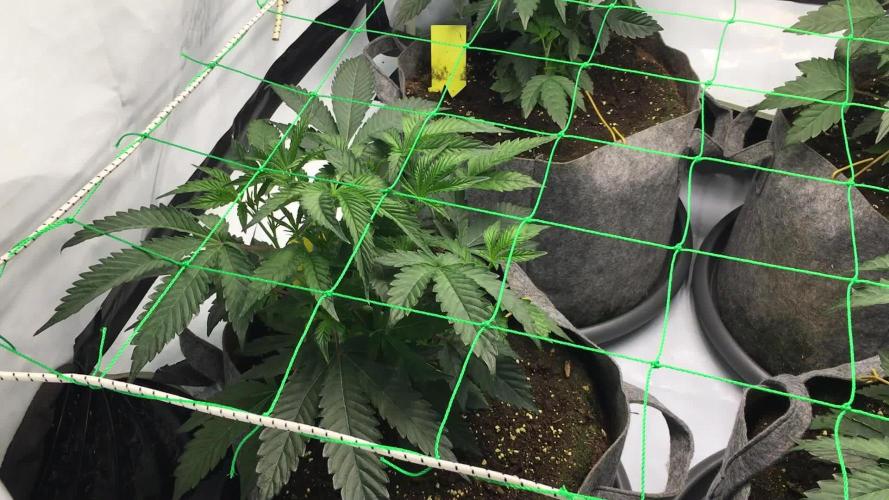
Visible growth now - so i installed the scrog-net and will start bending and weaving these days:-)
Thoughts:
Did beeing out of VPD-range for one day harm my plants? How exact can my sensor measure VPD?
after a bit of research i found out: Whatever you buy for less than 200 bucks is far from beeing exact! Even professional sensors have a margin of about +/- 1% in relative humidity. Thermometers at least +/- 0.5 degrees C. This could give some a good guess of the actual VPD BUT: Leaf-temperature-offset is absolute key! Many of our trusted homegrow-equippment isn't even able to measure it (some offer default temp-offset) ....don't wanna go further here - but there's no way to achieve something like a precise VPD-measurement in homegrowing.
So why caring for VPD?
Even with those less accurate instruments, you may be able to keep your plants in something like a comfort-zone. Way better than only guessing 👆!!!
In case i ran a much higher VPD than planned, yesterday (due to a missplaced sensor) , it will not harm or kill my plants. they might have had a bit of stress from dry air - but nothing to worry about!
Day 24:
Decreasing salt-levels in the drain - excepting plant 4, wich had an EC of 4.0 - so i guess i'm slowly draining exess-salts from top to bottom and might have collected some build-up.
The girls seem to be quite okay. Root-growth is vigorous (there are thick, white roots penetrating through the pots, everywhere), the stems are relatively thin.
removed the LST-lines.
the Sc.r.o.g:
only materiels needed, were a climbing-net for gardening (HDPE) cut to 90x90 for my 1x1 tent, 4 cable-ties and 2 meters of strong rubber-cord.
Pre-installed the net with the cable-ties, then weaved the cord around the outter cords of the net, led it aroud the posts and pulled tight.
Then brought the net into it's final position. Not as sturdy as with a wooden frame - but i had less than half the work and a bit of freedom to move things if necessary.
Any shoot will now be put to the next outter square (relative to the center of each plant) as soon as can be held by the net, without harming the top.
Once i moved all of the dominant colas to the next square, i'll have to take 10-15cm steps (vertical growth), to reach the next square.
As soon as i have about 70 of my 81 squares filled, i'm going to flip to 12/12. Since i'm plannin' to have them full of sugar when flippin', i don't expect too much of a stretch. This way i hopefully have the longest and strongest shoots framing the shorter ones in the center - so the canopy shapes like a bowl, in order to achieve the most even light distribution possible.
Day 25:
The main colas visibly reached out for the light - but yet i only moved 1 single shoot to the next square.
Girls look good, EC is dropping slowly, climate fine.
CU tomorrow👋
day 26:
on Track... nothing to worry about......
STAY TUNED 👈!
Likes
12
Share

@Bud_vista
Follow
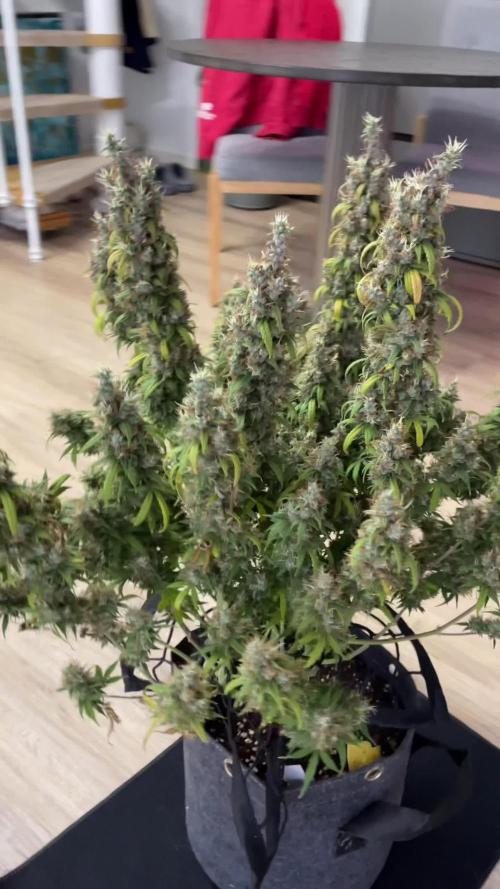
Today, at the second of January I decided to chop our 24k auto. About 10-20% amber trichomes , also on the smaller buds! The performance of the plant was great and also my first grow on coco gone well! Feeling good to grow in coco and I think I will try a second time.


Likes
3
Share


@fabialien
Follow
Foto del dia viernes 9 de agosto en su 4 semana de vida esta Auto Gorilla GLUE de BSF seeds.


Likes
15
Share


@SmokingTiki
Follow
The weather was better this week and the plant grew well :) It clearly tilts towards the window to catch the light.
Day 13 picture is missing because I was not at home.
Likes
12
Share

@Chubbs
Follow
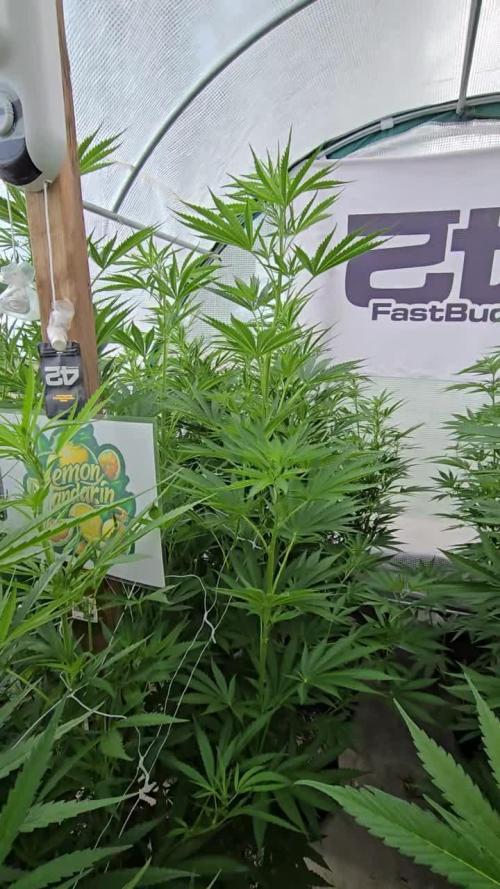
Weekly update for these lovely ladies. They've grown and grown since the last update so much I had to raise the greenhouse. Cinder blocks under the frame gave me an extra 16in. They're growing probably a foot of week and still reaching for the stars. I did switch to Athena's Bloom A & B and P&K booster this week giving 5-10ml per gallon. I really couldn't be happier with how they've grown up to this point.
All in all Happy Growing.
Likes
18
Share


@MisterAeroponics
Follow
Week 10 getting some slight deficiencies just trying to stay on them and she is drinking 5 gallons a day by herself 🔥 Running GH flora gro/micro/bloom at 10/7/5ml with 2ml calmag plus and sulfur
Likes
61
Share


@Captensmokey
Follow
We are working hard again on a good harvest.The bad rainy days are coming. Now we are going to try even harder and a lot is being asked of the plants. The cellmax has had a major influence on the plants. They shoot up. I do use some extra boost pk 13 14 From bio nova. Just to provide them with poshpor and potassium. They also quickly get Molasses


Likes
2
Share


@Strangelet
Follow
Harvest day 74. 10g dried after 4 days.
Little plant and little yeald.
Didn't respond well to topping, problems with over feeding in late flowering. Also began to foxtail in last week, probably due to 40°C at daytime.
Will update the smoke test curing.
